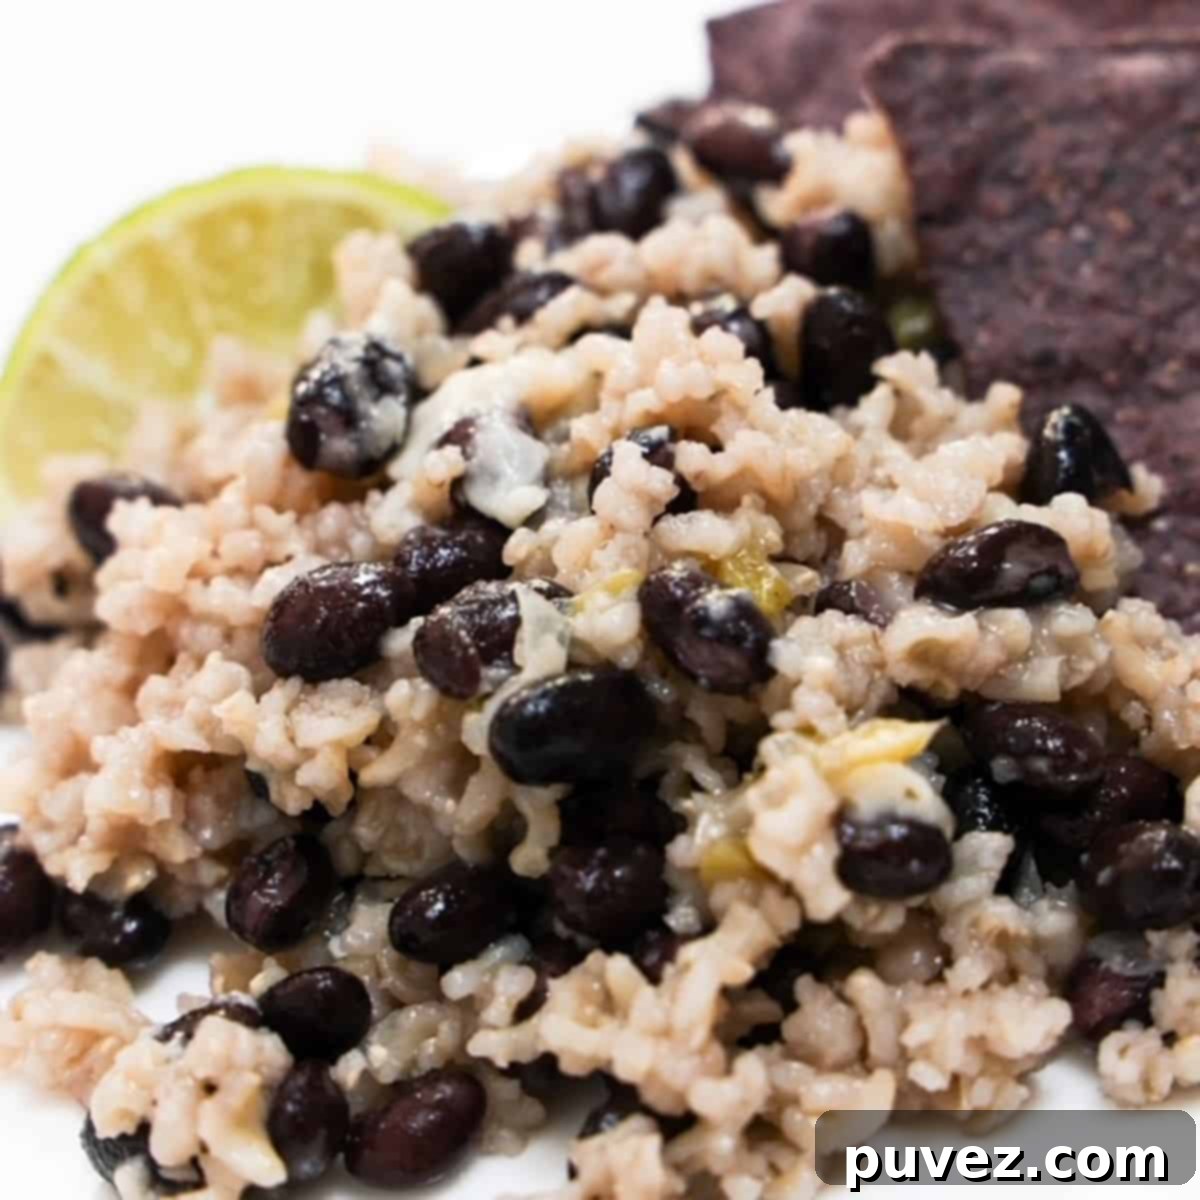
Effortless Oven-Baked Black Beans and Rice: A Simple & Healthy Family Favorite
Imagine a hearty, flavorful dinner that practically cooks itself. This Oven-Baked Black Beans and Rice recipe is exactly that! Simply mix all the ingredients in a baking dish, cover it, and let your oven do the rest. No constant stirring, no worrying – just a perfectly cooked, comforting meal ready to enjoy.
This recipe has been a consistent family favorite for years in my household. Its ease and delicious flavor make it a go-to for busy weeknights. Serve it as a stand-alone vegetarian dish, or pair it with grilled chicken, creamy homemade guacamole, and crunchy tortilla chips for a complete and satisfying dinner.
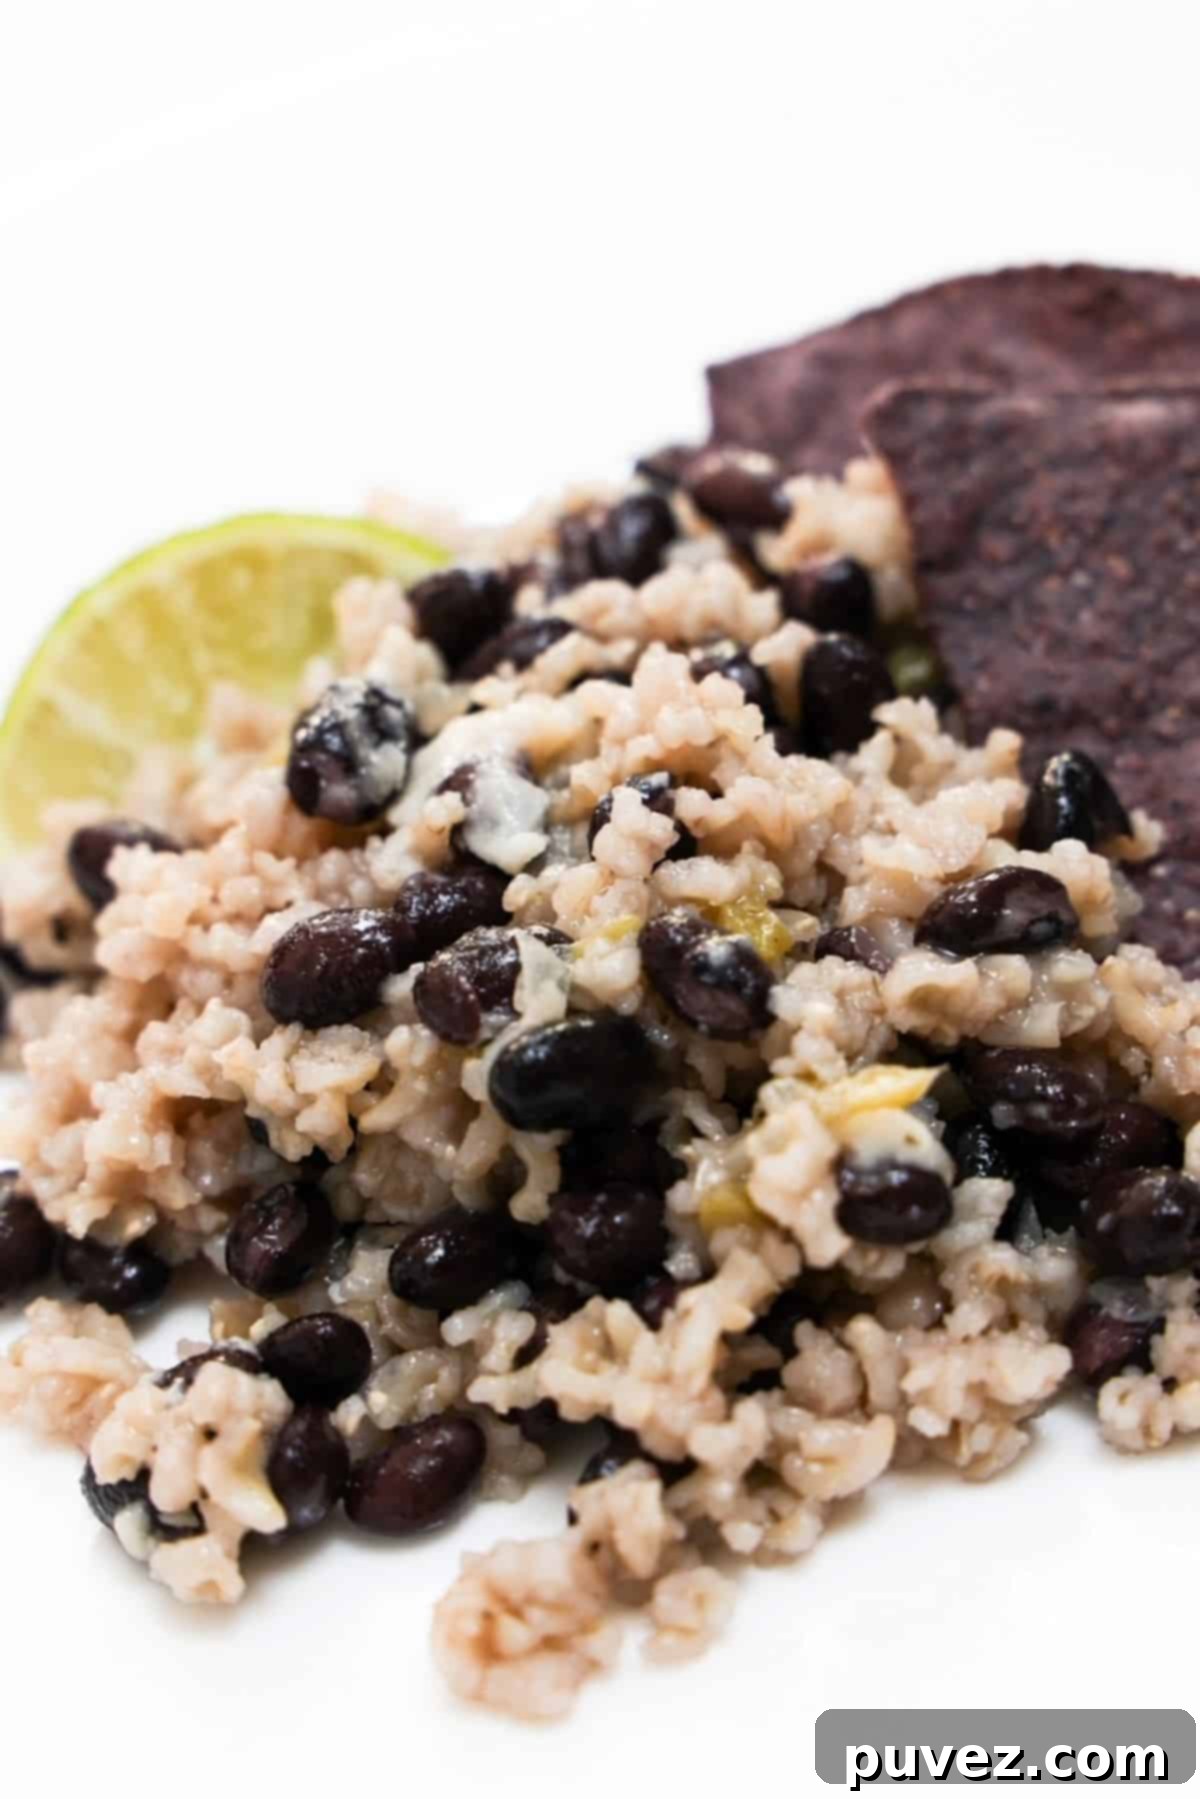
Not only is this dish incredibly tasty, but it’s also a fantastic option for meal prep. It makes enough servings for a family dinner with plenty of delicious leftovers. My kids love packing it in a thermos for a warm and nutritious school lunch the next day, making school mornings a little bit easier for everyone!
Whether you’re new to cooking or a seasoned home chef, this baked black beans and rice recipe is designed for simplicity without compromising on flavor or nutritional value. Get ready to add a new staple to your weekly meal rotation!
[feast_advanced_jump_to]
Why You’ll Adore This Easy Baked Black Beans and Rice Recipe
This oven-baked black beans and rice dish is a true game-changer for anyone seeking a convenient, healthy, and delicious meal. Once you take a few minutes to sauté the onion and bell pepper, the rest is hands-off. Just combine all the ingredients in a baking dish, cover tightly with foil, and pop it into the oven. The magic happens while you relax – no peeking required!
- Effortless Preparation: The most “challenging” part of this recipe is the initial chopping of an onion and bell pepper. From there, it’s a simple “mix, cover, and bake” process. This minimal active cooking time makes it ideal for hectic weeknights when you want a homemade meal without the fuss.
- Family-Approved & Kid-Tested: This recipe isn’t just easy; it’s genuinely loved! My oldest daughter considers ‘beans and rice’ her absolute favorite. It’s a fantastic, flavorful plant-based meal that consistently wins over the whole family – even the picky eaters (unless they genuinely dislike beans, of course!).
- Packed with Fiber: We use brown rice, a whole grain that’s significantly higher in fiber compared to white rice. Black beans are also fiber powerhouses. Foods rich in fiber not only help you feel satisfied longer, but they also contribute to a healthy digestive system, keeping things moving smoothly through your digestive tract and supporting overall gut health.
- Incredibly Versatile: This isn’t just a side dish! Black beans and rice make an amazing base or filling for tacos, burritos, and vibrant burrito bowls. It’s also a comforting addition to soups or a hearty vegetarian main course. Plus, it reheats beautifully for leftovers and freezes exceptionally well, making it perfect for meal prepping.
- Minimal Cleanup: Since everything cooks in a single baking dish, cleanup is an absolute breeze. Spend less time washing dishes and more time enjoying your delicious meal and family time.
- Budget-Friendly: Made with staple pantry ingredients like canned beans and rice, this recipe is incredibly economical, helping you put a wholesome meal on the table without breaking the bank.
Key Ingredients for Flavorful Black Beans and Rice
Each ingredient in this recipe plays a vital role in creating a balanced and flavorful dish. Here’s a closer look at what you’ll need and why it works:
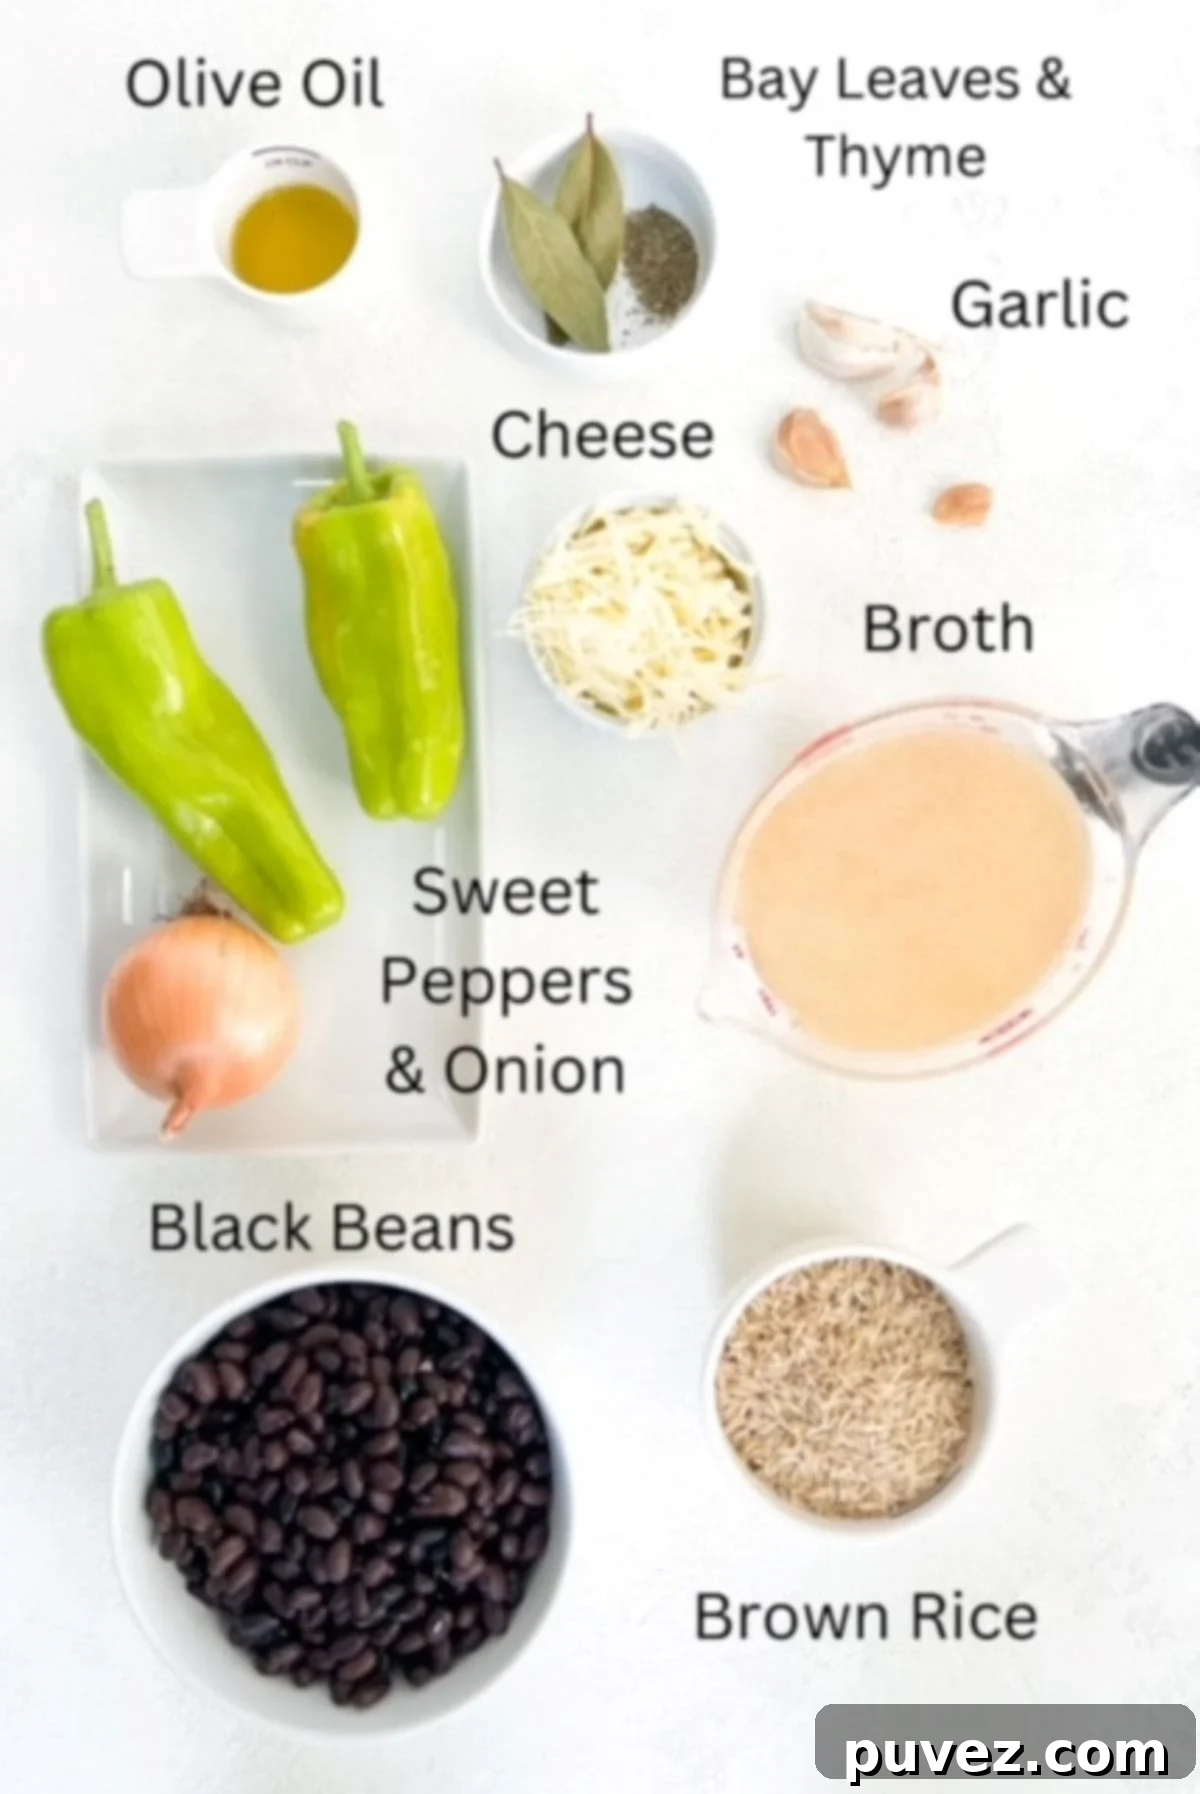
- Canned Black Beans: This recipe uses two 15-ounce cans of black beans. Canned beans are a convenient choice, offering a perfect texture and consistency for a baked casserole. They are not only easy to use but also incredibly nutritious, providing folate, magnesium, fiber, and powerful antioxidants. Remember to rinse and drain them thoroughly before adding to the dish to reduce excess sodium and remove any starchy residue.
- Brown Rice: Opting for brown rice elevates the nutritional profile of this dish. As a whole grain, it retains its bran and germ layers, which are rich in fiber, vitamins, and minerals. The American Heart Association recommends incorporating “three or more servings of fiber-rich whole grains every day” into your diet. I typically use brown basmati rice for its lovely aroma and fluffy texture. Rinsing the rice before cooking helps remove excess surface starch, preventing it from becoming too sticky.
- Bell Pepper: Bell peppers add a delightful crunch, subtle sweetness, and a vibrant pop of color to the dish. They are an excellent source of vitamins, particularly vitamin C and vitamin A, and contribute additional fiber. While any color can be used, green bell peppers (or green sweet peppers) tend to blend more seamlessly into the dish, making them a great choice for kids who might be hesitant about visible vegetables.
- Onion and Garlic: These aromatic staples form the flavor foundation of many great dishes. Sautéing them first unlocks their sweet and savory notes, building a deep, complex flavor base for the beans and rice. Beyond flavor, both onion and garlic contain prebiotics, which support a healthy gut microbiome.
- Broth: Using vegetable or low-sodium chicken broth instead of plain water is crucial for achieving a rich, savory flavor. The broth infuses the rice and beans with an extra layer of depth, making the entire dish more delicious. Low-sodium options allow you to control the overall saltiness.
- Spices (Dried Thyme & Bay Leaves): Dried thyme provides an earthy, slightly minty flavor that complements the beans and rice beautifully. Bay leaves add a subtle, herbaceous aroma during cooking. It is crucial to remember that whole bay leaves are not edible and must be removed from the dish before serving. They are added for their aromatic qualities, not for consumption.
- Olive Oil: Used for sautéing the aromatics, olive oil adds a touch of healthy fat and helps to build the initial flavor layers. Extra virgin olive oil offers the most flavor and nutritional benefits.
Ingredient Swaps and Creative Recipe Variations
This black beans and rice recipe is wonderfully adaptable, allowing you to customize it based on your pantry, dietary needs, or flavor preferences. Feel free to experiment with these suggestions:
- Pepper Alternatives: If bell peppers aren’t on hand, large, sweet peppers (like Italian frying peppers) can be used interchangeably. In fact, that’s what was used for the ingredient photo in the ‘ingredient notes’ section!
- Add a Spicy Kick: For those who enjoy a bit of heat, stir in a quarter teaspoon of red pepper flakes with the other spices. Alternatively, a few dashes of your favorite hot sauce, like Tabasco, or finely diced jalapeños (seeds removed for less heat) can be added before baking or as a topping.
- Make it Vegetarian or Vegan: Ensure you use vegetable broth to make this a fully vegetarian or vegan meal. The recipe is naturally plant-based, and with vegetable broth, it becomes a fantastic option for meatless Mondays.
- Rice Choices: While brown rice is recommended for its nutritional benefits, white rice can be used. Keep in mind that white rice cooks faster, so you may need to reduce the baking time by about 15 minutes. Other grains like quinoa could also work with adjusted liquid ratios and cooking times.
- Cheesy Goodness: A sprinkle of cheese on top adds a delightful melty layer. I’ve had great success with cheddar cheese, Monterey Jack cheese, or a combination of both. Freshly grated cheese melts more smoothly than pre-shredded varieties.
- Fresh Herb & Citrus Boost: Brighten up the flavors with fresh additions after baking. Stir in a squeeze of fresh lime juice and a generous sprinkle of chopped fresh cilantro for a vibrant, zesty finish. A slice of lime on the side for serving is also a great idea.
- Add Protein: To make this a more substantial main course, consider adding cooked protein such as shredded chicken, grilled shrimp, or even some pre-cooked plant-based sausage. Stir it in during the last 15-20 minutes of baking, or serve it on the side.
- Spice Blend Alternatives: While thyme is simple and delicious, for a more Latin-inspired flavor, you could add a teaspoon of ground cumin and half a teaspoon of dried oregano along with the thyme. This will give it a more Cuban or Tex-Mex profile.
Step-by-Step Guide: How to Make Easy Oven-Baked Black Beans and Rice
This recipe is incredibly straightforward, perfect for a no-fuss dinner. Follow these simple steps for a delicious, hearty meal. For a comprehensive list of ingredients and detailed instructions, scroll down to the full recipe card.
- Preheat Oven: Begin by preheating your oven to 350 degrees Fahrenheit (175°C). This ensures the oven is at the correct temperature when your dish goes in.
- Prepare Beans: Open your cans of black beans, pour them into a fine-mesh colander, and rinse them thoroughly under cold running water. Drain them well to remove excess sodium and starchy liquid.
- Rinse Rice: Measure out your brown rice and place it in the same fine-mesh colander. Rinse the rice under cold water for about 30 seconds to a minute, gently shaking, until the water runs mostly clear. This helps prevent clumping.
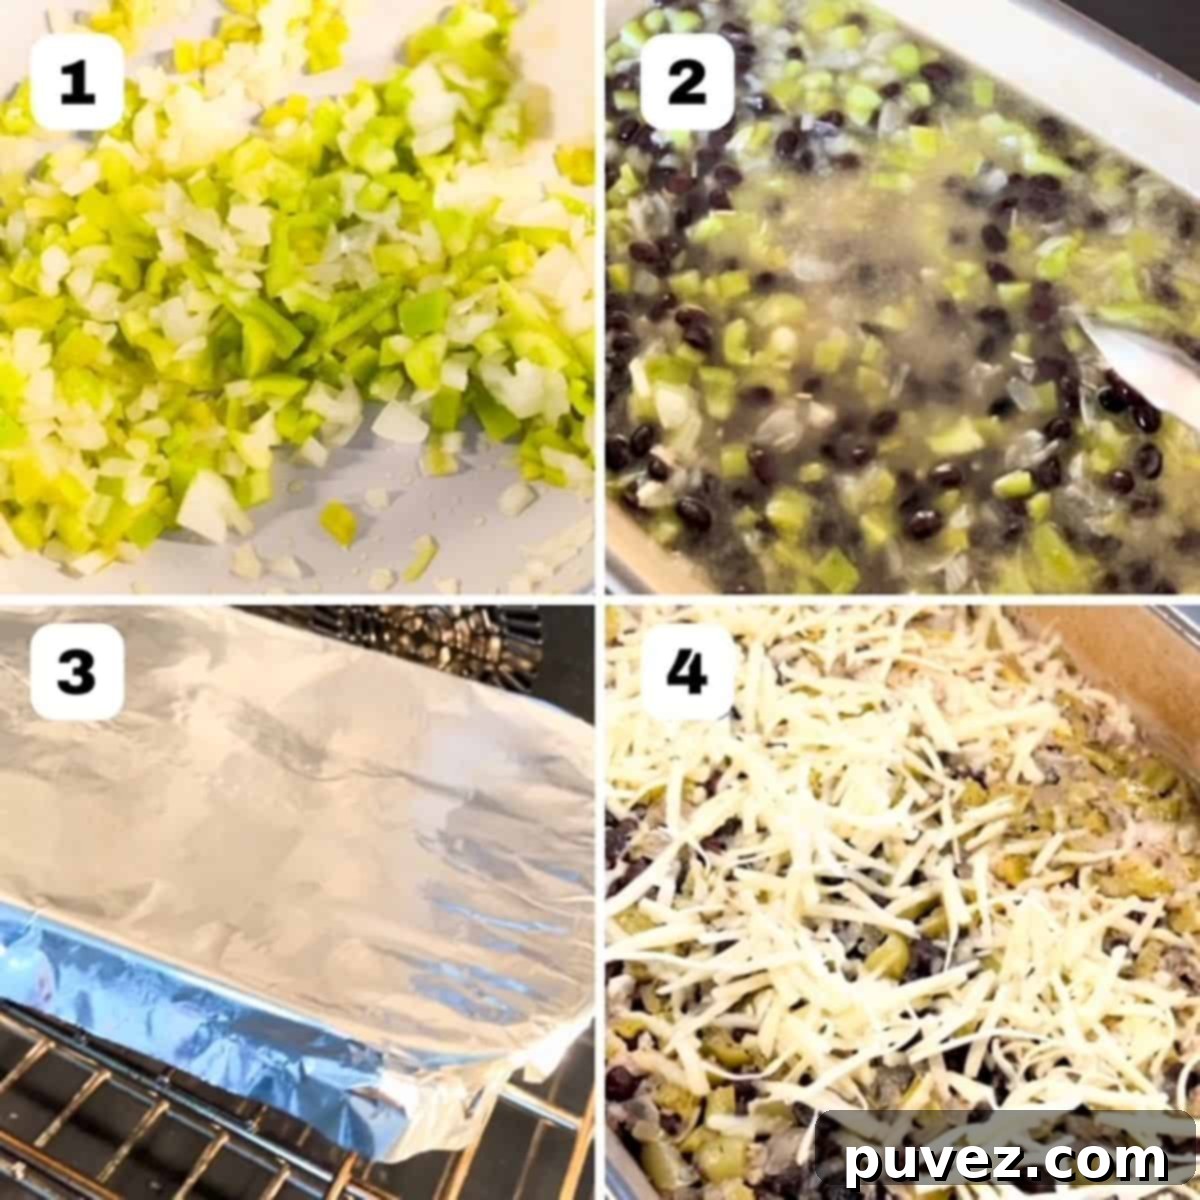
- Sauté Aromatics: Heat one tablespoon of olive oil in a small skillet over medium heat. Add the chopped onion and bell pepper and sauté for about 5 minutes, or until they have softened and become slightly translucent. This step enhances their flavor.
- Combine Ingredients: In a large 9×13-inch baking dish, combine the rinsed brown rice, rinsed and drained black beans, low-sodium broth, the sautéed onion and bell pepper mixture, minced garlic, and dried thyme. Stir everything together thoroughly to ensure all ingredients are evenly distributed.
- Add Bay Leaves: Gently place the two bay leaves on top of the mixture. Press them down lightly so they are partially submerged but still easy to spot and remove later.
- Cover and Seal: Cover the baking dish tightly with aluminum foil. Press down firmly around the edges to create a good seal. This trap steam, which is essential for cooking the rice evenly and preventing the dish from drying out.
- Bake: Place the covered baking dish in your preheated oven and bake for 1 hour and 15 minutes. Resist the urge to peek during this time, as opening the oven and removing the foil will release steam and affect the cooking process.
- Rest (Optional but Recommended): After baking, carefully remove the baking dish from the oven. Let it sit, still covered, for 5-10 minutes. This allows the rice to absorb any remaining liquid and become perfectly fluffy.
- Remove Foil and Bay Leaves: Carefully remove the foil. Locate and remove the bay leaves from the dish. They have imparted their flavor and are not meant to be eaten.
- Add Cheese (Optional): If desired, sprinkle the grated cheese evenly over the hot beans and rice. The residual heat will melt the cheese beautifully.
- Serve and Enjoy: Fluff the beans and rice gently with a fork. Serve immediately as a satisfying main course or a flavorful side. Enjoy your easy, homemade meal!
Expert Dietitian Tips for Your Black Beans and Rice
Tip 1: Navigating Arsenic in Rice. If you appreciate the nutty flavor and rich nutritional benefits (vitamins, minerals, fiber, and antioxidants) of brown rice but are concerned about minimizing arsenic exposure, strategically choose your rice. Opt for brown basmati rice specifically from California, India, or Pakistan. Research indicates that these varieties tend to contain about one-third less inorganic arsenic than other types of brown rice. Rinsing your rice thoroughly before cooking can also help reduce surface arsenic levels.
Tip 2: Smart School Lunch Leftovers! This recipe yields generous portions, making it ideal for planned leftovers. After your family has enjoyed dinner, you’ll likely have one to two servings remaining. These leftovers are fantastic for school lunches! Our two teenagers love to reheat a portion of the black beans and rice in the morning and pack it in a good quality thermos. By lunchtime, it’s still warm and provides a wholesome, satisfying meal that keeps them energized through the afternoon. It’s a convenient and budget-friendly way to ensure they get a nutritious lunch.
Tip 3: Boost Nutrient Absorption. Pair your black beans and rice with a source of Vitamin C! While black beans are rich in iron, it’s non-heme iron, which is better absorbed when consumed with Vitamin C. A squeeze of fresh lime juice, a side of bell pepper strips, or a serving of mango salsa can significantly enhance iron absorption from this delicious meal. This simple addition makes your healthy meal even healthier!
Helpful Tips for Perfect Black Beans and Rice Every Time
- Rinse Beans and Rice Thoroughly: Always rinse and drain canned black beans well before adding them. This reduces excess sodium and starchy liquid. Similarly, rinsing brown rice helps remove surface starch, leading to a less sticky and fluffier final product.
- Invest in a Good Food Chopper: To save time and effort during meal prep, especially with the onion, bell peppers, and garlic, a quality food chopper can be a lifesaver. It makes quick work of chopping and ensures uniform pieces for even cooking.
- Remember to Remove Bay Leaves: This is a crucial step! Bay leaves are aromatic and add flavor during cooking, but they are not edible and can pose a choking hazard. Always remove them before serving.
- Optional Resting & Melting Cheese Technique: For an even more absorbed liquid and perfectly melted cheese, try this: after one hour of baking, carefully remove the dish from the oven. Remove the bay leaves, sprinkle your desired amount of cheese on top, and replace the foil. Return it to the oven for the remaining 15 minutes. This allows the cheese to melt beautifully while the rice continues to soak up any last bit of liquid.
- Check for Doneness: After the recommended baking time, check if the rice is tender and all the liquid has been absorbed. If the rice is still a bit firm or there’s too much liquid, cover it again and bake for another 5-10 minutes.
- Don’t Skimp on the Foil Seal: A tight foil seal is essential for this “set it and forget it” method. It traps the steam necessary to cook the brown rice perfectly. A loose seal can lead to dry rice or undercooked grains.
Storage and Re-Heating Tips for Leftovers
This black beans and rice recipe is fantastic for making ahead or enjoying as leftovers. Proper storage and reheating ensure it stays delicious and safe to eat:
- Cool Completely: Before storing, allow the black beans and rice to cool completely to room temperature. This prevents condensation from forming, which can lead to soggy textures and promote bacterial growth.
- Refrigeration: Transfer cooled leftovers to an airtight, food-safe container. Store in the refrigerator for up to 3-4 days.
- Freezing: For longer storage, this dish freezes beautifully. Place cooled black beans and rice into freezer-safe containers or heavy-duty freezer bags. It can be frozen for up to 2-3 months. Label with the date for easy tracking.
- Defrosting: If frozen, it’s best to transfer the container to the refrigerator overnight to defrost slowly. This helps maintain texture.
- Microwave Reheating: For quick reheating from the refrigerator, place a portion in a microwave-safe dish. Add a splash of water or broth (about a tablespoon per serving) to prevent drying out. Cover loosely and microwave in 1-2 minute intervals, stirring in between, until heated through.
- Stovetop Reheating: For stovetop reheating, place the defrosted or refrigerated leftovers in a saucepan over medium-low heat. Add a splash of water or broth, cover, and stir occasionally until thoroughly heated.
Frequently Asked Questions About Black Beans and Rice
While technically they can be eaten, it is strongly advised against consuming whole bay leaves. Bay leaves remain quite rigid even after extended cooking and are considered a choking hazard, especially for small children. They can also cause irritation or damage to the gastrointestinal (GI) tract if swallowed. Their purpose in cooking is to infuse flavor into the dish, and they should always be removed before serving.
Rinsing rice, particularly brown rice, serves a couple of important purposes. Firstly, it helps to remove any dust, debris, or small particles that may be present from packaging or processing. Secondly, and perhaps more importantly, it washes away excess surface starch. This surface starch can cause rice grains to stick together, resulting in a gummy or clumpy texture. Rinsing helps achieve a fluffier, more separate grain in your final dish.
No, this recipe is not the same as traditional Cuban-style black beans and rice. While both are delicious, Cuban black beans often feature a more distinct seasoning profile, typically including ingredients like cumin, oregano, and sometimes bell peppers and onions cooked in a sofrito style. Additionally, authentic Cuban black beans are traditionally made from dried beans that are soaked and cooked from scratch, rather than using canned beans as this convenient recipe does.
That’s a great question! While this particular recipe is designed for oven baking to simplify the process, it’s likely adaptable to an Instant Pot or slow cooker. However, the cooking times and liquid ratios would definitely need to be adjusted significantly, especially for the rice component. I haven’t personally tested it with those methods, but if you experiment and achieve a successful result, please do let me know – I’d love to hear about it!
Yes, this recipe is naturally gluten-free! All the core ingredients – black beans, brown rice, bell peppers, onions, garlic, broth (ensure it’s certified gluten-free if you have severe sensitivities), olive oil, and spices – are free of gluten. It’s a great option for those with gluten sensitivities or celiac disease.
This versatile dish pairs wonderfully with many different foods! It’s excellent as a side for grilled chicken, fish, or pork. For a vegetarian meal, top it with avocado, a dollop of sour cream (or a dairy-free alternative), fresh salsa, and a sprinkle of cilantro. It also makes a fantastic filling for burritos or tacos, and a hearty base for a power bowl with extra veggies.
More Delicious & Easy Recipes to Try
If you loved this simple and satisfying black beans and rice, you’ll definitely want to explore these other family-friendly recipes:
- Easy Turkey Tacos
- Kid-Friendly Taco Seasoning with Tajin
- Hearty Salsa Verde Enchilada Bake
- Crispy Air Fryer Tortilla Chips
- Simple Cheese Quesadillas
- Quick & Easy Homemade Guacamole
- Fresh Mango Pineapple Salsa
Discover More Effortless Dinner Recipes
- Butternut Squash Pasta Sauce
- Easy Peanut Butter Sauce for Noodles
- Apple Cider Vinaigrette Dressing
- Basil Balsamic Dressing
Did you try this incredible oven-baked black beans and rice recipe? We’d love to hear from you! Please consider leaving a 5-star rating and a comment below to share your experience. Your feedback is the best compliment!
Don’t forget to connect with us on Instagram and tag @carrots.and.cookies when you whip up this fantastic meal!
📖 Recipe
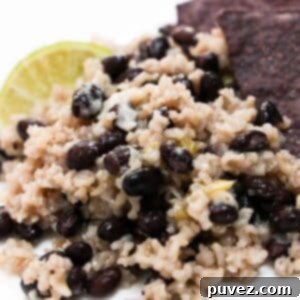
Easy Black Beans and Rice Recipe
Kristi
Pin Recipe
Equipment
-
1 Large baking dish 9×13
-
1 Food Chopper
-
Aluminum Foil
-
1 medium skillet
-
1 Fine mesh strainer
Ingredients
- 1 cup brown rice, uncooked rinse well
- 4 cups black beans I use two 15 ounce cans of black beans rinsed and drained.
- 1 onion chopped
- 2-3 bell peppers chopped
- 3 cups low sodium chicken or vegetable broth low sodium
- 4 cloves garlic minced
- 2 bay leaves
- 1 tablespoon olive oil extra virgin
- ½ teaspoon dried thyme
- ¼ teaspoon crushed chili pepper optional
- 1 cup cheddar cheese grated
Instructions
-
Preheat oven to 350° Fahrenheit.
-
Heat oil in a small skillet over medium heat. Sauté chopped onion and bell pepper in 1 tablespoon of oil until softened, about 5 minutes.1 onion, 2-3 bell peppers, 1 tablespoon olive oil
-
Place rice, beans, broth, the sautéed onion and bell pepper mixture, garlic, and thyme into a 9×11 casserole dish and mix well.1 cup brown rice, uncooked, 1 onion, 3 cups low sodium chicken or vegetable broth, 4 cloves garlic, ½ teaspoon dried thyme, 2-3 bell peppers
-
Place the bay leaves on top of the mixture and press down lightly so they are easy to remove when it’s done cooking.2 bay leaves
-
Cover with foil, sealing well around the edges of the baking dish.
-
Bake in the preheated oven for 1 hour and 15 minutes.
-
Remove from oven and let sit, still covered, for about 5 minutes to allow residual steam to finish cooking the rice.
-
Carefully remove the foil.
-
Locate and remove the bay leaves from the dish.
-
If using, sprinkle the grated cheese evenly over the hot beans and rice. The residual heat will melt it beautifully.1 cup cheddar cheese
-
Serve warm and enjoy your effortless homemade meal!
Notes
-
- Always rinse and drain canned beans thoroughly before adding them to your recipe.
- A good quality food chopper can significantly speed up the chopping of onions, bell peppers, and garlic.
- Important: Ensure all bay leaves are removed from the dish before serving.
- Optional cheese melting tip: For extra gooey cheese, remove the dish after one hour, remove the bay leaves, sprinkle the cheese, then replace the foil and bake for the final 15 minutes. This helps the cheese melt perfectly while ensuring the rice is fully cooked and has absorbed all liquid.
- Serve this versatile dish with a variety of accompaniments: fresh guacamole and chips, grilled chicken or fish, enchiladas, burritos, or simply topped with sour cream and fresh salsa.
- For the best melt, use freshly grated cheese rather than pre-shredded, which often contains anti-caking agents that can hinder smooth melting.
Nutrition
