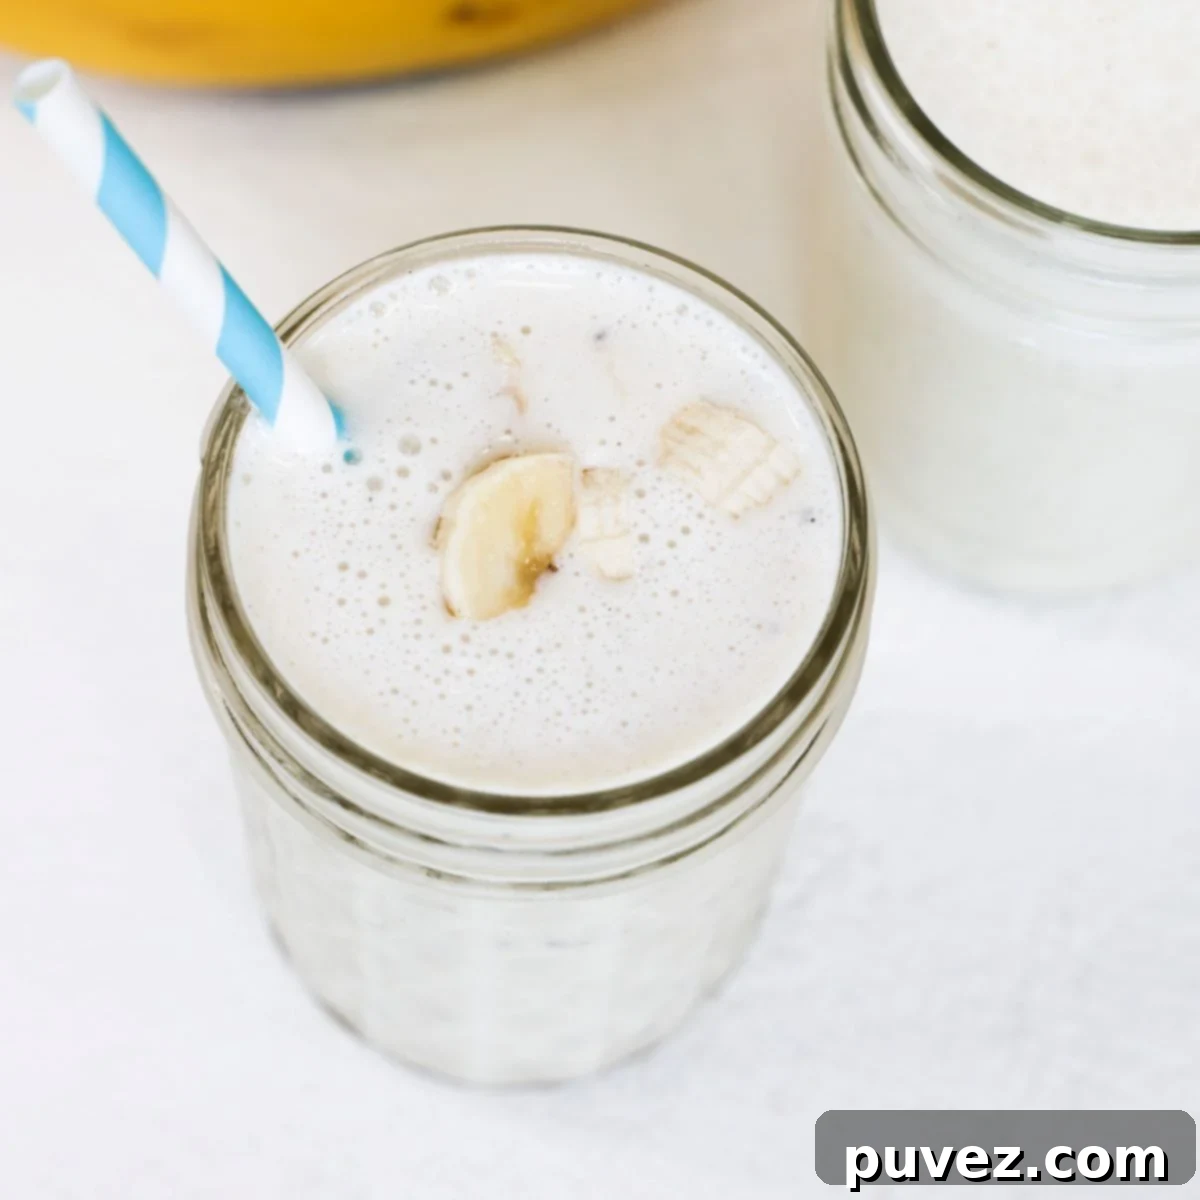
Creamy Homemade Banana Milkshake: Your Quick & Easy 5-Minute Recipe
Craving a refreshingly delicious and perfectly thick milkshake that you can sip right away? Look no further! This homemade banana milkshake recipe is incredibly simple to make, requiring just a few basic ingredients and a mere 5 minutes of your time. Forget those overly dense fast-food milkshakes that are a chore to drink; with this recipe, you’ll enjoy a smooth, creamy, and delightful treat from the very first sip. It’s the ultimate easy dessert or a satisfying snack that will quickly become a family favorite.
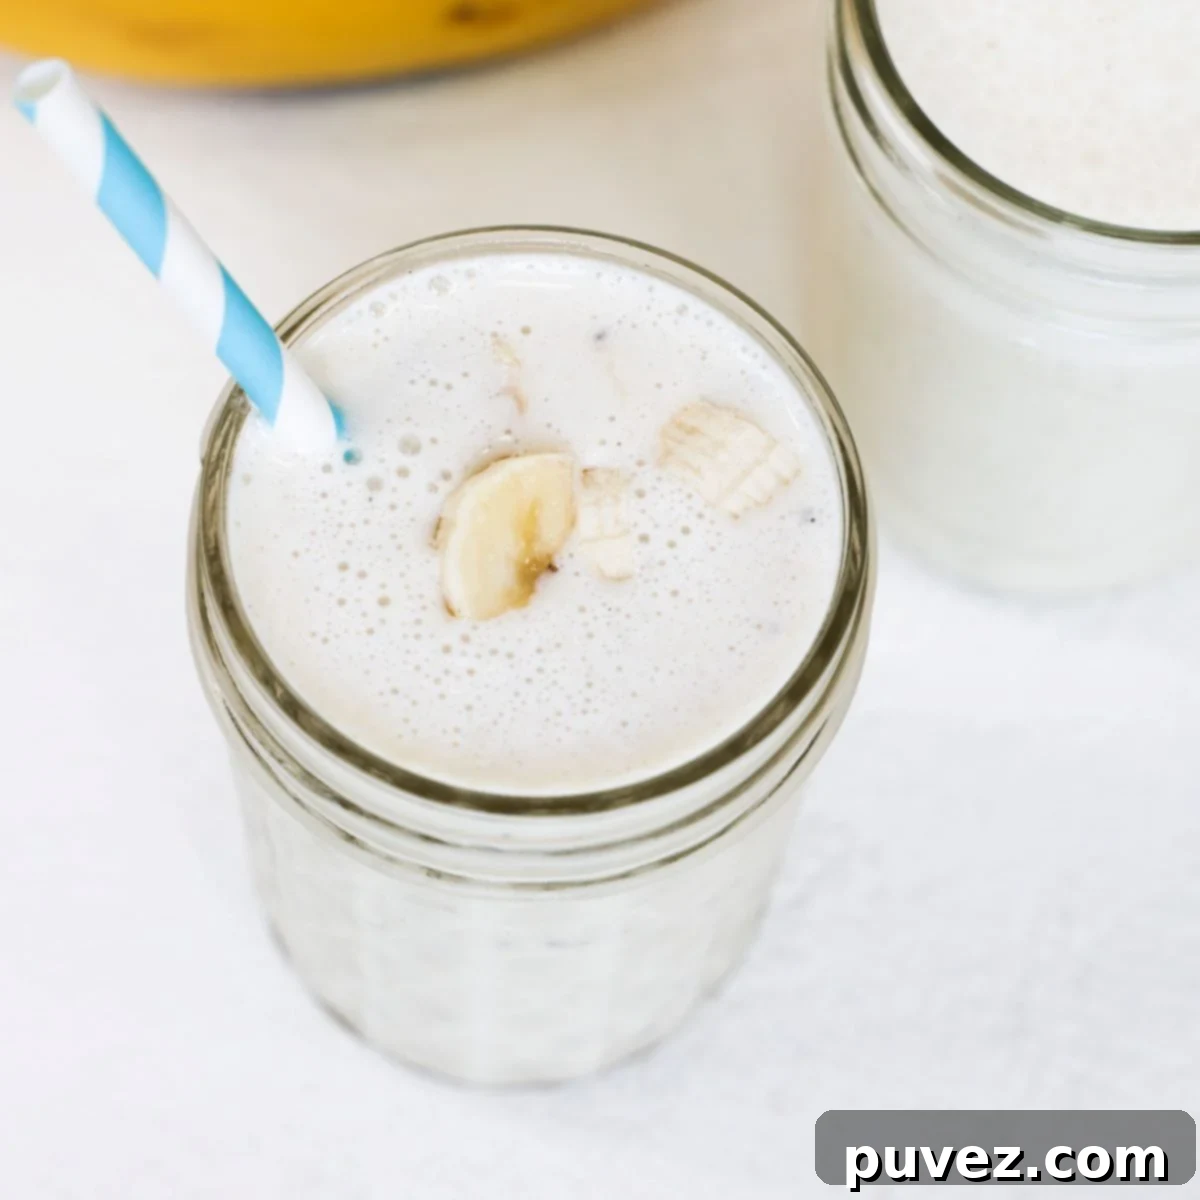
There’s a unique satisfaction that comes with crafting your own treats, especially when they turn out even better than store-bought versions. This recipe for a homemade banana milkshake strikes the perfect balance – it’s wonderfully creamy without being overly rich, and just thick enough to be substantial, yet still perfectly sippable through a straw. It’s a delightful contrast to the frustration of waiting for a rock-solid fast-food shake to melt just enough to enjoy.
If you’re like me, you probably have a soft spot for delicious ways to use overripe bananas. When bananas turn spotty and soft, they transform into a natural sweetener and create an incredible depth of flavor that’s perfect for baking and blending. Instead of letting them go to waste, they become the star of many fantastic recipes. While baking banana bread is a classic choice, sometimes you need something quicker. That’s where this easy banana milkshake recipe comes in handy. It’s a fantastic alternative to a smoothie when you desire something a bit more decadent, but still incredibly simple to prepare.
And before you scroll past, thinking “chia seeds in a milkshake?”—trust me on this one! As someone who loves finding delicious ways to boost your daily fiber intake, I can assure you these tiny powerhouses are a game-changer. Not only do chia seeds add valuable nutrients, but they also contribute significantly to the milkshake’s creamy texture, compensating for the lower fat content if you choose to use lower-fat ice cream or milk. They help achieve that desirable thickness without making it overly heavy. It’s a win-win for both flavor and nutrition!
Why You’ll Love This Easy Banana Milkshake Recipe
- Effortlessly Simple: This banana milkshake is made with just four basic ingredients you likely already have on hand and blends into perfection in minutes. It’s ideal for busy weekdays or a spontaneous treat.
- Universally Loved: Kids and adults alike adore the sweet, creamy taste of this milkshake. It’s a guaranteed hit at any age, perfect for after-school snacks or dessert.
- Great for Young Chefs: The straightforward blending process makes this an excellent recipe for getting children involved in the kitchen. An immersion blender, often easier and safer for small hands, can be used for this recipe, making it a fun and empowering culinary activity for your little ones.
- Perfect Consistency: Say goodbye to overly thin or impossibly thick shakes. This recipe delivers a perfectly creamy and sippable texture every time.
- Nutrient Boost: With ripe bananas and a secret ingredient (chia seeds), you’re not just enjoying a treat, but also getting a good dose of fiber and other essential nutrients.
- Economical & Fresh: Making your own milkshake is often more budget-friendly than buying pre-made versions, and you control the quality and freshness of ingredients.
Key Ingredients for the Perfect Banana Milkshake
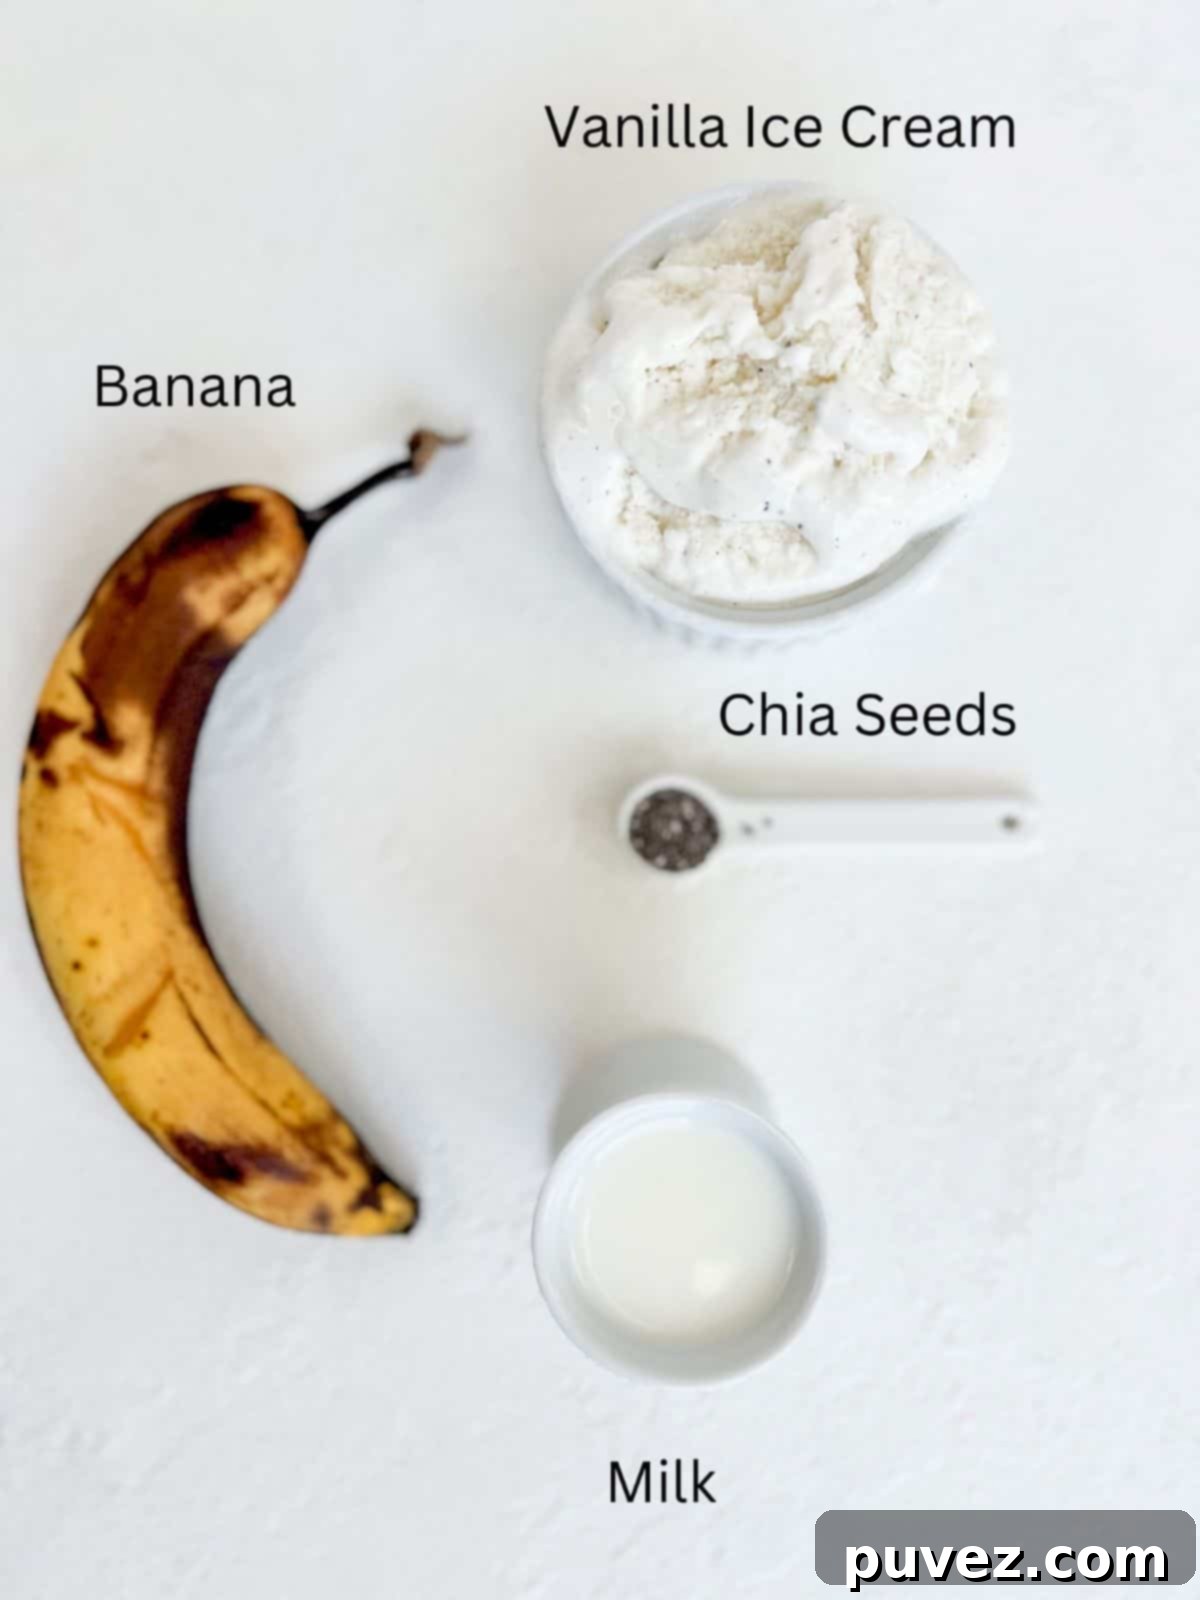
- Vanilla Ice Cream: For a balanced flavor and a good starting creaminess, regular vanilla ice cream works perfectly. If you desire an extra-luxurious, super-creamy milkshake, opt for a premium vanilla ice cream with higher fat content, or simply add a bit more banana. For a lighter version, you could use a lower-fat vanilla ice cream or even a dairy-free alternative like vanilla almond milk ice cream.
- Banana: The star of the show! It’s crucial to use a very ripe or even overripe fresh banana (the ones with brown spots). These bananas are naturally sweeter, provide a stronger banana flavor, and contribute significantly to the milkshake’s thickness and smooth texture. Beyond flavor, bananas pack a nutritional punch, offering fiber, potassium, and a variety of other essential nutrients, making your treat both delicious and beneficial.
- Milk: I typically use skim or 2% milk to keep the milkshake from being excessively heavy, especially since the ice cream already provides richness. The fat content of your milk will directly impact the final thickness and creaminess; higher-fat milk (like whole milk or half-and-half) will yield a thicker, richer shake. If your ice cream is already soft right out of the freezer, start with a smaller amount of milk (e.g., one tablespoon instead of two) to prevent the milkshake from becoming too thin. Feel free to experiment with plant-based milks like almond, oat, or soy milk for a dairy-free option.
- Chia Seeds: This might sound unconventional, but please, don’t skip them! Chia seeds are my “secret ingredient” for enhancing this milkshake. They act as a natural thickener, helping to create a luscious, creamy consistency, especially if you’re using lower-fat ice cream or milk. More importantly, these tiny seeds are nutritional powerhouses, adding a variety of essential nutrients, including fiber, omega-3 fatty acids, and protein, turning your delicious treat into a surprisingly wholesome indulgence. You won’t even taste them, but you’ll certainly appreciate their contribution to the texture.
How to Make the Best Banana Milkshake: Step-by-Step
Making this creamy banana milkshake is incredibly quick and straightforward. Here’s a brief overview of the process to get you started. For a complete list of ingredients and detailed, printable instructions, simply scroll down to the recipe card below.
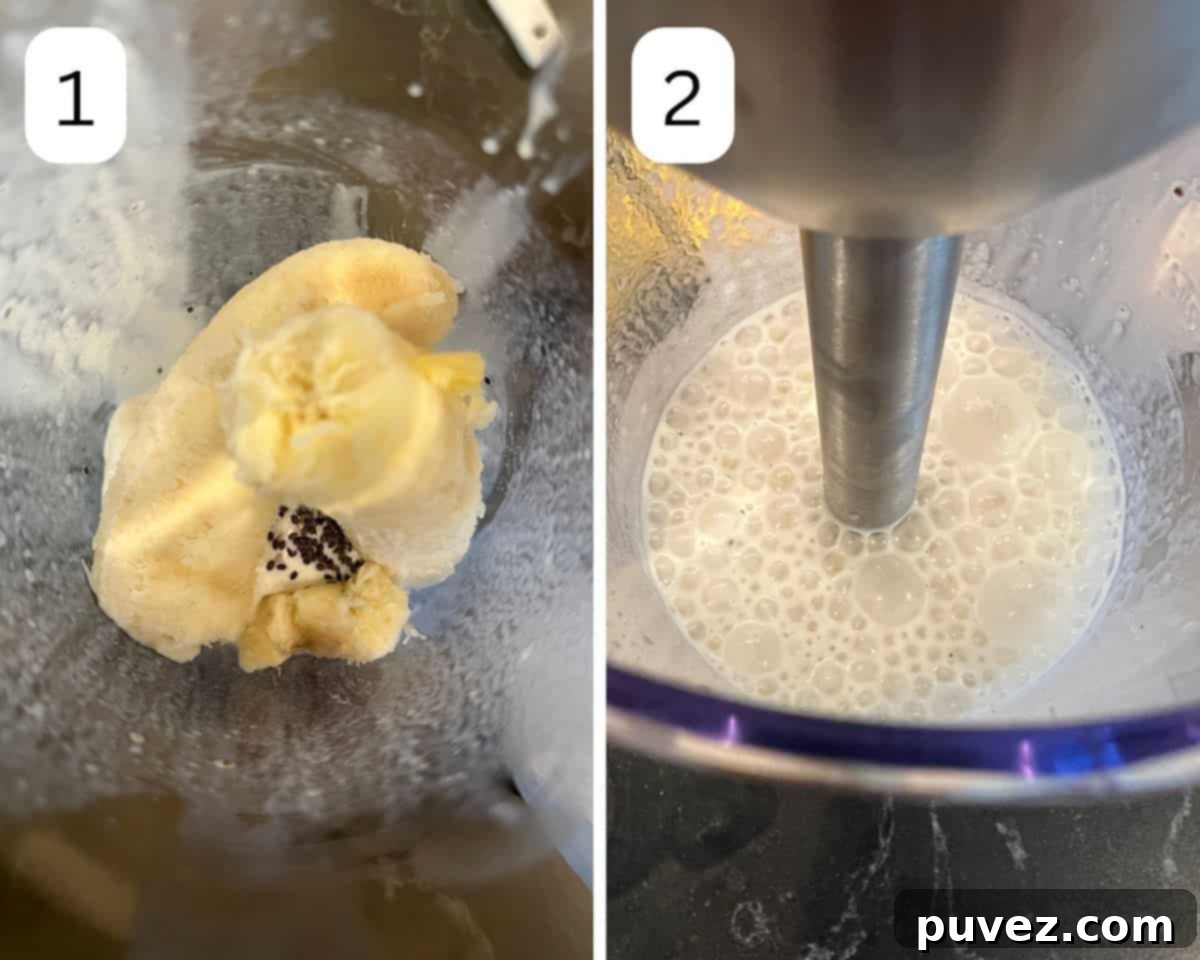
- Prepare for Blending: Gather all your ingredients. For optimal blending, place them into your chosen blending container (either a small blender jug or an immersion blender beaker/jar). A key tip for smooth blending: ensure the banana pieces are positioned to touch the blender blades first. This helps break down the firmer fruit before mixing with the softer ice cream and liquid.
- Blend to Perfection: Secure the lid (if using a standard blender) or position your immersion blender. Blend the ingredients just until a smooth, uniform consistency is achieved. Be mindful not to over-blend, as prolonged blending can generate heat, causing the ice cream to melt and thin out your milkshake, losing that desirable thick texture.
- Serve Immediately: As soon as your milkshake reaches that ideal creamy consistency, pour it into a chilled glass. Serve it right away to enjoy its frosty, smooth texture and rich flavor. Garnish with a fresh banana slice or a sprinkle of cinnamon for an extra touch!
Dietitian Tip: Making Healthier Choices for Your Milkshake
In today’s market, the variety of ice creams can be overwhelming, making it tricky to decide which one is best. Based on my observations and nutritional knowledge, ‘premium’ and ‘super premium’ ice creams are indeed much thicker and creamier than regular ice cream. This is primarily because they boast a higher fat percentage and incorporate less air during the churning process (a metric known as ‘overrun’).
While these higher-end ice creams will undoubtedly produce a more luxurious and creamy milkshake, they also tend to be significantly higher in saturated fat and often have more added sugars. For families who enjoy ice cream and milkshakes frequently, opting for regular ice cream might be a more heart-healthy choice. Alternatively, consider using a lower-fat vanilla frozen yogurt or even blending in frozen banana slices with a small amount of milk and a touch of vanilla extract for a lighter, naturally sweet, and equally satisfying “nice cream” base. Balancing indulgence with health is key! You can also control the amount of added sugar by selecting ice cream brands with less sugar or by naturally sweetening your shake with extra ripe banana.
Delicious Banana Milkshake Variations
- Chocolate Banana Milkshake: Transform this classic into a decadent chocolate treat by adding a small amount of unsweetened cocoa powder or a drizzle of chocolate syrup before blending. Alternatively, simply use chocolate ice cream instead of vanilla for an intense chocolate-banana fusion.
- Strawberry Banana Milkshake: For a fruity twist, add a few fresh or frozen strawberries along with the banana, or swap vanilla ice cream for strawberry ice cream. This creates a vibrant, sweet, and tangy combination.
- Extra Banana Boost: If you’re a true banana lover or want an even thicker milkshake with more natural sweetness, add another half of a ripe banana to the blender.
- Peanut Butter Banana Milkshake: For a protein-packed and incredibly satisfying shake, incorporate one to two tablespoons of creamy or crunchy peanut butter (or any nut butter of your choice). This creates a beloved flavor combination reminiscent of a classic PB&B sandwich.
- Spiced Banana Milkshake: Elevate the flavor profile with warming spices. A dash of vanilla extract and a pinch of ground cinnamon or nutmeg make delicious additions. If you add vanilla extract, you might need to slightly reduce the amount of milk to maintain the desired thickness.
- Tropical Banana Milkshake: Add a few pieces of pineapple or mango for a taste of the tropics. A splash of coconut milk could also enhance this tropical vibe.
- Coffee Banana Milkshake: For an energizing boost, add a teaspoon of instant coffee granules or a shot of cold espresso to the mix.
- Protein Banana Milkshake: Turn this treat into a post-workout recovery shake by adding a scoop of your favorite vanilla or unflavored protein powder. Adjust milk quantity as needed for consistency.
Check out this Immersion Blender
Expert Tips for the Best Banana Milkshake
- Control the Thickness: The type of ice cream (regular vs. premium) and the fat content of your milk will be the primary factors determining your milkshake’s thickness. Adjust these to your preference. For a thicker shake, use less milk or add more ice cream/banana. For a thinner shake, add a splash more milk.
- Adjust Milk for Ice Cream Softness: If your ice cream is particularly soft when it comes out of the freezer, you might need to reduce the amount of milk significantly, or even omit it entirely, to prevent your milkshake from becoming too thin. Start with a small amount and add more if needed.
- Don’t Fear the Chia: If you’re hesitant about chia seeds, know that they are virtually tasteless and their primary role here is to thicken and add nutrition. However, if you genuinely prefer not to use them, you can certainly leave them out. Your milkshake will still be delicious, just potentially a bit less creamy or thick.
- Avoid Over-Blending: This is a crucial tip! Blending the banana milkshake for too long will generate heat, causing the ice cream to melt rapidly. This will result in a thin, watery milkshake rather than a thick, creamy one. Blend just until smooth – typically 30-60 seconds is sufficient.
- Use Ripe Bananas: Always use very ripe or overripe bananas. They offer superior sweetness and a more intense banana flavor, eliminating the need for added sugars and contributing to a naturally creamy texture.
- Chill Your Glass: For an extra frosty treat, place your serving glass in the freezer for 10-15 minutes before pouring in your milkshake.
Frequently Asked Questions About Banana Milkshakes
Absolutely! Using frozen banana slices is a fantastic way to make your milkshake even thicker and colder without adding extra ice, which can dilute the flavor. However, I highly recommend using pre-sliced and frozen banana pieces, not whole or halved frozen bananas. Larger frozen chunks take much longer to blend, which can cause the ice cream to melt excessively and lead to a thinner, less ideal consistency.
While you technically can make a blended banana and milk drink without ice cream, it would be more accurately described as a banana smoothie or a “nice cream” if you use frozen bananas. The ice cream is what gives a milkshake its distinct richness, sweetness, and ultra-creamy texture. If you’re looking for a healthier, dairy-free, or ice cream-free alternative, consider blending frozen bananas with your preferred milk, a touch of vanilla extract, and perhaps a date for extra sweetness.
Milkshakes are best enjoyed immediately for optimal freshness, flavor, and texture. However, if you have leftovers, I’ve had success storing this banana milkshake in the freezer for up to two days. I poured it into an insulated mug (like a Yeti) with a tight lid. When ready to drink, let it sit out for 5-10 minutes and then give it a good stir or re-blend briefly. By the third day, it was frozen solid, developed an icy texture, and unfortunately, tasted freezer-burnt. So, while short-term storage is possible, fresh is always best!
The simplest and most classic way to serve a banana milkshake is chilled, in a tall glass with a straw, ready for immediate enjoyment. To elevate its presentation and flavor, you can top it with a swirl of whipped cream, a sprinkle of ground cinnamon or nutmeg, a few fresh banana slices, or even a drizzle of caramel or chocolate sauce. For a fun touch, add a cherry on top!
Absolutely! This recipe is very versatile. You can easily substitute dairy milk with your favorite plant-based alternatives like almond milk, oat milk, soy milk, or even coconut milk. Be aware that the flavor and consistency might vary slightly depending on the type of plant milk chosen; for example, coconut milk will add a distinct tropical note, while oat milk tends to be creamier.
To make your milkshake thicker, you can add more ice cream, more ripe banana (especially if frozen), or a few ice cubes. The chia seeds already contribute significantly to thickness. To make it thinner, simply add a splash more milk, one tablespoon at a time, until you reach your desired consistency.
More Delicious Banana & Sweet Treat Recipes
- Hearty Baked Oatmeal with Fresh Bananas
- Refreshing Watermelon Banana Smoothie
- Wholesome Banana Carrot Muffins
- Irresistible Chocolate Chip Banana Zucchini Muffins
- Vibrant Strawberry Banana Smoothie Bowl
More Easy Dessert Recipes to Love
- Easy Roasted Peaches
- Delicious Banana Cocoa Cookies
- Favorite Fruit on a Stick
- Super Easy Chocolate Covered Pineapple
Did you whip up this fantastic banana milkshake and absolutely love it? Please share your experience by giving it a 5-star rating or leaving a comment below. Your feedback truly means a lot to me!
Don’t forget to follow me on Instagram and tag me in your posts so I can see your refreshing homemade banana milkshakes!
📖 Recipe
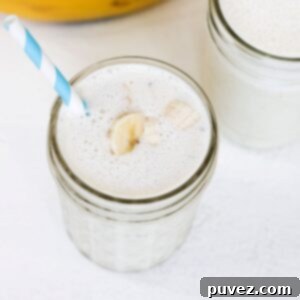
Easy Homemade Banana Milkshake
Kristi
Pin Recipe
Equipment
-
1 immersion blender or a small, powerful blender
Ingredients
- 1 cup vanilla ice cream
- 1 banana very ripe or overripe, for best flavor and sweetness
- 2 tbsp milk use skim, 1%, 2%, or your preferred plant-based milk; adjust quantity for desired thickness
- ¼ teaspoon chia seeds optional, but recommended for extra thickness and nutrition
Instructions
-
Place all ingredients into a small blender or, if using an immersion blender, place them in an immersion blender beaker or jar. To ensure optimal blending, arrange the ingredients so that the banana pieces are closest to the blender blades.
-
Blend just until the mixture is completely smooth and creamy. Be careful not to over-blend, as this can cause the ice cream to melt and result in a thinner milkshake.
-
Pour your perfectly blended banana milkshake into a chilled glass and serve immediately. Enjoy your refreshing and delicious homemade treat!
Notes
- The creaminess and thickness of your milkshake will be influenced by the fat content of your chosen ice cream and milk. Experiment to find your perfect balance.
- If your ice cream is very soft straight from the freezer, you might need to slightly reduce or even omit the milk to prevent your milkshake from becoming too watery.
- While chia seeds enhance texture and nutrition, they are optional. The milkshake will still be delicious without them.
- For efficient blending, ensure the banana pieces are positioned near the blades. If using an immersion blender, add banana last; for an upright blender, add it first.
- Over-blending should be avoided as it can melt the ice cream, thinning out the milkshake. Blend just until smooth.
- For best results and consistency, use either an immersion blender or a small, efficient upright blender.
Nutrition
