The Ultimate Chewy Sheet Pan Blondie Bars: An Easy, Crowd-Pleasing Dessert
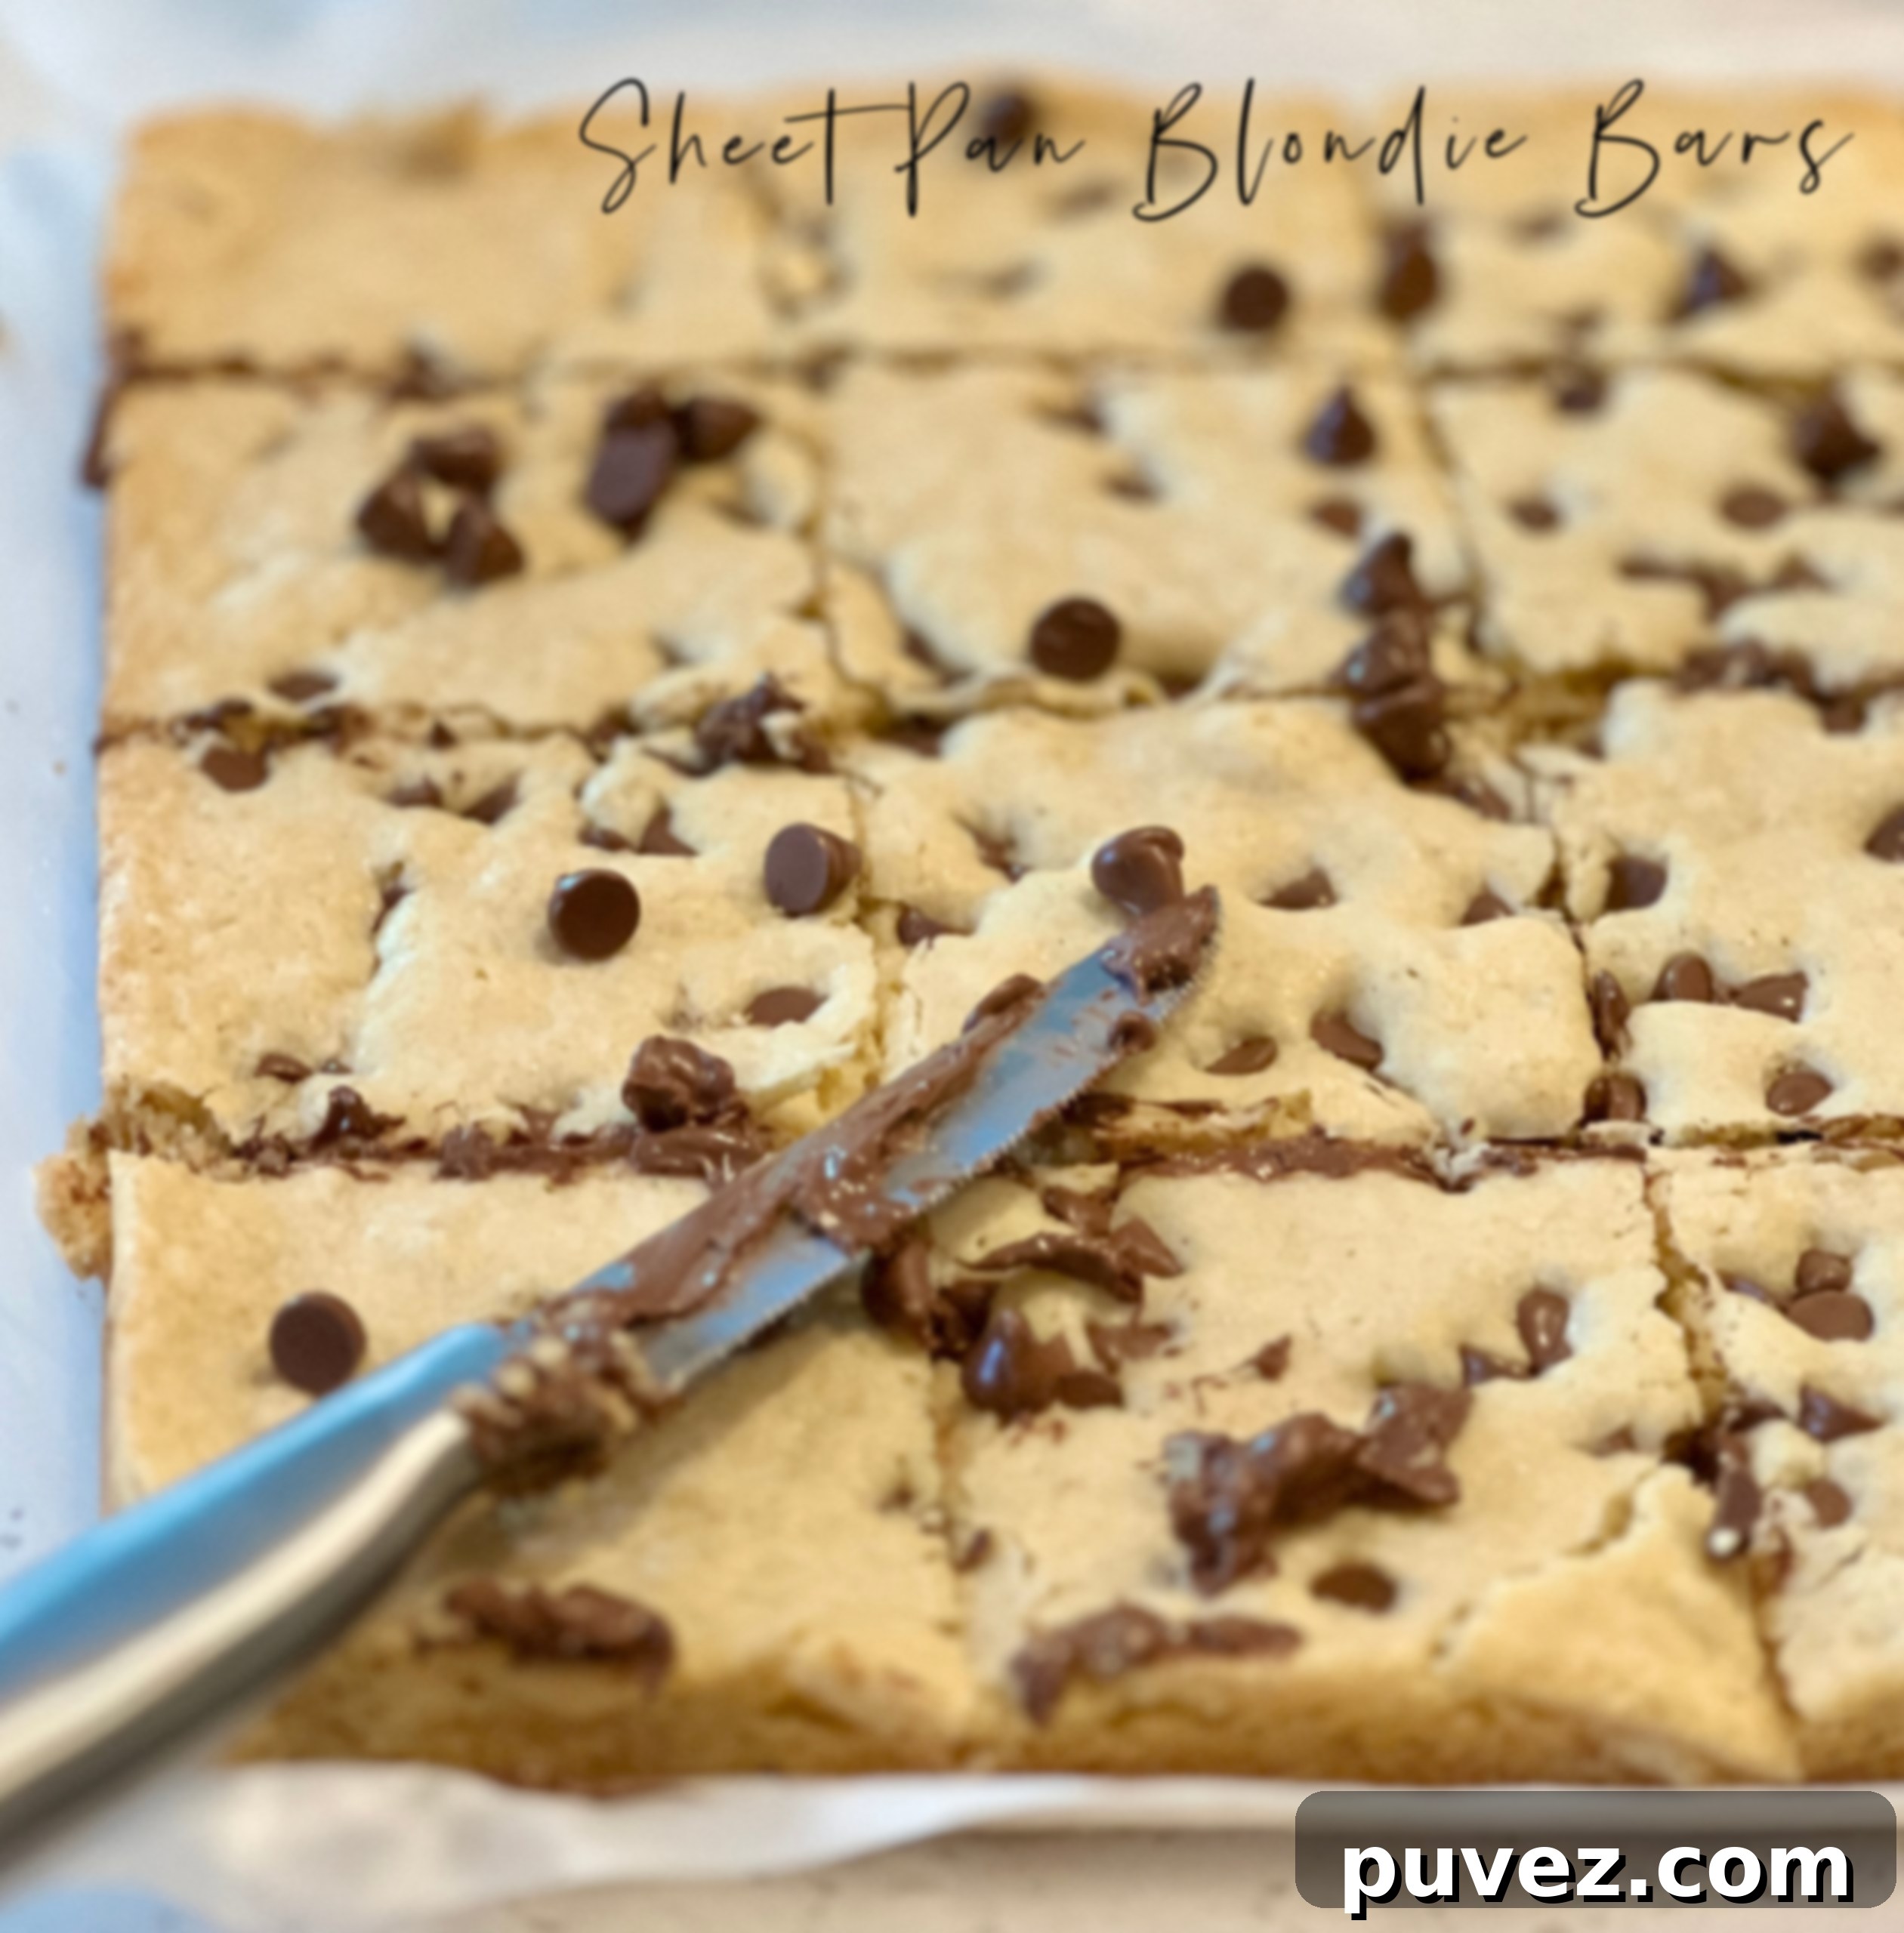
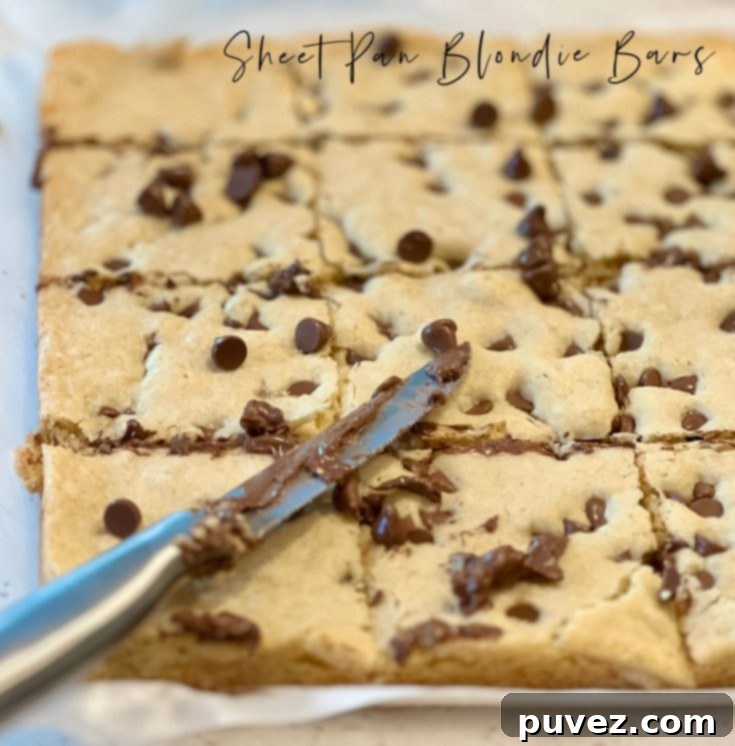
There’s something incredibly comforting about a warm, chewy dessert, especially when it’s packed with sweet chocolate chips. While classic brownies often steal the spotlight, it’s time to shine a light on their equally delicious, often underrated cousin: the blondie. And what could be better than a blondie that’s designed for ease and abundance? Enter Sheet Pan Blondie Bars – a thinner, perfectly portioned version of the beloved blondie brownie, crafted with care, generously studded with chocolate chips, and boasting that irresistible chewy center that defines a truly great blondie.
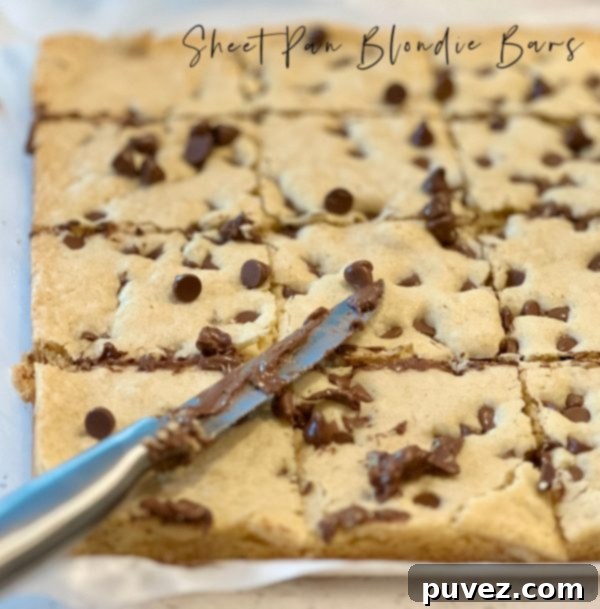
Why Blondies Deserve Your Attention
For a long time, my dessert radar was almost exclusively tuned to regular brownies. When a chocolate craving hit, my mind immediately conjured images of fudgy centers, rich cocoa flavor, and perhaps a scoop of vanilla ice cream “à la mode.” Who could resist that intense chocolate fix? Blondies, with their butterscotch-like flavor and golden hue, were an uncharted territory for me. But as with all great culinary discoveries, sometimes necessity truly is the mother of invention.
Blondies offer a delightful contrast to brownies. While brownies focus on deep chocolate notes, blondies celebrate the rich, caramel-vanilla essence of brown sugar and butter. They provide a different kind of sweet satisfaction, often described as having a butterscotch or toffee undertone, which pairs beautifully with chocolate chips without being overshadowed by cocoa. Their chewy texture, somewhere between a cookie and a brownie, makes them uniquely appealing.
The Unexpected Journey to Sheet Pan Perfection
My foray into the world of blondies was less about a planned exploration and more about a spontaneous kitchen adventure driven by limited resources. Picture this: a sudden urge to bake, an unfortunately depleted pantry, and the startling realization that my trusty 8×8 baking pan – the standard for most bar recipes – was nowhere to be found. This was genuinely news to me! I swear, every time my partner, Kal, does the dishes, he thinks it’s a grand game to hide my bakeware in different, mysterious places. It’s a running joke, but in that moment, it felt like a significant baking blockade.
Instead of letting a missing pan derail my dessert plans, I embraced the challenge. I needed a solution that would allow me to create a delicious batch of blondies without a specific square pan. My solution? A trusty sheet pan! Most home kitchens have at least one large baking sheet, often reserved for cookies or roasted vegetables. This realization sparked an idea: why not make a version that could be baked on a pan I definitely owned, and in a size that could feed a crowd?
The result was a revelation: Sheet Pan Blondie Bars. Not only did this approach solve my missing pan dilemma, but it also offered several advantages. Baking blondies in a sheet pan yields a thinner, more evenly baked bar with delightfully chewy edges and a consistently soft, delicious center. Plus, it makes a much larger batch, perfect for sharing (or for indulging in throughout the week!).
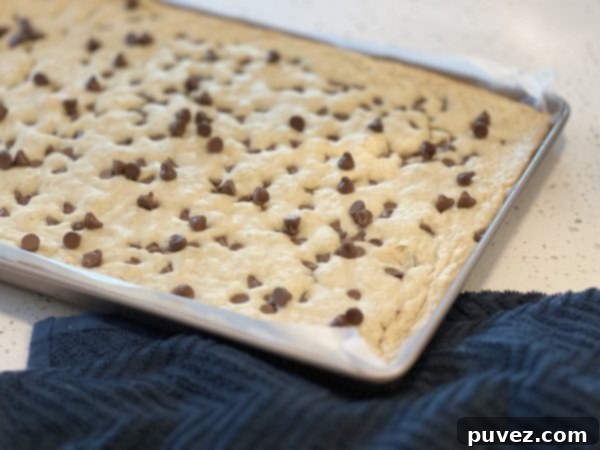
The Magic of Sheet Pan Baking
Using a sheet pan for blondies isn’t just a workaround for a missing 8×8 pan; it’s a fantastic technique in its own right. Here’s why you’ll love it:
- Even Baking: The larger surface area of a sheet pan allows for more even heat distribution, resulting in blondies that cook uniformly without overly dry edges or an underbaked center.
- Perfect Portioning: Thinner bars mean easier cutting and perfect bite-sized portions, ideal for parties, potlucks, or packing into lunchboxes.
- Crowd-Pleaser: A standard sheet pan yields a generous amount, ensuring there’s enough for everyone to enjoy. No more fighting over the last piece!
- Chewy Texture: The thinner profile contributes to a chewier texture throughout, especially if you love those slightly crisp, golden edges.
- Versatility: Once you master this method, you can adapt it for other bar cookies and treats.
Sheet Pan Blondie Bars: The Recipe
Ready to experience the pure joy of these easy, buttery, and utterly delicious blondies? Here’s everything you’ll need to make them at home:
Ingredients:
- 3 cups of all-purpose flour
- 2 1/2 teaspoons of baking powder
- 1/2 teaspoon of salt
- 2 sticks of unsalted butter, melted (that’s 1 cup or 226g)
- 2 1/2 cups of granulated sugar
- 3 large eggs
- 1/4 cup of milk (whole milk works best for richness)
- 1 cup of chocolate chips (semi-sweet or milk chocolate are great choices)
Instructions:
- Prepare Your Oven: Preheat your oven to a moderate 300 degrees Fahrenheit (150 degrees Celsius). A slightly lower temperature helps achieve that perfect chewy texture without overbaking.
- Dry Ingredients First: In a medium-sized bowl, whisk together the all-purpose flour, baking powder, and salt. This ensures all the leavening and seasoning are evenly distributed. Set aside.
- Wet Ingredients Base: In a separate, larger bowl, combine the melted butter and granulated sugar. Whisk them together until well combined and smooth. The melted butter contributes to the blondies’ fudgy texture.
- Add Eggs and Milk: To the butter and sugar mixture, add the eggs one at a time, mixing well after each addition. Then, stir in the milk. Mix until everything is incorporated and the mixture is light and creamy.
- Combine Wet and Dry: Gradually add the flour mixture to the wet ingredients, about one cup at a time. Mix on low speed or by hand, just until combined. Be sure to scrape down the sides and bottom of the bowl to ensure no dry streaks of flour remain. Avoid overmixing! Overmixing develops the gluten in the flour, which can lead to tough, cakey blondies instead of soft and chewy ones.
- Prepare the Pan: Grease a large cookie sheet (approximately 13×18 inches or a standard half-sheet pan) with a thin layer of Crisco or butter. This initial grease layer is key to helping the parchment paper adhere to the pan, preventing it from shifting as you spread the batter. Now, line the greased pan with parchment paper, allowing an overhang on the sides to easily lift the blondies out later.
- Spread the Batter: Pour the blondie batter onto the prepared parchment-lined sheet pan. Use an offset spatula or the back of a spoon to spread the batter out as evenly as possible across the entire surface.
- Add Chocolate Chips: Generously sprinkle the chocolate chips evenly over the top of the batter. You can gently press some into the batter if you like, but scattering them on top works perfectly.
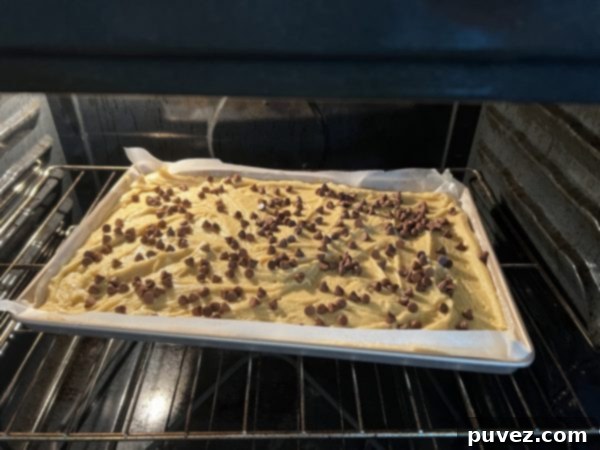
- Bake to Perfection: Bake for 27-30 minutes. The exact baking time can vary depending on your oven, so keep an eye on them. You’ll know they’re ready when the edges are crisp and golden brown, and the center is set but still looks slightly soft – a sign of that coveted chewy texture. A toothpick inserted into the center should come out with moist crumbs, not wet batter.
- Cool and Serve: Once baked, remove the blondies from the oven. Let them cool in the pan for at least 20 minutes before attempting to lift them out using the parchment paper overhang. Cooling is crucial for the bars to set properly and achieve their final chewy consistency. Once cooled slightly, transfer to a cutting board, slice into bars, and get ready to serve this delightful treat!
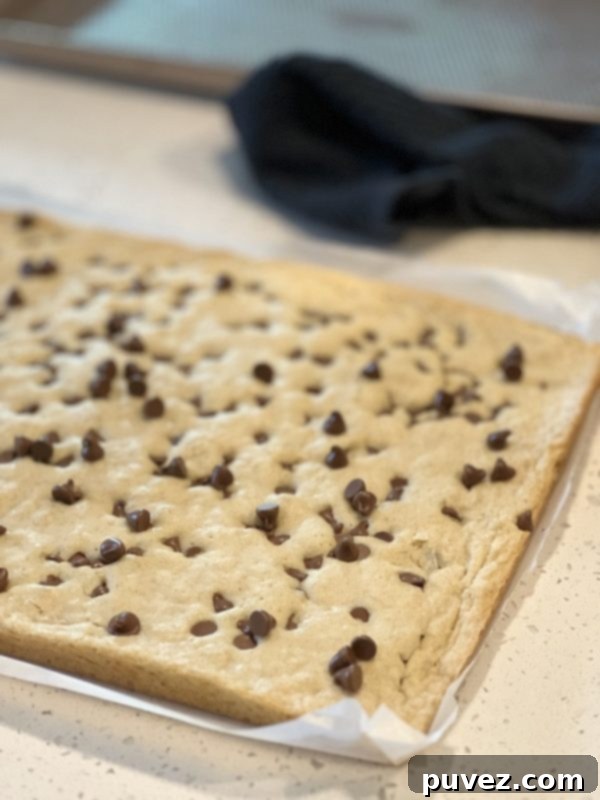
Tips for Achieving Blondie Bar Bliss
- Don’t Overbake: This is the golden rule for chewy blondies. Slightly underbaked is better than overbaked, which leads to dry, cakey bars.
- Melted Butter is Key: Unlike some cookie recipes that call for softened butter, melted butter in blondies contributes to their dense, fudgy, and chewy texture.
- Room Temperature Eggs: While not strictly necessary, using room temperature eggs helps them incorporate more smoothly into the batter, leading to a more consistent texture.
- High-Quality Chocolate Chips: Use your favorite brand! Semi-sweet is classic, but dark chocolate chips or even a mix of milk and dark can be wonderful.
- Parchment Paper is Your Friend: It prevents sticking and makes lifting the entire slab of blondies out of the pan incredibly easy for clean, perfect cuts.
Customization & Serving Suggestions
These Sheet Pan Blondie Bars are incredibly versatile! Feel free to experiment with different mix-ins:
- Nuts: Add 1/2 cup of chopped pecans, walnuts, or almonds for extra crunch and flavor.
- Other Chips: White chocolate chips, butterscotch chips, or even peanut butter chips can replace or complement the chocolate chips.
- Toffee Bits: Stir in some toffee bits for a rich, buttery caramel crunch.
- Sea Salt: A sprinkle of flaky sea salt over the top before baking enhances all the sweet flavors.
- Swirls: Drizzle melted caramel or a homemade cream cheese frosting over the cooled bars for an extra touch of decadence.
Serve these blondies on their own, with a scoop of vanilla bean ice cream, a dollop of whipped cream, or a drizzle of warm caramel sauce. They pair perfectly with a cup of coffee or a cold glass of milk for a comforting snack or dessert.
Storage Tips
Store your Sheet Pan Blondie Bars in an airtight container at room temperature for up to 3-4 days. For longer storage, you can refrigerate them for up to a week. They also freeze beautifully! Wrap individual bars or small sections tightly in plastic wrap, then place them in a freezer-safe bag for up to 2-3 months. Thaw at room temperature before enjoying.
Frequently Asked Questions (FAQs)
- Q: What’s the difference between a blondie and a brownie?
- A: The main difference is the absence of cocoa powder in blondies. Brownies are chocolate-based, while blondies are vanilla-based, featuring brown sugar, butter, and vanilla as their dominant flavors, often resulting in a butterscotch-like taste.
- Q: Can I use brown sugar instead of granulated sugar?
- A: While blondies typically use a mix or primarily brown sugar for their characteristic flavor and chew, this recipe specifically uses granulated sugar to achieve a slightly different texture and sweetness profile. If you wish to experiment, substituting some or all of the granulated sugar with light brown sugar will yield a deeper, more caramel-y flavor and a softer, chewier bar. Just be aware the texture might change slightly.
- Q: My blondies turned out cakey. What went wrong?
- A: Cakey blondies are usually a result of overmixing the batter or overbaking. Overmixing develops the gluten, making them tough, while overbaking dries them out. Make sure to mix just until the ingredients are combined and pull them from the oven when the edges are golden and the center is still slightly soft.
- Q: Can I half this recipe for a smaller batch?
- A: Yes, you can halve this recipe and bake it in a smaller 9×13 inch pan. Adjust baking time accordingly, likely reducing it by 5-10 minutes, but still looking for the visual cues of golden edges and a set center.
So, next time you’re craving a sweet treat but find your specialized pans missing, don’t despair! Embrace the simplicity and efficiency of the sheet pan. These Sheet Pan Blondie Bars are not just a delicious dessert; they’re a testament to adaptable baking and the joy of creating something wonderful with what you have on hand. Give them a try – your taste buds, and anyone you share them with, will thank you!
Sheet Pan Blondie Bars Recipe
10 minutes
30 minutes
20 minutes
1 hour
Ingredients
- 3 cups of all-purpose flour
- 2 1/2 teaspoons of baking powder
- 1/2 teaspoon of salt
- 2 sticks of unsalted butter, melted
- 2 1/2 cups of granulated sugar
- 3 eggs
- 1/4 cup of milk
- 1 cup of chocolate chips
Instructions
- Preheat the oven to 300 degrees Fahrenheit (150 degrees Celsius).
- Melt your butter. While the butter is melting, combine the flour, baking powder, and salt in a medium-sized bowl.
- In a separate bowl, combine the melted butter and sugar. Add in the eggs and milk. Then slowly add the flour mixture to the butter mixture, about one cup at a time, making sure to scrape the sides and bottom of the bowl down to ensure everything is well incorporated.
- Use a thin layer of Crisco or butter to grease a large cookie sheet, then line it with parchment paper. The grease helps the parchment paper stick to the pan so it doesn’t move around when spreading out the batter.
- Spread the batter out as evenly as possible. Sprinkle the chocolate chips on top.
- Bake for 27-30 minutes. The edges should be crisp, and the blondies should have turned slightly golden.
- Let cool for about 20 minutes, then get ready to serve!
Nutrition Information:
Yield:
20
Serving Size:
1
Amount Per Serving:
Calories: 300
Total Fat: 13g
Saturated Fat: 8g
Trans Fat: 0g
Unsaturated Fat: 4g
Cholesterol: 52mg
Sodium: 129mg
Carbohydrates: 45g
Fiber: 1g
Sugar: 30g
Protein: 3g
Did you make this recipe?
Please leave a comment on the blog or share a photo on Instagram
More Blondie Recipes to Love
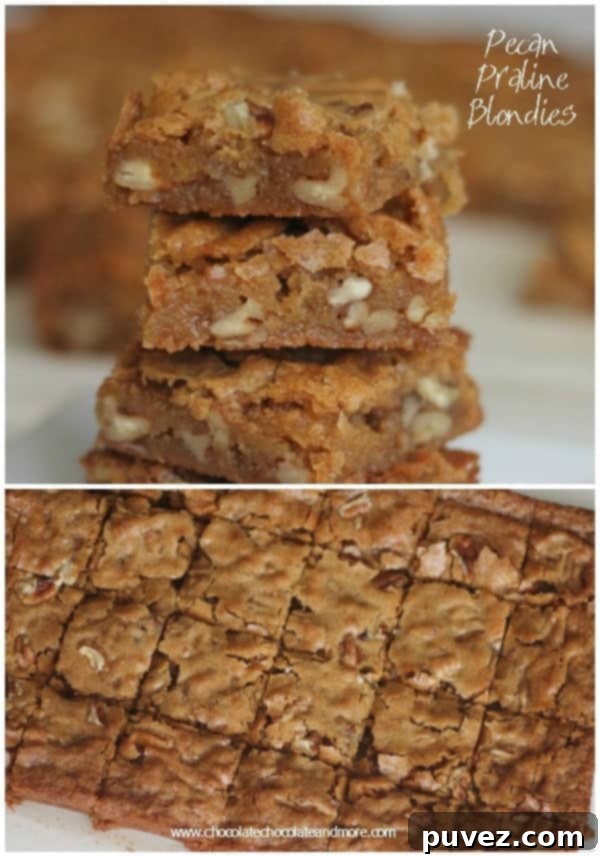
Pecan Praline Blondies
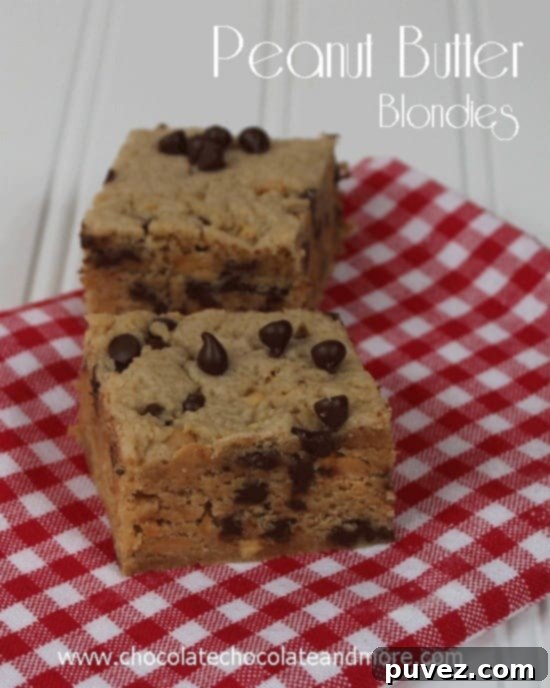
Peanut Butter Blondie Bars
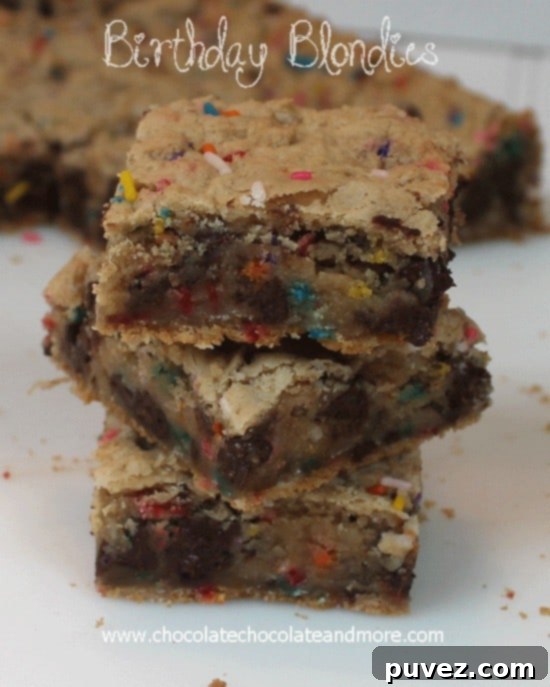
Birthday Blondies
