Spooky & Sweet: Easy Cheesecake Stuffed Witch Hats Recipe for the Perfect Halloween Treat
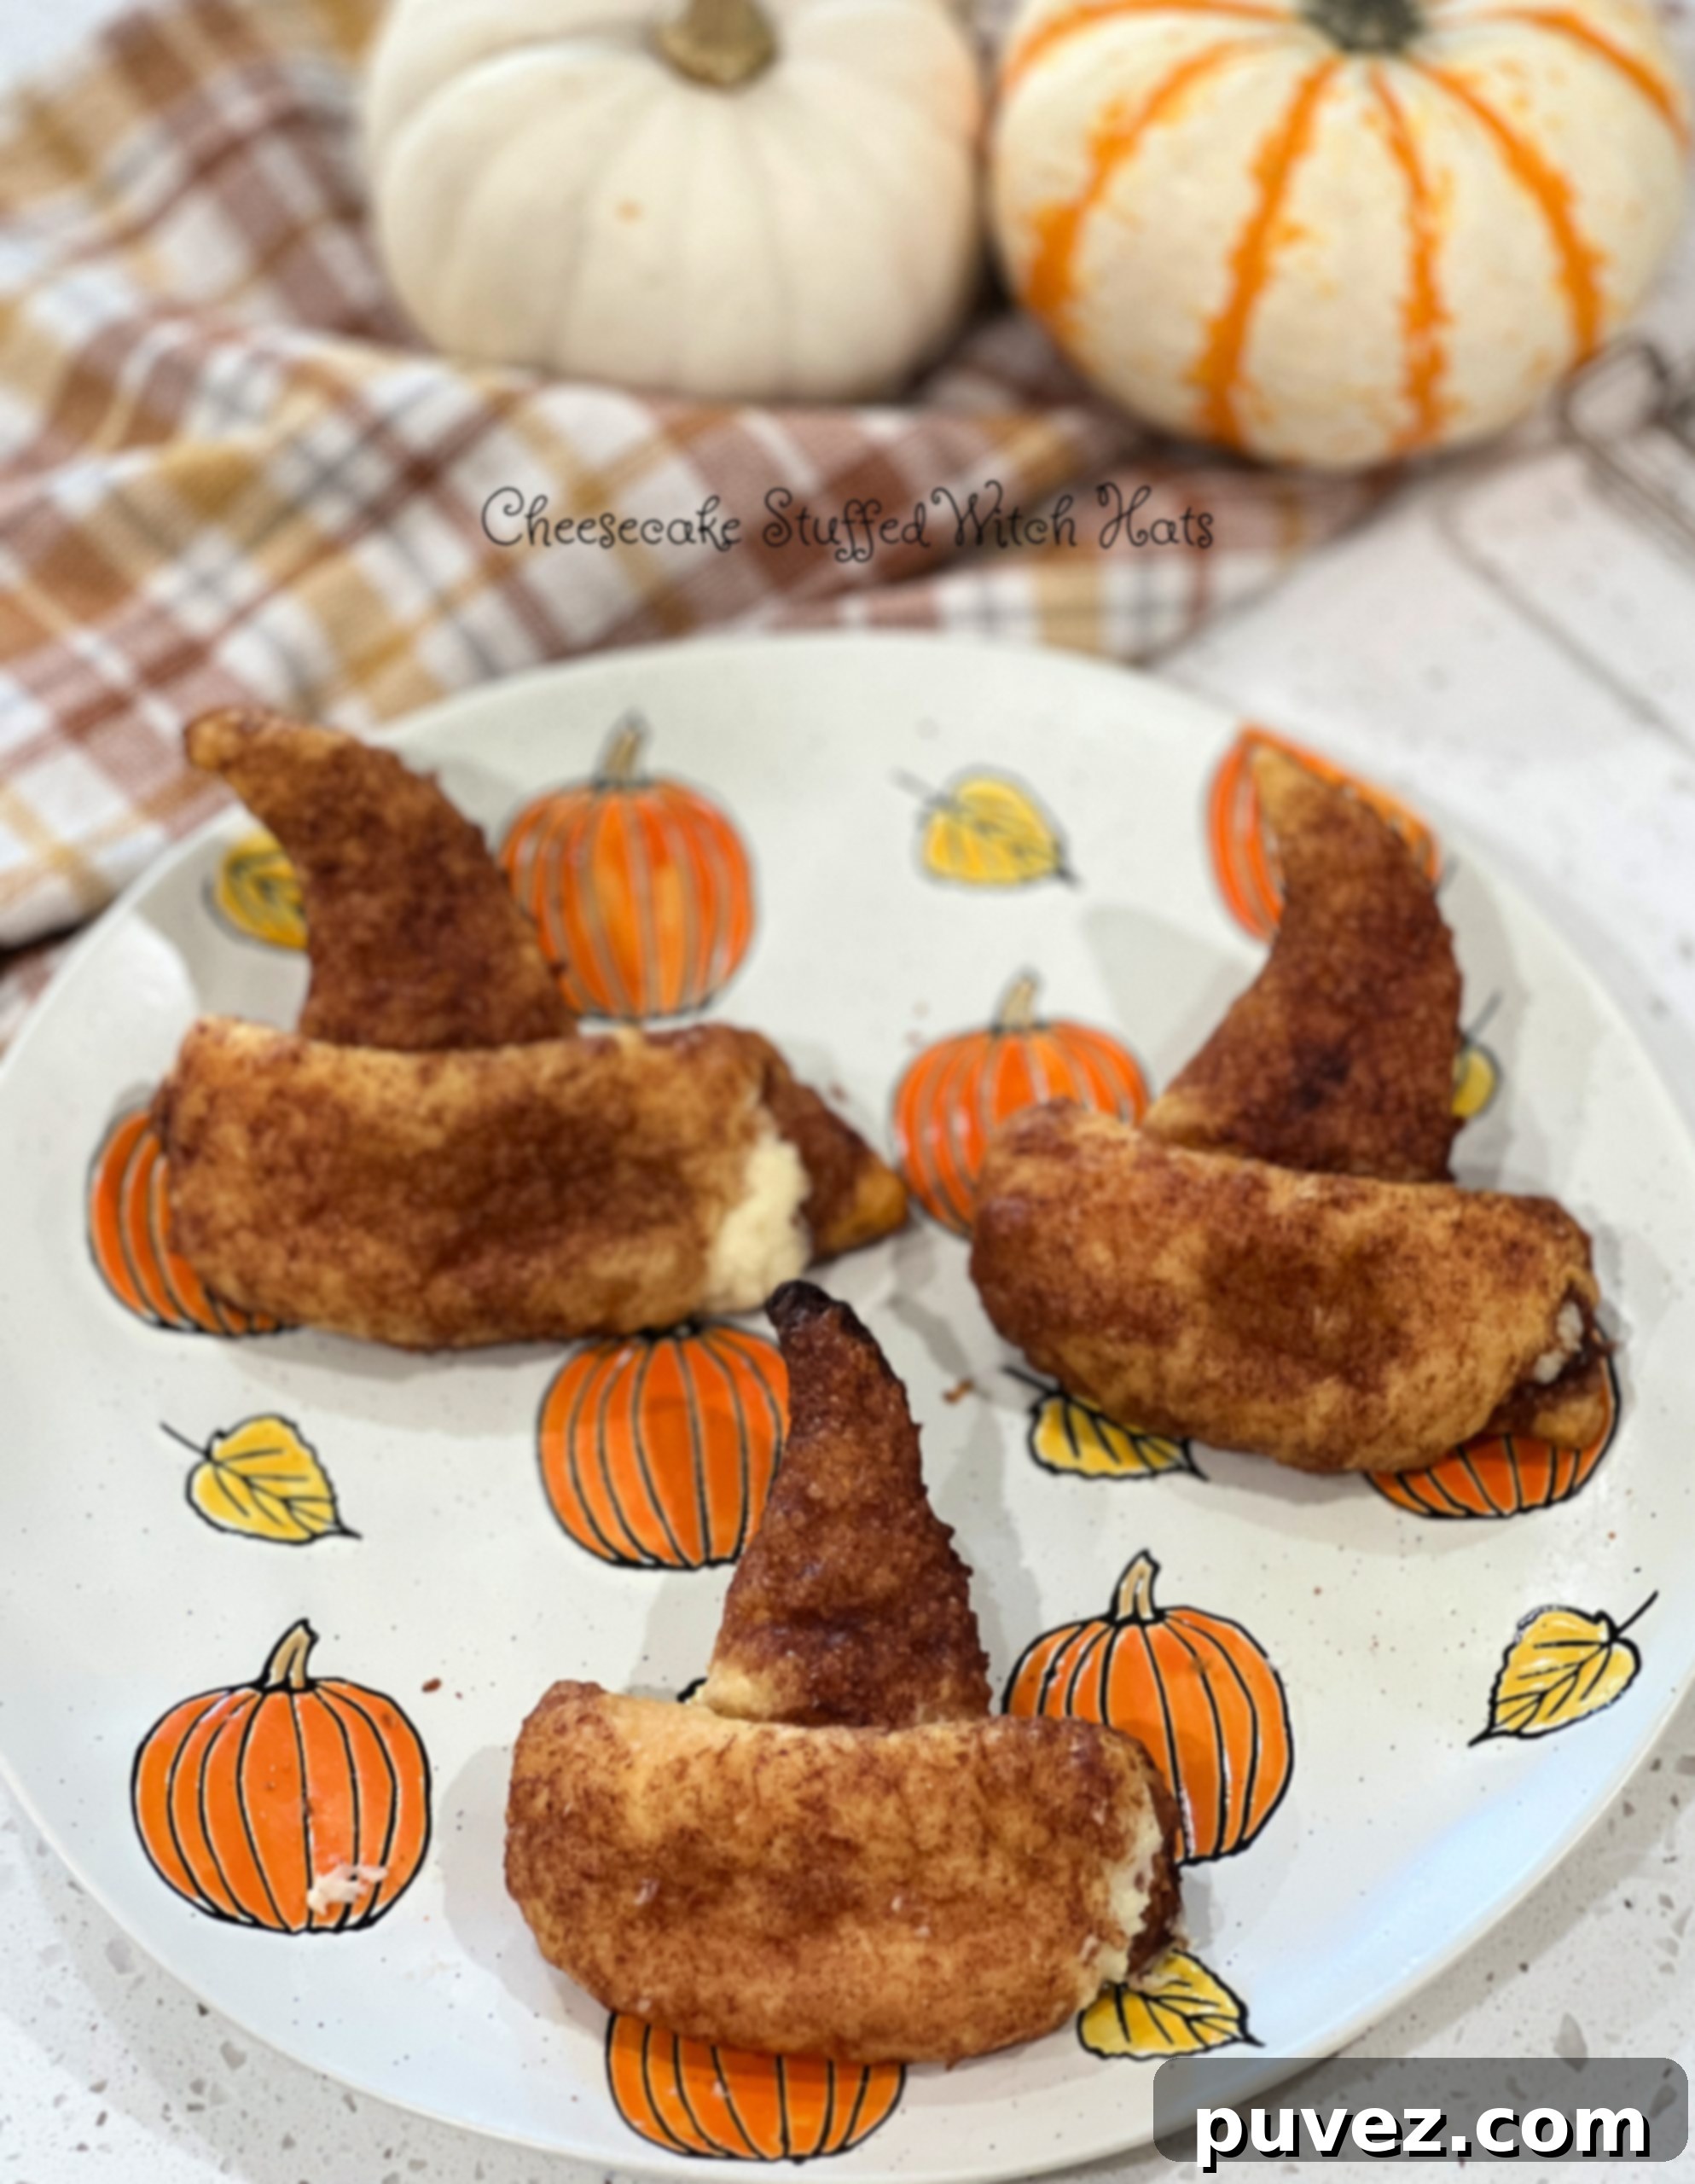
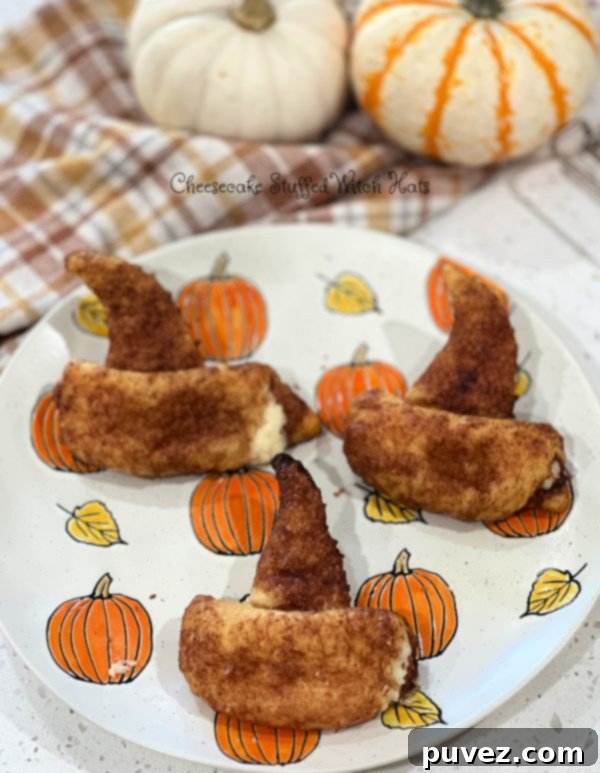
Halloween is a time for enchanting costumes, eerie decorations, and, of course, delightfully spooky treats! If you’re searching for a magical dessert that will impress everyone at your next Halloween gathering, look no further than these incredible Cheesecake Stuffed Witch Hats. Forget those resting witch faces; these cinnamon sugar glazed, cheesecake-filled crescent rolls are so irresistibly delicious, they’ll have everyone chanting, “Witch please, I need some more!”
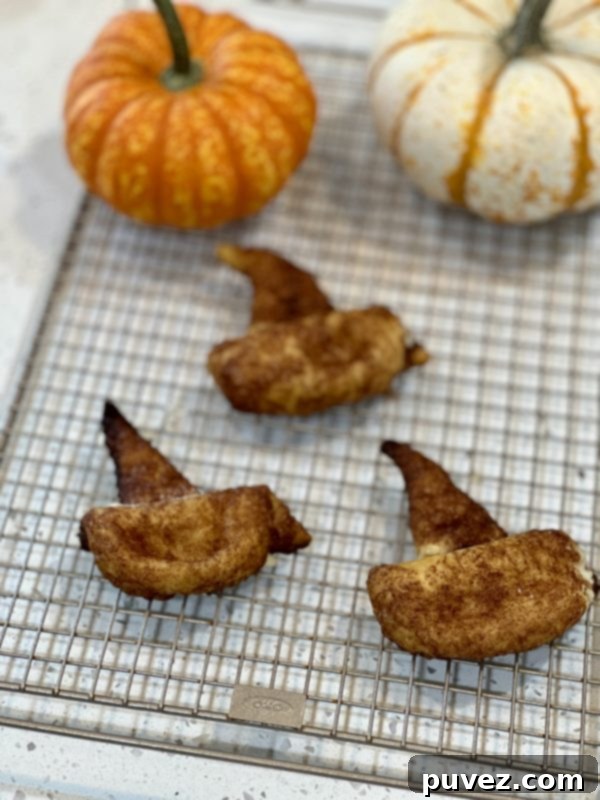
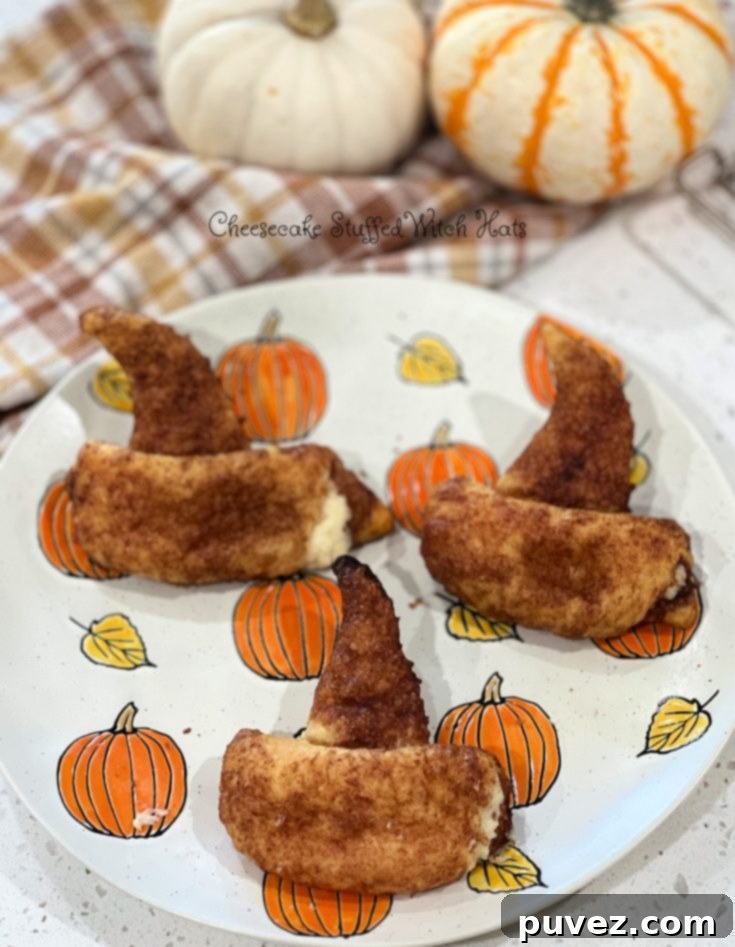
This recipe transforms simple ingredients into an eye-catching and incredibly tasty dessert that perfectly captures the spirit of the season. Imagine tender, flaky crescent dough, generously brushed with warm cinnamon sugar, wrapped around a rich, creamy cheesecake filling, and baked to golden perfection. The result is a whimsical treat shaped like a witch’s hat, making it an absolute showstopper for any Halloween spread.
The Happy Accident: A Recipe Born from Necessity
Every great recipe often has a story, and these Cheesecake Stuffed Witch Hats are no exception. My original plan for a Halloween-themed treat involved classic cinnamon rolls, hoping to recreate a cherished family recipe. However, as often happens in the kitchen, things didn’t quite go as planned. What started as a quest for traditional cinnamon rolls quickly became an adventure in improvisation.
My first hurdle was finding the right recipe. I envisioned a homemade, yeast-based dough, but after sifting through old notes, I only found a recipe that called for convenient crescent rolls. Determined to make “traditional” cinnamon rolls, I sourced a yeast-based recipe and gathered all the necessary components. Yet, fate, or perhaps the spirit of Halloween, had other plans. Mid-mixing, I discovered my yeast had expired, rendering it useless for a fluffy, yeasted dough.
With time running short and a Halloween party looming, a quick trip to the store was in order. Unfortunately, the local dollar store didn’t carry yeast, and I was not about to embark on another grocery store odyssey after an already long day. Resigning myself to a change of plans, I grabbed a can of crescent rolls. While the dream of classic cinnamon rolls faded, a new, even more enchanting idea began to brew: what other spooky, crescent-roll-based treat could I conjure up?
That moment of creative desperation led to the birth of these delightful Cheesecake Stuffed Witch Hats. It turns out, sometimes the best recipes are born from unexpected detours, proving that a little flexibility and a lot of imagination can lead to truly magical results. And so, here we are, with a recipe that’s not only incredibly easy but also incredibly fun and perfectly suited for the Halloween season.
Why You’ll Love These Spooky Treats
These Cheesecake Stuffed Witch Hats aren’t just visually appealing; they offer a delightful culinary experience that combines comfort and festive fun. Here’s why they’re destined to become your new favorite Halloween tradition:
- Effortlessly Easy: Thanks to pre-made crescent roll dough, this recipe cuts down significantly on prep time, making it perfect for busy parents or last-minute party preparations.
- Irresistible Flavor: The combination of warm cinnamon sugar glaze with the tangy, sweet, and creamy cheesecake filling is absolutely divine. It’s a match made in heaven that satisfies both sweet cravings and a love for classic autumnal spices.
- Festive & Fun: Shaped like miniature witch hats, these pastries are inherently charming and whimsical. They’re a fantastic way to add a playful, spooky touch to your Halloween dessert table.
- Kid-Friendly Baking: This recipe is simple enough for little hands to help with, making it a wonderful activity for you and your “little witches in training.” They’ll love rolling the dough and seeing their creations come to life.
- Versatile & Customizable: While delicious as is, this recipe is also a great canvas for creativity. You can easily add a drizzle of chocolate, a sprinkle of Halloween nonpareils, or even a drop of food coloring to the filling for extra flair.
Gather Your Ingredients for a Magical Bake
You’ll be surprised how few ingredients are needed to create such an impressive Halloween treat. Most of these items are probably already in your pantry or easily found at any grocery store. Quality ingredients will ensure the best flavor, so opt for full-fat cream cheese for the creamiest filling!
What you’ll need for the Witch Hats:
- A can of original crescent rolls: The ultimate shortcut for quick and flaky pastry. Ensure they are chilled for easier handling.
- 1/4 cup of granulated sugar: Provides the perfect amount of sweetness and a delightful crunch when combined with cinnamon.
- 1 tablespoon of cinnamon: Essential for that warm, inviting aroma and classic flavor. Don’t skimp on good quality cinnamon!
- 4 tablespoons of butter, melted (half a stick): The base for our glorious cinnamon sugar glaze, ensuring a rich, golden finish.
What you’ll need for the Creamy Cheesecake Filling:
- 4 oz of cream cheese (half a block of cream cheese): Make sure it’s softened to room temperature for a smooth, lump-free filling. Full-fat works best for richness.
- 1/2 cup of powdered sugar: Also known as confectioners’ sugar, it dissolves beautifully for a silky-smooth, sweet filling.
- A splash of vanilla (measure with your heart): Vanilla extract adds a crucial layer of flavor. Don’t be shy with a good quality vanilla!
- 2 tablespoons of milk: Helps achieve the perfect creamy consistency for the cheesecake filling, making it easy to pipe.
Step-by-Step Instructions: Crafting Your Cheesecake Stuffed Witch Hats
Follow these detailed steps to create your own batch of bewitching Cheesecake Stuffed Witch Hats. Precision and a little care will ensure perfectly shaped and incredibly delicious results.
- Preheat Your Oven: Begin by preheating your oven to 350 degrees Fahrenheit (175 degrees Celsius). This ensures the oven is at the correct temperature when your pastries are ready to bake, leading to even cooking and a golden crust.
- Prepare the Cinnamon Sugar Glaze: In a microwave-safe bowl, combine the melted butter, granulated sugar, and cinnamon. Microwave briefly until the butter is fully melted and hot enough to start dissolving the sugar slightly. Stir well to combine, then set this aromatic mixture aside to cool slightly. This glaze will give your witch hats their signature shine and spiced flavor.
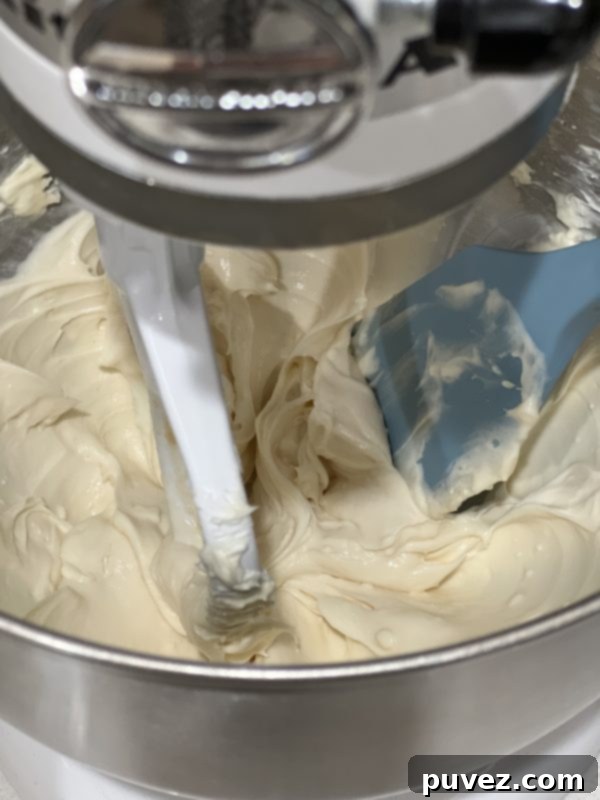
- Whip Up the Cheesecake Filling: In a stand mixer fitted with a paddle attachment (or using a medium-sized bowl and a handheld electric mixer), combine the softened cream cheese, powdered sugar, vanilla, and milk. Beat on medium speed until the mixture is completely smooth, creamy, and free of any lumps. Scrape down the sides of the bowl as needed to ensure everything is thoroughly incorporated.
-

Transfer the Filling to a Piping Bag: Spoon the cheesecake filling into a piping bag fitted with a wide round tip, or into a sturdy ziplock bag with one corner snipped off. A helpful trick for less mess is to open the bag over a tall cup, folding the edges over the rim; this holds the bag open and stable while you spoon in the filling. Set the prepared filling aside.
- Prepare for Assembly: Line a baking sheet with aluminum foil or parchment paper. This simple step makes for super easy, mess-free cleanup later! Unroll the can of crescent dough and separate the triangles. Lay them out flat on your prepared baking sheet.
-

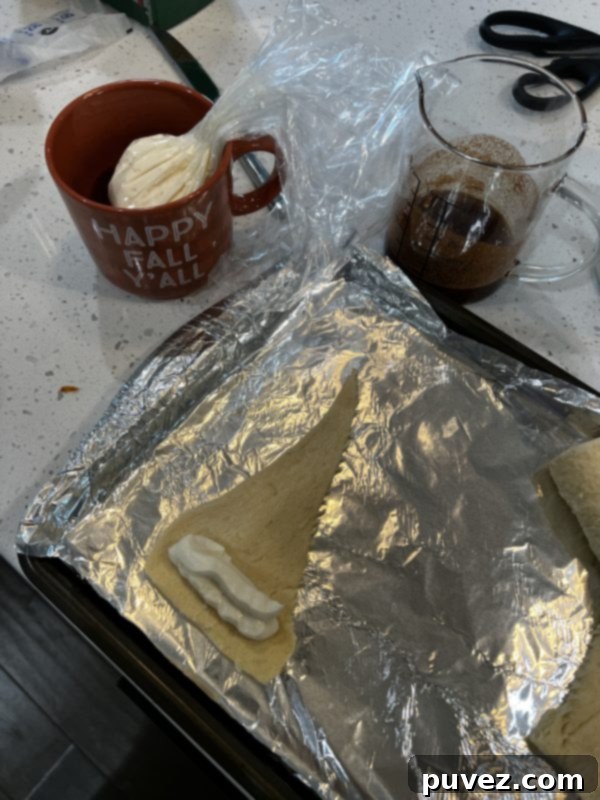
Pipe the Cheesecake Filling: Take your piping bag and pipe a generous line of the cheesecake filling onto the wider, long end of each crescent dough triangle. This broader edge will form the base of your witch hat as you roll it up.
-
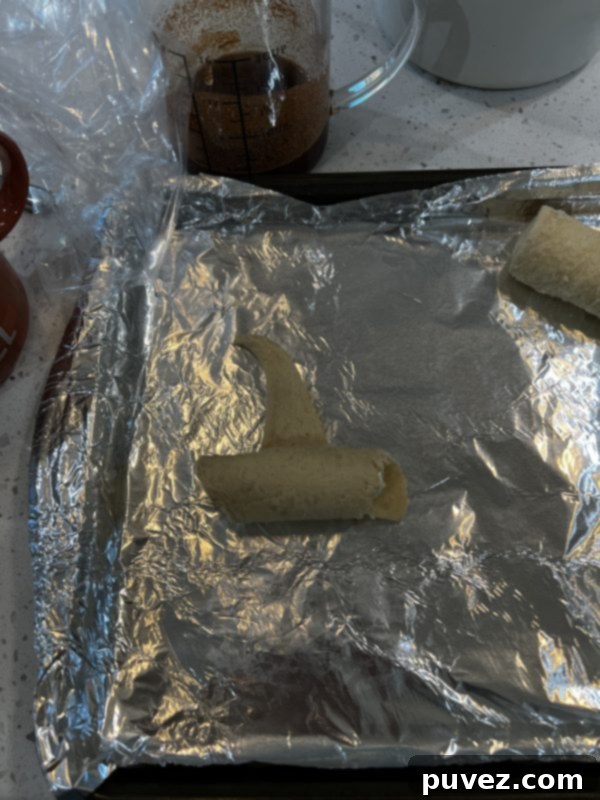
Roll into Witch Hats: Carefully roll the dough from the wide end towards the pointed tip. Roll it about halfway up, leaving enough of the pointed tip free to form the distinct peak of the witch hat. The filling should be nestled snugly inside the wider part of the roll, creating a beautiful spiral effect once baked.

-
Glaze and Bake: With a pastry brush, generously brush a good amount of the cinnamon sugar butter mixture over the tops and sides of each rolled witch hat. Place the baking sheet into your preheated oven and bake for 10-12 minutes, or until the crescent rolls are golden brown and puffed up. Baking times can vary, so keep an eye on them; mine usually take about 12 minutes for that perfect golden hue.

- Cool and Serve: Once baked, remove the witch hats from the oven and let them cool on the baking sheet for a few minutes before transferring them to a wire rack to cool completely. Allowing them to cool slightly helps the filling set and prevents them from falling apart. Once they’ve cooled a little, they’re ready to be devoured!
Tips for Success and Creative Variations
To ensure your Cheesecake Stuffed Witch Hats are nothing short of magical, consider these extra tips and ideas for customization:
- Room Temperature Cream Cheese: This is crucial for a smooth, lump-free cheesecake filling. If your cream cheese isn’t soft enough, microwave it for 10-15 seconds to soften slightly.
- Don’t Overfill: While tempting to load up on filling, too much can cause it to ooze out during baking. A moderate line along the wide edge is perfect.
- Crimping the Ends: For extra security, you can gently crimp the edges of the crescent roll dough after rolling to ensure the filling stays sealed inside.
- For Extra Spookiness: Before baking, you can add a few drops of black or purple food coloring to a small portion of the cinnamon sugar butter and lightly brush it on for a darker, more mysterious hat appearance.
- Garnish for Glamour: Once cooled, consider drizzling a thin line of melted dark chocolate or a simple powdered sugar glaze (powdered sugar mixed with a tiny bit of milk) over the tops. A few Halloween sprinkles can also add an extra festive touch!
- Mini Chocolate Chips: Fold a tablespoon or two of mini chocolate chips into the cheesecake filling for a chocolatey surprise.
- Pumpkin Spice Twist: Add 1/2 teaspoon of pumpkin pie spice to the cinnamon sugar mixture for an autumnal flavor boost.
Serving and Storage Suggestions
These delightful Witch Hats are best served warm, shortly after they’ve cooled enough to handle. The warm, flaky crust and gooey cheesecake filling are an unparalleled combination. Arrange them on a festive Halloween platter, perhaps alongside some candy corn or small decorative pumpkins, to really set the scene.
If you happen to have any leftovers (which is unlikely!), store them in an airtight container at room temperature for up to 2 days, or in the refrigerator for up to 4 days. Gently warm them in the microwave for a few seconds to bring back that freshly baked feel and flavor. They also make a fantastic breakfast treat with a cup of coffee the morning after a Halloween party!
Why This Recipe is Perfect for Halloween
This recipe embodies everything wonderful about Halloween baking: it’s fun, it’s festive, and it’s incredibly delicious. The distinct witch hat shape is instantly recognizable and adds a playful element to any celebration. Whether you’re hosting a elaborate Halloween bash, putting together treats for a school party, or simply looking for a fun activity with your family, these Cheesecake Stuffed Witch Hats are sure to cast a delicious spell on everyone who tries them. They’re a simple yet effective way to add a touch of homemade magic to your holiday festivities.
So, gather your ingredients, channel your inner kitchen witch, and prepare to whip up a batch of these enchanting Cheesecake Stuffed Witch Hats. They are guaranteed to be the star of your Halloween dessert table and leave everyone begging for the recipe!
Cheesecake Stuffed Witch Hats
15 minutes
10 minutes
5 minutes
30 minutes
Ingredients
- What you’ll need for the hats :
- a can of original crescent rolls
- 1/4 cup of sugar
- 1 tablespoon of cinnamon
- 4 tablespoons of butter, melted (half a stick)
- What you’ll need for the cheesecake filling :
- 4 oz of cream cheese (half a block of cream cheese)
- 1/2 cup of powdered sugar
- a splash of vanilla (measure with your heart)
- and 2 tablespoons of milk
Instructions
- Preheat the oven to 350.
- In a stand mixer (or using a handheld mixer), whip the cream cheese, vanilla, powdered sugar, and milk together. Spoon into a piping bag or ziplock bag, and set aside.
- In a microwave-safe bowl, microwave the butter, sugar, and cinnamon until the butter is melted. Stir, the set aside.
- Line a cookie sheet with aluminum foil, then lay out the crescent dough. Pipe the cheesecake filling onto the larger end of the dough then roll half way up the crescent. Brush on the cinnamon sugar butter.
- Bake for 10-12 minutes. Let cool before eating.
Nutrition Information:
Yield:
8
Serving Size:
1
Amount Per Serving:
Calories: 311Total Fat: 19gSaturated Fat: 11gTrans Fat: 0gUnsaturated Fat: 6gCholesterol: 55mgSodium: 277mgCarbohydrates: 30gFiber: 1gSugar: 20gProtein: 4g
Did you make this recipe?
Please leave a comment on the blog or share a photo on Instagram
More Like This
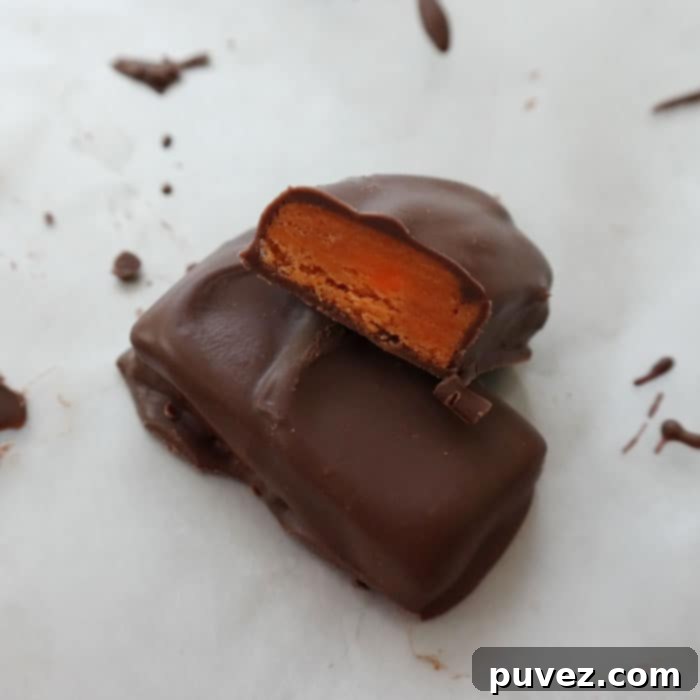
Candy Corn Butterfingers
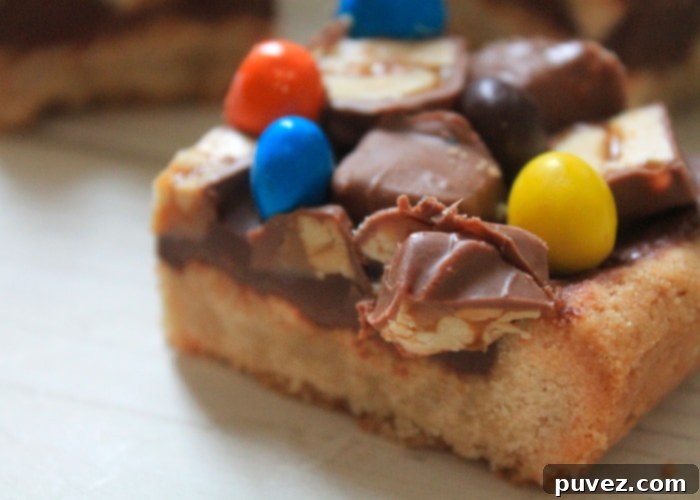
Leftover Candy Shortbread Bars
Leftover Candy Shortbread Bars make quick work of any Halloween candy you’ve got hidden away. You can use any combination you’d like to make this delectable treat.<
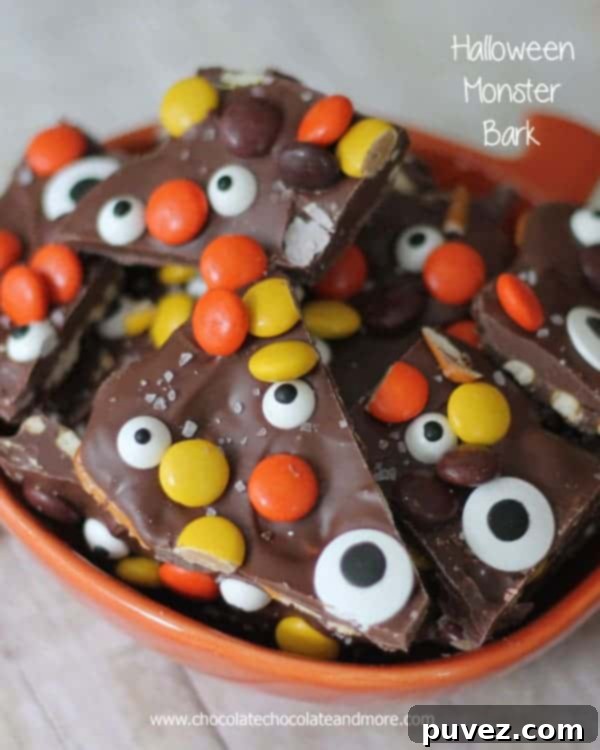
Salted Halloween Monster Bark
sallysbakingaddiction.com
Easy Halloween Dessert Recipes
www.myfoodandfamily.com
Spooky Halloween Dessert
www.favfamilyrecipes.com
Halloween Dinner Ideas (with Menu Plan & Shopping List)
