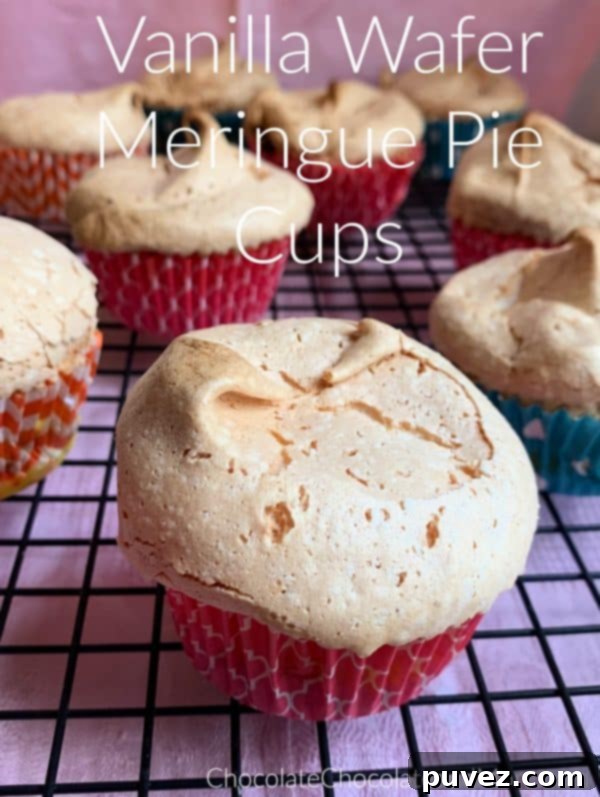
Irresistible Vanilla Wafer Meringue Pie Cups: Your New Favorite Individual Dessert
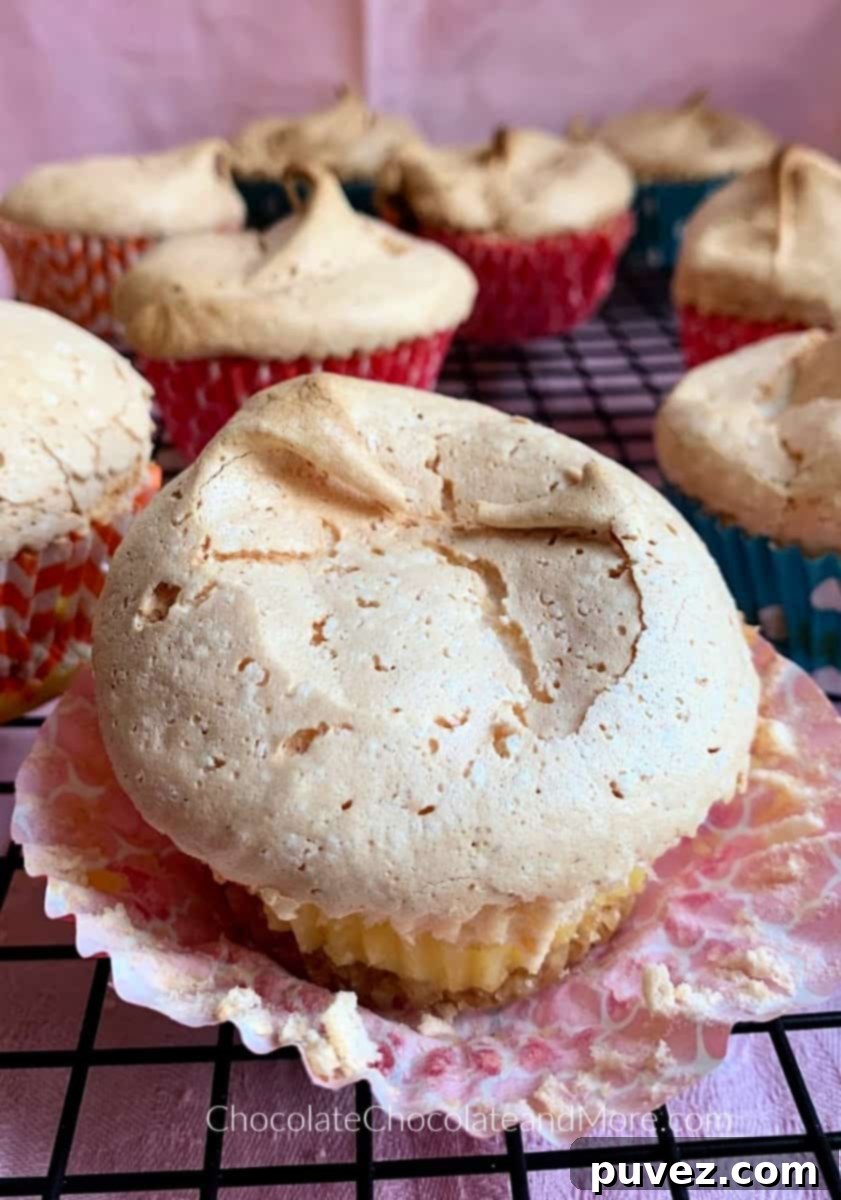
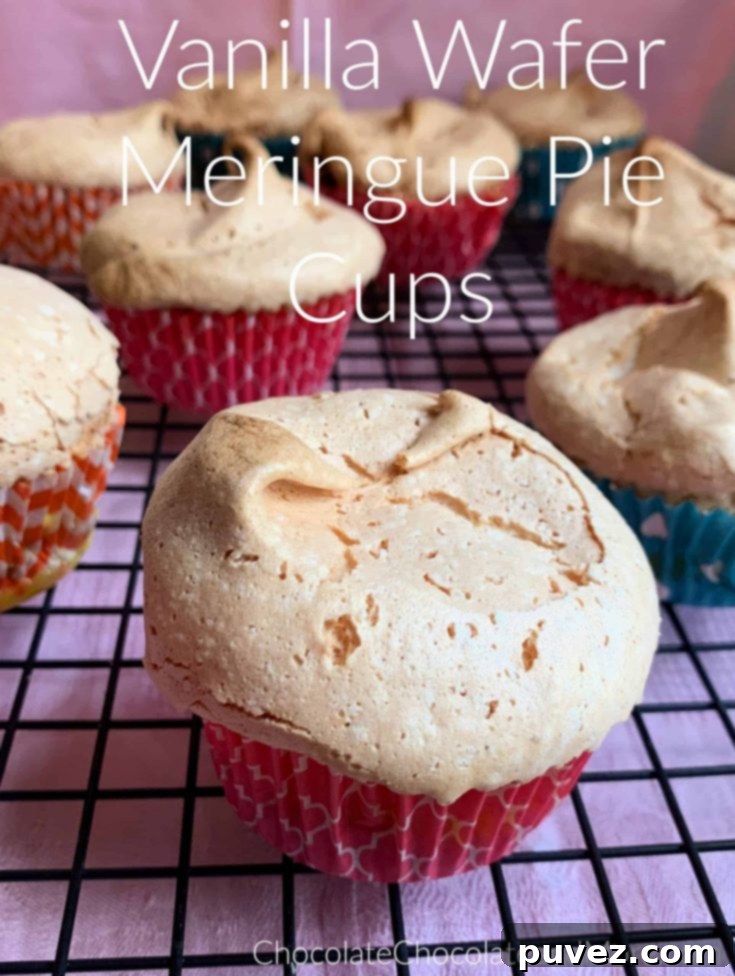
Prepare to fall in love with these delightful Vanilla Wafer Meringue Pie Cups! This recipe takes the beloved flavors of a classic cream pie and transforms them into charming, perfectly portioned individual desserts. Each cup is a symphony of textures and tastes, featuring a perfectly baked vanilla wafer crust, a rich and velvety vanilla custard filling, and a cloud-like, sweet meringue topping. They are not only a treat for your taste buds but also a stunning addition to any dessert table, making them ideal for gatherings, parties, or simply a luxurious treat for yourself.
Forget the fuss of slicing a whole pie; these mini pie cups offer all the goodness in a convenient, grab-and-go format. The interplay between the crispness of the wafer crust, the smooth, creamy custard, and the airy, sweet meringue creates an unforgettable experience with every spoonful. If you’re a fan of vanilla and crave a dessert that’s both comforting and elegant, you’ve found your next baking project!
The Journey to the Perfect Pie Cup: A Culinary Adventure
My culinary journey often begins by diving into vintage cookbooks. Recently, I was sifting through my mom’s treasured collection, marking recipes with sticky notes that whispered promises of deliciousness. That’s when I stumbled upon an old cream pie recipe that immediately sparked an idea: “This would be absolutely perfect for the blog!” The thought of updating a classic with my own twist was instantly exciting.
I knew I wanted to personalize it, starting with a few key alterations. First, I envisioned a distinct crust – something beyond the traditional pie crust. And of course, a little extra sweetness never hurt anyone, so more sugar was definitely on the agenda. As a true vanilla enthusiast, I also made sure to incorporate an abundance of pure vanilla extract, ensuring every bite would burst with that warm, aromatic flavor. These adjustments were crucial for elevating the dessert to my ideal level of indulgence.
From Big Pie Dreams to Mini Cup Delights: A Happy Accident
As I embarked on the baking process, I made a spontaneous decision: instead of a regular pastry crust, I’d go with a vanilla wafer crust. It sounded like a brilliant idea at the time, promising an extra layer of vanilla goodness and a unique texture. I meticulously prepared the creamy custard filling, then whipped up the delicate meringue. Everything was going smoothly until the moment I started pouring the filling into my chosen pie pan. It quickly became evident that my calculations were off; the filling was perilously close to overflowing!
With a hopeful prayer, I carefully placed the overfilled pie into the oven, crossing my fingers for a miracle. Alas, about ten minutes in, my worst fears were confirmed – it had indeed overflowed, creating a sticky, bubbly mess. It was a classic baking mishap, frustrating but also a valuable lesson learned.
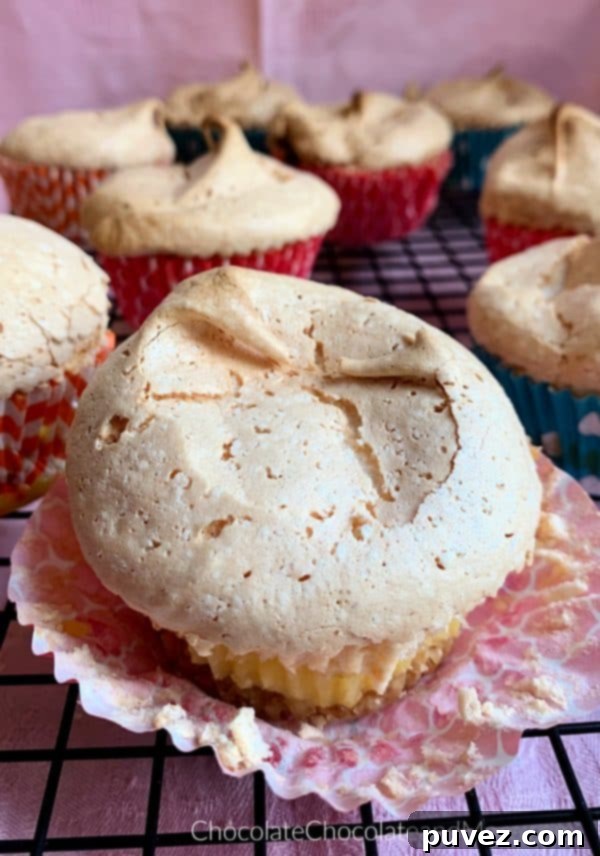
Not one to be deterred, I calmly went through all the steps again, carefully reassessing where I had gone wrong. The solution clicked: individual portions! To prevent another overflow and to create a more elegant, manageable dessert, I decided to make mini pie cups instead. This pivot turned what could have been a baking disaster into an exciting opportunity to create something even better – a dessert that’s not only delicious but also perfectly portioned and easy to serve.
The Sweet Rewards: Taste Test and Unexpected Bonuses
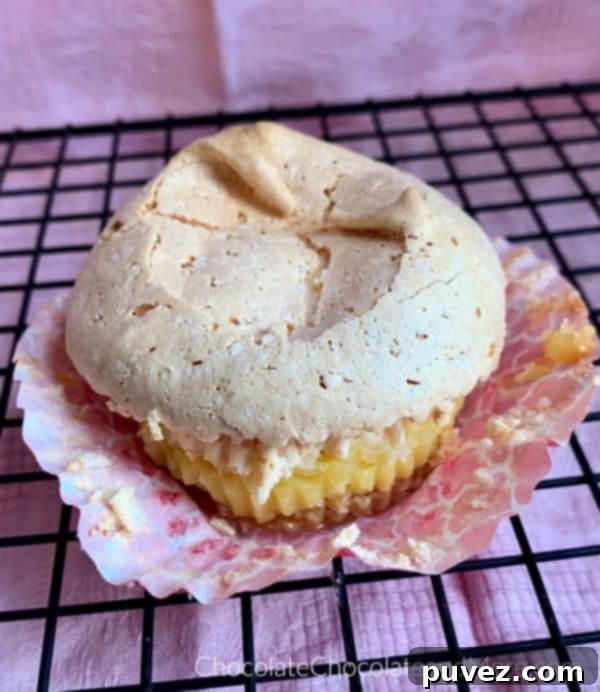
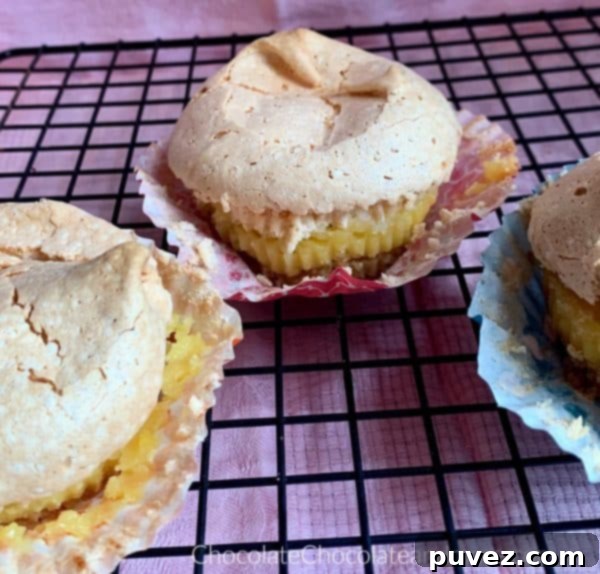
Once the mini pie cups had cooled and set, I eagerly tried one. The first bite was pure bliss! The crunchy vanilla wafer crust was a fantastic base, perfectly complementing the rich, creamy vanilla custard. The sweet, fluffy meringue on top added a delightful lightness. While I had initially aimed for a “cream pie” texture, I realized it leaned more towards a luxurious custard with a beautiful meringue cap – a distinction I happily embraced.
As an added bonus, I found myself with some leftover meringue. Instead of letting it go to waste, I spooned small dollops onto a cookie sheet and popped them into the oven. And boom! Out came a batch of perfectly crisp and sweet meringue cookies. These unexpected treats were the ideal accompaniment to the Vanilla Wafer Meringue Pie Cups, providing an extra touch of sweetness and a delightful crunch. It’s a wonderful way to utilize every bit of your ingredients and enjoy a double dose of deliciousness!
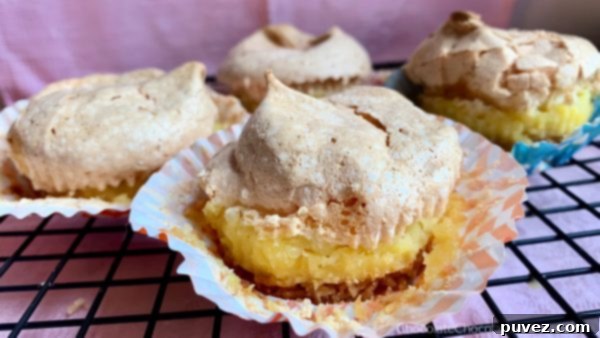
Sadly, my husband Edward wasn’t home to try this masterpiece right away, but our son Kal was, and he absolutely adored them! His enthusiastic approval was the best reward. Even when I faced my initial setback with the overflowing pie, Kal was right there, offering constant encouragement and motivation. His unwavering support truly helped me push through and ultimately achieve these wonderful pie cups. It’s amazing how a little encouragement can turn a challenge into a sweet success.
Why These Vanilla Wafer Meringue Pie Cups Are a Must-Try
These pie cups aren’t just delicious; they offer several advantages that make them a standout dessert:
- Perfect Portions: Each cup is a single serving, making them easy to distribute and enjoy without the mess of cutting slices from a larger pie.
- Elegant Presentation: Their individual size and beautiful meringue peaks make them look incredibly sophisticated, ideal for dinner parties, brunches, or special occasions.
- Flavor Harmony: The combination of the sweet vanilla wafer crust, rich vanilla custard, and airy meringue creates a balanced and deeply satisfying flavor profile that vanilla lovers will adore.
- Relatability and Fun: The story of their creation, born from a common baking mishap, makes them a dessert with character and a testament to kitchen resilience.
- Versatile: While perfect as is, they can also be garnished with fresh berries or a sprinkle of toasted coconut for an extra touch.
Tips for Meringue Pie Cup Success:
- Crust Consistency: Ensure your vanilla wafer crumbs are finely crushed and well mixed with melted butter and sugar for a sturdy crust. Press it firmly into the cupcake liners.
- Tempering Eggs: Don’t rush the tempering process for your egg yolks. Slowly adding hot custard to the yolks prevents them from scrambling and ensures a smooth filling.
- Perfect Meringue: Use room temperature egg whites for the best volume. Beat until stiff peaks form, and gradually add sugar for a glossy, stable meringue. A little cream of tartar helps with stability.
- Cooling is Key: Allow ample cooling time on a wire rack and then in the refrigerator. This is crucial for the custard to set properly and for the flavors to meld beautifully.
- Preventing Weeping Meringue: To minimize “weeping” (when the meringue beads liquid), ensure your meringue is cooked through and seal it completely to the edges of the pie filling. Baking at a lower temperature for a longer time can also help.
Whether you’re an experienced baker or just starting out, these Vanilla Wafer Meringue Pie Cups are a rewarding and incredibly delicious project. The journey from inspiration to creation, complete with a minor setback and a creative solution, makes the final product all the more satisfying. Give this recipe a try, and prepare to impress yourself and your loved ones with these delightful individual desserts!
Vanilla Wafer Meringue Pie Cups Recipe
45 minutes
30 minutes
4 hours
5 hours 15 minutes
Ingredients
For the Vanilla Wafer Crust
- 50 vanilla wafers
- 1/4 cup granulated sugar
- 1 stick (1/2 cup) melted butter
For the Creamy Custard Filling
- 4 large egg yolks (tempered)
- 1 cup granulated sugar
- 3 tbsp corn starch
- 2 1/2 cups heavy whipping cream
- 1 tbsp unsalted butter
- 1 tbsp pure vanilla extract
For the Fluffy Meringue Topping
- 4 large egg whites (tempered)
- 1 tbsp pure vanilla extract
- 1/2 tsp cream of tartar
- 1 cup granulated sugar
Instructions
Vanilla Wafer Crust
- Crush/pulverize the vanilla wafers finely in a food processor or by hand until fine crumbs form. In a bowl, mix in the 1/4 cup sugar and melted butter with a fork until thoroughly combined.
- Press the mixture firmly and evenly into the bottoms of lined cupcake pans (approximately 20-24 cups). Bake at 375°F (190°C) for about 5 minutes, or until lightly golden. Set aside to cool slightly.
Custard Filling
- Carefully separate the eggs. Place the whites in a large, clean bowl for the meringue, and the yolks in a small bowl for the custard. Let them temper at room temperature for 30 minutes.
- In a medium saucepan, combine 1 cup sugar, cornstarch, and heavy cream. Turn the heat to medium and stir constantly with a whisk until the mixture thickens significantly, resembling a pudding.
- In the separate small bowl, lightly whisk the tempered egg yolks. Gradually whisk about 1 cup of the hot cream mixture into the egg yolks to temper them. Then, slowly pour the tempered yolk mixture back into the saucepan with the remaining hot cream, whisking continuously until smooth.
- Remove the saucepan from the heat. Stir in the 1 tbsp butter and 1 tbsp vanilla extract until both are fully melted and incorporated. Keep the custard warm.
Meringue Topping
- In the large bowl with the tempered egg whites, add 1 tbsp vanilla and 1/2 tsp cream of tartar. Beat on medium-high speed until soft peaks begin to form.
- Gradually add the 1 cup of sugar, one tablespoon at a time, continuing to beat on high speed until the meringue is glossy, firm, and forms stiff peaks that stand upright.
Assemble & Bake Pie Cups
- Spoon the warm custard filling evenly over the baked vanilla wafer crusts in the cupcake pans. Immediately spoon or pipe the meringue on top of the custard, ensuring the meringue completely seals to the edges of the crust to prevent weeping.
- Bake for 30 minutes at 325°F (160°C), or until the meringue is beautifully golden brown. Cool completely in the pan on a metal cooling rack for 60 minutes, then transfer to the fridge and chill for about 3 hours to allow the custard to fully set before serving.
Nutrition Information:
Yield:
20
Serving Size:
1
Amount Per Serving:
Calories: 300Total Fat: 18gSaturated Fat: 11gTrans Fat: 1gUnsaturated Fat: 6gCholesterol: 84mgSodium: 100mgCarbohydrates: 32gFiber: 0gSugar: 27gProtein: 3g
Did you make this recipe?
Please leave a comment on the blog or share a photo on Instagram
Explore More Delightful Pie and Meringue Recipes
Lemon Angel Pie – a.k.a. the BEST Lemon Pie! | Barefeet In The Kitchen
Homemade Coconut Cream Pie
Lemon Meringue Pie
Peanut Butter Pie Cups
Frozen, peanut buttery, and delicious!
Mango Meringue Pie
Blackberry Almond Meringue Cake
