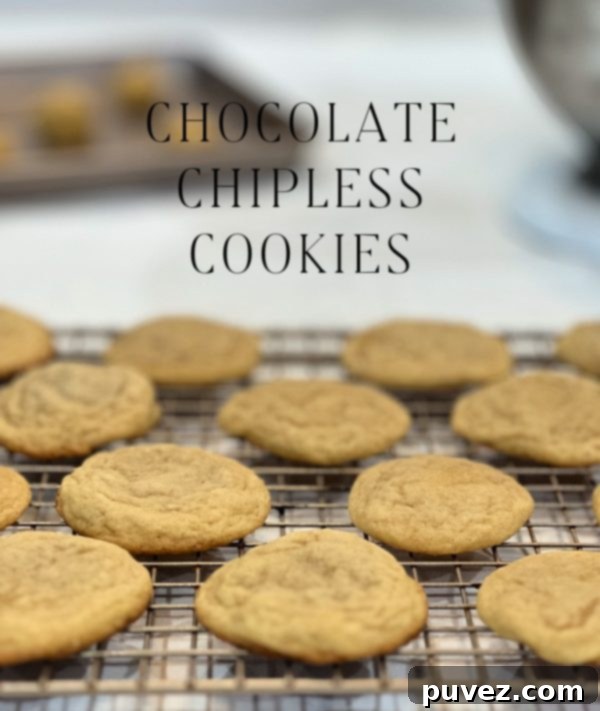
Perfect Chipless Chocolate Chip Cookies: The Ultimate Guide & Recipe
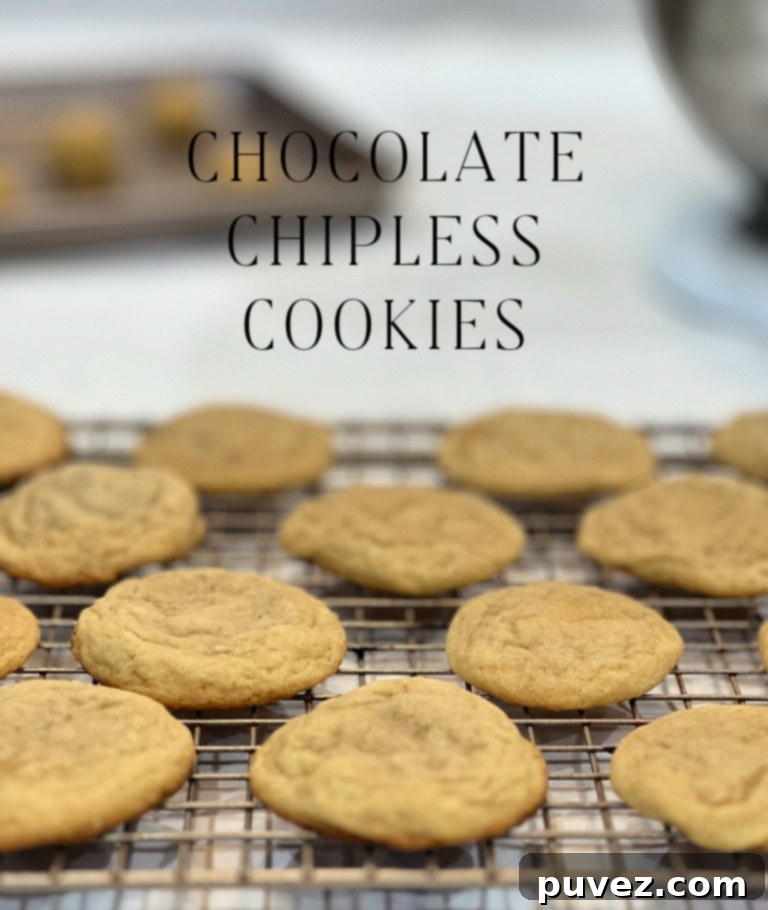
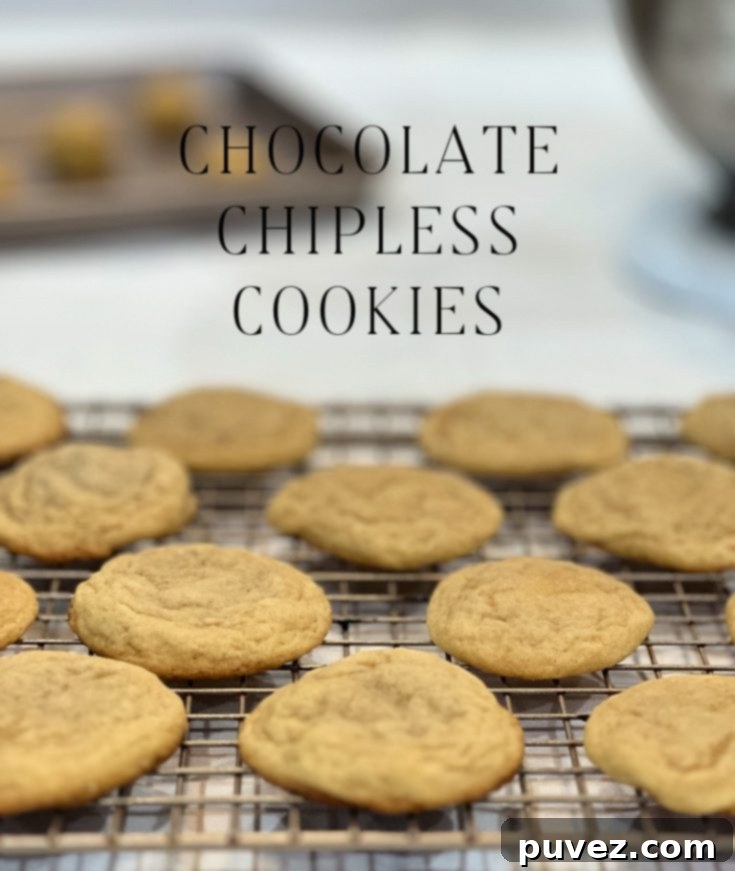
Imagine the warm, inviting aroma of freshly baked chocolate chip cookies filling your kitchen. Now, picture that same comforting scent, but focus purely on the golden-brown, chewy, buttery base – without a single chocolate chip in sight. That, my friends, is the exquisite joy of a Chocolate Chipless Cookie. It’s more than just a sugar cookie; it’s the soulful essence of everyone’s favorite classic, stripped down to its delicious core. If you’ve ever found yourself picking around the chocolate chips, or simply craving that unique “cookie part,” then this recipe is your culinary dream come true.
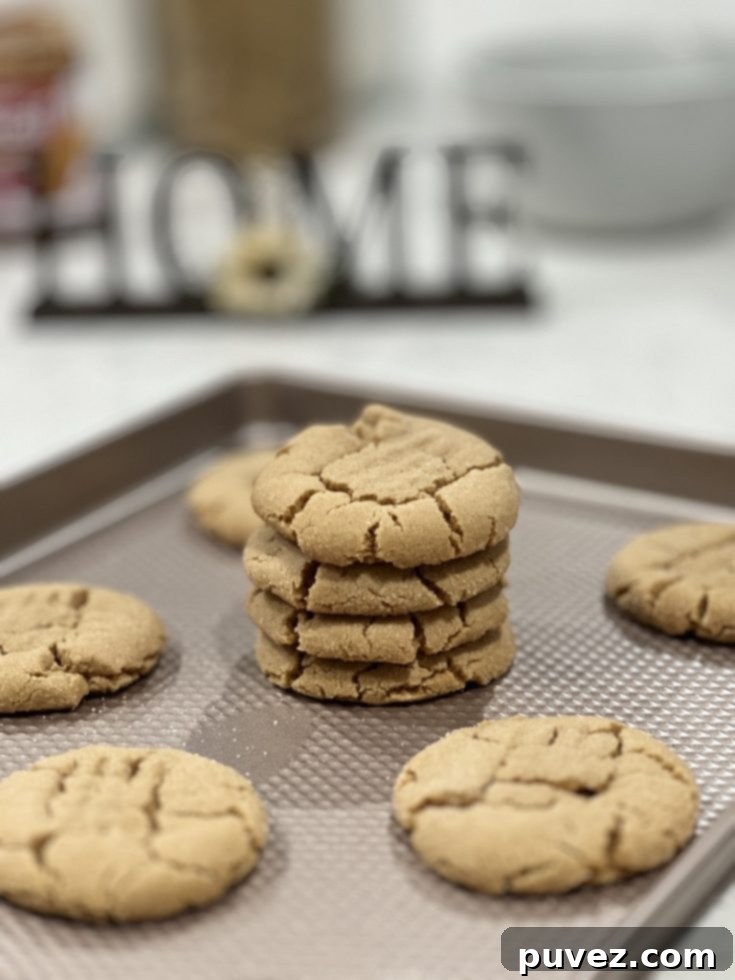
My love for traditional chocolate chip cookies runs deep, but lately, I’ve had a very specific craving: the rich, nuanced flavor and tender, chewy texture of just the cookie dough itself. It’s a subtle but significant difference from a standard sugar cookie, and once you experience it, there’s no going back. So, I set out to create the perfect batch, celebrating the unsung hero of the cookie world.
Why These Are Not Just Sugar Cookies: A Culinary Revelation
When my sister, Cassie, first saw my freshly baked chipless cookies, her immediate reaction was, “Isn’t this just a sugar cookie?” It’s a common misconception, and one I had to gently correct. While both are sweet, baked treats, the fundamental profile of a chipless chocolate chip cookie is distinct and wonderfully unique.
The magic lies in the ingredients and their ratios. A classic chocolate chip cookie dough typically features a blend of brown sugar and granulated sugar. The brown sugar contributes molasses, which not only deepens the flavor profile with notes of caramel and toffee but also adds moisture, resulting in a chewier, more tender crumb. Sugar cookies, on the other hand, often rely primarily on granulated sugar, leading to a crisper, sometimes flatter texture and a simpler, sweeter taste. The higher vanilla content and specific butter-to-sugar-to-flour ratios in a chocolate chip cookie recipe are also finely tuned to create a complex base that is designed to stand up to (or, in this case, stand alone without) the assertive flavor of chocolate.
As the saying goes, “the girls that get it, get it, and the girls that don’t, don’t.” Unfortunately, Cassie, despite her initial skepticism, quickly understood the appeal after devouring a few of these delightful cookies. Her plate was noticeably lighter when she left, a testament to their undeniable charm!
The Art of the Perfect Chipless Cookie: Ingredients & Instructions
Creating these delightful chipless cookies is incredibly simple, requiring basic pantry staples and just a little bit of love. The key is in understanding how each ingredient plays its part in building that signature flavor and texture. Follow these steps for a batch of cookies that will disappear faster than you can say “no chips!”
Ingredients for Chocolate Chipless Cookies:
- 2 sticks of unsalted butter, softened to room temperature
- 1 cup of packed light brown sugar
- 1 cup of granulated sugar
- 1 tablespoon pure vanilla extract (don’t be shy, measure with your heart!)
- 2 large eggs
- 2 1/2 cups of all-purpose flour
- 1 teaspoon baking powder
- 1 teaspoon fine sea salt
Step-by-Step Instructions:
- Prepare Your Workspace: Preheat your oven to 350°F (175°C). Line two baking sheets with parchment paper or silicone baking mats. This prevents sticking and ensures even baking.
- Combine Dry Ingredients: In a medium-sized bowl, whisk together the all-purpose flour, baking powder, and salt. Make sure these are well combined to ensure even leavening throughout the cookies. Set this mixture aside.
- Cream Butter and Sugars: In the bowl of a stand mixer fitted with the paddle attachment (or using a hand mixer and a large bowl), beat the softened butter and both sugars (brown and granulated) together for about 1 to 2 minutes. Beat until the mixture is light, fluffy, and pale in color. This creaming process is crucial as it incorporates air, which contributes to the cookies’ light texture.
- Add Wet Ingredients: Add the vanilla extract to the creamed butter mixture. Then, add the eggs one at a time, beating well after each addition until fully incorporated. Scrape down the sides of the bowl with a spatula to ensure everything is mixed evenly.
- Incorporate Dry into Wet: Gradually add the reserved flour mixture to the wet ingredients, about 1 cup at a time. Mix on low speed until just combined. It is vital not to overmix the dough once the flour is added, as this can develop the gluten too much, leading to tough cookies. It’s okay if a small amount of flour is still visible and unincorporated; it will finish mixing as you shape the dough.
- Shape the Cookies: Scoop the dough into tablespoon-sized balls. You can use a cookie scoop for consistency. Place the dough balls onto the prepared baking sheets, spacing them about 2 inches apart to allow for proper spreading during baking.
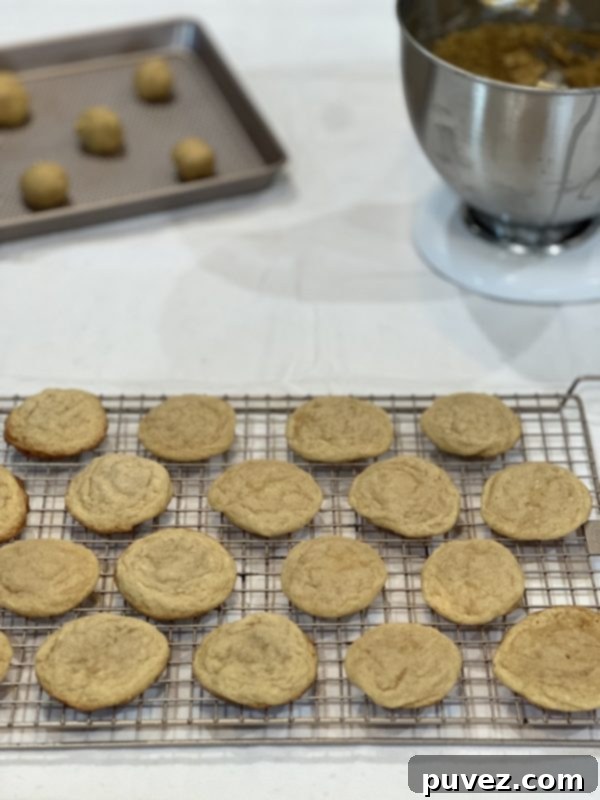
- Bake to Golden Perfection: Bake for 10-11 minutes. The cookies are done when the edges are set and lightly golden brown, but the centers still look soft and slightly puffy. This ensures a wonderfully chewy interior.
- Cool and Enjoy: Remove the baking sheets from the oven and allow the cookies to cool on the sheets for 1-2 minutes. This brief cooling period helps them firm up and prevents them from breaking when transferred. Then, carefully transfer the cookies to a wire rack to cool completely.
Baking Tips for the Best Chipless Cookies
- Room Temperature Ingredients: Ensure your butter and eggs are at room temperature. This allows them to emulsify better, creating a smoother, more uniform dough and a superior texture in your baked cookies.
- Don’t Overmix: As mentioned, overmixing the flour can lead to tough cookies. Mix only until just combined.
- Measure Flour Correctly: For accurate measurements, spoon flour into your measuring cup and then level it off with a straight edge. Scooping directly from the bag can compact the flour, leading to too much flour and dry cookies.
- Cookie Scoop for Consistency: A cookie scoop ensures that all your cookies are the same size, which means they will bake evenly.
- Parchment Paper is Your Friend: It prevents sticking, aids in easy cleanup, and helps in consistent browning.
- Watch Your Oven: Ovens can vary. Keep an eye on your cookies during the last few minutes of baking. The edges should be set, but the center should still look slightly soft for that perfect chewy texture.
Variations to Keep Things Exciting
While the beauty of these cookies is their pure, unadulterated flavor, you can always experiment with subtle additions to customize your batch:
- Extracts: A touch of almond extract or a hint of orange zest can add a delightful twist.
- Spices: A pinch of cinnamon or nutmeg can enhance the warm, comforting flavors of the brown sugar and vanilla.
- Toffee Bits: If you’re missing a little crunch, add a handful of toffee bits to the dough.
- Sprinkles: For a festive touch, especially if baking for a party or holiday, fold in some colorful sprinkles at the end.
Storing Your Delicious Chipless Creations
These cookies are so good, they rarely last long! However, if you happen to have any leftovers, here’s how to store them:
- Baked Cookies: Store cooled cookies in an airtight container at room temperature for up to 3-4 days. For optimal freshness, place a slice of bread in the container to help keep them soft.
- Cookie Dough: The unbaked dough can be stored in an airtight container in the refrigerator for up to 5 days. You can also freeze the dough for up to 3 months. Simply scoop into balls, place on a baking sheet, freeze until solid, then transfer to a freezer-safe bag. Bake from frozen, adding a couple of minutes to the baking time.
Frequently Asked Questions About Chipless Cookies
Q: Are these cookies gluten-free or dairy-free?
A: As written, this recipe is not gluten-free or dairy-free. However, you can experiment with gluten-free all-purpose flour blends (often a 1:1 substitute) and dairy-free butter alternatives to adapt the recipe. Results may vary slightly in texture.
Q: Can I use salted butter?
A: Yes, if you only have salted butter, you can use it. Just reduce the added salt in the recipe from 1 teaspoon to 1/2 teaspoon, then adjust to taste if you make them again.
Q: My cookies spread too much. What went wrong?
A: Several factors can cause cookies to spread too much: butter that’s too soft (or melted), not enough flour, an oven that isn’t hot enough, or placing cookies too close together on the baking sheet. Ensure your butter is softened, not melted, measure ingredients accurately, and preheat your oven properly.
Q: Can I add chocolate chips if I change my mind?
A: Absolutely! This dough is the perfect base for chocolate chips. Feel free to stir in 1 to 1 1/2 cups of your favorite chocolate chips (or any mix-ins like nuts, dried fruit, or toffee bits) after incorporating the flour for a classic twist.
These cookies are truly a revelation. They embody everything wonderful about a chocolate chip cookie, distilled into its purest form. My household certainly tore through them – I don’t think they even lasted a full 24 hours! Prepare yourself for a delicious experience that highlights the incredible, often-overlooked, magic of the cookie base itself.
Chocolate Chipless Cookies
10 minutes
10 minutes
5 minutes
25 minutes
Ingredients
- 2 sticks of butter, softened
- 1 cup of brown sugar
- 1 cup of granulated sugar
- 1 tablespoon vanilla (or measure with your heart)
- 2 eggs
- 2 1/2 cups of all-purpose flour
- 1 teaspoon baking powder
- 1 teaspoon salt
Instructions
- Preheat the oven to 350 degrees F (175 C). Line baking sheets with parchment paper.
- In a medium-sized bowl, combine the flour, baking powder, and salt. Set aside. In a stand mixer (or using a hand mixer), beat the butter and sugars together for 1-2 minutes until light and fluffy. Add in the vanilla, and eggs, one at a time, beating well after each. Then gradually add the flour mixture in, about 1 cup at a time, mixing on low speed until just combined. Do not over-mix; it is okay if a little bit of flour is unincorporated, as it will combine when the dough is made into balls.
- Make the dough into about tablespoon-sized balls, and place them about 2 inches apart on the baking sheet. Bake for 10-11 minutes until the edges crisp up and turn golden. Allow to cool for 1-2 minutes on the baking sheet before transferring to a cooling rack to cool the rest of the way.
Notes
This dough can be stored in the freezer for up to 3 months. Form into balls before freezing for easy baking later!
Nutrition Information:
Yield:
36
Serving Size:
1
Amount Per Serving:
Calories: 122Total Fat: 5gSaturated Fat: 3gTrans Fat: 0gUnsaturated Fat: 2gCholesterol: 24mgSodium: 118mgCarbohydrates: 17gFiber: 0gSugar: 11gProtein: 1g
Did you make this recipe?
Please leave a comment on the blog or share a photo on Instagram
More Like This
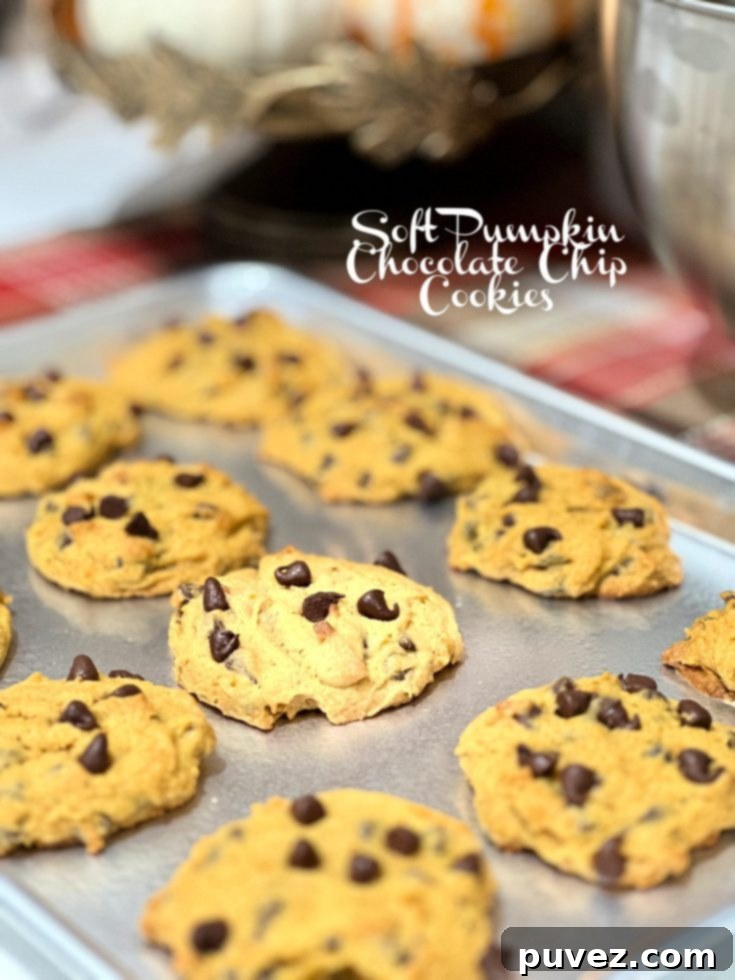
Soft Pumpkin Chocolate Chip Cookies
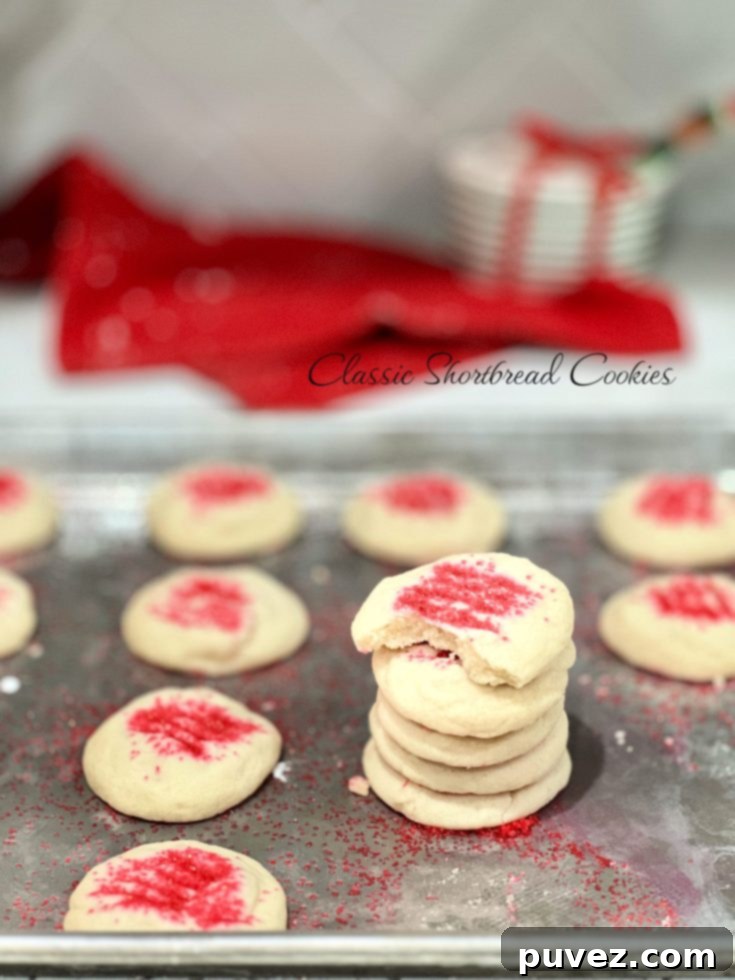
Classic Shortbread Cookies
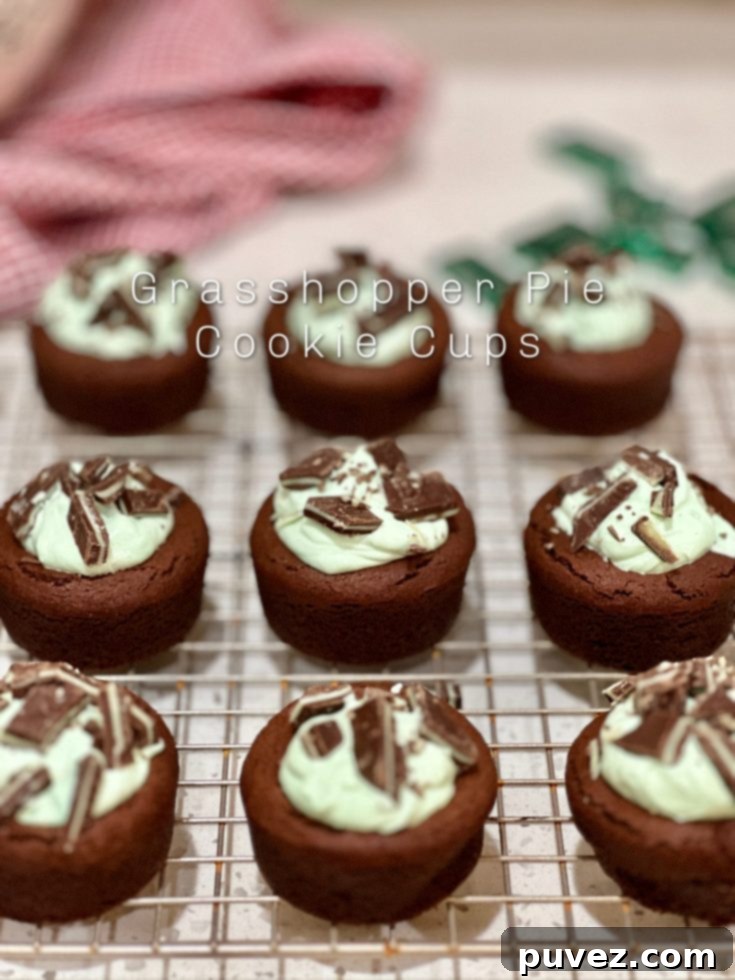
Grasshopper Pie Cookie Cups
Hot Cocoa Meringue Cookies
Italian Chocolate Pepper Cookies
Cookie Butter Cookies
