Master the Flavors of Fall: Your Ultimate Guide to Homemade Pumpkin Puree
There’s something uniquely enchanting about the autumn season, and for many, that magic is deeply intertwined with the rich, earthy, and sweet taste of pumpkin. While store-bought pumpkin puree is readily available, the experience of making your own from scratch is truly unparalleled. Imagine a puree bursting with fresher, more intense flavor, free from any additives or preservatives, and the comforting aroma of baking pumpkin filling every corner of your home. This homemade pumpkin puree tastes infinitely better than anything you’ll find on a supermarket shelf, it’s surprisingly simple to prepare, and it instantly transforms your kitchen into an autumnal sanctuary.
Why Homemade Pumpkin Puree is a Game-Changer
If you’ve never ventured into making your own pumpkin puree, you might wonder if it’s truly worth the effort. The answer is a resounding yes! Here’s why homemade triumphs over store-bought every single time:
- Unmatched Flavor & Freshness: Canned pumpkin often has a slightly metallic taste and a less vibrant flavor profile. Homemade puree, made from fresh, roasted pumpkin, offers a naturally sweet, nuanced, and rich taste that elevates any recipe.
- Pure Ingredients: You control what goes into your puree. No added sugars, preservatives, or artificial flavors – just pure, wholesome pumpkin. This is especially important if you’re trying to manage sugar intake or avoid certain additives.
- Cost-Effective: Especially during the fall season when pumpkins are abundant and affordable, making your own puree can be significantly cheaper than buying multiple cans.
- Aromatic Experience: The process of roasting pumpkin releases incredible autumnal scents that will make your home smell wonderfully cozy and inviting, far beyond what any candle could achieve.
- Sustainability: By making your own, you can use parts of the pumpkin that might otherwise go to waste, like the seeds (which can be roasted for a delicious snack!). Plus, the scraps are excellent for composting.
Choosing the Perfect Pumpkin for Puree
Not all pumpkins are created equal when it comes to making delicious puree. While the large, hollow jack-o’-lantern pumpkins are great for carving, they tend to be watery and stringy, lacking the dense, sweet flesh ideal for cooking. For the best homemade pumpkin puree, you’ll want to seek out what are often called “sugar pumpkins” or “pie pumpkins.” These smaller varieties, typically weighing between 2 to 8 pounds, have a sweeter, less stringy flesh with less water content.
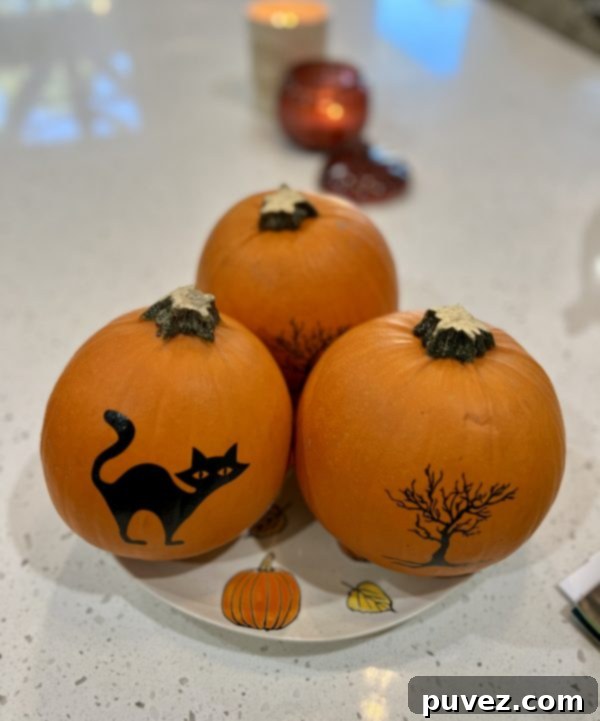
I recently had quite the adventure at Kroger trying to find suitable pumpkins. It seemed like all the prime pie pumpkins had vanished! All that was left were adorable tiny ones (which, of course, I bought for another project), some rather unfortunate moldy specimens (a definite no-go), and then a small collection of five pumpkins that, oddly enough, had paintings on them. Knowing that the skin would be discarded anyway, and focused purely on the prize inside, I scooped up all five of those painted beauties. Don’t worry, they were put to excellent use, proving that a little artistic flair on the outside doesn’t diminish the delicious potential within!
When selecting your pumpkin, look for ones that are:
- Small to Medium-Sized: Ideal for roasting and generally yield sweeter, less fibrous flesh.
- Firm and Heavy: This indicates good water content and dense flesh.
- Free of Soft Spots or Blemishes: A perfectly smooth, unblemished skin means healthier flesh inside.
Step-by-Step Guide to Homemade Pumpkin Puree
Making pumpkin puree is a straightforward process that rewards you with a superior product. Here’s how to do it:
Ingredients:
- At least one pie pumpkin (sugar pumpkin), ideally 2-5 pounds each.
Yes, it’s that simple! No complex list of spices or special additions needed for pure pumpkin goodness.
Essential Equipment:
- Sharp chef’s knife
- Large spoon or ice cream scoop
- Baking sheet
- Aluminum foil or parchment paper (for easy cleanup)
- Blender or food processor
- Large bowl
- Colander or fine-mesh sieve (optional, for draining)
Preparation:
You’ll start by preheating your oven to 350 degrees Fahrenheit (175 degrees Celsius). This ensures the oven is at the correct temperature for even roasting.
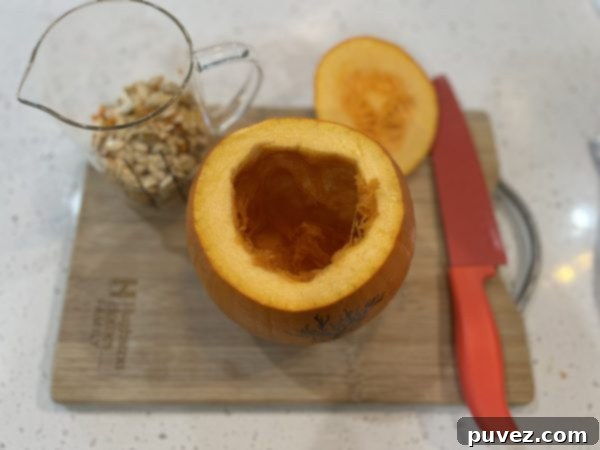
While the oven is preheating, it’s time to prepare your pumpkin. Carefully cut the top off your pumpkin. A sturdy, sharp chef’s knife is crucial here. Once the top is removed, use a large spoon or an ice cream scooper to gut the pumpkin. Scoop out all the seeds and the stringy, fibrous bits inside. This part can be a little messy and time-consuming, but it’s essential for a smooth puree. Don’t discard those seeds just yet – we’ll talk about roasting them later!
Having done this many times, I can tell you that a pumpkin carving tool set often includes a scooper tool that can make this job a breeze. Just try to get as much of the stringy pulp out as possible to ensure your puree is clean and smooth.
Roasting:
Once the pumpkin is thoroughly gutted, place it on a baking sheet. I highly recommend lining your baking sheet with aluminum foil or parchment paper. This simple step makes cleanup incredibly easy, as roasted pumpkin can sometimes stick. For smaller pumpkins, you can also cut them in half before placing them cut-side down on the baking sheet to speed up cooking. If keeping them whole, place the top back onto the pumpkin. This helps to steam the pumpkin slightly and retain moisture, ensuring a tender result.
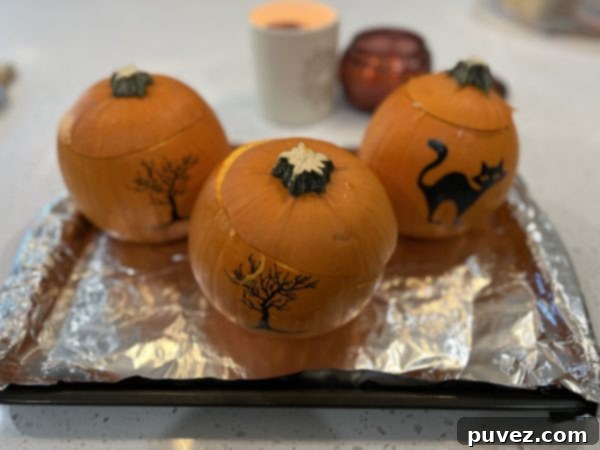
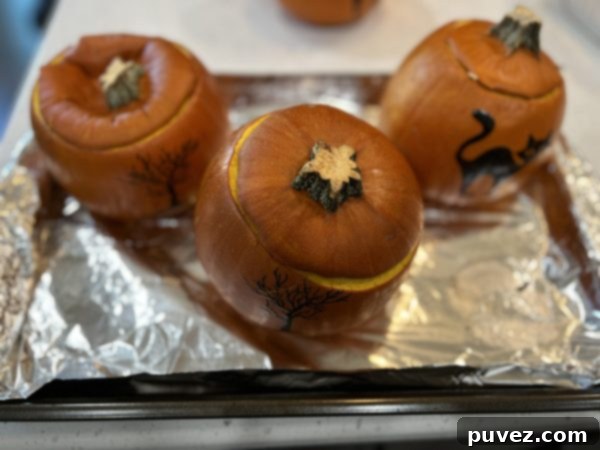
Place the baking sheet in your preheated oven. The baking time will vary depending on the size of your pumpkin. My three small, pie-sized pumpkins (roughly the height of a 2-cup measuring cup) baked perfectly in about one hour. For a pumpkin twice that size, you would typically need to bake it for closer to two hours. The key is to bake until the pumpkin is fork-tender. You should be able to easily pierce the skin and flesh with a fork without much resistance.
Cooling and Peeling:
Once the pumpkins are done roasting, carefully remove them from the oven and let them cool for at least 10-15 minutes. This cooling period is crucial, not just for safety (believe me, I’ve burned myself multiple times trying to peel them immediately!), but also because it helps the skin to loosen. Trying to handle a scorching hot pumpkin is a recipe for minor burns and frustration – a method I absolutely do not recommend!
Once the pumpkin is cool enough to handle comfortably, the skin should practically fall off with minimal effort. Simply peel the skin away from the soft, cooked pumpkin flesh. Discard the skin (or compost it!).
Pumpkin is naturally quite watery, and excess moisture can lead to a thin puree. Before blending, it’s a good idea to drain some of this water. You can place the pumpkin meat in a colander or fine-mesh sieve over a bowl for a few minutes, gently pressing to release liquid. This step is optional but highly recommended for a thick, rich puree.
Blending:
Transfer the drained pumpkin meat into a blender or food processor. Blend the pumpkin until it’s completely smooth and free of any chunks. You might need to scrape down the sides of the blender occasionally to ensure everything is incorporated. If the puree is too thick, you can add a tablespoon of water at a time until you reach your desired consistency. Most often, however, with roasted pumpkin, it will blend beautifully into a silky smooth puree without any added liquid.
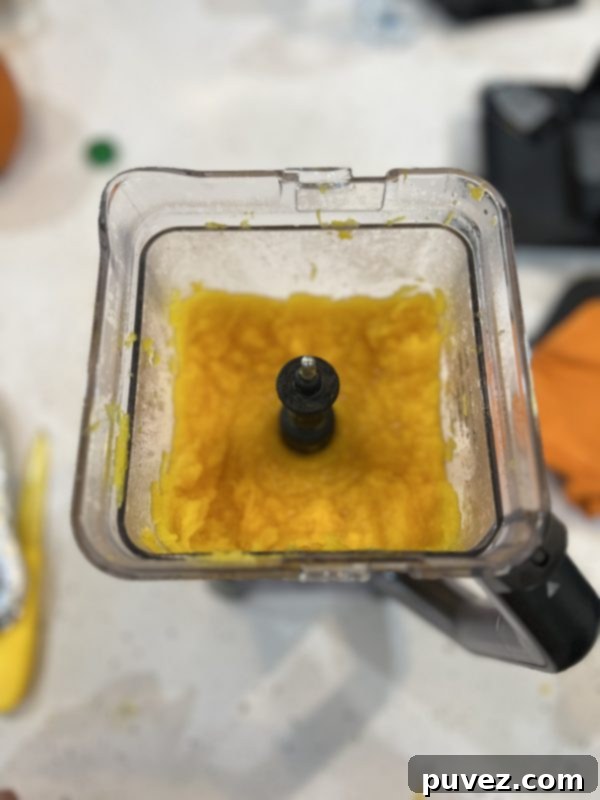
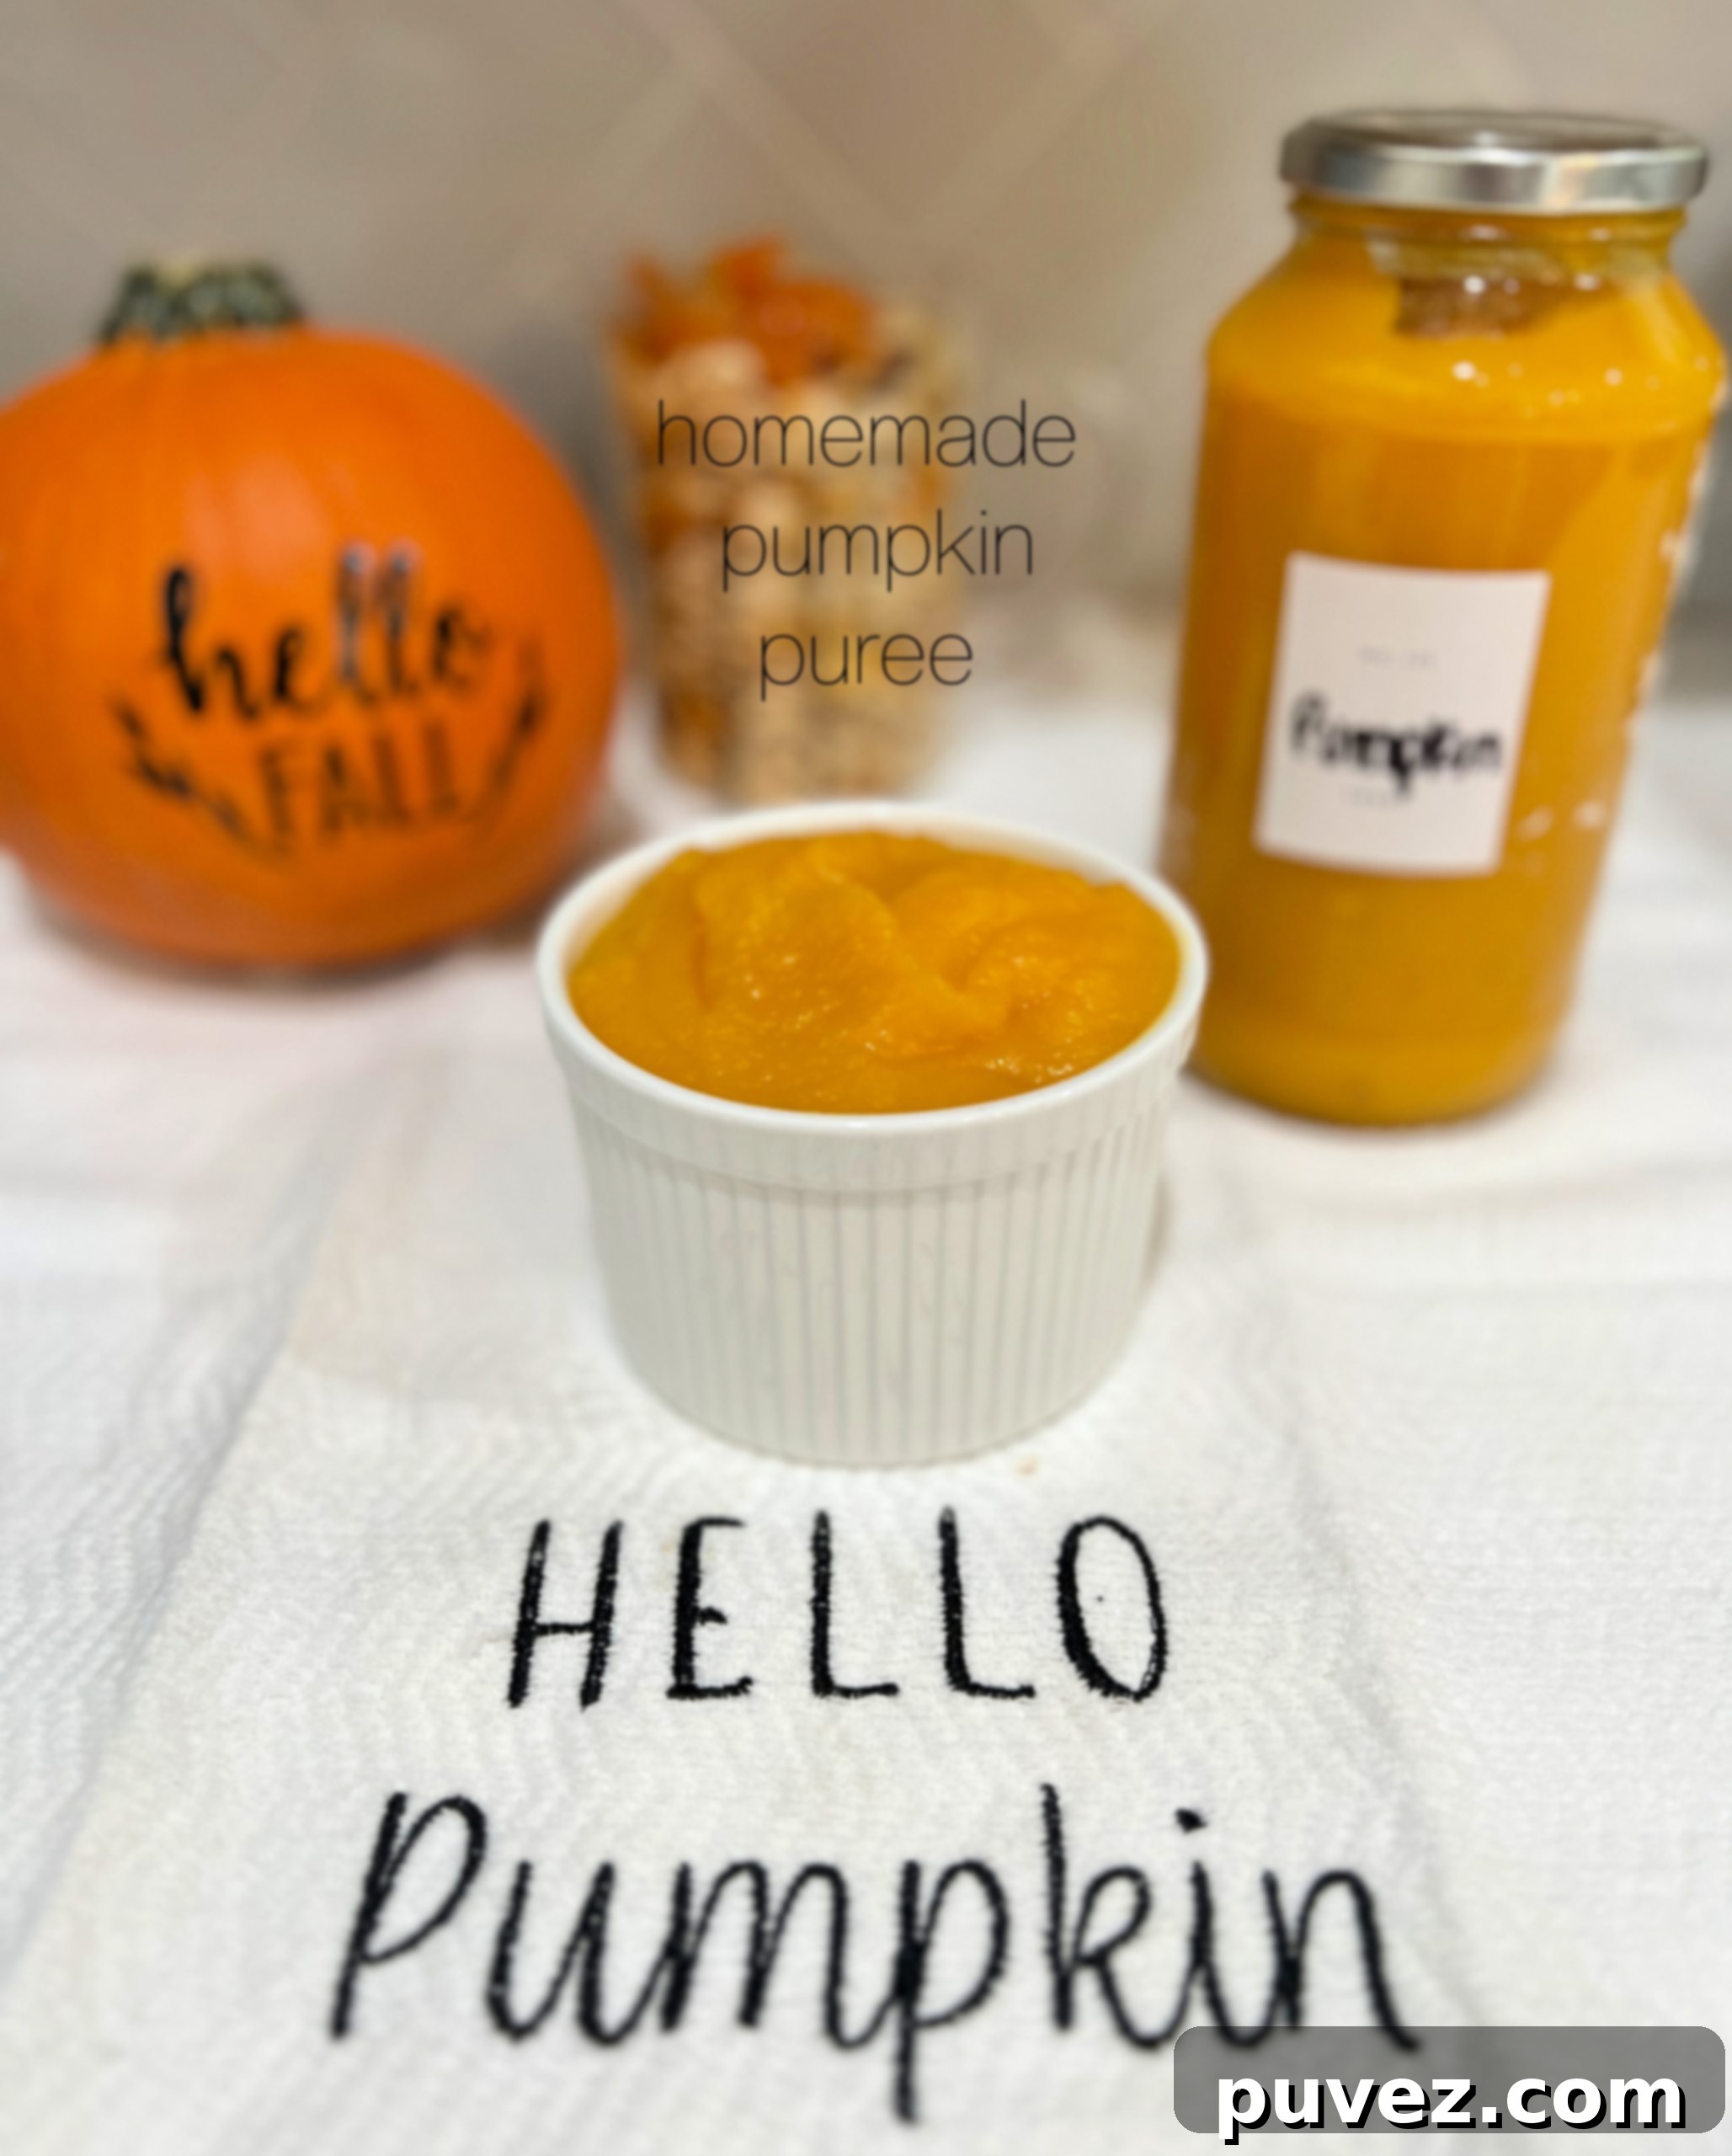
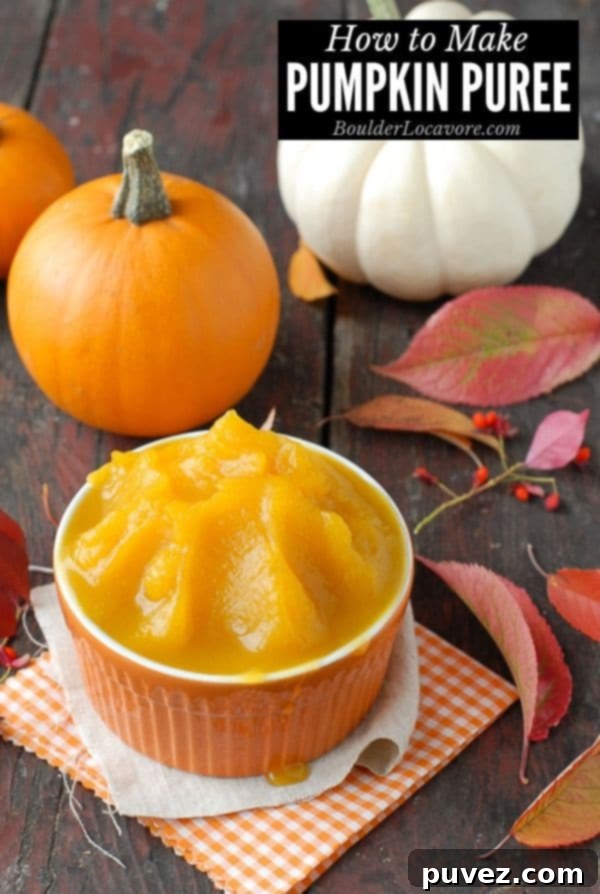
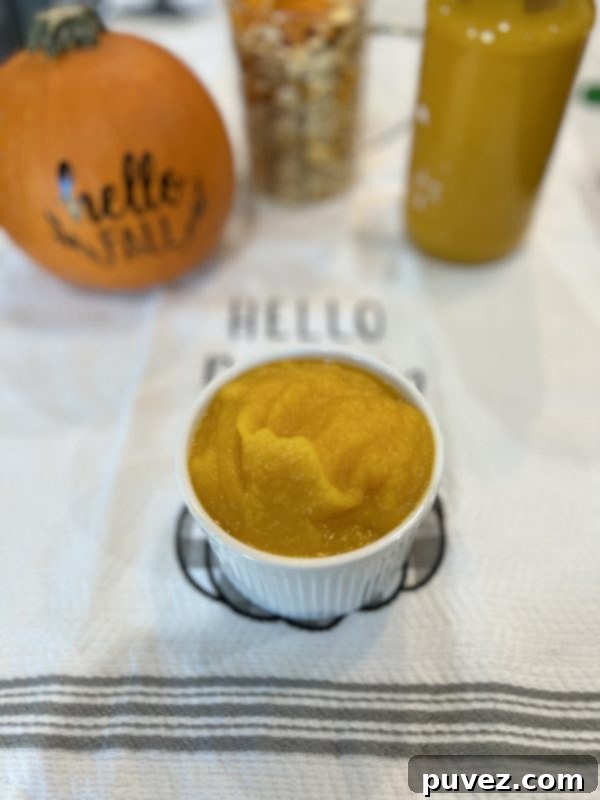
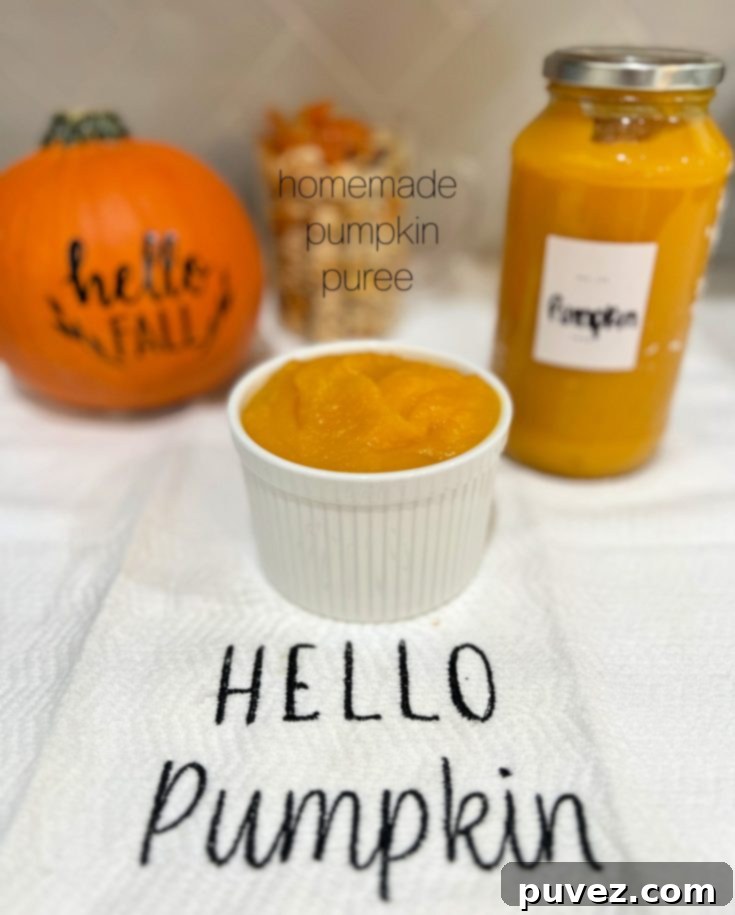
And just like that, you have fresh, homemade pumpkin puree ready to use! Store it in a jar or an airtight container in the refrigerator.
Storing Your Homemade Pumpkin Puree
Once you’ve made a batch of this golden goodness, proper storage is key to enjoying it for weeks or even months:
- Refrigeration: Fresh homemade pumpkin puree can be stored in an airtight container in the refrigerator for up to 5-7 days.
- Freezing: For longer storage, freeze your puree. You can spoon it into ice cube trays, freeze until solid, then transfer the cubes to a freezer-safe bag or container. This is great for portion control! Alternatively, store it in larger freezer bags (flattened to save space) or freezer-safe containers. Frozen pumpkin puree will last for up to 6 months. Thaw in the refrigerator overnight before use.
- Canning: For experienced canners, pressure canning is another option for shelf-stable pumpkin puree. Always follow USDA guidelines for safe canning practices when preserving low-acid foods like pumpkin.
Creative Ways to Use Your Pumpkin Puree
Pumpkin is an incredibly versatile ingredient, fitting seamlessly into both sweet and savory dishes. With your fresh homemade puree, the possibilities are endless!
- Sweet Delights:
- Baked Goods: Pumpkin pie, muffins, bread, cookies, scones, pancakes, waffles.
- Desserts: Pumpkin cheesecake, custards, puddings, ice cream.
- Drinks: Pumpkin spice lattes, smoothies, milkshakes.
- Savory Sensations:
- Soups and Stews: Creamy pumpkin soup, curried pumpkin and lentil stew.
- Pasta and Grains: Pumpkin ravioli, creamy pumpkin pasta sauce, pumpkin risotto.
- Side Dishes: Roasted vegetables with pumpkin glaze, pumpkin mash.
- Healthy Boosts:
- Smoothies: Add a dollop for creaminess and nutrition.
- Baby Food: A natural, wholesome first food for infants.
Truly, I’ve never encountered a vegetable that is so universally adaptable. And the best part? Every single part of the pumpkin can be utilized, and what isn’t eaten can be composted, ensuring nothing goes to waste!
Don’t Waste the Seeds! Roasted Pumpkin Seeds Recipe
Remember those pumpkin seeds you scooped out? Don’t throw them away! They make a fantastic, crunchy, and nutritious snack. Here’s a quick guide to roasting them:
- Clean: Rinse the seeds thoroughly under cold water to remove any clinging pumpkin flesh.
- Dry: Pat the seeds very dry with a paper towel. This is crucial for crispiness.
- Toss: In a bowl, toss the dry seeds with a tablespoon of olive oil or melted butter, and your choice of seasoning. Classic options include salt and pepper, garlic powder, paprika, or even a dash of cinnamon sugar for a sweet treat.
- Roast: Spread the seasoned seeds in a single layer on a baking sheet. Roast in a 300°F (150°C) oven for 15-25 minutes, stirring occasionally, until golden brown and crispy.
- Cool: Let them cool completely on the baking sheet before storing in an airtight container.
These roasted pumpkin seeds are addictive and a perfect complement to your homemade pumpkin puree endeavors!
Making your own homemade pumpkin puree is a rewarding kitchen project that offers superior flavor, quality control, and a wonderful autumnal experience. It’s a simple process that yields a versatile ingredient, ready to transform your favorite fall recipes. So, grab a pumpkin, preheat your oven, and get ready to enjoy the true taste of autumn!
Homemade Pumpkin Puree
5 minutes
1 hour
1 hour
2 hours 5 minutes
Ingredients
- at least 1 pumpkin
Instructions
- Preheat the oven to 350.
- Cut the top off of the pumpkin(s) and deseed and gut the pumpkin. Replace the top back on the pumpkin and place on a baking sheet. Place in the oven to cook for about an hour.
- Let cool for about 10-15 minutes. Peel the skin off and throw the pumpkin meat into a blender and blend until completely smooth.
- Store in a jar or air tight container.
Notes
– my pumpkins were about as tall as a 2 cup measuring cup and cooked for an hour. Pumpkins twice the size would need to be cooked for about 2 hours or until fork tender. The skin should peel off really easily.
Did you make this recipe?
Please leave a comment on the blog or share a photo on Instagram
More like this
Pumpkin Spice Cheesecake Dip
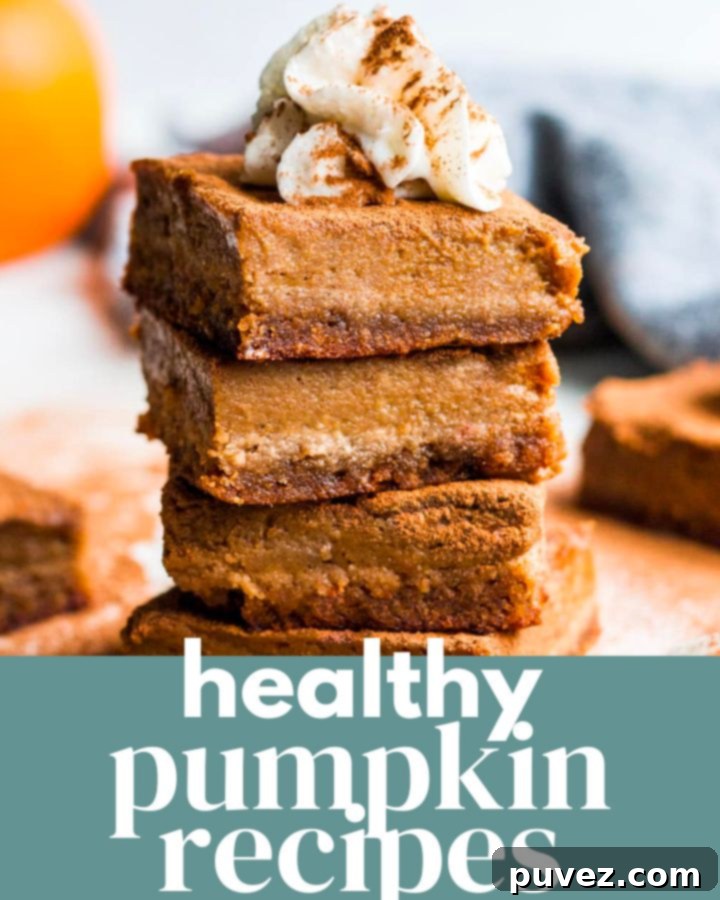
Pumpkin Pie Cream Cheese Bars
Pumpkin Spiced White Trash
thecleaneatingcouple.com
30 Healthy Pumpkin Recipes
www.onceuponachef.com
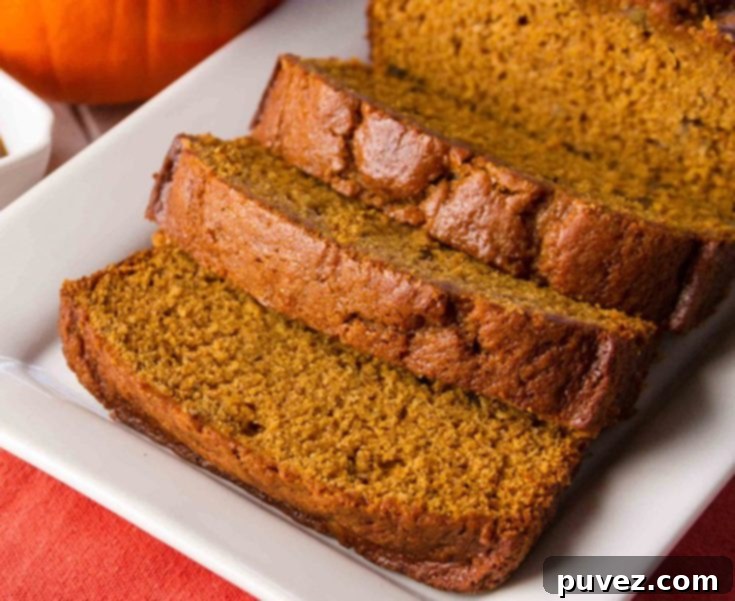
Pumpkin Bread
boulderlocavore.com
Making Homemade Pumpkin Puree is easy and delicious!
thecleaneatingcouple.com
30 Healthy Pumpkin Recipes
www.onceuponachef.com
Pumpkin Bread
boulderlocavore.com
Making Homemade Pumpkin Puree is easy and delicious!
