Easy Christmas Ornament Cupcakes: A Festive & Fun Holiday Baking Project
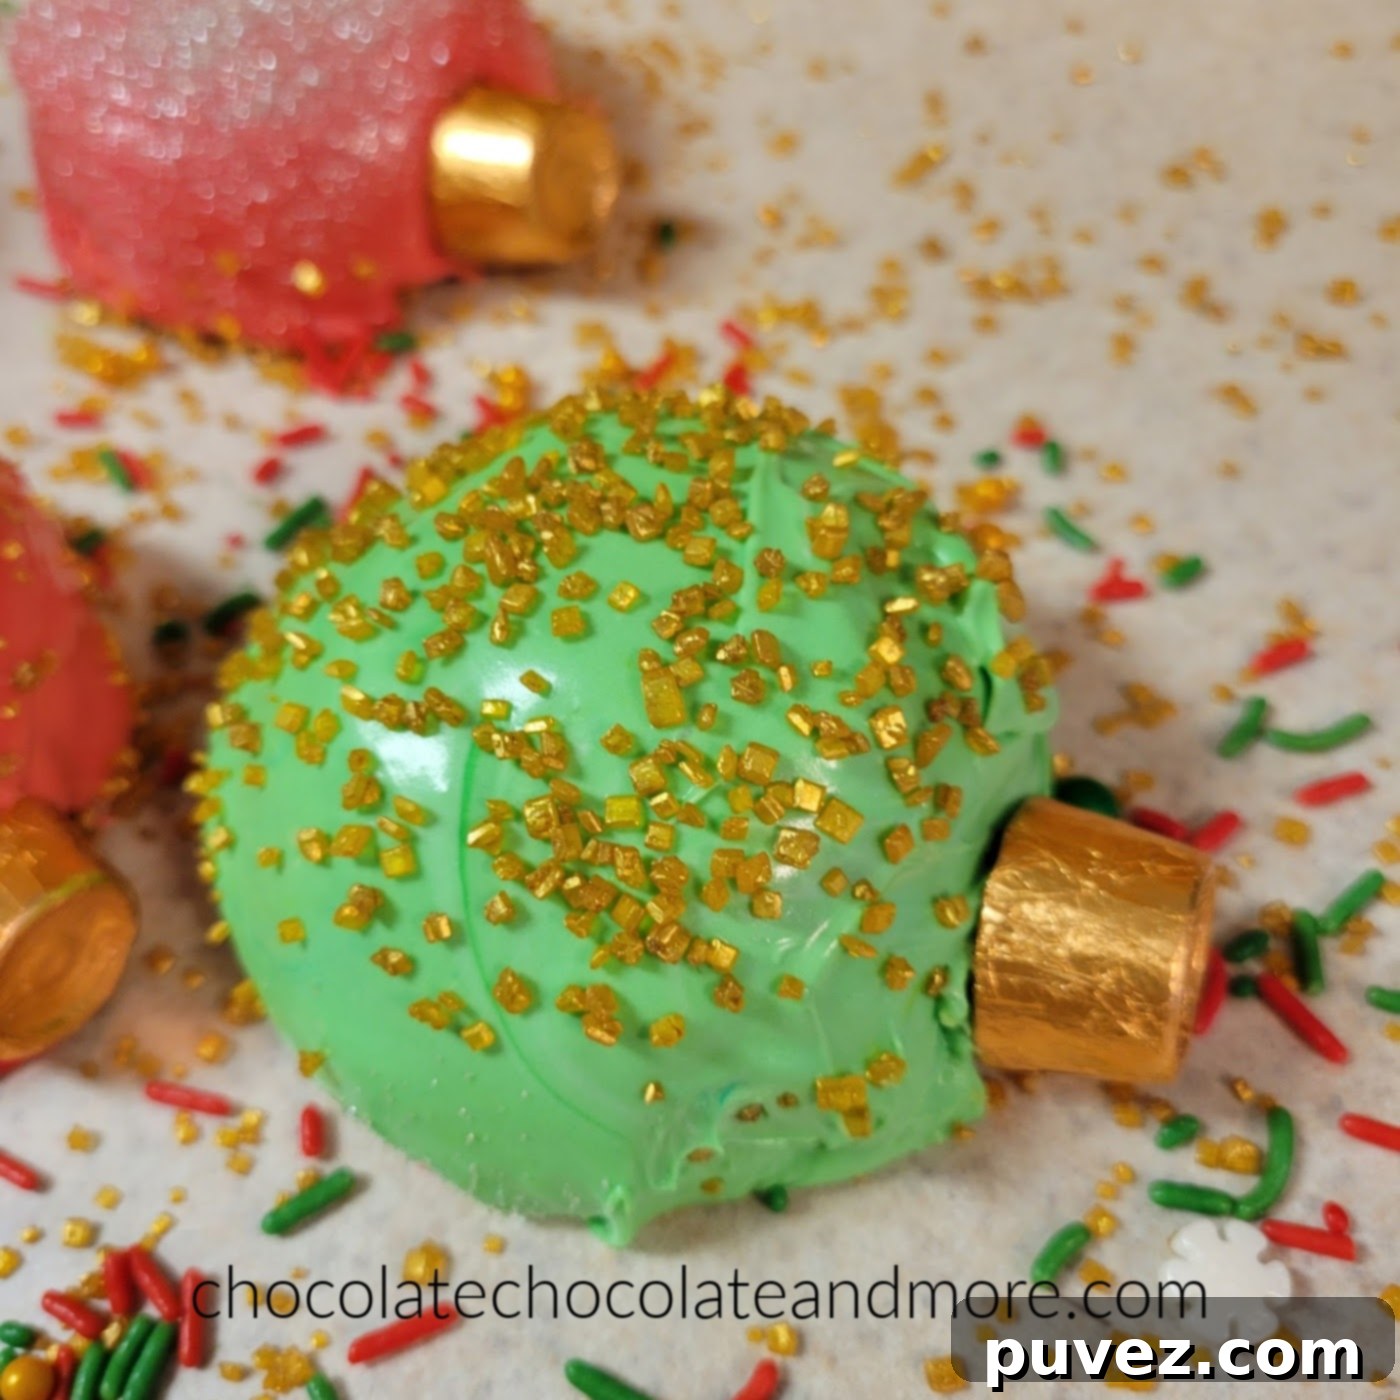
The holiday season is in full swing, and with it comes a flurry of festive gatherings and potluck parties. If you’re anything like me, you’re constantly on the lookout for fresh, adorable, and relatively easy ideas to bring a little extra sparkle to these celebrations. This year, my quest led me to a delightful revelation: why not transform ordinary cupcakes into charming Christmas ornaments? These Christmas Ornament Cupcakes are not only incredibly cute but also surprisingly simple to create, making them the perfect edible decoration for any holiday event. They’re guaranteed to be a conversation starter and a favorite among guests of all ages.
Why Choose Christmas Ornament Cupcakes for Your Holiday Gathering?
Beyond their undeniable cuteness, these ornament cupcakes offer several advantages for the busy holiday host or party guest. First, they are highly customizable. You can match the colors and flavors to your party theme or personal preferences. Second, they are single-serving treats, making them incredibly convenient for mingling and easy cleanup – no need for plates and forks if you’re serving them buffet style! Third, they bring a whimsical touch that truly embodies the spirit of Christmas, acting as both a dessert and a decorative element. Kids especially adore their festive appearance, often mistaking them for actual ornaments before realizing they’re delicious cakes.
The Foundation: Choosing Your Perfect Cupcake Base
The beauty of this recipe lies in its flexibility. You can start with virtually any cake base you prefer, whether it’s your go-to scratch recipe or a convenient box mix. The key is to select a flavor that complements the festive theme and, if necessary, accommodates any dietary restrictions among your guests. For a recent party, I opted for a classic yellow cake. This choice was specifically made because one of the guests has a chocolate allergy – a dietary challenge I can barely fathom, as avoiding chocolate would be incredibly difficult for me! Yellow cake offers a wonderfully neutral and comforting flavor that everyone tends to enjoy, making it a safe and delicious option.
Embracing Flavor and Dietary Needs
However, the possibilities don’t stop there. Imagine the rich, festive hue of a red velvet cake transformed into an ornament – it would be absolutely stunning and perfectly on-theme for Christmas! For those who love bold flavors and colors, a chocolate cake would also work beautifully, provided there are no chocolate allergies. If you’re feeling adventurous, you could even use food coloring to tint your cake batter. Picture vibrant green, deep red, or even a whimsical blue cake base peeking through the frosting. This allows for endless creative expressions and ensures your Christmas Ornament Cupcakes truly stand out.
Shaping Your Festive Ornaments: Two Easy Methods
Achieving that perfect spherical, ornament-like shape is simpler than you might think. There are two primary methods you can employ, depending on the tools you have available and your preference for baking.
Method 1: The Round Mold Advantage
The easiest approach is to bake your cupcakes directly in a round or spherical mold. These molds are readily available in baking supply stores or online and are designed to give your cakes that perfectly rounded finish. Simply prepare your cake batter according to your chosen recipe, fill the mold cavities, and bake as directed. Once cooled, you’ll have perfectly shaped cake spheres, ready for frosting and decoration. This method is straightforward and minimizes extra steps, making it ideal for those looking for maximum convenience.
Method 2: The Creative Cake Pop Approach
If you don’t have a round mold, don’t despair! You can still create beautifully shaped ornament cupcakes using a technique similar to making cake pops. This method involves a few extra steps but is incredibly forgiving and guarantees a consistent, smooth surface for your frosting. Here’s how to do it:
- **Bake Your Cake:** First, bake any cake of your choice in a standard baking pan (a 9×13 inch pan works well). Allow it to cool completely. This is crucial for the next step, as warm cake crumbles won’t hold shape as effectively.
- **Crumble the Cake:** Once cooled, use your hands or a fork to crumble the entire cake into fine crumbs in a large mixing bowl. Ensure there are no large lumps left. The finer the crumbs, the smoother your final ornament will be.
- **Add Frosting:** This is where the magic happens. Add approximately 1/2 cup of frosting to the cake crumbs. You can use any frosting you like – homemade buttercream, cream cheese frosting, or even a good quality store-bought frosting. The amount of frosting needed can vary slightly depending on the moisture content of your cake, so start with 1/2 cup and add more, a tablespoon at a time, until the mixture is pliable.
- **Mix and Mash:** Using your hands (or a sturdy spatula), thoroughly mix and mash the frosting into the cake crumbs until a dough-like consistency is achieved. The mixture should be firm enough to hold its shape when rolled but not overly sticky or greasy.
- **Shape into Balls:** Take small portions of the cake mixture and roll them between your palms to form smooth, round balls, roughly the size of a standard cupcake. Place these cake balls on a baking sheet lined with parchment paper.
- **Chill (Optional but Recommended):** For easier handling and frosting, you can chill the shaped cake balls in the refrigerator for about 15-30 minutes. This helps them firm up and prevents them from falling apart during the next steps.
Both methods result in the perfect base for your festive ornament cupcakes, offering flexibility based on your kitchen tools and preferred level of involvement.
The Icing on the Cake: Drizzling with Delight
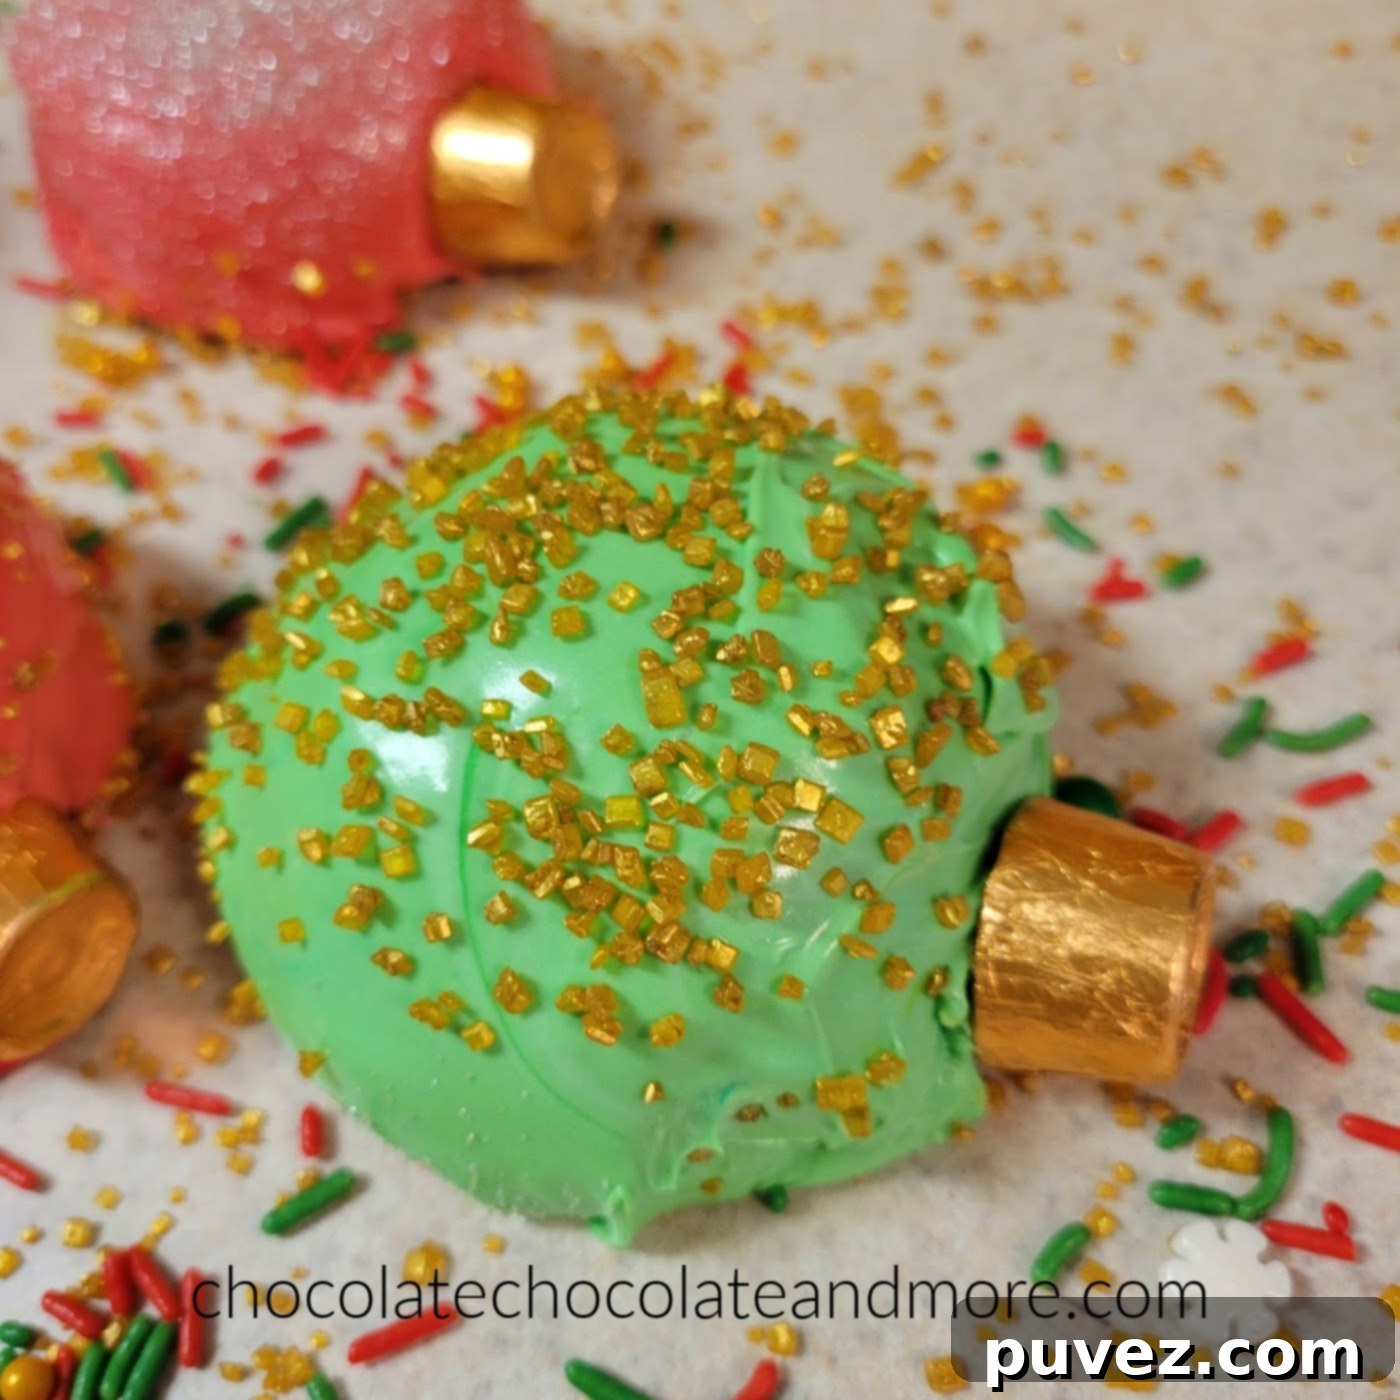
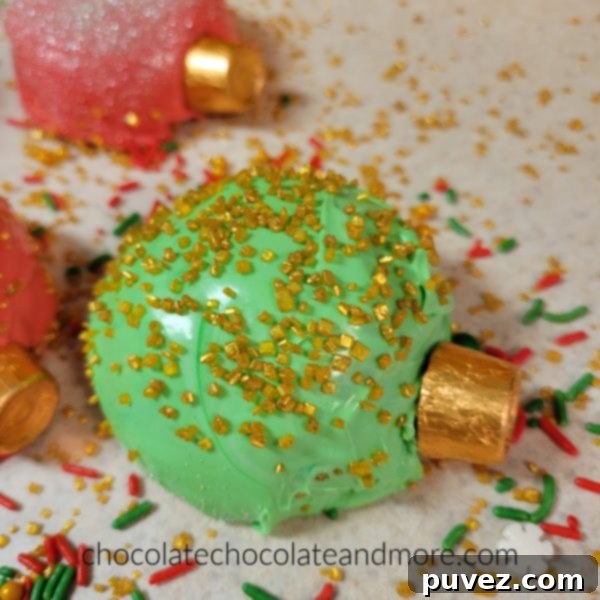
Now for the fun part – the frosting! To achieve that smooth, glossy finish reminiscent of a real ornament, I employed a super simple trick. Instead of traditional spreading, I used a pourable frosting. For ultimate ease, I relied on a can of good quality pre-made frosting. The key is to transform it into a pourable consistency. Simply open the can and heat it in the microwave for about 30 seconds. The exact time may vary slightly depending on your microwave and the frosting’s initial consistency, so watch it carefully. You want it warm enough to be fluid and pourable, but not boiling hot. Stir it well to ensure it’s evenly melted and smooth. This method creates a beautiful, even coating that sets nicely and looks incredibly professional without any fuss.
While a store-bought can of frosting is perfect for convenience, you can certainly use homemade frosting if you prefer. A simple glaze made from powdered sugar and milk, or a thinned-down ganache, would also work wonderfully. For extra holiday cheer, you can tint your pourable frosting with food coloring. Imagine dazzling red, emerald green, or even icy blue ornaments!
Bringing Them to Life: Decorating Your Edible Ornaments
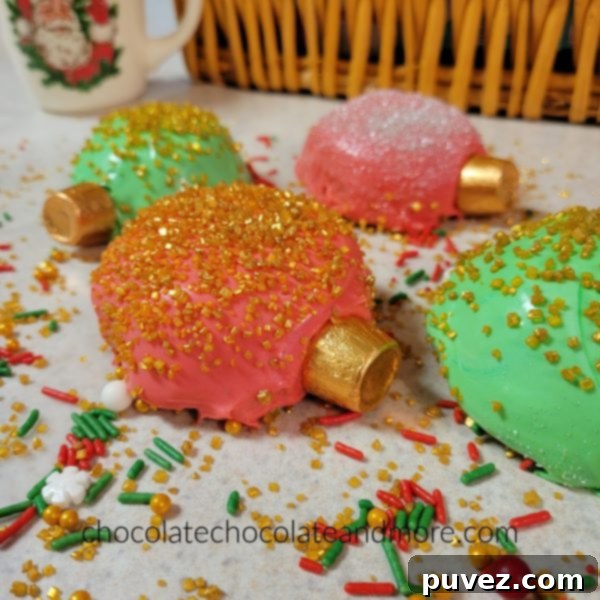
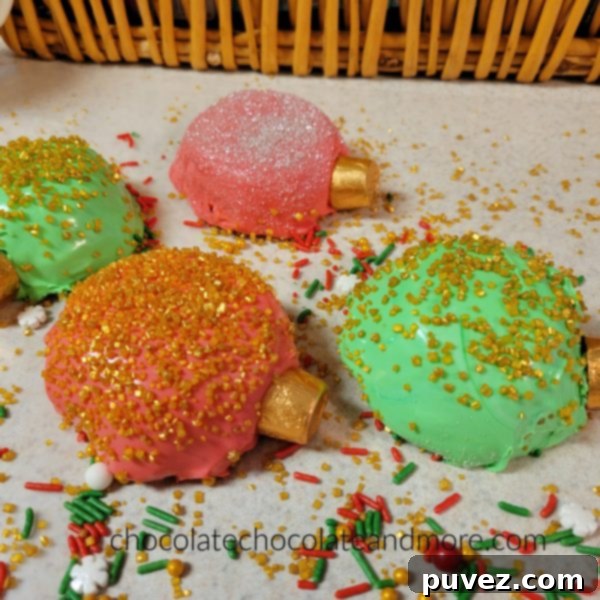
Once your cupcakes or cake balls are baked and cooled, and your frosting is ready, it’s time to bring these ornaments to life with decoration. This is where your creativity can truly shine. Gently pour or spoon the warm, pourable frosting over each cupcake, allowing it to drip down the sides for full coverage. The smooth, glistening surface will immediately give them that ornament-like appeal.
Immediately after frosting, while it’s still wet, generously add sprinkles. The variety of sprinkles available today is astounding! You can use classic colorful jimmies, sparkling edible glitter, metallic nonpareils, or even themed Christmas sprinkle mixes. Mixing and matching different types of sprinkles can add depth and texture to your ornaments, making each one unique. For a touch of elegance, consider gold or silver edible pearls. For a playful look, use larger, star-shaped sprinkles.
The final touch that truly sells the “ornament” illusion is the little “hanger” on top. For this, I used a gold-wrapped candy. Small chocolates like Rolo candies or Hershey’s Kisses, with their signature foil wrappers, are perfect. Simply stick one gently into the top of each frosted cupcake. The gold wrapper mimics the metallic hanger of a real ornament, completing the adorable transformation. You could also use small truffles wrapped in festive foil, or even edible glitter-dusted gumdrops for a whimsical touch.
Quick, Easy, and a Guaranteed Party Hit!
The entire process, from baking to decorating, truly takes no time at all. This is one of those fantastic holiday recipes that look incredibly impressive but require minimal effort, making them perfect for last-minute party preparations or when you want to involve children in the baking fun. The results speak for themselves: these Christmas Ornament Cupcakes were an absolute sensation at the party we attended. The kids were particularly enchanted, their eyes lighting up at the sight of these edible decorations. Adults loved them for their nostalgic charm and delicious taste. They truly embody the joy and magic of the festive season in every bite.
Tips for Christmas Ornament Cupcake Success
- **Cool Completely:** Ensure your cupcakes or cake balls are completely cooled before frosting. Warm cakes will melt the frosting and create a mess.
- **Even Frosting:** When heating canned frosting, stir it thoroughly to ensure a smooth, lump-free, pourable consistency. If it cools too much while you’re frosting, a quick 5-10 second reheat in the microwave will bring it back to life.
- **Sprinkle Immediately:** Apply sprinkles right after frosting each cupcake, while the frosting is still wet and sticky, to ensure they adhere well.
- **Storage:** Store your finished ornament cupcakes in an airtight container at room temperature for up to 2-3 days, or in the refrigerator if your frosting contains dairy that requires chilling.
- **Presentation:** Arrange them on a tiered cake stand or a festive platter to enhance their visual appeal. You can even place them among real ornaments for a truly immersive display.
I genuinely hope you take the opportunity to try these delightful Christmas Ornament Cupcakes this holiday season. They are a simple yet incredibly effective way to add a touch of homemade magic and festive cheer to any celebration. From my kitchen to yours, I wish you all a wonderful and Happy Holidays, filled with delicious treats and joyous moments!
Christmas Ornament Cupcakes
10 minutes
15 minutes
10 minutes
35 minutes
Ingredients
- Cupcakes baked in round mold
- 2 cans of pre-made frosting
- Sprinkles and Gold wrapped candy
Instructions
- Make the cupcakes and let them cool.
- Heat the frosting approximately 30 seconds until pourable.
- Pour frosting over cupcakes and add sprinkles.
- Stick a gold wrapped candy on top to make the ornament.
Notes
Have fun!
Nutrition Information:
Yield:
30
Serving Size:
1
Amount Per Serving:
Calories: 17Total Fat: 1gSaturated Fat: 0gTrans Fat: 0gUnsaturated Fat: 0gCholesterol: 1mgSodium: 11mgCarbohydrates: 2gFiber: 0gSugar: 2gProtein: 0g
Did you make this recipe?
Please leave a comment on the blog or share a photo on Instagram
More Christmas Ideas
Looking for more delightful treats and creative ideas to make your holiday season even sweeter? Here are a few other festive recipes and decorating tips from my collection and around the web that are perfect for Christmas:
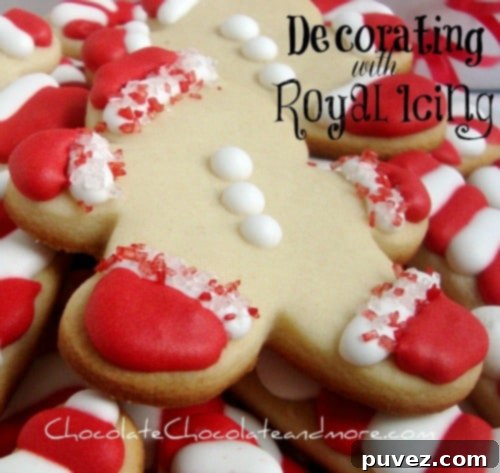
Decorating Cookies with Royal Icing
Learn the art of royal icing to create stunning, professional-looking Christmas cookies that will impress everyone.
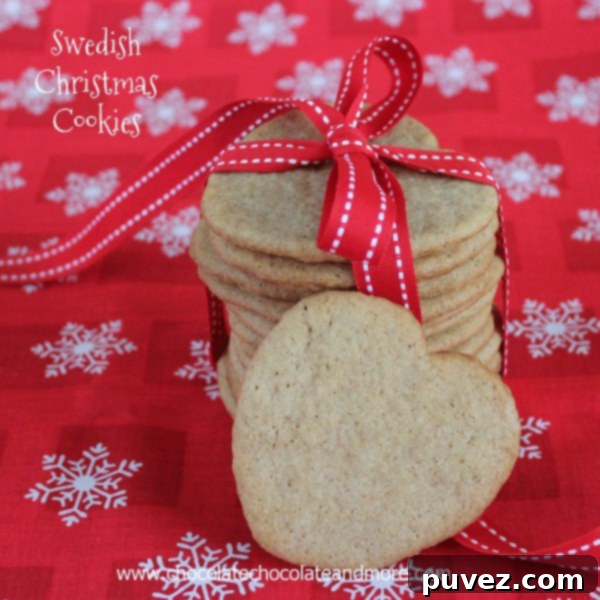
Swedish Christmas Cookies
Delight in the traditional flavors of Sweden with these classic Christmas cookies, perfect for holiday baking and sharing.
www.pinkwhen.com
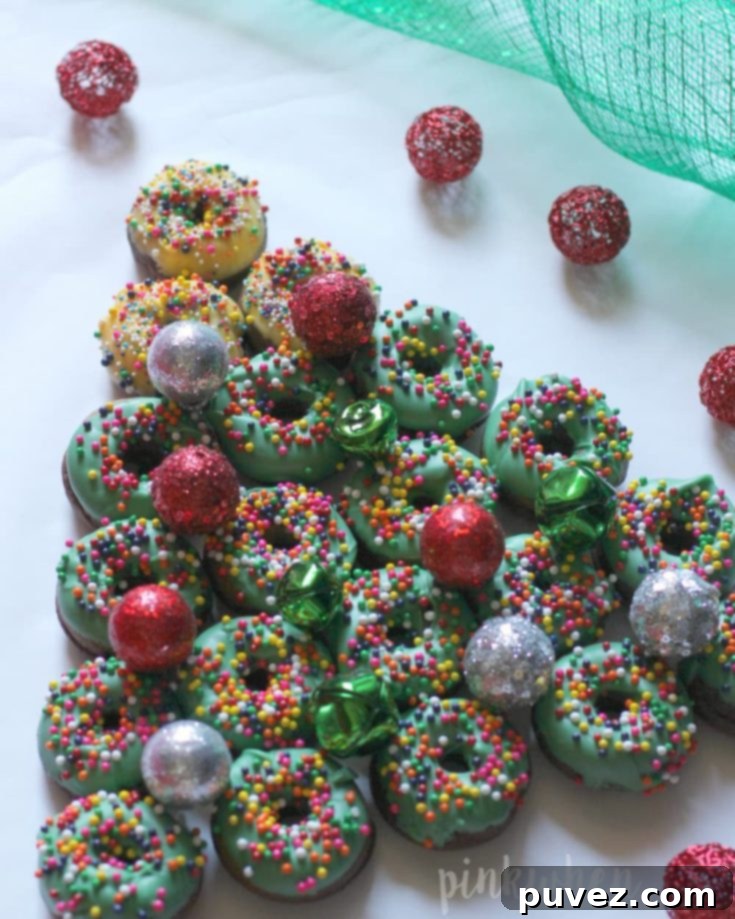
Donut Christmas Tree Dessert
Build a fun and edible Christmas tree using store-bought donuts, perfect for a quick and impressive holiday dessert.
www.the-girl-who-ate-everything.com
Melted Snowmen Oreo Balls
These charming Melted Snowmen Oreo Balls are a no-bake delight, perfect for adding a touch of winter wonderland to your dessert table.
