Ultimate Leftover Halloween Candy Cookie Cake: Your Guide to a Delicious Post-Halloween Treat
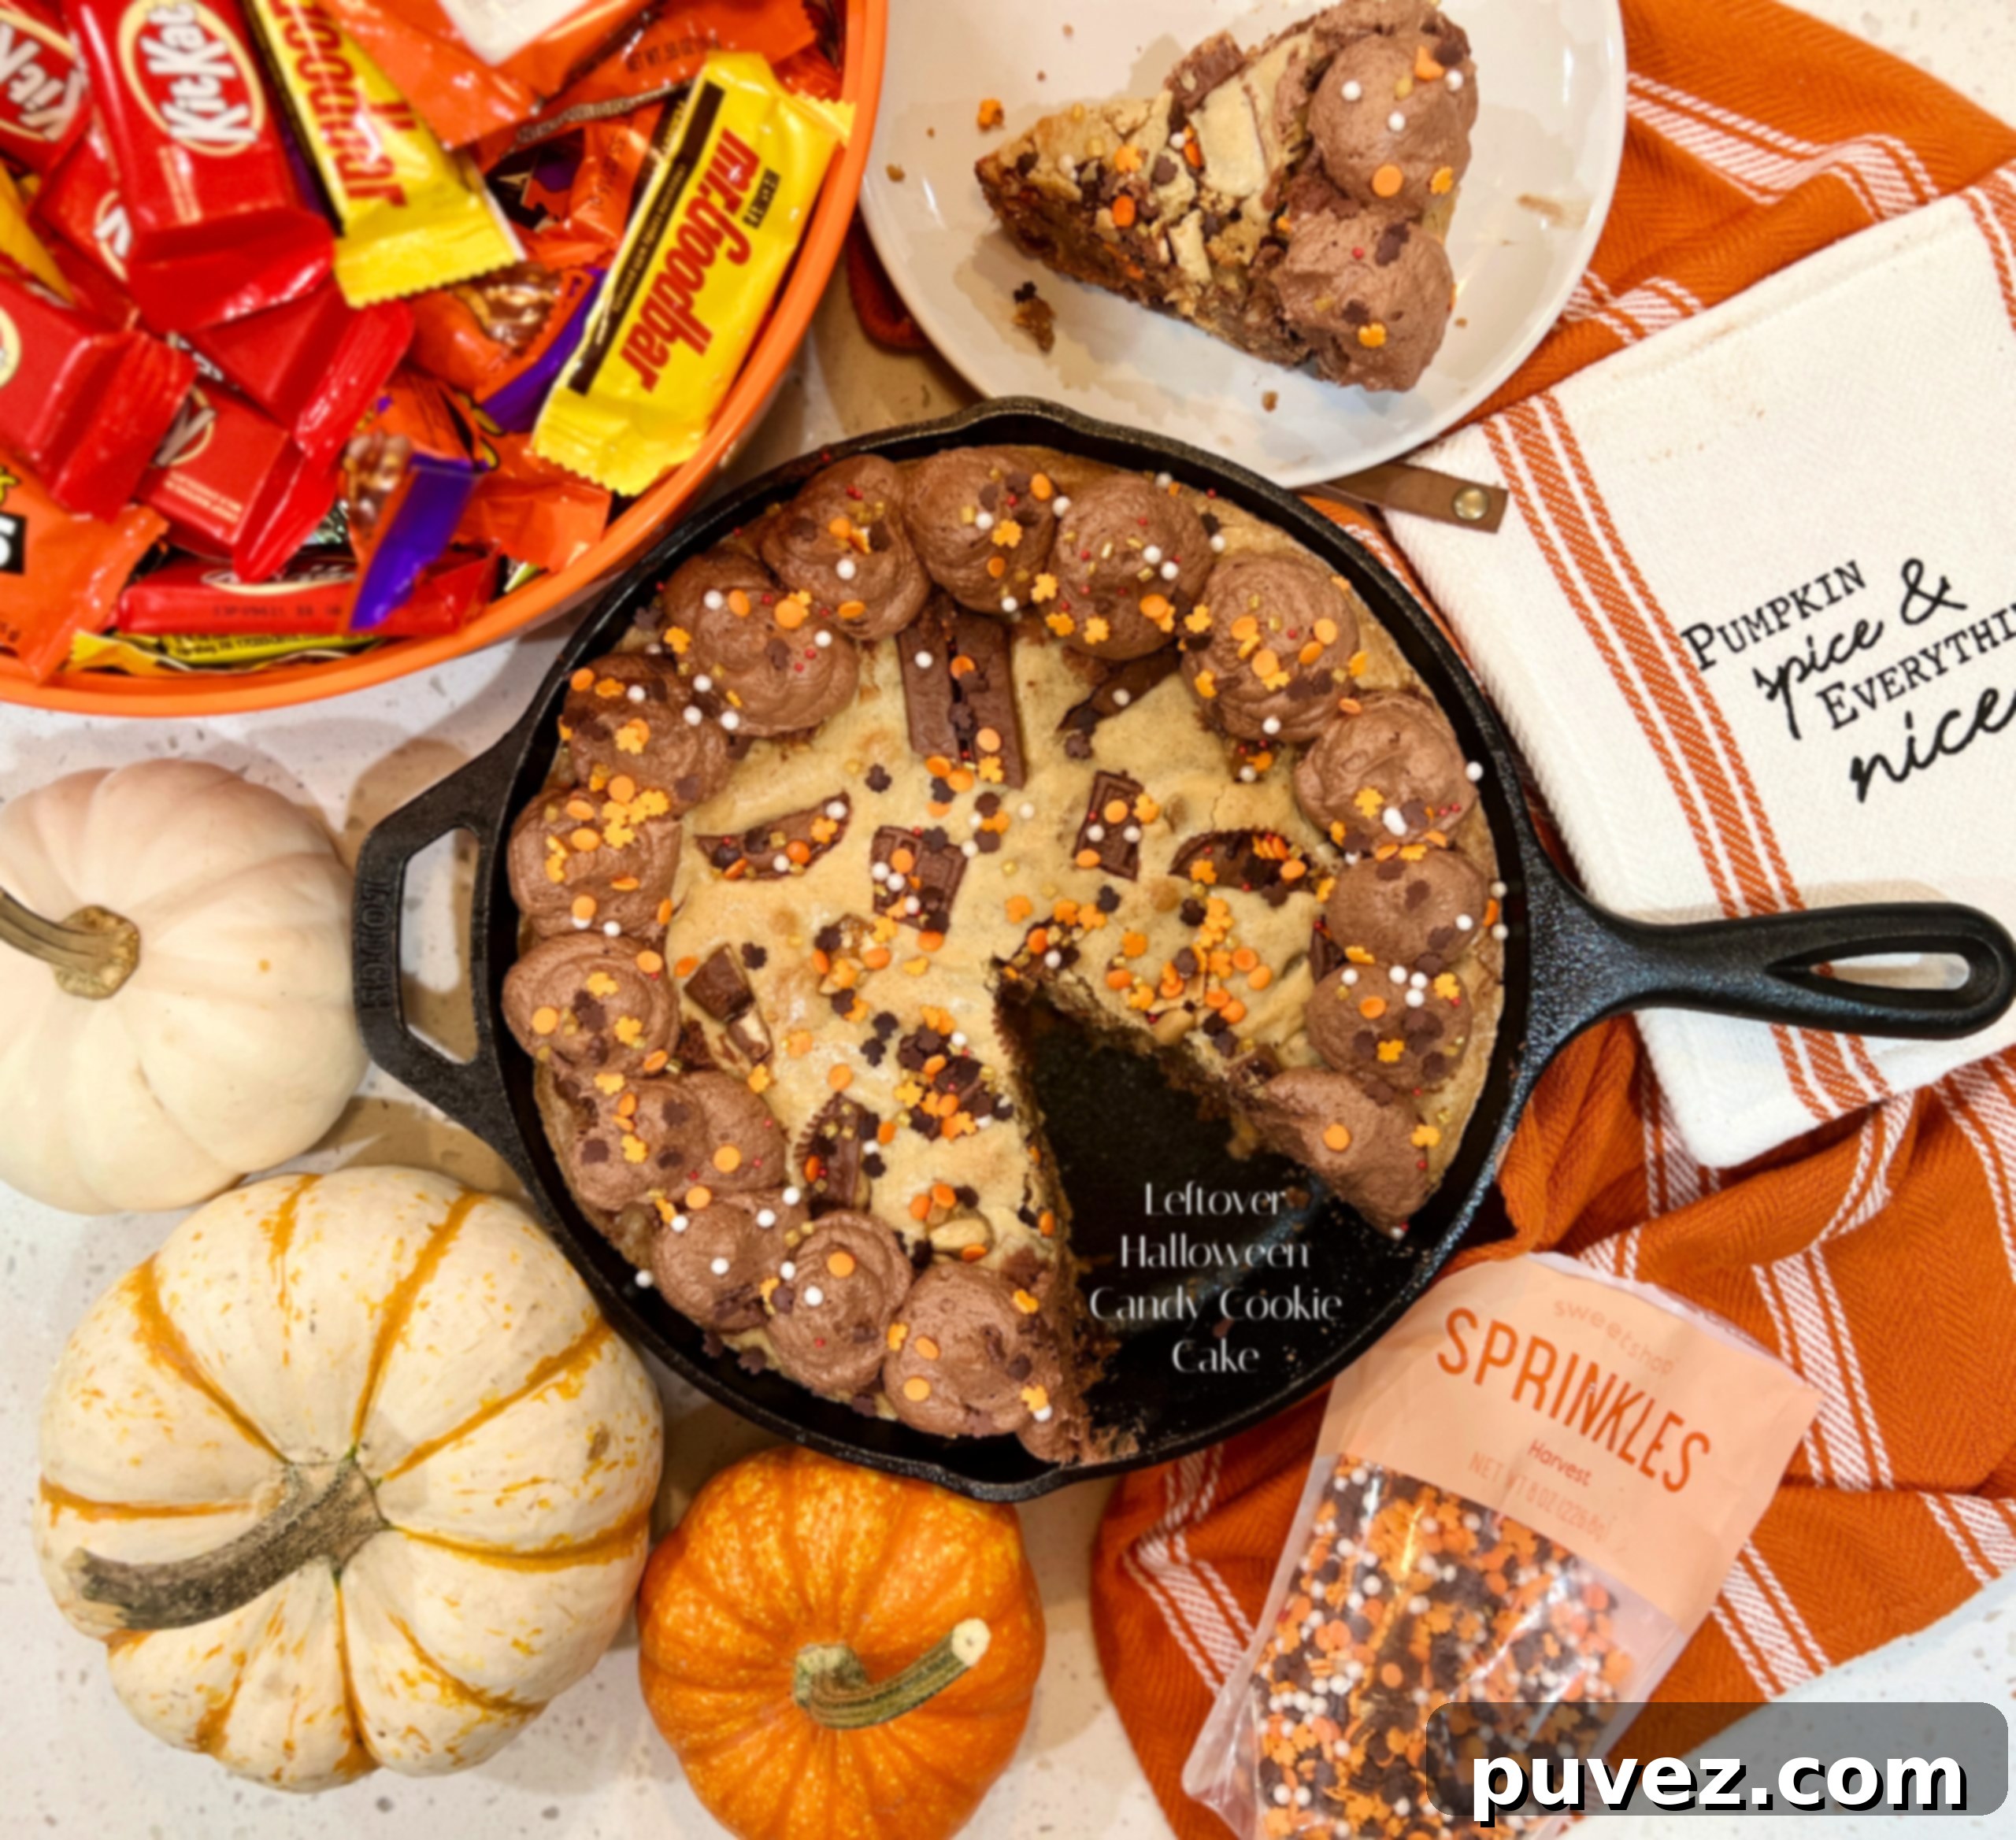
Halloween brings a bounty of sweet treats, but often, it leaves us with an overwhelming surplus of candy. Whether you’ve been inundated with goodies from enthusiastic trick-or-treaters or your kids have returned with a haul they’ll never finish, the question inevitably arises: what do you do with all that leftover Halloween candy? Before it gathers dust and eventually goes stale, transform it into something truly spectacular and undeniably delicious: a Leftover Halloween Candy Cookie Cake. This recipe is your perfect solution for turning excess sweets into a delightful, shareable dessert that everyone will love.
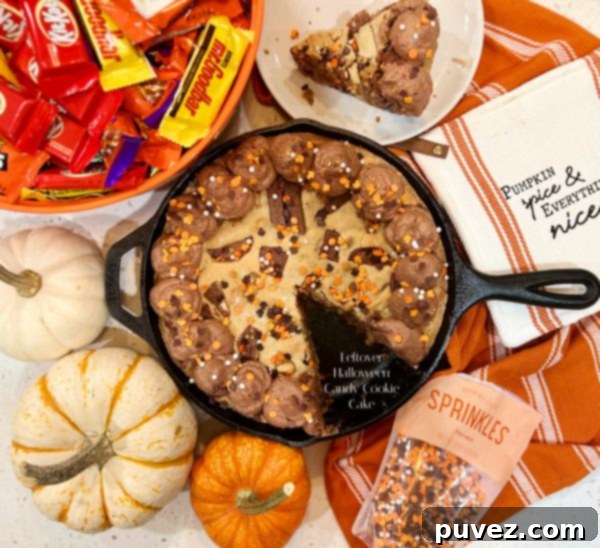
This year, our family experienced the delightful chaos of a new neighborhood during Halloween. We recently moved into a vibrant, active community, the kind where neighbors genuinely connect and celebrate together. Our first Halloween here was a memorable one, filled with neighborhood gatherings and, of course, a significant amount of trick-or-treating. We happily participated, even bringing along my nephew to join in the festivities. By the end of the evening, we found ourselves with an impressive amount of candy, both from my nephew’s overflowing bucket and extra treats from the hosts.
The aftermath, however, presented a familiar dilemma. We had bags of candy that, let’s be honest, my nephew wouldn’t touch – especially anything with peanut butter, which isn’t his favorite. And my boyfriend and I, while we appreciate the gesture, typically prefer fresh fruit over a sugar rush. This meant a large portion of the candy was destined to sit forgotten, slowly losing its appeal. That’s precisely where the magic of this Leftover Halloween Candy Cookie Cake comes in. It’s not just a recipe; it’s a creative and incredibly tasty way to repurpose that candy mountain, ensuring every sweet gets a second chance to shine. It’s a guaranteed crowd-pleaser that transforms potential waste into pure joy. Let’s get baking!
Why You’ll Love This Leftover Candy Cookie Cake
This isn’t just any cookie cake; it’s a celebration of convenience and creativity. Here’s why this recipe will become your go-to for post-Halloween candy emergencies:
- Reduces Waste: Say goodbye to uneaten candy! This recipe provides a delicious purpose for all those excess treats.
- Incredibly Easy: With straightforward steps and common ingredients, even novice bakers can achieve spectacular results.
- Customizable: Use any chocolate-based Halloween candy you have on hand – from mini chocolate bars and peanut butter cups to M&M’s and more!
- Perfect for Sharing: A giant cookie cake baked in a skillet is inherently communal, making it ideal for parties, family gatherings, or just a cozy night in.
- Crowd-Pleasing Flavor: The combination of a soft, chewy cookie base and rich chocolate buttercream, studded with your favorite candies, is simply irresistible.
- Kid-Friendly: Get the kids involved in chopping and mixing their favorite candies. They’ll love seeing their Halloween haul transformed!
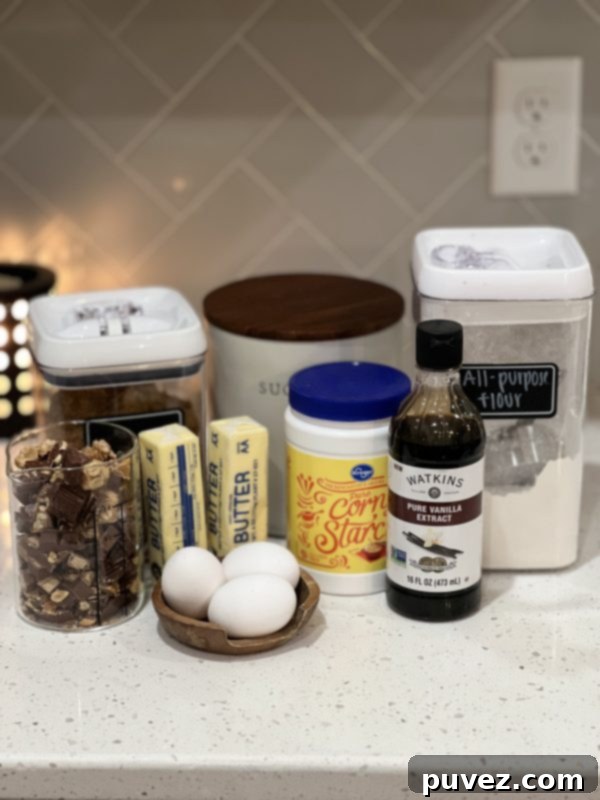
Ingredients for Your Leftover Halloween Candy Cookie Cake
For the Giant Cookie Cake:
- 2 sticks (1 cup) unsalted butter, melted
- 1 cup tightly packed light brown sugar
- 1 1/2 cups granulated sugar
- 3 large eggs
- A generous splash of vanilla extract (feel free to measure with your heart, but about 1-2 teaspoons is a good start)
- 2 cups all-purpose flour
- 1/4 cup cornstarch (this helps achieve that perfect chewy texture)
- 1/2 teaspoon salt
- 2 cups assorted leftover chocolate Halloween candy, roughly chopped (think Snickers, Milky Way, Reese’s, M&M’s, Kit Kats – any chocolate-based candy works wonderfully!)
For the Rich Chocolate Buttercream Frosting:
- 2 sticks unsalted butter, softened
- 1/2 cup unsweetened cocoa powder
- 2 cups powdered sugar, sifted
- A splash of vanilla extract (again, measure with your heart – around 1 teaspoon)
- 1/2 teaspoon salt (to balance the sweetness and enhance chocolate flavor)
Essential Equipment:
You’ll also need a well-seasoned 10-inch cast iron skillet. A cast iron skillet is ideal for this recipe as it provides even heat distribution, resulting in a beautifully golden and perfectly baked cookie cake with crispy edges and a chewy center. If you don’t have one, a 9×13 inch baking dish can work, but the skillet truly delivers that rustic, bakery-style appeal.
How to Properly Season Your Cast Iron Skillet (If Needed)
If your cast iron skillet isn’t already well-seasoned, or if you’re using a new one, here’s a quick guide to ensure it’s non-stick and ready for baking. A properly seasoned skillet not only prevents sticking but also imparts a subtle, desirable flavor to your baked goods.
- Wash Thoroughly: Begin by washing your cast iron skillet with hot, soapy water. While typically soap is avoided for seasoned skillets, for an initial seasoning, it’s important to remove any manufacturing residues. Scrub it well with a stiff brush or sponge.
- Dry Completely: Immediately after washing, dry the skillet thoroughly with a towel. To ensure every last drop of moisture is gone, place the skillet upside down in a preheated 500-degree Fahrenheit (260°C) oven for about 5-10 minutes. It’s crucial that it’s bone dry to prevent rust.
- Apply Oil: Once the skillet is dry and hot (use oven mitts!), carefully remove it from the oven. Pour about 1-2 tablespoons of a high-heat cooking oil, such as canola oil, vegetable oil, or Crisco, into the skillet.
- Spread and Wipe: Using a wad of paper towels held with tongs (to protect your hands from the heat), carefully spread a very thin, even layer of oil over the entire surface of the skillet – inside, outside, and handle. It should look like there’s almost no oil left, just a faint sheen. Excess oil can lead to a sticky, gummy surface.
- Bake Again: Place the oiled skillet back into the 500°F (260°C) oven, upside down, on the top rack. This allows any excess oil to drip off. Place a baking sheet or aluminum foil on the bottom rack to catch any drips and prevent a mess in your oven.
- Bake and Cool: Bake the skillet for 1 hour. After an hour, turn off the oven and let the skillet cool completely inside the oven. This slow cooling process helps the oil polymerize and create a durable, non-stick layer.
- Repeat for Best Results: For optimal seasoning, especially for new skillets, repeat this oiling and baking process 2-3 times.
If you’re seasoning your skillet on the same day you plan to make this cookie cake, ensure it has cooled down sufficiently to be handled comfortably before you start preparing the cookie dough. A perfectly seasoned skillet is an heirloom in the kitchen, and it’s worth the small effort!
Baking Your Leftover Halloween Candy Cookie Cake
Let’s turn that pile of candy into a magnificent dessert!
- Preheat Oven: Begin by preheating your oven to 350 degrees Fahrenheit (175°C). Ensure your cast iron skillet is clean and properly seasoned.
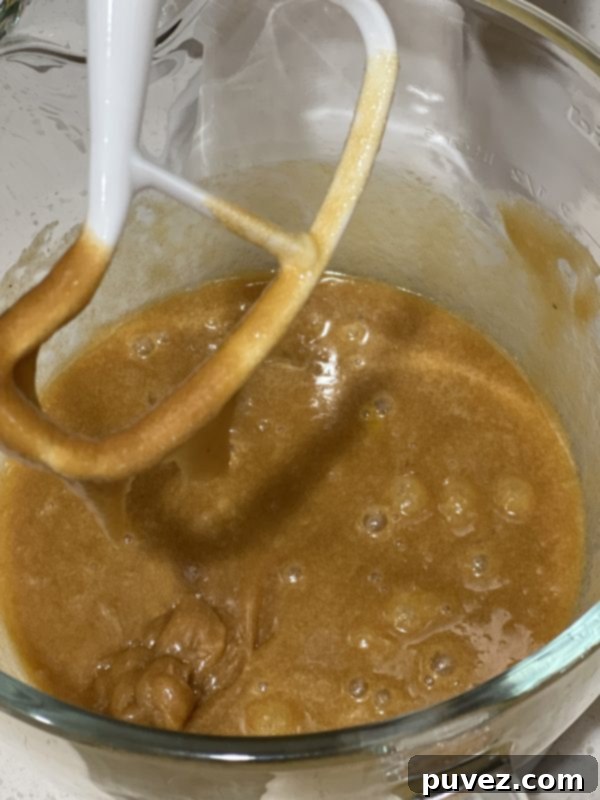
- Combine Wet Ingredients: In a large mixing bowl, or the bowl of your stand mixer, combine the melted unsalted butter, tightly packed brown sugar, and granulated sugar. Beat these together until the mixture is smooth and well combined, with no lumps of sugar remaining.
- Add Eggs and Vanilla: Next, crack in the three large eggs and pour in your generous splash of vanilla extract. Continue to beat the mixture until everything is thoroughly incorporated and the batter is light and creamy.
- Incorporate Dry Ingredients: Sift together or whisk the all-purpose flour, cornstarch, and salt in a separate bowl. Gradually add this dry mixture to the wet ingredients, mixing on low speed until just combined. Be careful not to overmix the dough, as this can lead to a tough cookie cake. Stop mixing as soon as no streaks of flour are visible.
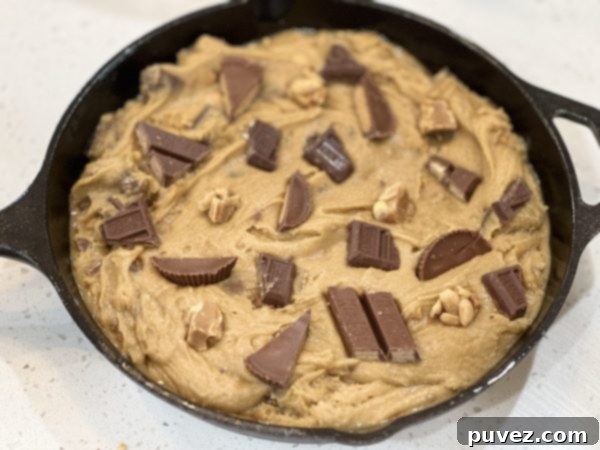
- Fold in Candy: Now for the fun part! Gently fold in your roughly chopped leftover chocolate Halloween candy. This is your chance to use up those peanut butter cups, mini chocolate bars, M&M’s, Twix, or whatever chocolatey delights you have. The beauty of this recipe is its flexibility – any chocolate candy works!
- Prepare for Baking: Carefully spread the thick cookie dough evenly into your seasoned 10-inch cast iron skillet. For that “bakery-perfect” look, here’s a secret: take a few extra pieces of your chopped candy and lightly press them onto the surface of the dough before baking. This makes the finished cookie cake look absolutely irresistible! Trust me, it makes a huge difference in presentation.
- Bake to Perfection: Place the skillet in your preheated oven and bake for 40-45 minutes. The edges should be golden brown, and the center should be set but still slightly soft.
- Cool Completely: This step is crucial! Once baked, remove the cookie cake from the oven and let it rest in the skillet until it is completely cool. Attempting to frost a warm cookie cake will result in a melted mess. Patience is key for perfect frosting application.
Crafting the Decadent Chocolate Buttercream Frosting
No cookie cake is complete without a luscious layer of frosting. This chocolate buttercream is rich, fluffy, and the perfect complement to your candy-studded cookie.
- Cream the Butter: For this frosting, a stand mixer is highly recommended. While a handheld mixer can work, your arm will thank you for using a stand mixer! In the bowl of your stand mixer, whip the 2 softened sticks of unsalted butter on medium-high speed until it’s light, pale, and incredibly creamy, about 2-3 minutes.
- Add Dry Ingredients: Sift the 2 cups of powdered sugar and 1/2 cup of unsweetened cocoa powder directly into the bowl with the whipped butter. Sifting prevents lumps and ensures a smooth frosting.
- Combine and Whip: Start mixing on the lowest speed to avoid a cloud of powdered sugar and cocoa. Once the dry ingredients are mostly combined with the butter, add your splash of vanilla extract (about 1 teaspoon) and the 1/2 teaspoon of salt. Increase the mixer speed to high.
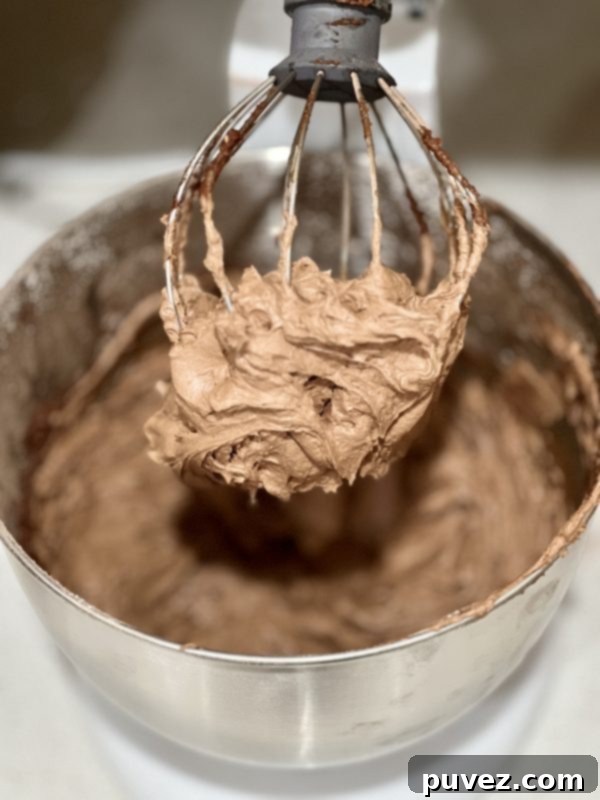
- Whip to Fluffy Perfection: Continue whipping the frosting on high speed for at least 5 minutes. During this time, the frosting will visibly increase in volume, becoming incredibly light, airy, and fluffy. It should have a beautiful, velvety texture.
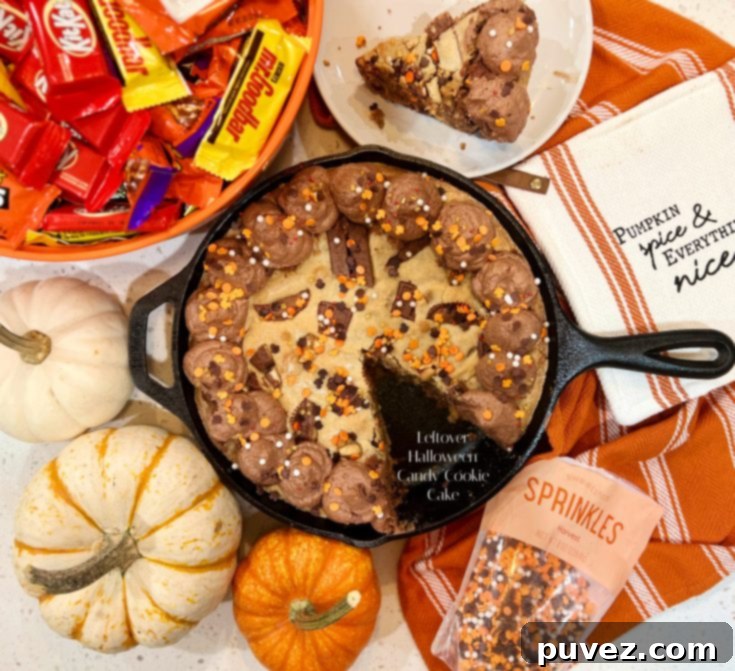
- Frost the Cooled Cake: Once your cookie cake is completely cool, transfer the chocolate buttercream frosting to a piping bag fitted with your favorite tip (or simply use a sturdy Ziploc bag with a corner snipped off). Pipe the frosting onto the cake, creating a decorative border around the edge, or spread it evenly over the entire surface – your choice!
And there you have it – your spectacular Leftover Halloween Candy Cookie Cake!
Serving, Storage, and Variations
Serving Suggestions:
This giant cookie cake is a showstopper on its own, but you can elevate the experience even further. Serve it slightly warm (reheat briefly if needed) with a scoop of vanilla bean ice cream or a drizzle of warm caramel sauce. A sprinkle of flaky sea salt on top of the frosting also adds a gourmet touch, balancing the sweetness beautifully. Cut into wedges, this cake is perfect for sharing at parties, movie nights, or as a special family treat.
Storage Tips:
To keep your cookie cake fresh, store any leftovers in an airtight container at room temperature for up to 3 days, or in the refrigerator for up to 5 days. If refrigerating, allow it to come to room temperature for about 30 minutes before serving for the best texture. The frosting may firm up slightly in the cold, but it will soften again.
Creative Variations:
- Candy Combinations: While chocolate candies are highlighted here, feel free to experiment! Add some crunchy pretzels for a salty-sweet twist, or swirl in a bit of peanut butter or caramel sauce into the dough before baking.
- Different Frostings: Not a fan of chocolate buttercream? A classic vanilla buttercream, cream cheese frosting, or even a simple glaze made from powdered sugar and milk would also be delicious.
- Seasonal Twists: This concept isn’t limited to Halloween! Use leftover Easter candy, Valentine’s Day chocolates, or Christmas treats to create seasonal versions of this delightful cookie cake.
- Nut-Free Option: If allergies are a concern, ensure all your chosen candies are nut-free and make sure to check all ingredient labels carefully.
Frequently Asked Questions (FAQs)
Q1: Can I make this cookie cake without a cast iron skillet?
A: Yes, absolutely! While the cast iron skillet gives it a wonderful rustic look and even bake, you can use a 9×13 inch baking dish. Adjust baking time as needed; it might be slightly shorter in a glass or metal pan. Keep an eye on it after 30-35 minutes.
Q2: What kind of leftover Halloween candy works best?
A: Chocolate-based candies tend to melt beautifully into the cookie dough. Think mini chocolate bars (Snickers, Milky Way, Twix, Kit Kat), peanut butter cups, M&M’s, or even chocolate-covered caramels. Avoid hard candies or gummies, as they don’t integrate as well and can become too chewy or sticky.
Q3: How finely should I chop the candy?
A: Roughly chopped is perfect! You want a mix of textures and sizes. For smaller candies like M&M’s, you don’t need to chop them at all. For larger bars, chop them into 1/2 to 1-inch pieces.
Q4: Can I freeze the cookie cake?
A: Yes, you can! Once completely cooled and frosted, wrap individual slices or the entire cake (if unfrosted) tightly in plastic wrap, then in aluminum foil. It can be frozen for up to 1-2 months. Thaw in the refrigerator overnight or at room temperature. If unfrosted, you can frost it after thawing.
Q5: My frosting isn’t fluffy. What went wrong?
A: The most common reasons are not whipping the butter enough initially, or not whipping the final mixture long enough on high speed. Ensure your butter is properly softened (not melted) and give it the full 5 minutes (or more!) of high-speed whipping. Adding a tablespoon of milk or cream can also help if it’s too thick, but keep adding gradually.
Oh, and here’s a little secret: those kids who didn’t like certain candies on Halloween? When they try them baked into this glorious cookie cake, topped with fluffy chocolate buttercream, they’ll suddenly discover a newfound appreciation for those once-ignored treats! It’s a sweet transformation for both the candy and the taste buds.

Leftover Halloween Candy Cookie Cake
Ingredients
- For the cake :
- 2 sticks (one cup) of unsalted butter, melted
- 1 cup of tightly packed brown sugar
- 1 1/2 cups of granulated sugar
- 3 eggs
- Splash of vanilla (measure with your heart, about 1-2 tsp)
- 2 cups of all-purpose flour
- 1/4 cup of cornstarch
- 1/2 teaspoon of salt
- 2 cups of leftover chocolate Halloween candy, roughly chopped
- For the frosting:
- 2 sticks of unsalted butter, softened
- 1/2 cup of unsweetened cocoa powder
- 2 cups of powdered sugar, sifted
- Splash of vanilla (about 1 teaspoon)
- 1/2 teaspoon of salt
Instructions
- Preheat Oven and Prepare Skillet: Preheat the oven to 350 degrees Fahrenheit (175°C) and have a clean, preseasoned 10-inch cast iron skillet ready.
- Combine Wet Ingredients: In a large mixing bowl or stand mixer, combine melted butter, brown sugar, and granulated sugar. Beat until smooth. Add eggs and vanilla, beating until well combined.
- Add Dry Ingredients and Candy: In a separate bowl, whisk together flour, cornstarch, and salt. Gradually add dry ingredients to wet, mixing on low speed until just combined. Fold in roughly chopped chocolate candy.
- Bake the Cookie Cake: Spread the cookie dough evenly into the seasoned skillet. Press a few extra candy pieces onto the top for a bakery-perfect finish. Bake for 40-45 minutes. Let cool completely before frosting.
- Prepare Chocolate Buttercream Frosting: For the frosting, whip 2 softened sticks of butter in a stand mixer until light and creamy. Sift in powdered sugar and cocoa powder. Add vanilla and salt. Whip on high speed for at least 5 minutes until light and fluffy.
- Frost and Serve: Once the cookie cake is completely cool, use a piping bag or a ziplock bag with the corner snipped to pipe or spread the frosting onto the cake. Serve and enjoy!
Nutrition Information:
Yield:
12
Serving Size:
1
Amount Per Serving:
Calories: 742Total Fat: 37gSaturated Fat: 22gTrans Fat: 1gUnsaturated Fat: 12gCholesterol: 103mgSodium: 358mgCarbohydrates: 97gFiber: 2gSugar: 75gProtein: 6g
Did you make this recipe?
Please leave a comment on the blog or share a photo on Instagram
More delicious Halloween-inspired treats
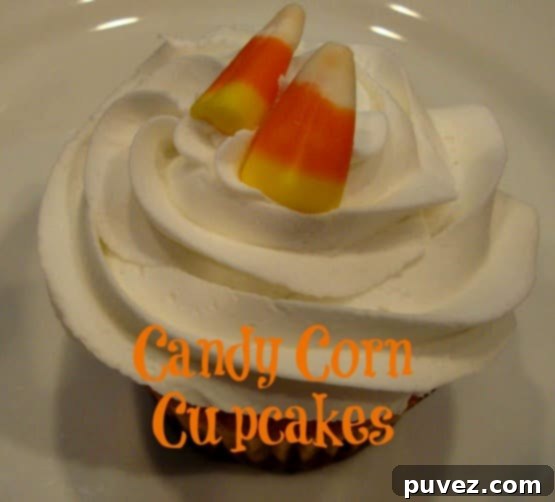
Candy Corn Cupcakes
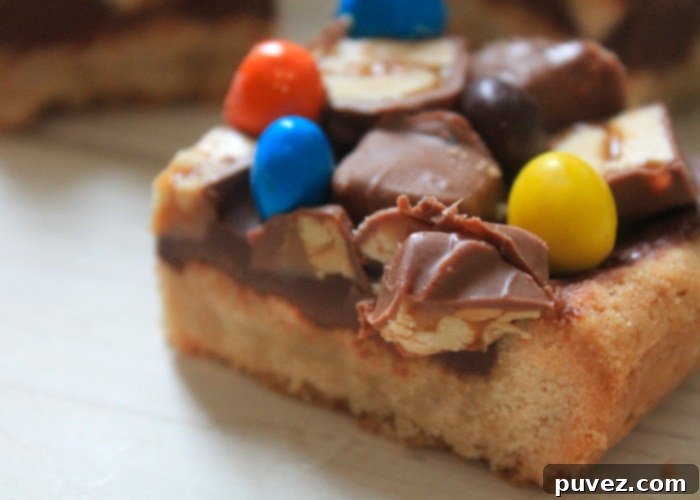
Leftover Candy Shortbread Bars
Leftover Candy Shortbread Bars make quick work of any Halloween candy you’ve got hidden away. You can use any combination you’d like to make this delectable treat.
Salted Halloween Monster Bark
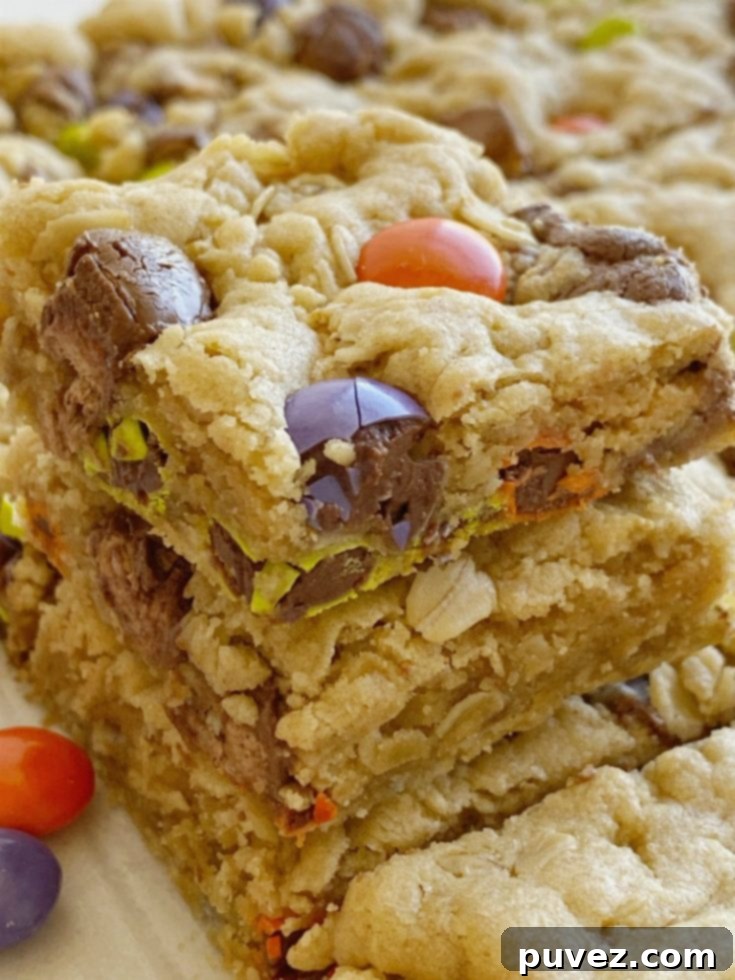
Halloween Candy Cookie Bars
Easy Halloween Treats to Make With Kids
30 Simple Homemade Candy Recipes
