Master the Art of Homemade Garlic Knots: An Easy, Irresistible Recipe!
Tired of bland, uninspiring store-bought bread rolls? There’s a world of flavor and satisfaction waiting for you in your own kitchen, and it’s much simpler than you might think! Baking your own bread, especially something as delightful as garlic knots, is an incredibly rewarding experience. The aroma alone will transform your home into a welcoming haven, signaling that something truly special is baking.
I am always on the lookout for new recipes to surprise and delight my family, and this homemade garlic knot recipe was an undeniable hit from the very first bite! They disappear almost as quickly as they come out of the oven, earning rave reviews every single time. These fluffy, garlicky delights are incredibly versatile and pair beautifully with a wide array of dishes. For instance, they are the perfect companion to a hearty Cottage Pie, just like the comforting recipe from Christina’s Cucina.
Forget the myth that bread baking is complicated. With a few simple ingredients and clear instructions, you’ll be creating bakery-quality garlic knots that are far superior to anything you can buy. Get ready to impress your loved ones and fill your home with the intoxicating scent of freshly baked garlic bread!
Irresistible Homemade Garlic Knots Recipe
These garlic knots are soft, chewy, and packed with an incredible garlic-herb flavor that makes them utterly addictive. They’re perfect for dipping in marinara sauce, sopping up gravy from a stew, or simply enjoying on their own.
Ingredients for Garlic Knots:
- 2 tablespoons olive oil (30 mL) – For infusing with garlic and a rich flavor base.
- 2 tablespoons unsalted butter (30 g) – Adds richness and a golden hue to the garlic mixture.
- 4 large cloves garlic, finely chopped (or 3 generous spoonfuls of minced garlic) – The star of the show! Fresh is always best for maximum flavor.
- 1 tablespoon fresh basil, chopped, or 1 teaspoon dried basil (0.54 g if dried) – Adds an aromatic, herby note. Adjust to your preference.
- 1/2 teaspoon red pepper flakes (or a good pinch, to taste) – Provides a subtle warmth and zing, optional but highly recommended.
- 1 package active dry yeast (about 2 1/4 teaspoons or 7g) – The leavening agent that makes our knots light and fluffy.
- 1 1/2 teaspoon granulated sugar (18 g) – Feeds the yeast, helping it activate and rise effectively.
- 1 1/4 cup warm water (105-110 F / 40-46 C) (350 mL) – Crucial temperature for activating active dry yeast without killing it.
- 1 1/2 teaspoon salt (7.5 g) – Enhances flavor and controls yeast activity.
- 3 1/2 to 4 cups all-purpose flour (approximately 420-480 g) – Note: The original recipe specified 1 1/2 cups, which is quite low for the liquid amount. I’ve adjusted this to a more standard range for yeast dough to achieve the right consistency. You’ll add gradually.
Ingredients for the Glaze:
- 1 large egg – Creates a beautiful golden-brown crust.
- 1 tablespoon milk (15 mL) – Thins the egg wash slightly for easier brushing and adds to the color.
Kitchen Equipment You’ll Need:
- Small skillet
- Medium mixing bowl
- Large mixing bowl (greased)
- Measuring cups and spoons
- Whisk
- Spatula or wooden spoon
- Damp cloth or plastic wrap
- Two baking sheets (greased or lined with parchment paper)
- Wire cooling rack
- Pastry brush (for glaze)
Step-by-Step Instructions to Homemade Garlic Knots:
Follow these detailed steps to create your perfect batch of homemade garlic knots. Each step is designed to guide you to success, even if you’re new to baking!
Step 1: Prepare the Aromatic Garlic-Herb Infusion
In a small skillet, combine the olive oil and butter. Heat this mixture over a low flame. Once the butter has melted, add the finely chopped garlic. Sauté the garlic gently, stirring occasionally, until it turns a light golden color and becomes fragrant, which usually takes about 5 minutes. The key here is low heat to prevent the garlic from burning and to allow its flavor to deeply infuse into the oil and butter. After the garlic is golden, stir in the fresh or dried basil and the red pepper flakes. Remove the skillet from the heat immediately and set it aside to cool completely. This cooling step is vital; hot oil will kill your yeast in the next step!
Step 2: Activate Your Yeast
In a medium-sized mixing bowl, combine the active dry yeast and granulated sugar with the warm water (ensure it’s between 105-110 F or 40-46 C – too hot or too cold will hinder yeast activity). Gently stir to dissolve. Let this mixture stand undisturbed for about 10 minutes. You’ll know your yeast is active and thriving when a foamy layer appears on the surface. This “bloom” indicates your yeast is ready to make your knots light and airy. If no foam appears, your yeast might be old or the water temperature was incorrect, and you should start this step again with fresh yeast.
Step 3: Combine and Form the Dough
Once your garlic-herb mixture has cooled completely and your yeast is active, stir the cooled garlic mixture and the salt into the foamy yeast mixture. Now, it’s time to add the flour. Gradually beat in the all-purpose flour, about 1/2 cup at a time, using a stand mixer with a dough hook on low speed, or a sturdy wooden spoon if mixing by hand. Continue adding flour until a soft, slightly sticky dough forms. You might not need all the flour, or you might need a little more – the exact amount can vary based on humidity and flour type. The goal is a dough that comes together but is still pliable.
Step 4: Knead the Dough to Perfection
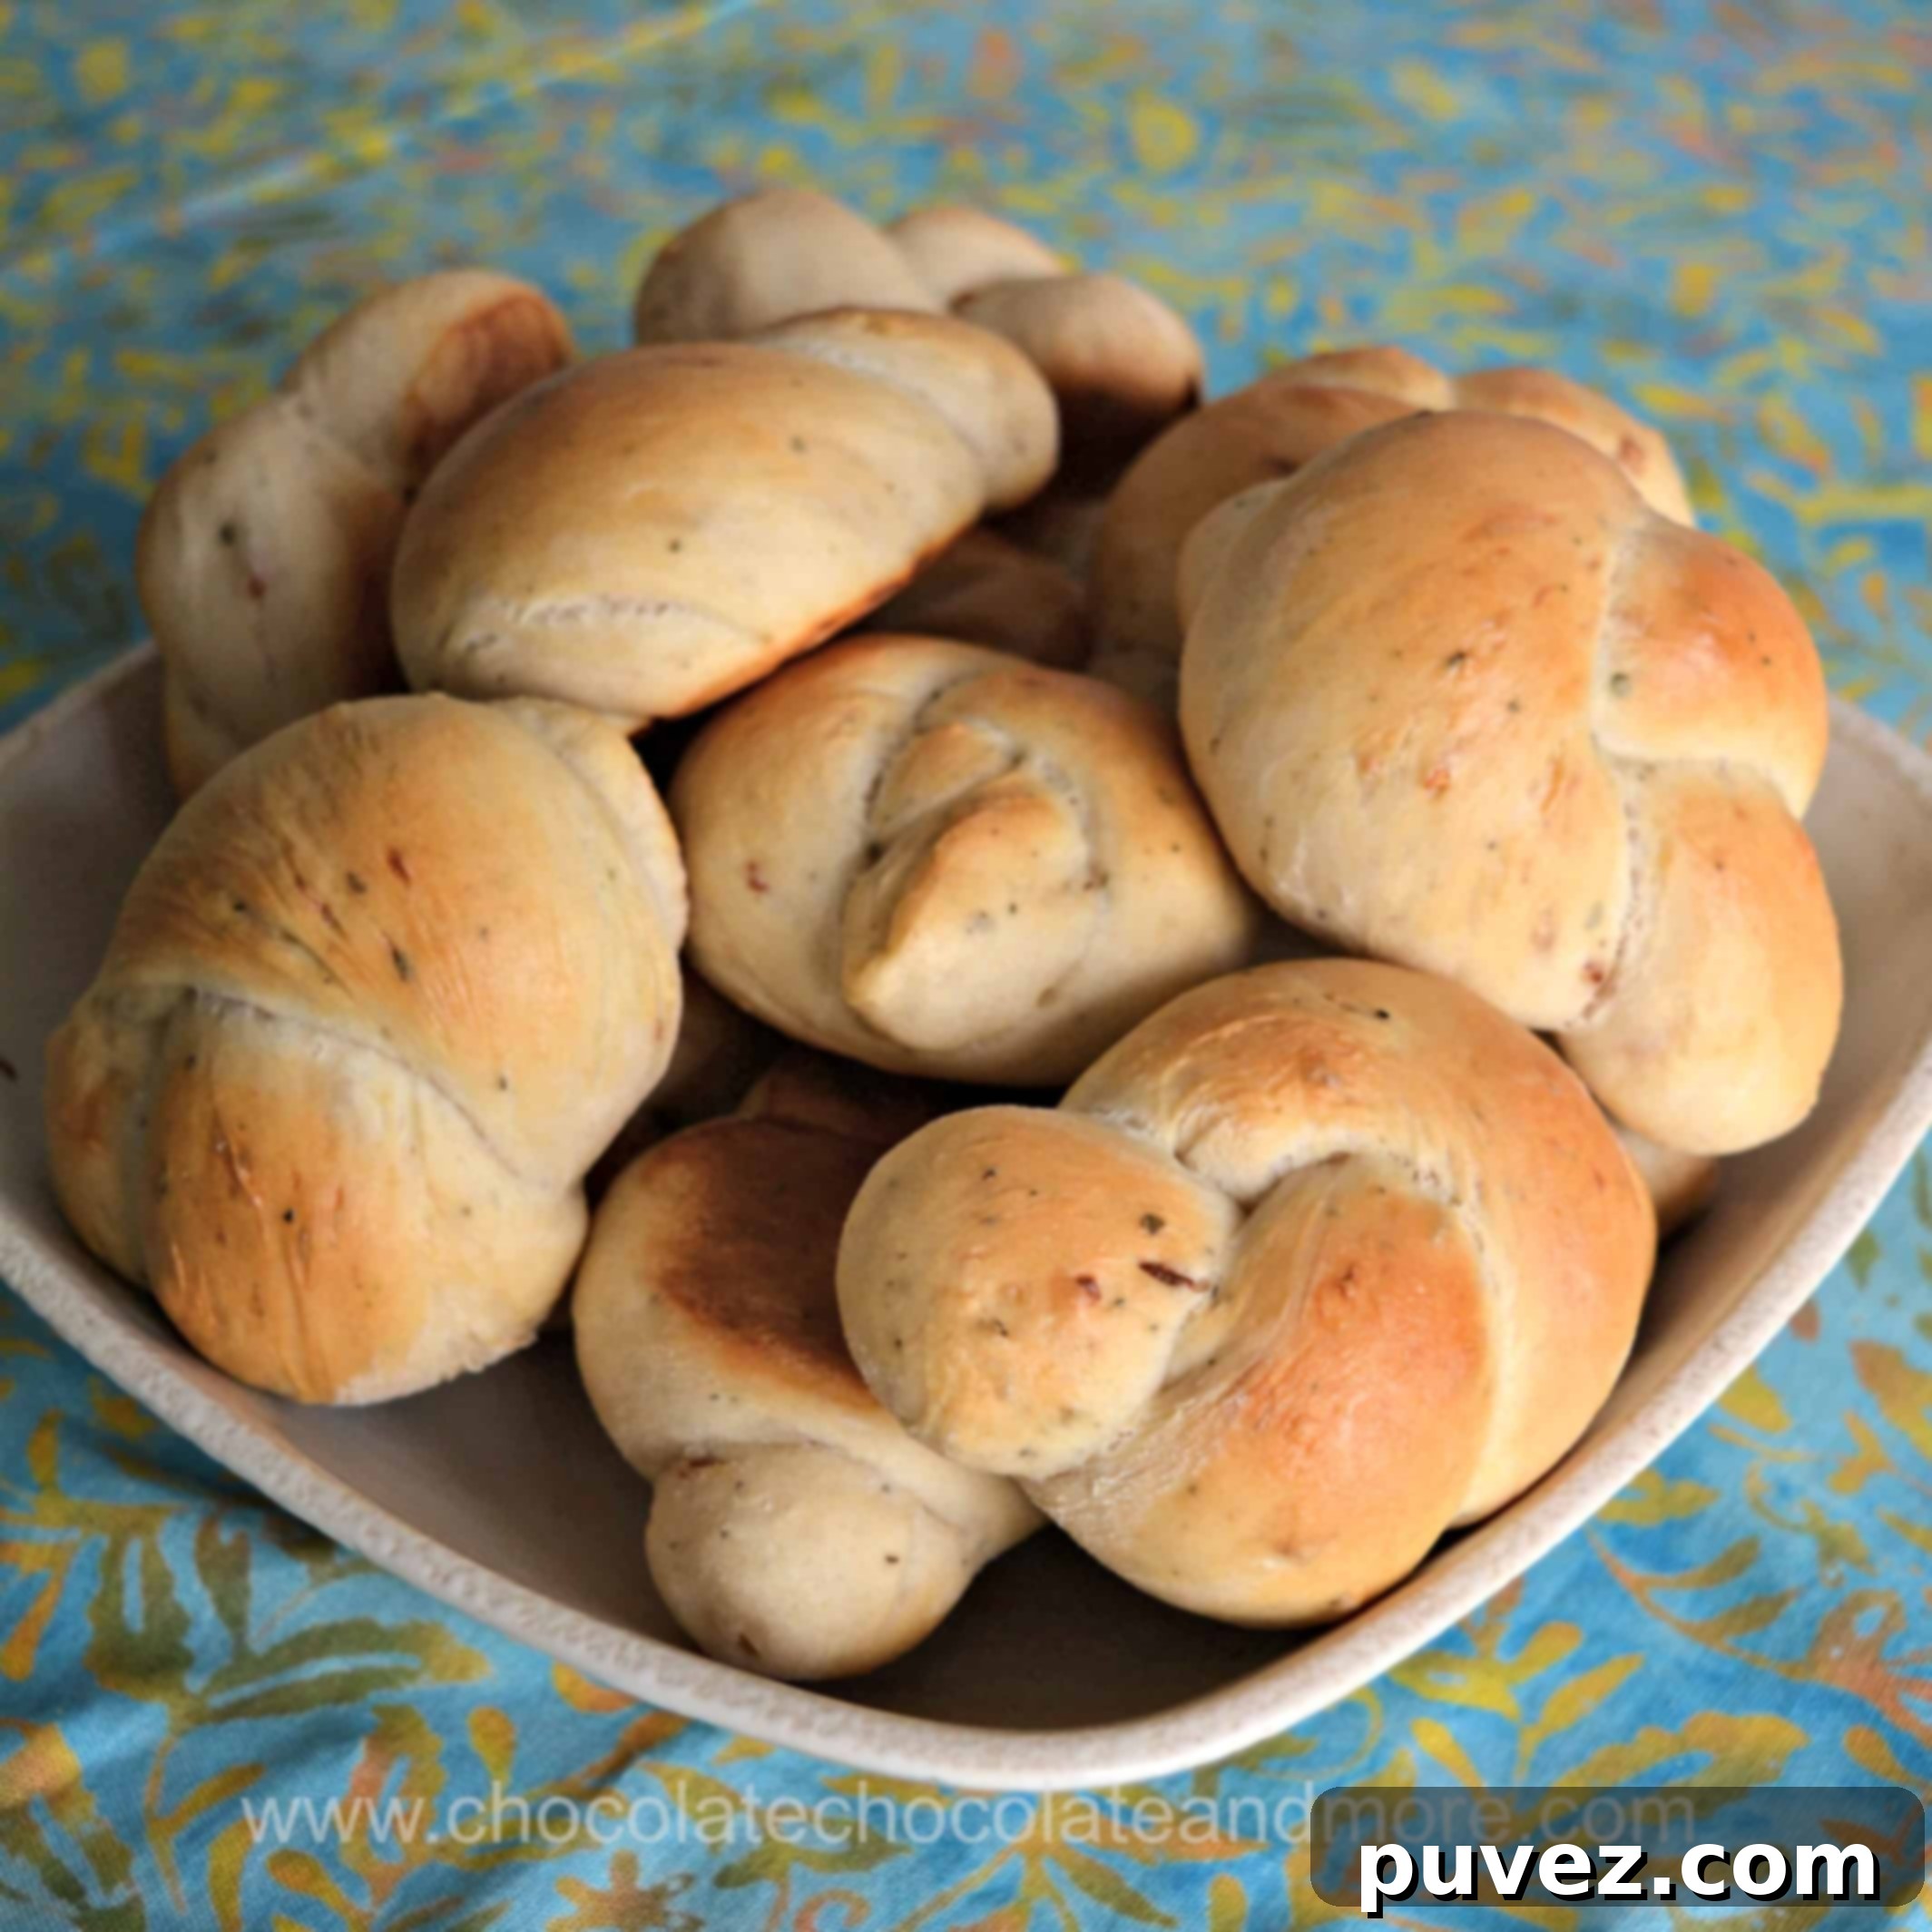
Lightly flour a clean work surface. Transfer the dough onto the floured surface. Knead the dough for 5-10 minutes until it becomes smooth, elastic, and no longer sticky. If kneading by hand, push the dough away from you with the heels of your hands, then fold it back towards you, rotating it slightly. Add small amounts of flour only if absolutely necessary to prevent sticking, as too much flour can result in dry, tough knots. For those using a stand mixer, let the dough hook do the work until it’s smooth and pulls away from the sides of the bowl. You’ll notice the beautiful flecks of garlic and basil throughout the dough, giving it a delightful visual appeal even before baking.
This stage is where the magic really begins. The vibrant colors of the herbs and garlic peeking through the dough are a testament to the fresh ingredients, promising a burst of flavor in every bite.
Step 5: First Rise (Proofing)
Lightly grease a large mixing bowl. Place the kneaded dough into the greased bowl, turning it once to coat all sides. This prevents the dough from sticking as it rises. Loosely cover the bowl with a damp cloth or plastic wrap. Find a warm, draft-free place in your kitchen for the dough to rise. A slightly warm oven (turned off, with just the light on) or a sunny spot on your counter works well. Let the dough rise until it has doubled in size, which typically takes about 1 hour, but can vary depending on your kitchen’s temperature. This first rise develops flavor and creates a tender crumb.
Step 6: Shape the Garlic Knots
While the dough is rising, grease two large baking sheets or line them with parchment paper. Once the dough has doubled, gently punch it down to release the air. Transfer the dough to a lightly floured surface. Divide the dough in half, then divide each half into 9 equal pieces, for a total of 18 knots. Each piece should be roughly the size of a golf ball. Take one piece of dough and roll it into a rope, about 6-8 inches long. Then, tie each rope into a loose knot. It’s important to keep the knot loose, as the dough will expand significantly during the second rise and baking. If the knots are too tight, they might tear or become dense.
Step 7: Second Rise
Arrange the shaped garlic knots on the prepared baking sheets, ensuring they are spaced about 2 inches apart to allow for expansion. Cover the baking sheets loosely again with a damp cloth or plastic wrap. Let the knots rise in a warm, draft-free place for another hour, or until they have doubled in size once more. This second rise, often called the proofing stage, is crucial for achieving that characteristic light and airy texture. While they are rising, preheat your oven.
Step 8: Bake to Golden Perfection
Preheat your oven to 400°F (204°C). While the oven heats, prepare the glaze by whisking together the large egg and milk in a small bowl. Gently brush the tops and sides of each risen garlic knot with this egg wash. This glaze will give your knots a beautiful golden-brown, shiny crust once baked. Place the baking sheets in the preheated oven and bake for approximately 18-22 minutes, or until the garlic knots are puffed up, golden brown, and cooked through. Keep an eye on them; ovens can vary.
Once baked, immediately transfer the hot garlic knots to a wire rack to cool slightly. While they are still warm, you can brush them with an extra layer of melted garlic butter (optional, but highly recommended for an extra burst of flavor!). Serve them warm and enjoy the pure delight of homemade bread!
Tips for the Best Homemade Garlic Knots:
- Fresh Ingredients: Always use fresh, active yeast and fresh garlic for the best results.
- Water Temperature: The temperature of your water is critical for yeast activation. Use a thermometer to ensure it’s in the 105-110 F (40-46 C) range.
- Don’t Rush the Rise: Allow your dough to double in size for both rises. Patience is key to light and airy bread.
- Cool the Garlic Mixture: Make sure your garlic-oil-butter mixture is completely cool before adding it to the yeast. Hot oil will kill the yeast.
- Don’t Over-Flour: Add flour gradually during kneading. Too much flour will make your knots dense and dry.
- Serving Suggestions: These knots are incredible with pasta dishes, soups, stews, or as an appetizer with marinara dipping sauce.
- Storage: Store leftover garlic knots in an airtight container at room temperature for up to 2-3 days, or freeze for longer storage. Reheat gently in the oven or microwave.
Oh, and if you happen to be making the Hot and Hearty Cottage Pie I mentioned earlier, you might find yourself with 2 egg whites left over from that recipe – perfect for whipping up a quick meringue or adding to an omelet!
There’s truly nothing quite like the taste and satisfaction of baking your own bread. These homemade garlic knots are not only easy but also incredibly flavorful, turning any meal into a special occasion. Give this recipe a try, and you’ll quickly discover why they’ve become a cherished family favorite!
Expand Your Baking Repertoire: More Delicious Yeast Bread Recipes to Try!
If you’ve enjoyed the process of making these delightful garlic knots and are eager to explore more in the world of yeast bread, you’re in luck! I have several other fantastic recipes that are sure to become new favorites in your kitchen. From classic breadsticks to hearty loaves, there’s something here for every bread lover:
Olive Garden Bread Sticks

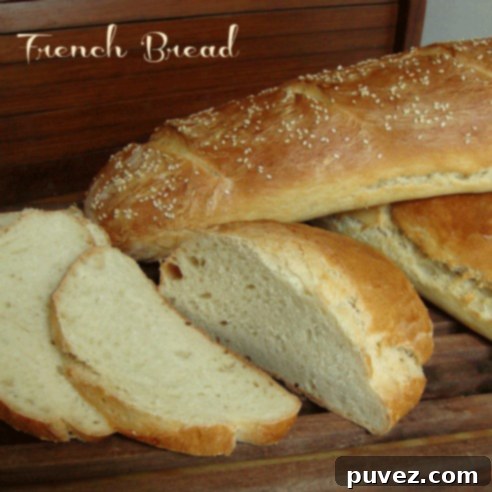
Crusty French Bread
Light and Fluffy Dinner Rolls
Buttery White Bread
Wheat Bread
