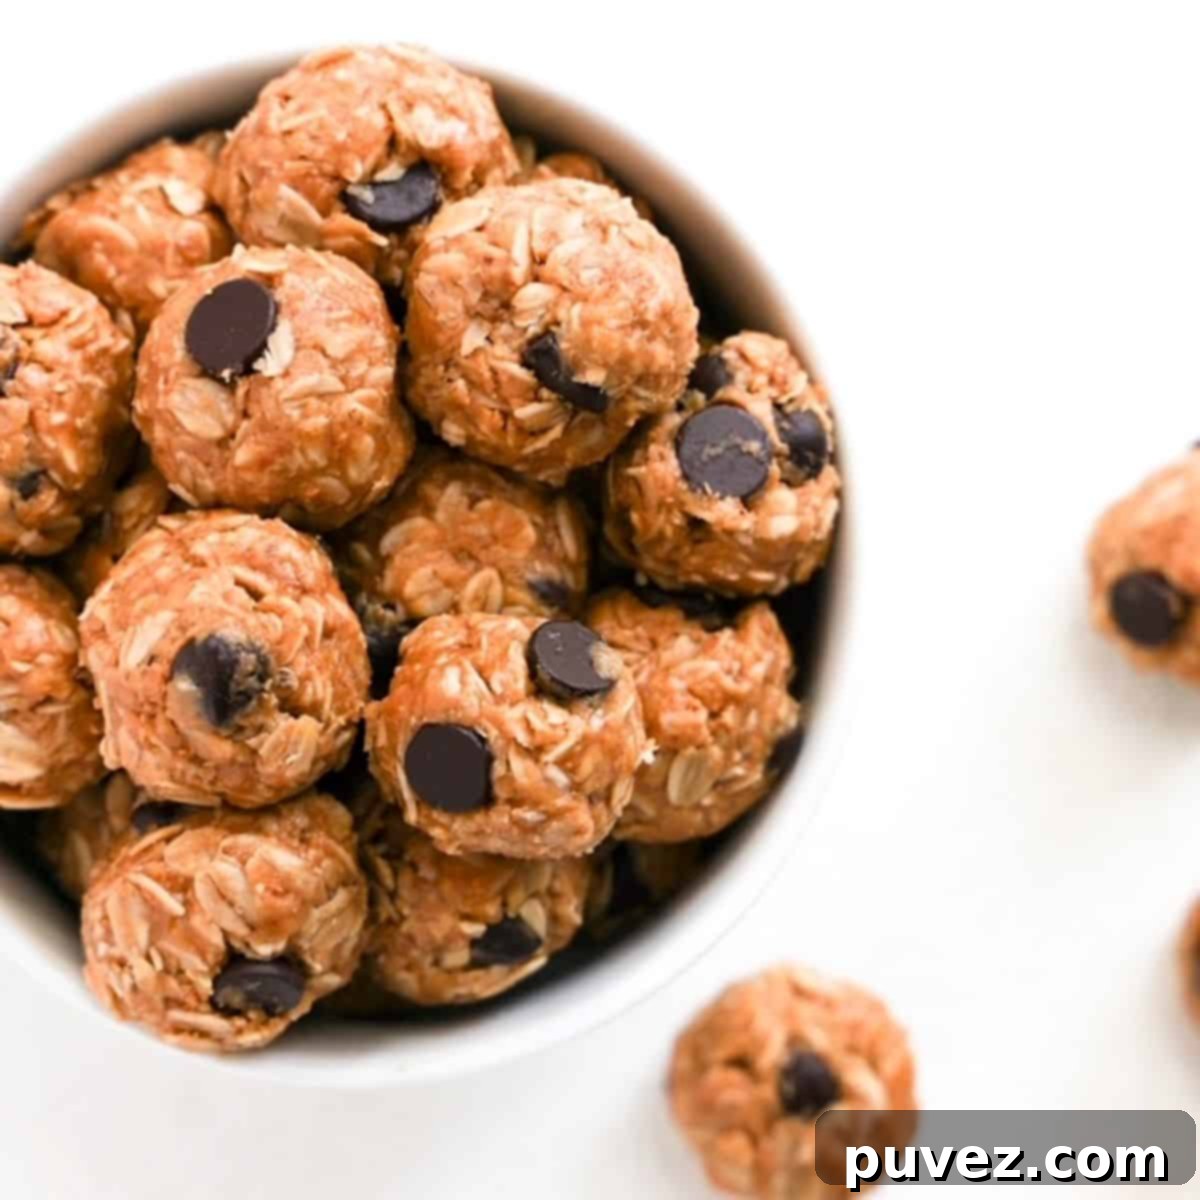
The Best 5-Minute No-Bake Peanut Butter Oat Bliss Balls (Easy Energy Bites Recipe)
Craving a quick, healthy, and utterly delicious snack that everyone in the family will adore? Look no further than these incredible 5-Minute Peanut Butter Oat Bliss Balls! Also widely known as energy bites, energy balls, or even power bites, these delightful little treats are packed with wholesome ingredients and require absolutely no baking. They are the perfect bite-sized solution for fueling busy school days, post-sport activities, long car rides, or simply enjoying a guilt-free treat at home.
What makes this recipe truly stand out is its incredible simplicity. You’ll only need five staple ingredients from your pantry, a bowl, and about five minutes of your time to mix, roll, and prepare them. Once ready, these nutrient-dense morsels are ready to be enjoyed immediately or stored for later. Beyond the classic version, I’m excited to share how effortlessly you can transform them into decadent chocolate bliss balls or boost them with extra protein, making them even more versatile for various dietary needs and taste preferences.
As a busy parent myself, these peanut butter oat energy bites have become a staple in our household. I’ve probably made this recipe a “gazillion times,” as I often tell my friends! Whether it’s a quick breakfast accompaniment, a much-needed afternoon pick-me-up, or a reliable travel snack, they consistently hit the spot. They pair wonderfully with a morning coffee or a glass of milk, and I confess, I enjoy them just as much as my kids do!
Much like my popular PB&J smoothie recipe, these peanut butter bliss balls are designed not just for amazing flavor, but also for their impressive nutritional profile. They offer a fantastic blend of fiber, healthy fats, and protein, making them a smart choice for sustained energy and overall well-being. Get ready to add this super easy, super tasty recipe to your family’s favorite snack rotation!
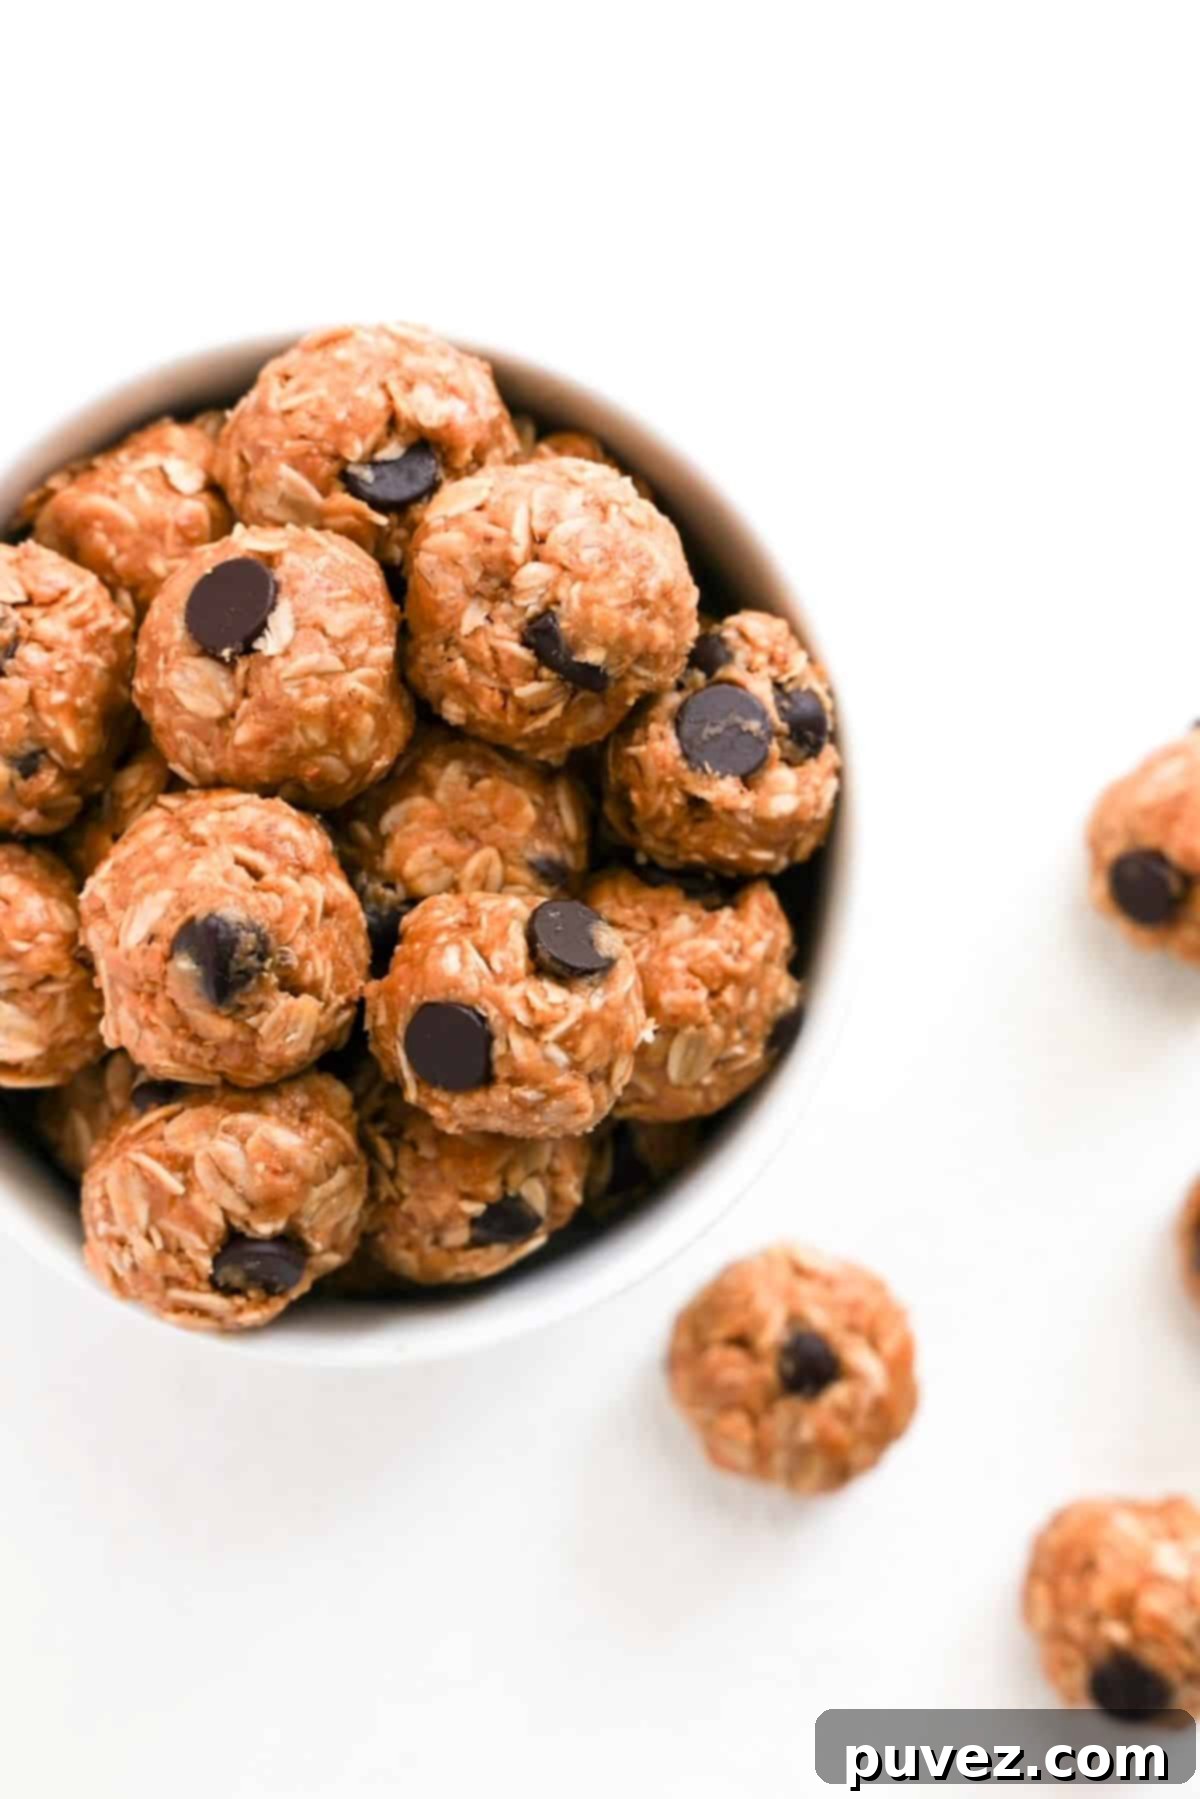
🤩 Why You’ll Adore These No-Bake Energy Bites
There are countless reasons why these peanut butter oat bliss balls have earned a permanent spot in our family’s recipe rotation. Their convenience, versatility, and wholesome nature make them an absolute winner for busy lifestyles. Here’s why I’m confident you’ll love them too:
- Minimal Ingredients: Just 5! You only need five basic, readily available ingredients: creamy peanut butter, wholesome rolled oats, nutritious flax meal, natural honey (or a suitable alternative), and a handful of chocolate chips for that irresistible touch. These are all common pantry staples, meaning you can whip up a batch anytime without a special grocery run. The simplicity ensures these are not only easy but also cost-effective to make regularly.
- Lightning-Fast: A True 5-Minute Recipe! In today’s fast-paced world, finding a truly quick recipe is a treasure. This one lives up to its name – from gathering ingredients to rolling the last ball, you can have a fresh batch ready in about five minutes. No complicated steps, no lengthy cooking times, just pure, unadulterated snack-making efficiency.
- Effortless Meal Prep: Freezer-Friendly Goodness. These bliss balls are a meal prepper’s dream! Prepare a large batch, portion them out, and store them in the freezer. When your refrigerator supply starts to dwindle, simply transfer a few from the freezer to the fridge, and they’ll be perfectly softened and ready to enjoy when hunger strikes. This strategy ensures you always have a healthy snack option on hand, saving you time and stress during busy weeks.
- Beginner-Friendly: Incredibly Easy to Make. You don’t need to be a seasoned chef to master this recipe. There’s no need to meticulously separate wet and dry ingredients; simply combine everything in one bowl and mix. The forgiving nature of the ingredients means it’s almost impossible to get wrong, making it an ideal recipe for cooking with kids or for anyone looking for a foolproof snack.
- Wholesome Plant-Based Snack. Crafted from ingredients like oats, peanut butter, and flax meal, these energy bites offer a fantastic plant-based snack option. They’re naturally rich in fiber, healthy fats, and plant protein, contributing to a balanced diet and providing sustained energy without the sugar crash often associated with processed snacks.
- No-Bake Convenience: Skip the Oven! One of the biggest advantages is that this recipe requires absolutely no baking or cooking. This means you can keep your kitchen cool, save on energy costs, and avoid the hassle of preheating and monitoring an oven. Just mix, roll, chill, and enjoy!
- Boost Your Day: Quick Energy and Flavor. Perfect as an afternoon pick-me-up or a quick addition to breakfast on hectic mornings, these energy bites provide a natural boost. The combination of complex carbohydrates from oats and healthy fats from peanut butter helps to keep you feeling full and energized, preventing those mid-day slumps.
- Dietary Friendly: Naturally Dairy-Free. For those with dairy sensitivities or following a dairy-free diet, this recipe is a perfect fit. Just ensure you opt for dairy-free chocolate chips (most dark chocolate chips are naturally dairy-free, but always check labels!). This makes them a great inclusive snack for many households.
🙋♀️ Dietitian Insights for Healthier Snacking
As a dietitian, I’m always looking for ways to make healthy eating both enjoyable and accessible, especially for families. These bliss balls are fantastic for several reasons beyond just their taste. Here are a couple of my top tips:
Bliss balls offer a wonderful, low-pressure way to introduce your children (and even adults!) to new flavors, textures, and nutrient-dense ingredients. Their appealing, bite-sized format can make them more inviting than other foods. For example, I’ve experimented with adding chia seeds to the mix, and while my daughter initially enjoyed the taste, she quickly discovered a dislike for the texture when the tiny seeds got stuck in her teeth! This highlights a great learning opportunity – tailor the ingredients to what your family enjoys, but don’t be afraid to subtly introduce new elements.
I’ve also successfully used various nut and seed butters. While my kids’ preference leans heavily towards peanut butter, I’ve found a good compromise by using a 50/50 blend of peanut butter and almond butter. This way, they get a slightly different flavor profile and additional nutrients without feeling like they’re eating something entirely new. Feel free to try cashew butter, sunflower seed butter (for nut-free options), or even a mix to find your family’s favorite combination.
While honey adds a lovely sweetness and binding quality to these bliss balls, it is absolutely crucial to exercise caution if there is a child under the age of one in your household. Honey can pose a risk of infant botulism. As a healthcare professional, I’ve personally witnessed the severe complications of infant botulism in a hospital setting, which is why I feel it’s incredibly important to raise awareness. For children under one year old, please substitute honey with maple syrup (though you may need to adjust the wet-to-dry ingredient ratio for consistency as maple syrup is thinner) or another safe liquid sweetener like rice malt syrup. Always prioritize the safety of the youngest members of your family.
🍫 Delicious & Easy Recipe Variations to Try
While the classic peanut butter oat bliss ball recipe is a timeless favorite, these bites are incredibly adaptable! A few simple additions can completely transform their flavor profile and nutritional benefits. Below are two popular variations, and I encourage you to explore the ‘helpful tips’ section further down for even more ideas to add texture and unique flavors.
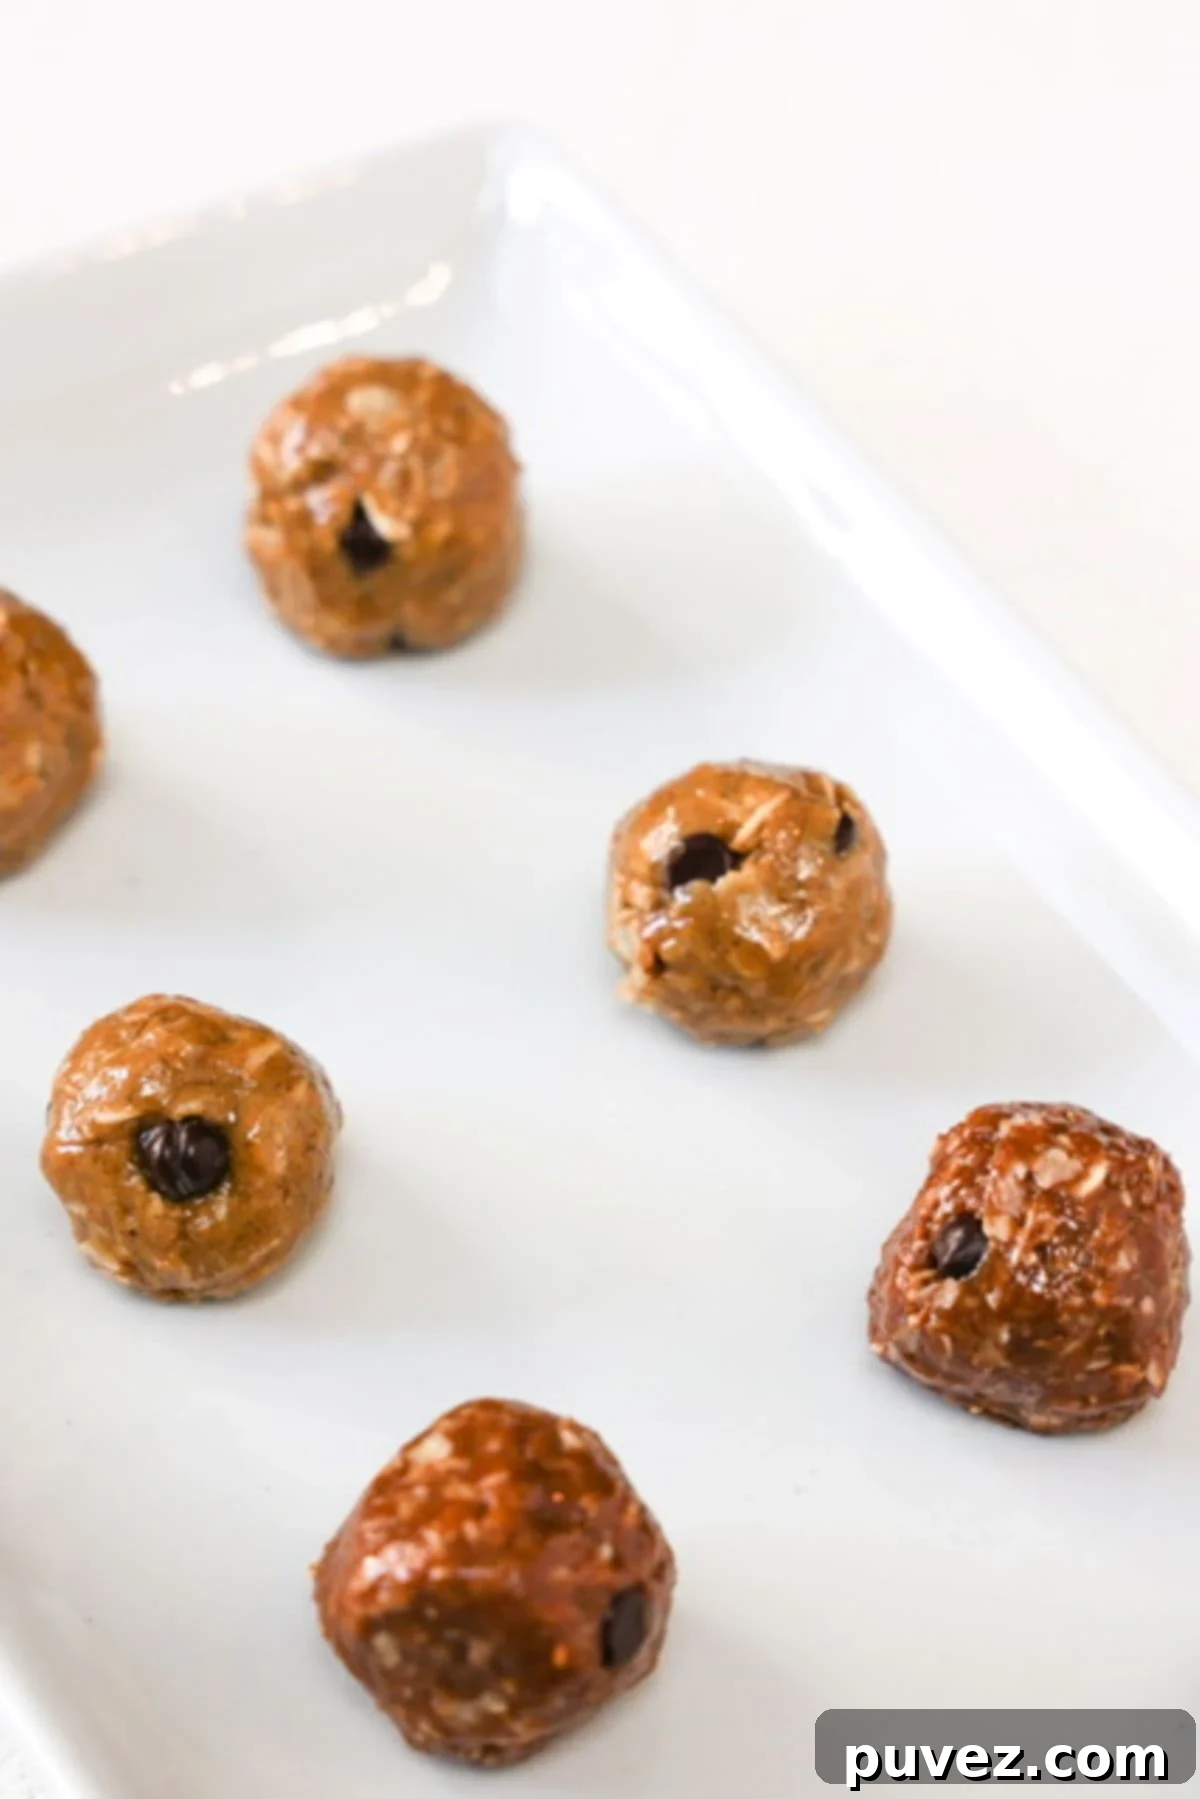
Rich Chocolate Bliss Balls
For the chocolate lovers in your life (and let’s be honest, who isn’t?), this variation is an absolute must-try. To transform your basic bliss balls into a chocolatey delight, simply mix in two tablespoons of unsweetened cocoa powder and two teaspoons of ground cinnamon. To maintain the perfect consistency and ensure a rich flavor, you’ll also need to add two additional tablespoons of peanut butter and two additional tablespoons of honey. This adjustment not only deepens the flavor but also yields a slightly larger batch. The result is a wonderfully chocolatey bite, even before adding any chocolate chips! You can choose to omit the extra chocolate chips from the main recipe for a less sweet version or add them in for a double chocolate experience.
Power-Packed Protein Bliss Balls
If you’re looking to boost the protein content for a more substantial post-workout snack or simply to keep hunger at bay longer, these protein bliss balls are ideal. To make them, stir in one-quarter cup of your favorite protein powder. I’ve personally used Superfood Protein by Choice Juicery with great success, but any vanilla or unflavored protein powder should work well. You’ll also need to adjust the moisture content by adding two additional tablespoons of peanut butter and one-and-a-half additional tablespoons of honey to achieve the right consistency. This variation provides a more satiating snack, perfect for sustained energy throughout your day.
Other Delicious Variations to Explore:
- Tropical Twist: Add a tablespoon of shredded coconut and a teaspoon of lime zest for a refreshing, tropical flavor.
- Nutty Crunch: Incorporate a handful of finely chopped mixed nuts (almonds, walnuts, pecans) for added texture and healthy fats.
- Spice it Up: Experiment with spices like a pinch of nutmeg, cardamom, or pumpkin pie spice for a warm, comforting flavor.
- Fruity Bites: Mix in a tablespoon of dried cranberries, chopped apricots, or finely diced dates for natural sweetness and chewiness.
🥜 Essential Ingredient Notes for Perfect Bliss Balls
The beauty of this recipe lies in its simple, wholesome ingredients. Each component plays a crucial role in both the flavor and nutritional profile of these delicious energy bites. Understanding a bit more about each one can help you make the best choices and even explore substitutions.
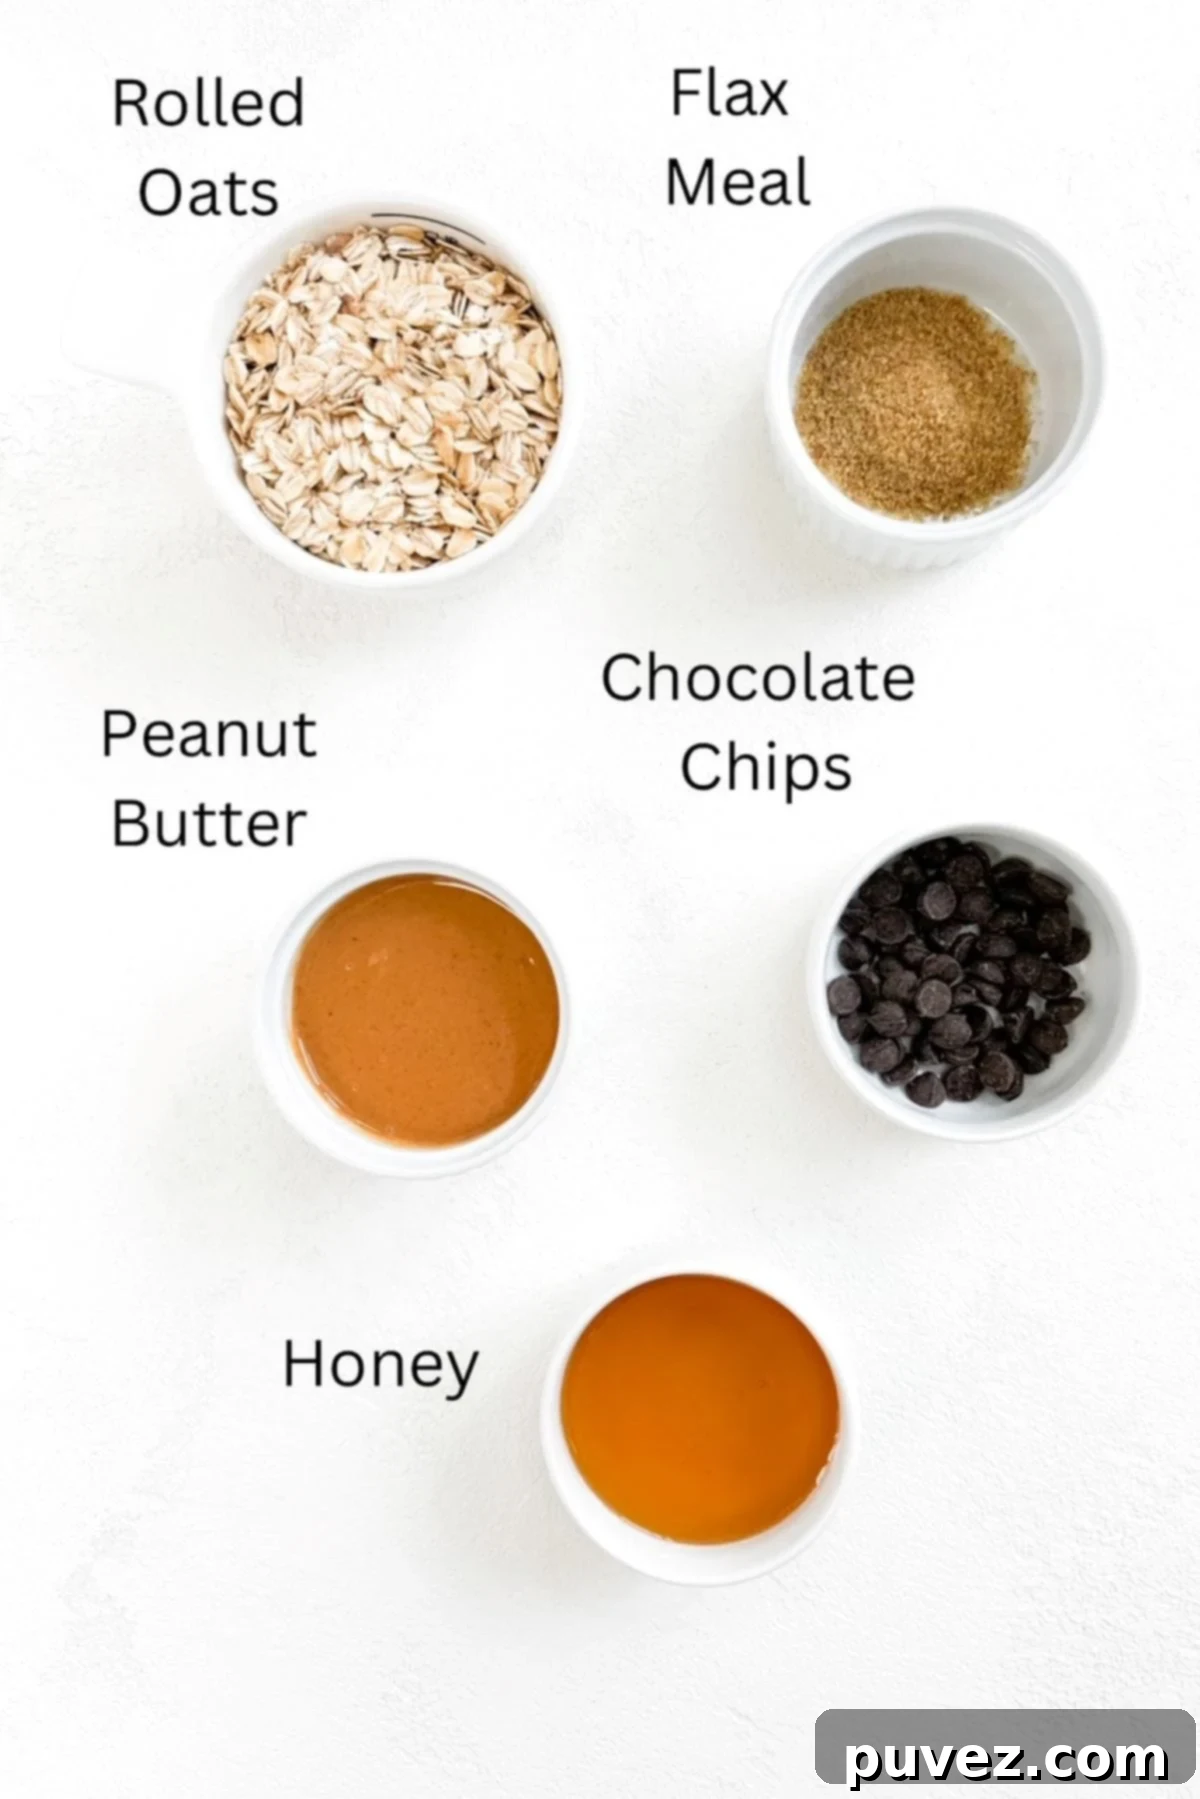
- Rolled Oats: The Hearty Base. For these energy bites, rolled oats are the ideal choice due to their texture and ability to absorb moisture without becoming mushy. Oats are a powerhouse whole grain, brimming with soluble fiber, which is well-known for its heart-healthy benefits and its ability to promote satiety, keeping you and your kids feeling fuller for longer. The American Heart Association emphasizes the importance of whole grains, recommending that at least half of your daily grain intake comes from sources like oats. While gluten-free oats are available, they are only necessary if you or someone consuming them has a diagnosed gluten intolerance or allergy; otherwise, regular rolled oats are perfectly fine.
- Natural Peanut Butter: Creamy & Nutritious. The key to the perfect texture and flavor in these bliss balls is using all-natural peanut butter at room temperature. Natural peanut butter (the kind with just peanuts and salt, no added sugars or oils) provides a rich source of protein, essential minerals, and healthy monounsaturated and polyunsaturated fats. Its creamy consistency blends seamlessly with the other ingredients, ensuring a smooth, cohesive ball. I’ve found Nutty Novelties’ Classic Peanut Butter to be exceptionally easy to stir and incredibly flavorful. If your peanut butter has separated, be sure to give it a good stir before measuring. You can also use other nut butters like almond or cashew butter, or even sunflower seed butter for a nut-free alternative, but remember their consistency might vary slightly.
- Honey: Natural Sweetener & Binder. Honey serves a dual purpose in this recipe: it adds a delightful natural sweetness and acts as a crucial binding agent, helping to soften the oats and hold the balls together. I personally prefer using raw, local honey due to its potential health benefits, including antioxidant properties. However, any honey you have on hand will work perfectly fine. (Remember the dietitian’s tip about substituting for infants under one year old!)
- Flax Meal: The Omega-3 Boost. Flax meal, made from ground flaxseeds, is a nutritional powerhouse. It’s an excellent source of dietary fiber, omega-3 fatty acids (specifically ALA), and beneficial phytochemicals. Using flax meal instead of whole flax seeds ensures optimal digestibility and a smooth texture that blends imperceptibly into the energy bites, providing a hidden health boost without altering the taste or texture significantly.
- Chocolate Chips: The Kid-Friendly Touch. Let’s be honest, everything is better with a little chocolate, especially for kids! Chocolate chips are included to make these energy bites irresistible. You can use standard-sized or mini-sized chips, and adjust the sweetness by choosing semi-sweet or dark chocolate. For a dairy-free option, many dark chocolate chips are suitable, but always double-check the labels. They add a perfect little burst of flavor and a fun element to each bite.
👩🍳 Step-by-Step: How to Make Peanut Butter Bliss Balls
You’ll be amazed at how quickly these delicious and healthy snacks come together. The process is incredibly straightforward, perfect for a busy schedule. Here’s a concise overview of the steps involved. For a complete list of precise ingredient measurements and detailed instructions, please refer to the comprehensive recipe card located further down the page.
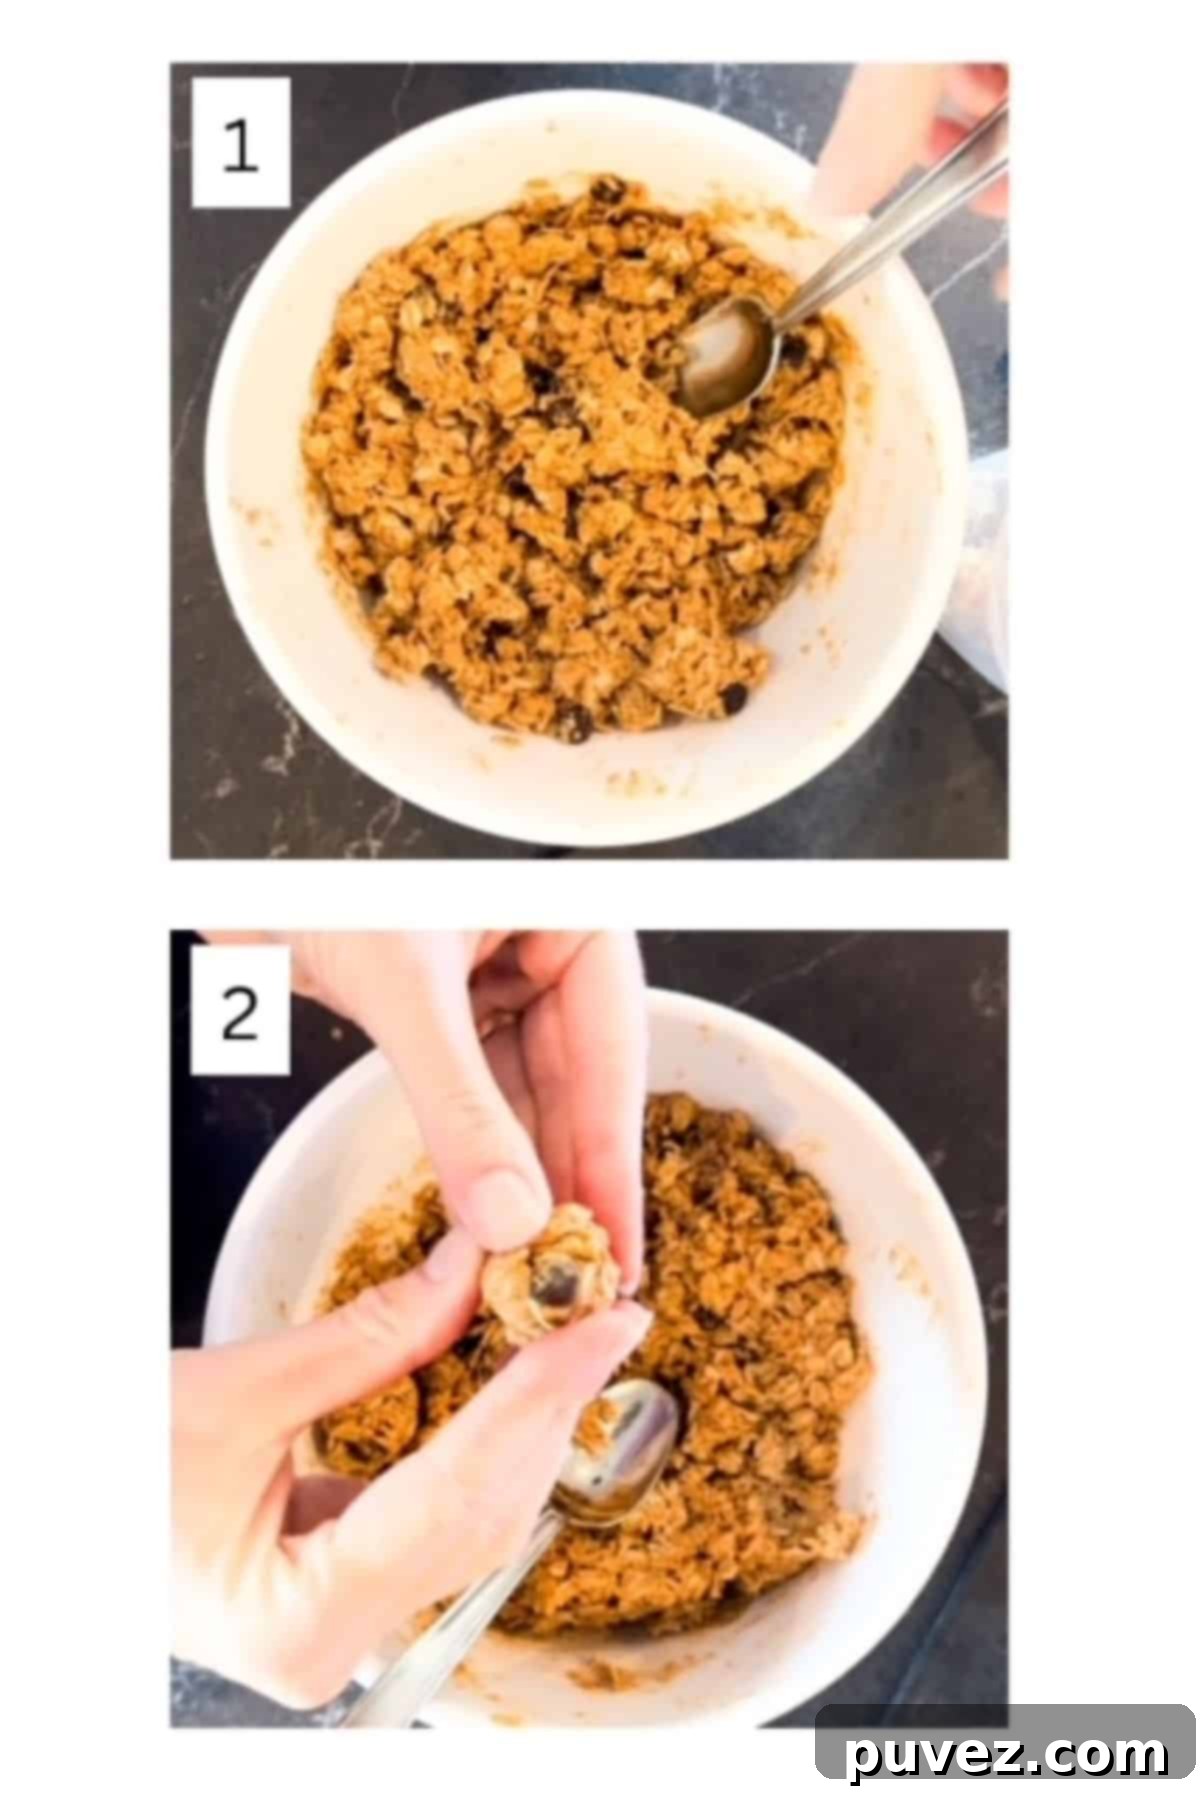
- Combine All Ingredients: Begin by adding all five simple ingredients—rolled oats, natural peanut butter, honey, flax meal, and chocolate chips—into a spacious mixing bowl. Ensure your peanut butter is at room temperature for easier mixing.
- Mix Thoroughly: Using a sturdy spoon or a fork, vigorously mix all the ingredients together. It’s essential to stir well until the peanut butter and honey are evenly distributed and all the dry ingredients are thoroughly coated and blended. Don’t be shy about using the back of your spoon or fork to press and smooth the mixture, helping it come together into a uniform, pliable dough.
- Roll into Balls: Once your mixture is well combined and holds together, use your hands or fingers to roll it into uniform, bite-sized balls. Aim for a diameter of about one inch – this size is perfect for little hands and for portion control. If the mixture is a bit sticky, slightly dampening your hands can make the rolling process much easier.
- Chill and Store: After rolling, place your freshly made bliss balls into an airtight container. Refrigerate them for at least 10-15 minutes to allow them to set and firm up, which improves their texture. For longer storage, they can be kept in the refrigerator or stored in the freezer, ready to grab whenever a healthy snack is needed.
📲 Pro Tips for Perfect Peanut Butter Oat Bliss Balls
Even though this recipe is incredibly simple, a few expert tips can elevate your bliss ball game and ensure consistently perfect results every time. Whether you’re a first-timer or a seasoned energy bite maker, these pointers will come in handy.
- Oats Choice: Gluten-Free Not Always Necessary. Unless you or someone you’re serving has a diagnosed gluten intolerance or celiac disease, there’s no need to specially purchase gluten-free oats. Regular rolled oats are perfectly healthy and suitable for this recipe, offering all the same nutritional benefits.
- Room Temperature Peanut Butter is Key. If you store your natural peanut butter in the refrigerator, make sure to bring it to room temperature before you start mixing. Cold peanut butter is thick and stiff, making it much harder to combine smoothly with the other ingredients. A few minutes at room temperature will result in a creamier, more workable consistency.
- For Smoother Mixing, Use a Food Processor. While hand-mixing works perfectly fine, for an even quicker and smoother consistency, especially when making larger batches, consider using a food processor or a high-speed blender. This will ensure all ingredients are uniformly combined and can help create a less crumbly texture.
- Flax Meal vs. Flax Seeds. Always opt for flax meal (ground flaxseeds) over whole flax seeds in this recipe. Flax meal is more digestible, allowing your body to absorb its beneficial omega-3s and fiber more effectively. It also blends seamlessly into the mixture, providing nutritional benefits without an undesirable crunch, unlike whole seeds which can get stuck in teeth.
- Add a Crunch: Sunflower Seeds or Chunky Peanut Butter. If you enjoy a bit of textural contrast in your snacks, get adventurous! Swap out smooth peanut butter for a chunky variety, or stir in a handful of unsalted sunflower seeds or chopped nuts. This adds a delightful crunch and extra nutrients to your energy bites.
- Damp Hands for Easy Rolling. Working with sticky mixtures can sometimes be a challenge. To prevent the dough from sticking excessively to your hands, lightly dampen them with water before you start rolling the mixture into balls. This simple trick makes the process much cleaner and smoother.
- Portion Control for Kids (and Adults!). When rolling the bliss balls, consider making them on the smaller side, about one inch in diameter. Kids often prefer smaller portions and might even ask for “just one more,” which is easier to manage when they’re mini! This also helps with portion control for adults.
- Chocolate Chip Moderation. You might be tempted to add a lot of chocolate chips, but trust me, just one tablespoon is usually enough to ensure each energy bite contains at least one delightful chocolatey morsel. It’s a subtle touch that satisfies a sweet craving without overwhelming the healthy balance of the snack. Even for a self-proclaimed sweet tooth like mine, it’s just enough!
- Scaling Up is Simple. This recipe is incredibly easy to double or even triple. In fact, I almost always triple it because larger quantities make measuring a breeze and these energy bites store exceptionally well in the freezer. It’s a perfect strategy for meal prepping and ensures you’re never without a healthy snack.
- Experiment with Add-ins and Substitutions. Don’t be afraid to customize! For instance, chia seeds can be used in place of flax meal (though note my daughter’s experience in the dietitian tips!). You can also mix in a tablespoon of shredded coconut for a tropical twist, or even a dash of vanilla extract for extra flavor depth.
- Measuring Large Batches. If you’re frequently doubling or tripling this recipe, streamline your measuring process by remembering that converting tablespoons to cups can make the task much quicker and more efficient.
Check out this product
❓ Frequently Asked Questions About Bliss Balls
Here are answers to some common questions you might have about making and customizing these delightful no-bake energy bites:
The versatility of this recipe allows for various substitutions for peanut butter. You can successfully use any other nut butter, such as almond butter, cashew butter, or even a mixed nut butter blend. For a nut-free option, sunflower seed butter (like SunButter) works wonderfully. Just keep in mind that the consistency of different nut/seed butters can vary, so you might need to slightly adjust the amount of honey or oats to achieve the perfect texture. I’ve often used a 50/50 mix of peanut and almond butter, and they are always a crowd-pleaser!
If you don’t have flax meal on hand or want to try something different, there are several excellent substitutes. You can easily replace flax meal with wheat germ, hemp seeds (also known as hemp hearts), finely shredded unsweetened coconut flakes, or chia seeds. Each option will add its own unique nutritional benefits and subtle flavor. If you choose chia seeds, be aware that some kids might find the texture a bit unusual, as they can get stuck in teeth – something my own daughter pointed out! Alternatively, if you prefer not to use any of these, simply add an additional tablespoon of rolled oats to help with binding.
Absolutely! These energy bites are fantastic for freezing and are an excellent addition to your meal prep routine. They freeze exceptionally well in an airtight container for up to 3 months. When you’re ready to enjoy them, you can either eat them straight from the freezer for a firmer, chewier texture (which many people love!), or transfer them to the refrigerator for about 10-15 minutes to allow them to soften slightly. In the refrigerator, they will stay fresh for up to 1-2 weeks.
While maple syrup is a delicious natural sweetener, it’s generally thinner and less sticky than honey. Because honey plays a crucial role in binding the ingredients together and softening the oats, a direct 1:1 substitution with maple syrup might result in a mixture that is too crumbly or does not hold its shape well. If you choose to use maple syrup (perhaps for infants over one year old or for flavor preference), I recommend starting with a slightly reduced amount and incrementally adding more oats or a little extra nut butter to achieve the desired consistency. It hasn’t been extensively tested in this specific recipe, so some experimentation might be needed.
The base recipe is largely plant-based. To make them fully vegan, you would need to substitute the honey with a vegan liquid sweetener like maple syrup, agave nectar, or brown rice syrup (keeping in mind the consistency notes for maple syrup above). Also, ensure your chocolate chips are certified vegan, as some contain dairy.
Stored in an airtight container, these peanut butter oat bliss balls will last for 1-2 weeks in the refrigerator. If you freeze them, they can maintain their quality for up to 3 months, making them perfect for batch cooking and enjoying over a longer period.
More Easy Snack Recipes
- Best Gingerbread Muffins Recipe
- Easy Deviled Eggs Without Mustard
- How to Make Steamed Hard-Boiled Eggs
- Peanut Butter Banana Oatmeal Smoothie
We hope you absolutely love these 5-Minute Peanut Butter Oat Bliss Balls! Their ease of preparation, delicious flavor, and wholesome ingredients make them a perfect snack for any occasion. If you tried this recipe and enjoyed it, please consider leaving a 5-star rating and a comment below. Your feedback is truly the best compliment and helps other home cooks discover this fantastic recipe!
Don’t forget to share your creations! Snap a pic of your easy and delicious bliss balls and tag @carrots.and.cookies on Instagram. We love seeing your culinary masterpieces. Enjoy these healthy, energy-boosting treats!
📖 Recipe

Best Bliss Balls Recipe
Kristi
Pin Recipe
Equipment
-
1 Mixing bowl
Ingredients
- 1 cup rolled oats
- ⅓ cup natural peanut butter At room temperature. I love to use the Classic Peanut Butter by Nutty Novelties.
- 3 tablespoon honey raw local honey, if possible
- 1 teaspoon honey in addition to the 3 tablespoons of honey
- 1 tablespoon flax meal
- 1 tablespoon chocolate chips semi-sweet or dark chocolate chips
Instructions
-
Place all ingredients in a mixing bowl.
-
Mix well. Stir the mixture until the peanut butter and honey are evenly distributed and all ingredients are blended together.
-
Using your hands, roll the mixture into balls about one inch in diameter.
-
Place in the refrigerator to set.
Notes
- I find that it’s easiest to roll these when my hands are damp with water before rolling.
- Also, the consistency of these will depend on the consistency of the peanut butter used. Feel free to adjust the amount of peanut butter or honey to get the desired consistency. This recipe is very flexible!
- By natural peanut butter, I mean the kind that is only made with just peanuts or peanuts and salt.
- This recipe is easily doubled or tripled. They freeze well!
- Chia seeds, coconut flakes, or hemp hearts can be used in place of flax meal.
** See the ‘recipe variations’ section of the post for how to easily turn this recipe into a chocolate bliss ball recipe or protein bliss ball recipe.
