Ultimate No-Bake Chocolate Pie Cups: Your Go-To Recipe for Easy, Creamy Chocolate Bliss
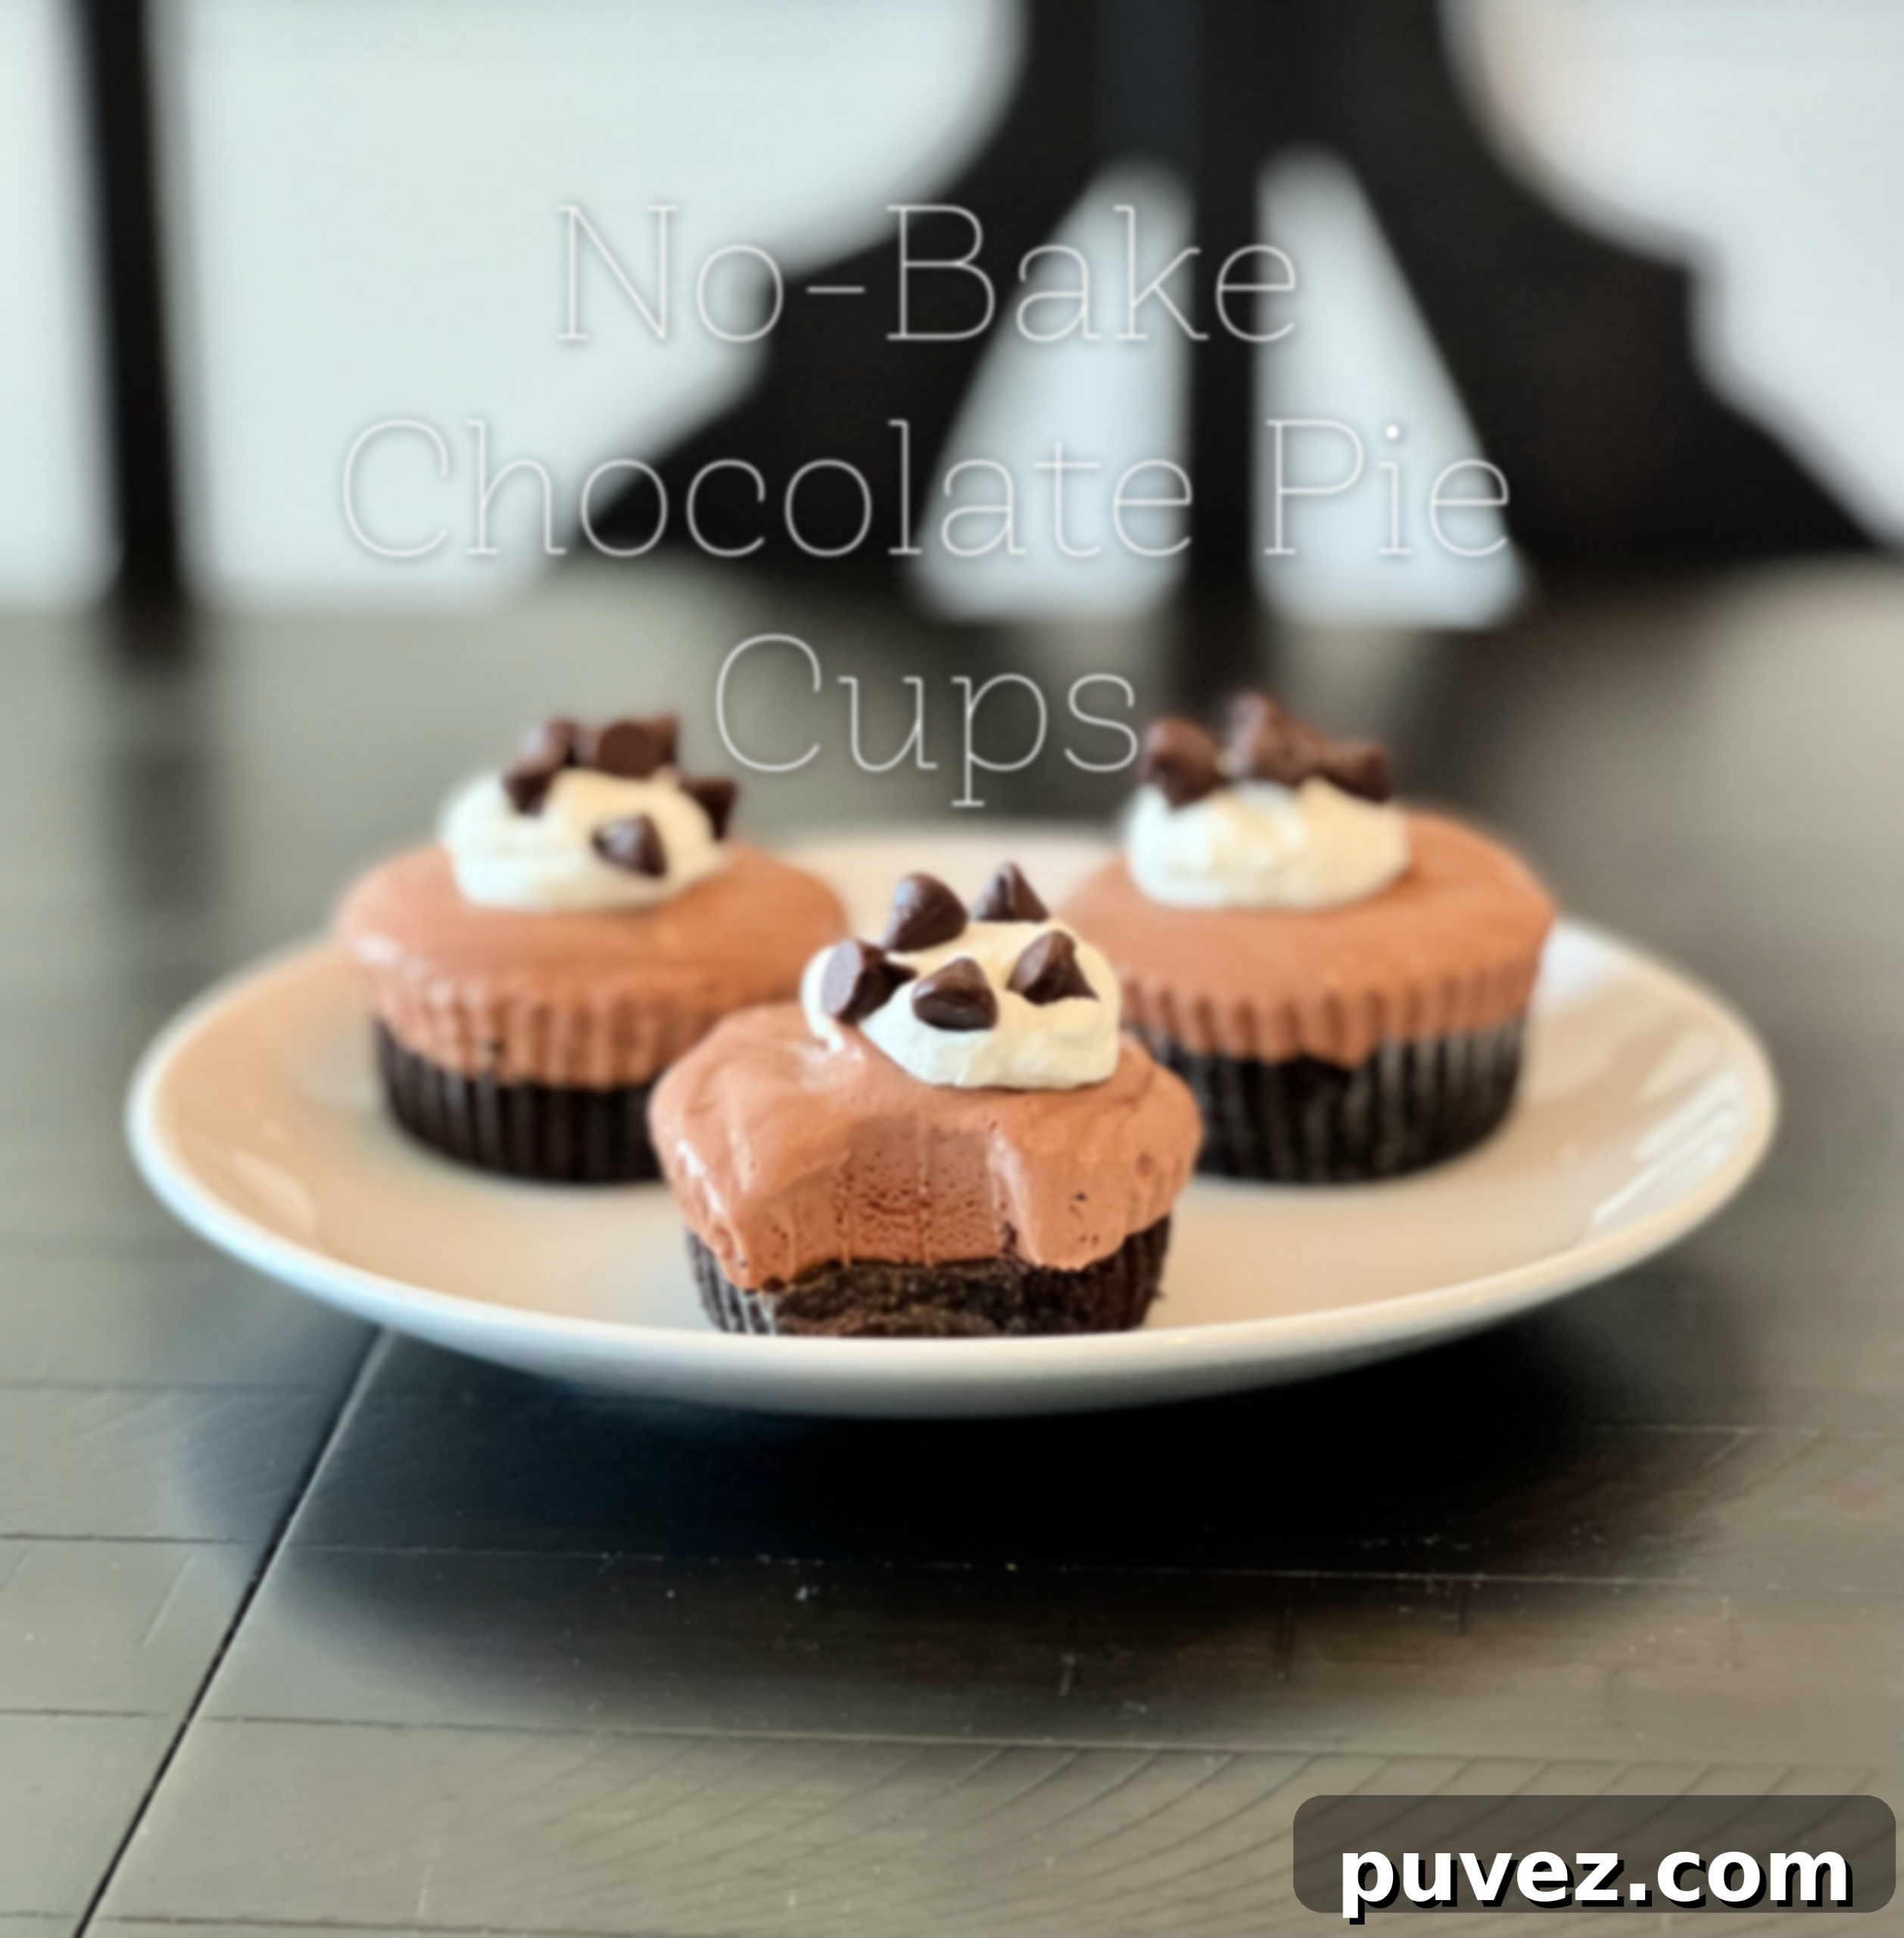
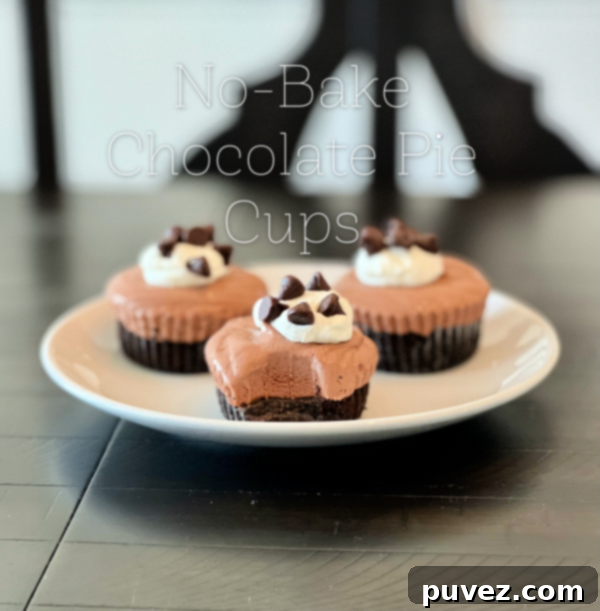
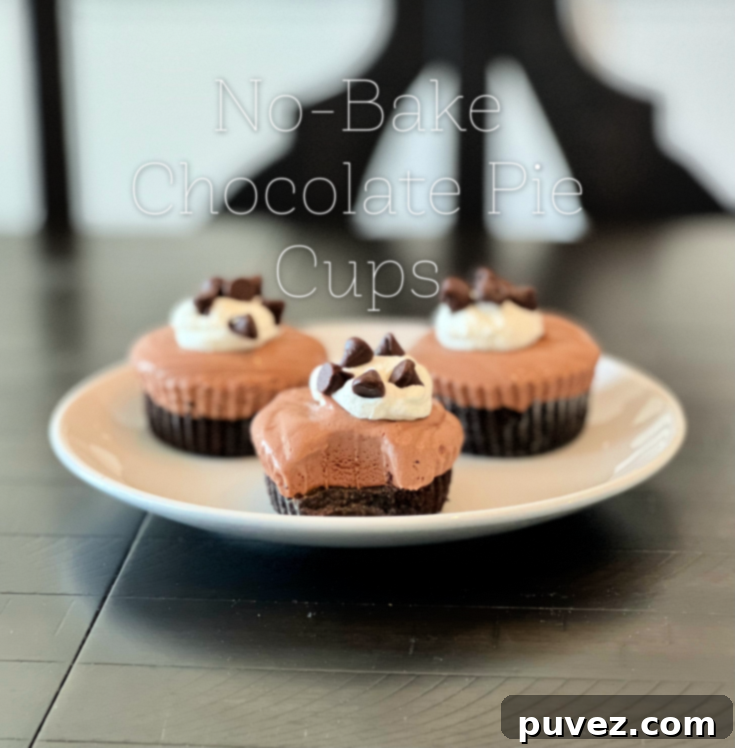
Prepare to be enchanted by these No-Bake Chocolate Pie Cups – miniature bites of pure, sweet, chocolatey heaven! Featuring a perfectly balanced chocolate flavor, a luxuriously creamy filling, and a delightful chocolate sandwich cookie pie crust, these individual treats are the absolute best rendition of chocolate pie, conveniently packaged in a charming mini cup. They’re not just a dessert; they’re an experience, offering all the joy of a classic chocolate pie without ever needing to turn on your oven.
This irresistible recipe draws its inspiration from our much-loved Peanut Butter Pie Cups, which marked a special milestone as my very first post when I took over this blog. The success and delightful simplicity of that recipe naturally led to this chocolate version, designed to satisfy every chocolate craving in the most convenient and delicious way possible.
Why You’ll Fall in Love with These No-Bake Chocolate Pie Cups
For those who know my mother’s legendary love for chocolate, you’ll understand why this recipe holds such a special place in my heart. She was, without a doubt, obsessed with all things cocoa, and I know for a fact she would be incredibly proud of this delicious creation. These aren’t just any chocolate treats; they’re so incredibly good that they barely lasted two days in my home! The rich, creamy texture and deep chocolate flavor are reminiscent of a perfectly chilled chocolate frosty – a true delight for your taste buds.
The beauty of these no-bake wonders lies in their simplicity and incredible flavor payoff. They are perfect for entertaining, potlucks, or simply satisfying that sudden sweet tooth. Imagine individual portions of rich chocolate pie, perfectly chilled and ready to impress – no messy slicing, no fuss. These mini chocolate pies are a game-changer for anyone who loves dessert but prefers the convenience of individual servings. They’re quick to prepare, incredibly satisfying, and always a crowd-pleaser.
The Magic Behind the Mini Chocolate Pie Cups
Let’s talk about what makes these miniature chocolate pies so extraordinary. It all starts with the foundation: a rich, crunchy chocolate sandwich cookie crust. This isn’t just any crust; it’s a buttery, chocolatey base that perfectly complements the star of the show – the creamy, dreamy chocolate filling. Made with a blend of cream cheese, sweetened condensed milk, and high-quality cocoa powder, the filling achieves an unparalleled smoothness and depth of flavor that is both decadent and refreshing. A generous swirl of whipped topping and a scattering of chocolate chips complete these edible works of art, making them irresistible from the first glance to the last bite. The no-bake aspect means more time enjoying and less time in the kitchen!
Key Ingredients You’ll Need
Creating these delightful No-Bake Chocolate Pie Cups requires a handful of simple ingredients, most of which you likely already have in your pantry. The combination of these components creates a harmony of flavors and textures that is truly unforgettable, promising a rich and satisfying chocolate experience.
For the Irresistible Pie Crust:
- 1 stick (1/2 cup) unsalted melted butter: The binding agent that holds our cookie crust together, adding a rich, buttery flavor and ensuring a firm base.
- About 30 chocolate sandwich cookies: The star of the crust! Think classic Oreo-style cookies for that perfect crumbly texture and deep chocolate base. Their robust flavor provides an excellent contrast to the creamy filling.
For the Dreamy Chocolate Pie Filling:
- 4 ounces of cream cheese (half a block of cream cheese): Softened cream cheese provides the luscious, creamy base and a slight tang that balances the sweetness. Full-fat cream cheese is highly recommended for ultimate creaminess and stability.
- 8 ounces / 1 cup of whipped cream (homemade or store-bought): Adds lightness and airiness to the filling, making it wonderfully fluffy. If using store-bought, ensure it’s well-chilled before folding in.
- 16-ounce can of sweetened condensed milk: This is the magic ingredient that provides sweetness, thickness, and that unmistakable smooth, custardy texture without any cooking. It’s essential for the no-bake aspect.
- 1/2 cup of unsweetened cocoa powder: For that intense, rich chocolate flavor. Dutch-processed cocoa will give a darker color and milder chocolate taste, while natural cocoa offers a fruitier, more intense chocolate note. Choose based on your preferred chocolate intensity.
- 1/2 cup of powdered sugar (confectioners’ sugar): Helps to sweeten the filling further and ensures a super smooth, non-gritty texture. It dissolves easily into the creamy base.
Optional Whipped Topping & Garnish:
- 1/2 cup / 4 ounces of whipped cream (homemade or store-bought): For a beautiful and delicious crown on each pie cup.
- Chocolate chips: A delightful sprinkle for added texture and visual appeal. Mini chocolate chips work wonderfully for easy distribution and a perfect bite.
Step-by-Step Guide to Crafting Your Chocolate Pie Cups
Follow these easy steps to create your own batch of delicious No-Bake Chocolate Pie Cups. The process is straightforward, ensuring a successful and satisfying dessert experience that requires no baking whatsoever.
Part 1: Preparing the Perfect Chocolate Cookie Crust
The foundation of these individual chocolate pies is a simple yet incredibly flavorful and sturdy crust. The key is to achieve a fine crumb and press it firmly into the cupcake liners.
- Crush the Cookies: Begin by using a food processor to finely chop the chocolate sandwich cookies. You want a consistency similar to fine sand, with no large chunks remaining. If you don’t have a food processor, you can place the cookies in a large, sturdy Ziplock bag and crush them thoroughly with a rolling pin or the bottom of a heavy glass until very fine. This fine texture is crucial for a cohesive crust.
- Combine with Butter: Add the melted unsalted butter to the finely crushed cookie crumbs. If using a food processor, pulse until the mixture is well combined. If using a bowl, stir thoroughly until every crumb is coated with butter and the mixture resembles wet sand.
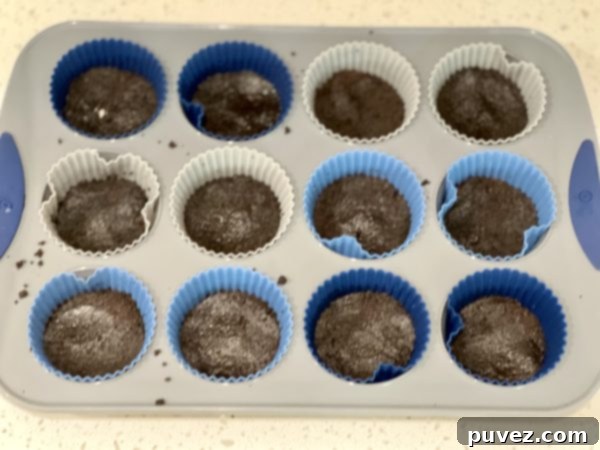
- Form the Crusts: Line a standard 12-cup cupcake pan with paper liners. These liners are essential for easy removal and serving of your individual pie cups. Spoon the chocolate sandwich cookie mixture into each cup, distributing it as evenly as possible.
- Press Firmly: Use the back of a spoon, a small tamper, or even your fingers to firmly press the crust mixture flat and evenly into the bottom of each cupcake liner. Compacting the crust is crucial to prevent it from crumbling when you bite into your delicious pie cups.
- Chill the Crusts: Place the cupcake pan with the formed crusts into the refrigerator to chill while you prepare the pie filling. This allows the butter to solidify, setting the crust and making it firm and ready to hold the creamy filling.
Pro Tip: You might find yourself with a tiny bit of extra crust mixture. Feel free to either add a little more to each pie crust for a slightly thicker base, or, well, sneak a little taste – it’s absolutely delicious on its own!
Part 2: Creating the Velvety Chocolate Filling
This creamy chocolate filling is incredibly easy to make and forms the luscious heart of these delightful pie cups. The no-bake method means a perfectly smooth and rich texture every time.
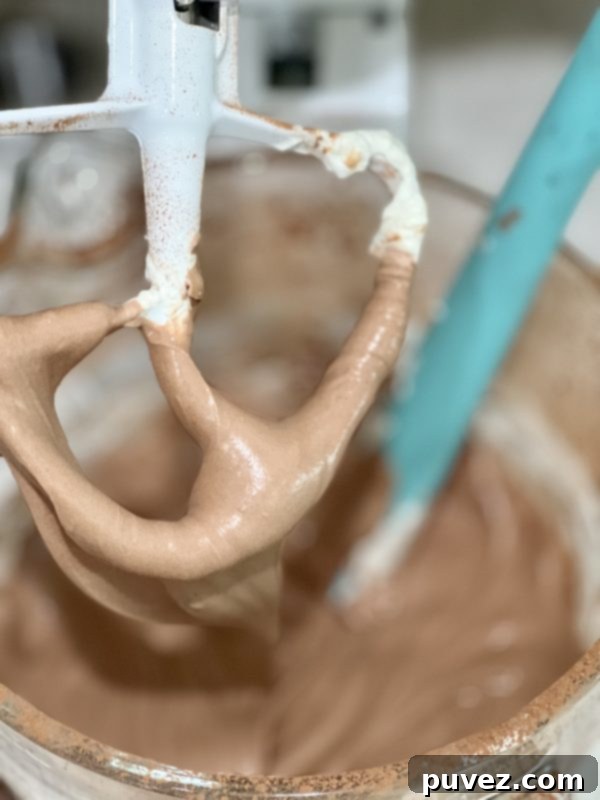
- Whip Cream Cheese and Condensed Milk: In a large mixing bowl, using an electric mixer (either a stand mixer with a whisk attachment or a hand mixer), whip together the softened cream cheese and the sweetened condensed milk until the mixture is smooth, light, and completely combined. Ensure there are absolutely no lumps of cream cheese for a truly velvety filling.
- Incorporate Dry Ingredients: Add the cocoa powder and powdered sugar to the cream cheese mixture. Mix on low speed initially to prevent the powders from flying, then increase the speed slightly until fully incorporated and the mixture is smooth and evenly colored. Don’t forget to scrape down the sides of the bowl as needed to ensure everything is well mixed.
- Gently Fold in Whipped Cream: Carefully and gently stir or fold in the 8 ounces of prepared whipped cream. The goal here is to maintain the airiness and volume of the whipped cream, so incorporate it slowly and deliberately until just combined and streak-free. Overmixing at this stage can deflate the cream, making the filling less light and fluffy.
Part 3: Assembling and Chilling Your Pie Cups
The final steps bring all the components together, leading to a perfectly set, visually appealing, and utterly delicious individual dessert.
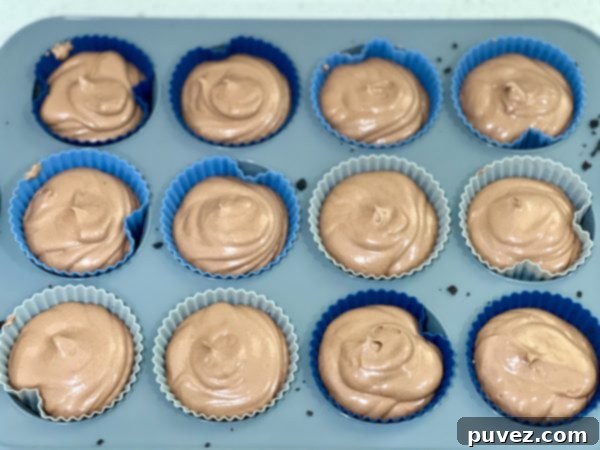
- Fill the Cups: Retrieve your chilled crusts from the refrigerator. Now, carefully pour or pipe the pie filling on top of the chocolate crusts in each cupcake liner. To make this step significantly easier and much less messy, transfer the chocolate pie filling into a large, sturdy Ziplock bag. Snip off one of the bottom corners of the bag to create a makeshift piping bag, then pipe the filling evenly into each cup, filling them almost to the top. This method provides more control and a neater finish.
- Add the Topping (Optional but Recommended!): If you’re adding the whipped topping for that extra touch of elegance and flavor, pipe the additional whipped cream on top of the chocolate filling in each cup. Then, generously sprinkle some chocolate chips over each one. This adds another layer of texture, a pop of visual appeal, and extra chocolatey goodness.
- Freeze to Set: Place the entire cupcake pan back into the freezer for a few hours. Typically, 3-4 hours will be sufficient, or until the pie cups are firm enough to easily remove from their liners and handle without losing their shape. Freezing not only ensures the filling sets beautifully but also provides a wonderful, chilled dessert experience, much like a chocolate frosty.
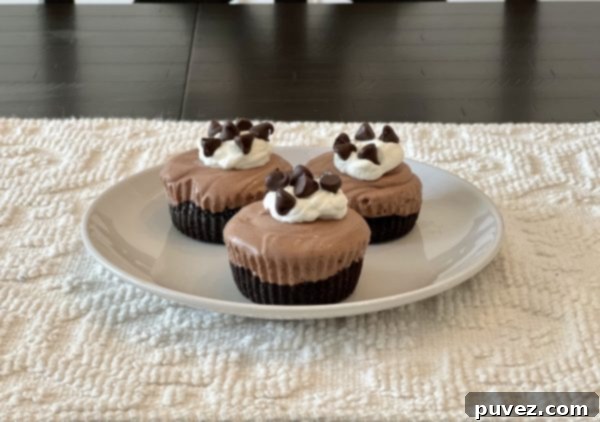
Once frozen, simply peel away the cupcake liners, and your delightful No-Bake Chocolate Pie Cups are ready to enjoy!
Tips for No-Bake Chocolate Pie Cup Perfection
To ensure your No-Bake Chocolate Pie Cups turn out perfectly every time, keep these helpful tips in mind:
- Cream Cheese Temperature: The most crucial step for a silky-smooth filling is to ensure your cream cheese is completely softened to room temperature. Cold cream cheese will result in lumps, no matter how much you whip it. Take it out of the fridge at least an hour before you start.
- Whip Cream Gently: When incorporating the whipped cream into the chocolate mixture, do so gently. Use a spatula and a folding motion to preserve the airy texture. This prevents the filling from becoming too dense and maintains its delightful fluffiness.
- Chill Time is Crucial: Do not rush the chilling or freezing process. The crust needs adequate time to set, and the filling needs to firm up completely for the best texture and to prevent a messy dessert. Patience here pays off!
- For Cleaner Edges (Serving without Liners): If you prefer to serve these beautiful pie cups without paper liners, make sure your cupcake pan is lightly greased before pressing in the crust. Allow them to freeze completely solid (at least 4-5 hours or overnight) before attempting to gently remove them from the pan. A brief dip in warm water might help if they stick.
- Vary the Toppings: While whipped cream and chocolate chips are classic, feel free to experiment! A drizzle of chocolate syrup or caramel, a sprinkle of sea salt flakes to enhance the chocolate, finely chopped nuts, or even colorful sprinkles can add an interesting twist and visual appeal.
- Quality of Ingredients: Using good quality cocoa powder will significantly impact the depth of chocolate flavor. Similarly, a high-quality chocolate sandwich cookie will give your crust a superior taste.
Frequently Asked Questions (FAQs) About No-Bake Chocolate Pie Cups
Q: Can I make these ahead of time for a party or event?
A: Absolutely! These No-Bake Chocolate Pie Cups are perfect for making in advance. You can prepare them up to 3-5 days ahead and store them in an airtight container in the freezer. This makes them an ideal dessert for meal prep or entertaining, as you can simply take them out 10-15 minutes before serving for the best, slightly thawed texture.
Q: What kind of chocolate sandwich cookies should I use? Are Oreos necessary?
A: Any chocolate sandwich cookie (like the classic Oreos or a generic brand) will work wonderfully for the crust. The key is to ensure they are finely crushed to create a cohesive and sturdy base. Oreos are popular because of their consistent texture and rich chocolate flavor, but feel free to use your preferred brand.
Q: Can I use different cookies for the crust?
A: Yes, you can definitely get creative with your crust! While chocolate sandwich cookies provide a distinct flavor, graham crackers, digestive biscuits, or even shortbread cookies would make a delicious alternative. Keep in mind that the flavor profile would obviously shift from a pure chocolate base, offering a new delightful twist.
Q: What if I don’t have a food processor to crush the cookies?
A: No problem at all! If you don’t have a food processor, simply place the chocolate sandwich cookies in a sturdy Ziplock bag, seal it tightly, and crush them with a rolling pin or the bottom of a heavy glass until very fine crumbs are achieved. It might take a little more effort, but the result will be just as good.
Q: My filling seems too runny after mixing. What might have gone wrong?
A: A runny filling can happen for a few reasons. The most common culprits are: the cream cheese wasn’t fully softened (leading to lumps that affect the mixture’s emulsification), or the whipped cream was overmixed and lost its structure, or perhaps not folded in gently enough. Ensure your cream cheese is at room temperature before starting, and remember to fold the whipped cream in slowly. Don’t worry, a few extra hours in the freezer can often help firm up a slightly runny filling!
Q: How should I store leftover pie cups, and how long do they last?
A: Store any leftover No-Bake Chocolate Pie Cups in an airtight container in the freezer for up to 1-2 weeks. This helps maintain their shape, texture, and freshness. You can also store them in the refrigerator for 2-3 days, but they will be significantly softer and might lose some of their firm structure.
Embrace the Ease and Indulgence!
These No-Bake Chocolate Pie Cups are more than just a recipe; they are a celebration of simplicity and pure chocolate indulgence. Whether you’re a seasoned baker or a kitchen beginner, this recipe promises delightful results every time. They are the ideal treat for any occasion – a quick family dessert, a party showstopper, a portable snack, or a comforting personal indulgence after a long day. So go ahead, gather your ingredients, whip up a batch, and experience the creamy, chocolatey bliss that tastes just like a frosty dream. Enjoy!
No-Bake Chocolate Pie Cups
10 minutes
4 hours
4 hours 10 minutes
Ingredients
- 30 chocolate sandwich cookies
- 1 stick (1/2 cup) melted butter
- 1/2 block of cream cheese (4 ounces)
- 14 oz sweetened condensed milk
- 1/2 cup cocoa powder
- 1/2 cups powdered sugar
- 8 ounces whipped cream (homemade or store bought)
- whipped cream (for topping)
- chocolate chips (for topping)
Instructions
- Using a food processor, pulverize oreos then use it to combine the finely crushed oreos with the melted butter. Line a cupcake pan then spoon oreos into it then use spoon to press the crust flat. Refrigerate until needed.
- In a large mixing bowl or stand mixer, whip cream cheese and sweetened condensed milk. Add in cocoa powder and powdered sugar. Gently fold in whipped cream. Pour into lined cupcake pan on top of the oreo crust.
- Pipe whipped cream on top then sprinkle chocolate chips. Freeze.
Notes
-For less mess, pour pie filling into a ziplock bag, cut one of the bottom corners, and pipe into the cups.
Nutrition Information:
Yield:
12
Serving Size:
1
Amount Per Serving:
Calories: 387Total Fat: 17gSaturated Fat: 8gTrans Fat: 0gUnsaturated Fat: 3gCholesterol: 34mgSodium: 183mgCarbohydrates: 56gFiber: 2gSugar: 44gProtein: 6g
Did you make this recipe?
Please leave a comment on the blog or share a photo on Instagram
More Like This
Peanut Butter Pie Cups
Frozen, peanut buttery, and delicious!
Pumpkin Pie Cream Cheese Bars
Fried Lemon Pies
www.seriouseats.com
Buttery, Flaky Pie Crust Recipe
www.allthingsmamma.com
No-Bake Chocolate Peanut Butter Pie
bellyfull.net
