Delightful Easter Egg Cake Pops: An Easy & Fun Recipe for Spring Celebrations
Get ready to add a splash of sweetness and color to your Easter celebration with these utterly delightful Easter Egg Cake Pops! While you might be familiar with traditional cake pops, transforming them into festive egg shapes for the spring holiday adds an extra layer of charm and fun. This recipe is not only incredibly easy to follow, resulting in delicious, bite-sized treats, but it also offers a fantastic opportunity to involve the little ones in the kitchen. Imagine the joy of creating these vibrant cake pops together – it’s a memorable activity that culminates in a truly special dessert.
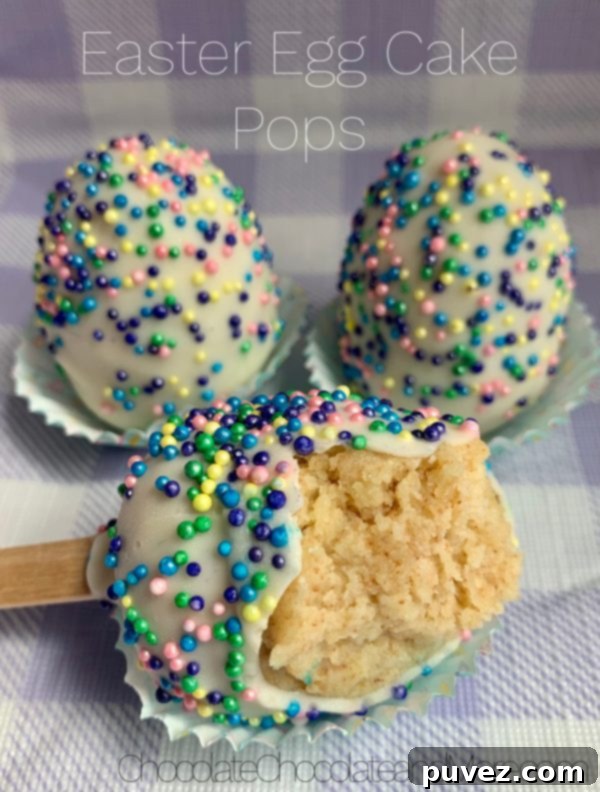
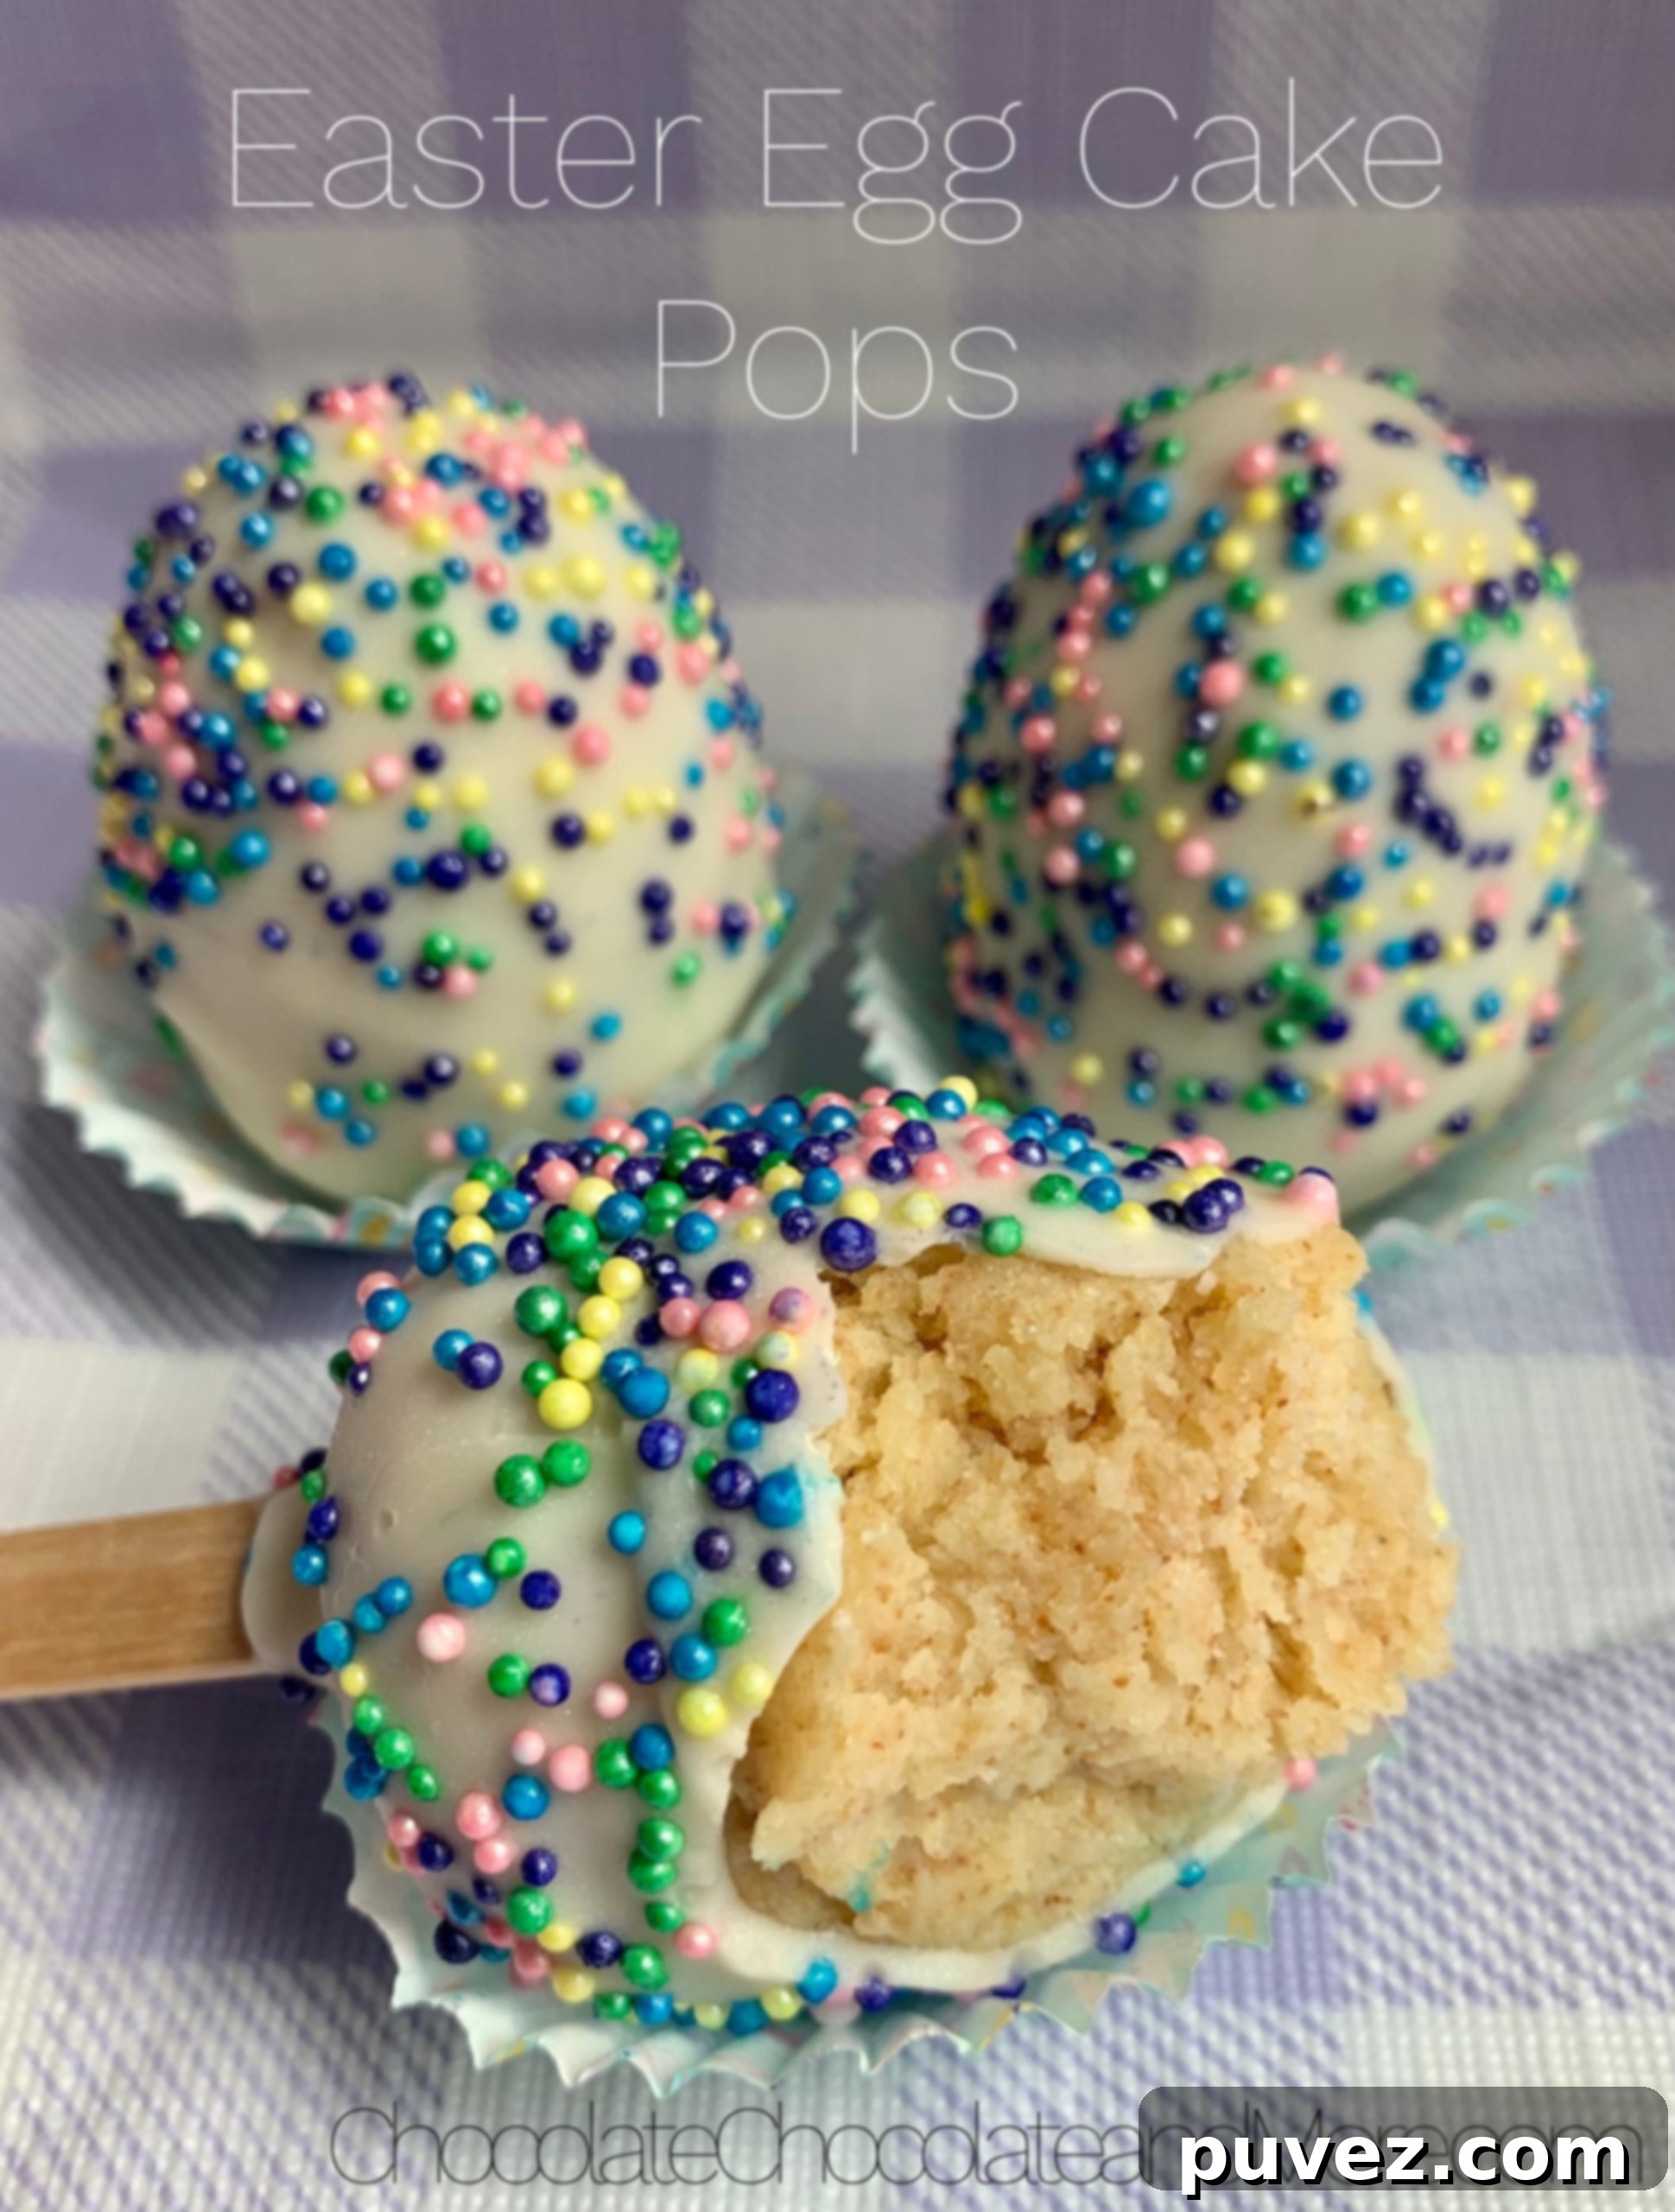
Inspired by the arrival of spring and the festive spirit of Easter, I embarked on my very first cake pop adventure, deciding to shape them like colorful eggs. It was a spontaneous decision, made at the last minute, and I admit, I was quite apprehensive about how they would turn out. To my absolute delight and surprise, they were nothing short of incredible! The balance between the moist cake interior, the rich chocolate coating, and the playful burst of sprinkles was simply perfect. This experience has firmly convinced me to recommend these homemade Easter Egg Cake Pops to everyone. And remember, while the egg shape is charming for Easter, the core recipe works wonderfully for classic round cake pops too!
These cake pops are more than just a dessert; they’re a miniature celebration in themselves. Each bite delivers a delightful combination of textures and flavors, making them irresistible to both kids and adults. They are also highly customizable, allowing you to tailor them to your family’s preferences or specific Easter theme. Whether you’re looking for an impressive centerpiece for your Easter dessert table or a fun project for a rainy spring afternoon, these cake pops fit the bill perfectly. Let’s dive into the simple steps and a few clever tips I discovered along the way to ensure your cake pop journey is a resounding success.
Essential Tips for Perfect Homemade Cake Pops
During my initial foray into making these Easter Egg Cake Pops, I picked up some invaluable insights that significantly improved the outcome. These “rules” or tips are crucial for achieving that ideal cake pop consistency, flavor, and appearance. Following them will help you avoid common pitfalls and ensure your treats are picture-perfect and utterly delicious.
Tip Number One: The Art of Frosting Application
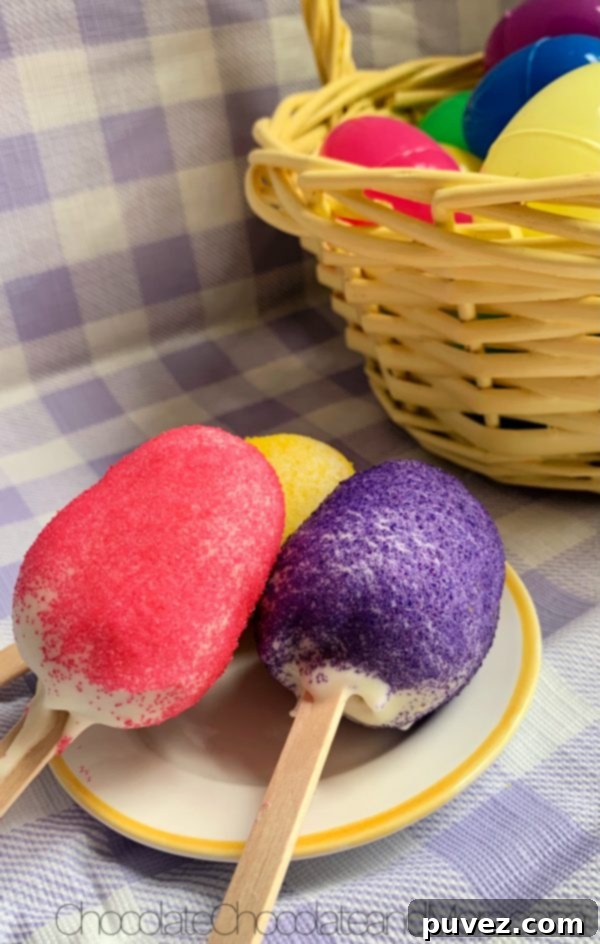
The first and arguably most important lesson I learned was to be judicious with the frosting. Many cake mixes, even simple box cakes, are already quite moist. Adding too much frosting can easily turn your cake crumbs into an overly gooey, difficult-to-handle mess, rather than a firm, moldable dough. More importantly, an excessive amount of frosting can overpower the delicate flavor of the cake, making the cake pop taste more like pure sugar than a balanced dessert. The goal is to bind the cake crumbs together just enough to form a cohesive ball or egg shape, while maintaining a rich cake flavor. Start with half a cup, and add more in tiny increments if absolutely necessary, mixing thoroughly after each addition until the mixture holds its shape when squeezed.
Tip Number Two: The Single Freeze Advantage
My second revelation was about the freezing process: you truly only need to freeze your cake pops once. I initially thought multiple freezing sessions might be necessary for optimal hardening, but a single, solid freeze is not only sufficient but actually more efficient. Freezing the shaped cake pop dough for a good hour (or refrigerating for two hours) is critical. This ensures the cake balls are extremely cold and firm, which is the secret to a smooth, quick-setting chocolate coating. The rapid hardening of the chocolate shell was truly surprising and incredibly helpful. It allowed me to work through batches much faster, preventing smudges and making storage of the finished pops a breeze while I continued decorating the rest. This streamlined approach saves time and yields professional-looking results.
Tip Number Three: Mastering the Sprinkle Technique
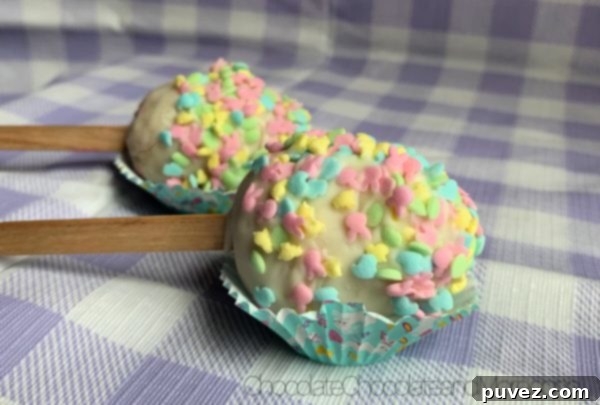
Finally, when it comes to adding sprinkles, I discovered a much cleaner and more effective method: sprinkle them *on top* of the chocolate-dipped pops rather than attempting to dip the entire pop into a bowl of sprinkles. While dipping might seem more straightforward, it often leads to a messy chocolate-coated sprinkle supply, and can even compromise the integrity of your freshly dipped chocolate casing, causing smudges or uneven coverage. My recommendation is to hold the wet, chocolate-coated cake pop over a large bowl or directly over your kitchen sink and generously shower it with sprinkles. This method contains the excess sprinkles, making cleanup incredibly simple – just rinse them down the drain if you’re over the sink, or collect them from the bowl for reuse if they haven’t touched anything. This ensures a beautiful, evenly coated cake pop every time.

Kid-Approved Fun: The Edward Check!
And now, for the moment you’ve all been waiting for: did these Easter Egg Cake Pops pass the ultimate taste test, the “Edward Check”? Absolutely! Edward, my little helper, was not only keen to sample the final product but even lent a hand in the kitchen, enthusiastically assisting with the sprinkling. It’s truly heartwarming to see the joy on a child’s face when they’re involved in the baking process, and these cake pops are perfect for it. I offered him the one that wasn’t quite camera-ready – a perfect excuse for an early taste – and he couldn’t get enough! His eager requests for “more, please!” were the highest praise and confirmed that these festive treats are a definite hit with the younger crowd. Baking with kids isn’t just about the food; it’s about creating memories, fostering creativity, and sharing simple, sweet moments together.

Why Easter Egg Cake Pops Are Perfect for Your Holiday Table
Beyond their adorable appearance and irresistible taste, Easter Egg Cake Pops offer several benefits that make them ideal for your spring celebrations. They are individual portions, making them easy to serve and enjoy without needing plates or forks – perfect for a buffet or outdoor gathering. Their vibrant colors and playful shapes instantly brighten up any dessert spread, adding a touch of whimsy that perfectly complements the festive spirit of Easter. Plus, because they are made from cake and frosting, they can be incredibly rich and satisfying in just a few bites. Customizing them with different colored chocolates, sprinkles, or even edible glitter allows for endless creative possibilities, ensuring your Easter treats are unique and personal.
Customization and Creative Ideas
One of the best parts about making cake pops is the freedom to get creative! While white chocolate and colorful sprinkles are classic for Easter, don’t feel limited. You can experiment with different cake flavors – imagine red velvet cake pops, lemon cake pops, or even carrot cake pops for an extra festive touch. For the coating, try milk chocolate, dark chocolate, or even colored candy melts to match your Easter decor. The possibilities for sprinkles are endless too, from pastel jimmies to tiny flower shapes or sparkling sugar. Consider adding edible markers to draw small patterns or faces on your egg pops once the chocolate has set for an even more personalized touch. This adaptability means you can make a unique batch every year!
Troubleshooting Common Cake Pop Problems
Even with the best intentions, baking can sometimes present challenges. If your cake pop mixture is too crumbly, add a tiny bit more frosting, half a teaspoon at a time, until it binds together. If it’s too wet, you can try adding a tablespoon of powdered sugar or chilling it longer. When dipping, if your chocolate is too thick, add a tiny amount of vegetable shortening or coconut oil (about 1/2 teaspoon per cup of chocolate) to thin it out for a smoother coating. If the cake pop falls off the stick (if using sticks), it usually means the cake wasn’t cold enough or the chocolate wasn’t warm enough to create an immediate seal. Ensure your cake balls are thoroughly chilled and your melted chocolate is fluid but not overly hot. Practice makes perfect, and each batch brings new learning!
Storing Your Beautiful Easter Treats
Once your Easter Egg Cake Pops are fully decorated and the chocolate has set, they are quite stable. You can store them at room temperature in an airtight container for up to 2-3 days, though they will keep best in the refrigerator for up to a week. If refrigerating, allow them to come to room temperature for about 15-20 minutes before serving for the best texture and flavor. They can also be frozen for longer storage, up to a month. Just make sure they are in an airtight container to prevent freezer burn. Thaw them in the refrigerator overnight before bringing them to room temperature to serve. This makes them perfect for preparing ahead of your Easter festivities!
Ready to make your own batch of these irresistible Easter Egg Cake Pops? Below is the full recipe to guide you through each step. Happy baking, and happy Easter!
Easter Egg Cake Pops
20 minutes
40 minutes
6 hours
7 hours
Ingredients
- 1 box of cake mix (and ingredients on the box, e.g., eggs, oil, milk)
- 1/2 cup of store-bought frosting (or homemade, adjust as needed)
- 1 package (approx. 10-12 oz) of white chocolate bark or melting chips
- Colorful Sprinkles (optional, for festive decoration)
Instructions
- Bake Your Cake: Prepare and bake the cake according to the instructions on the box. For an extra moist cake, consider adding an additional egg and replacing water with milk as specified in the box instructions. Allow the cake to cool completely on a wire rack before proceeding.
- Crumble and Mix with Frosting: Once the cake is fully cooled, remove any rough or overly crusty edges and the top dome (this is optional but helps create a smoother consistency for the cake pops). Crumble the entire cake into fine crumbs. You can use a stand mixer with a paddle attachment on low speed, or simply use your hands, ensuring no large lumps remain. Then, gradually add about 1/2 cup of frosting to the crumbled cake, mixing until it forms a dough-like consistency that holds together when squeezed. Be careful not to add too much frosting.
- Shape and Chill Cake Pops: Scoop portions of the cake mixture and roll them into balls, or shape them into festive egg shapes (using a plastic Easter egg half as a mold can help with uniform sizing and shaping). Place the shaped cake pops on a baking sheet lined with parchment paper. Refrigerate for at least 2 hours or freeze for 1 hour. It’s crucial for the cake pops to be extremely cold and firm for the chocolate coating to set properly and prevent crumbling.
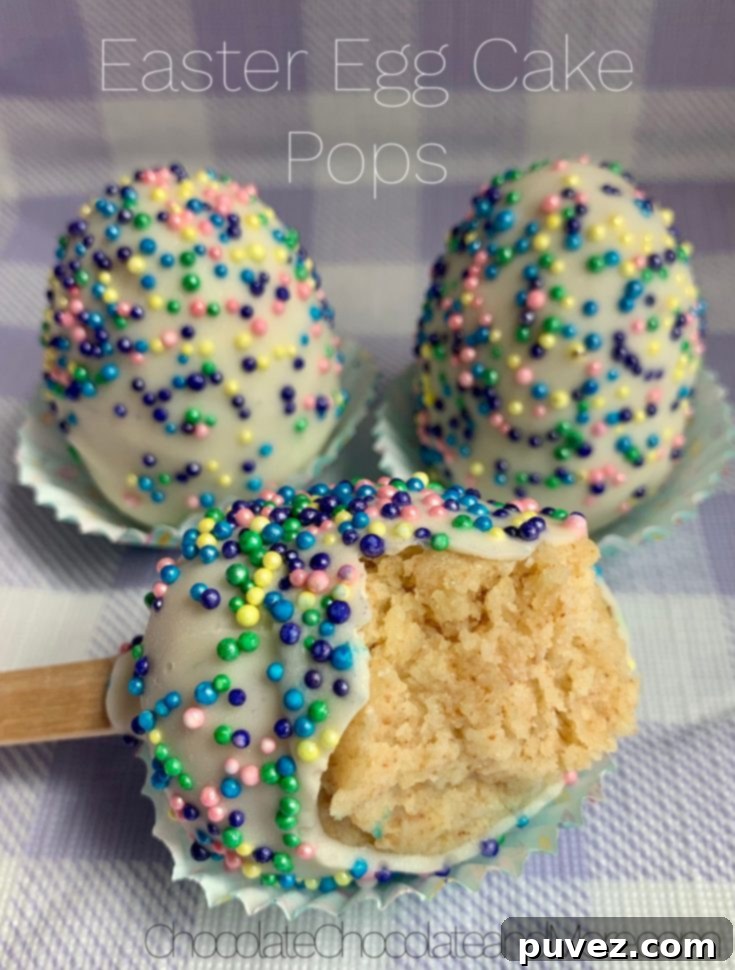
- Dip and Decorate with Chocolate and Sprinkles: Melt the white chocolate bark or chips in a deep, narrow liquid measuring cup or a tall mug. Heat in the microwave in 30-second intervals, stirring thoroughly after each interval, until the chocolate is smooth and completely melted. If using cake pop sticks, dip the tip of a stick into the melted chocolate, then insert it about halfway into a chilled cake pop. This helps secure the pop. Dip each cake pop one at a time into the melted chocolate, ensuring it’s fully coated. Immediately after dipping, hold the pop over the sink or a bowl and generously sprinkle with your chosen sprinkles before the chocolate hardens. Place the finished cake pops upright in a styrofoam block or on parchment paper to set completely.
Notes
Customization is Key!
– The size and shape of your cake pops are entirely up to you. For mine, I found that gently pressing the cake mixture into one half of a plastic Easter egg mold gave me a perfect guide for shape and size.
– While I opted for classic white chocolate for a bright Easter look, feel free to use any kind of flavored chocolate or candy coating you prefer. Milk, dark, or even colored candy melts can add a unique twist!
– Don’t hesitate to experiment with different cake flavors too! Vanilla, chocolate, red velvet, or even a lemon cake mix would be delightful bases for these festive treats.
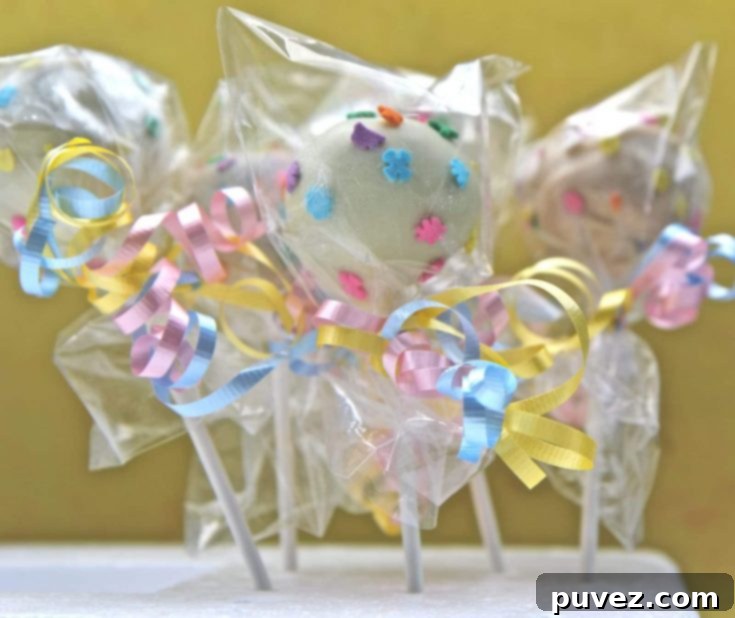
– For storage, keep finished cake pops in an airtight container at room temperature for a few days, or refrigerate for up to a week. They can also be frozen for longer enjoyment!
Did you make this recipe?
Please leave a comment on the blog or share a photo on Instagram
More Like This
divascancook.com
How To Make BEST Cake Pops Recipe- Easy
inthekitch.net
Cake Pop Frosting & Coating
Cake Mix Cookies
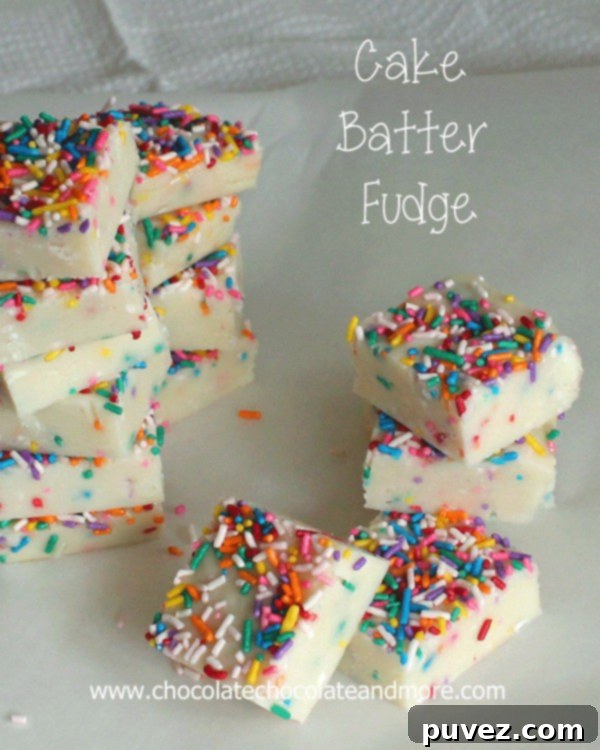
Cake Batter Fudge
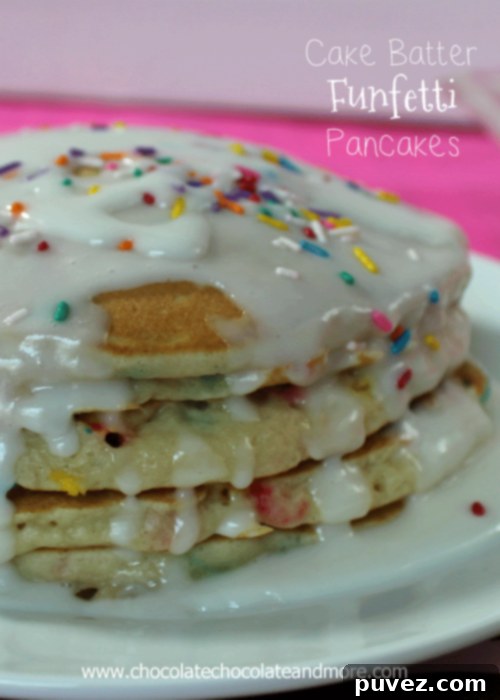
Cake Batter Funfetti Pancakes
sallysbakingaddiction.com
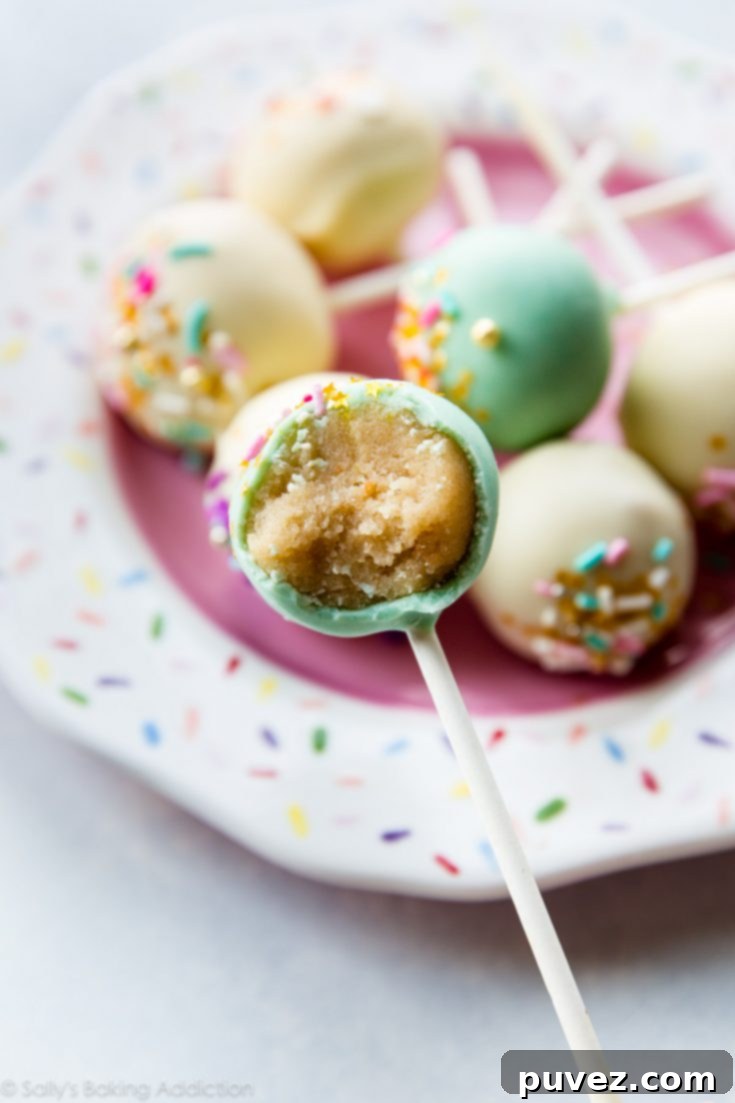
Homemade Cake Pops
