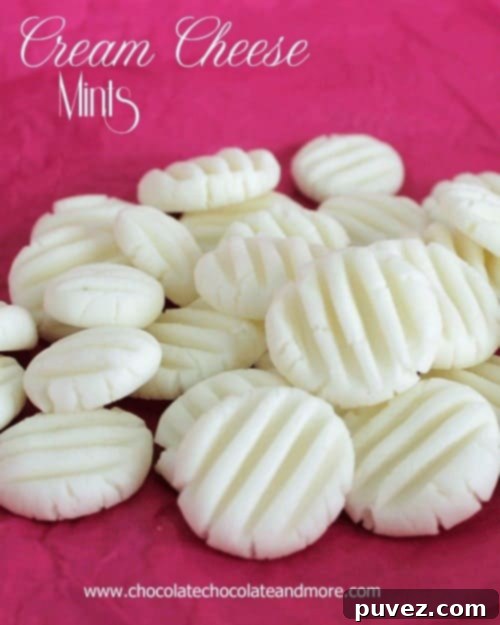
Melt-in-Your-Mouth Cream Cheese Mints: The Ultimate Guide to Homemade Wedding Mints
Cream Cheese Mints, affectionately known as Wedding Mints, are more than just a sweet treat; they’re tiny bites of nostalgia. These delightful confections are incredibly easy to make, yet they bring an air of elegance and festivity to any event, from grand celebrations to intimate gatherings. If you’re looking for a simple, no-bake candy that impresses, you’ve found your new favorite recipe.
A Sweet Trip Down Memory Lane with Wedding Mints
There are some cherished childhood memories that leave a lasting imprint, and for many, Cream Cheese Mints are definitely one of them. These delicate, melt-in-your-mouth candies were a staple at special occasions throughout my youth – Easter Sunday feasts, elegant wedding receptions, and significant anniversary celebrations. As a child, I never paused to ponder the ingredients or the intricate process behind their creation; my sole focus was the sheer joy of receiving one, a small indulgence that made every moment feel a little more special. These mints weren’t just candy; they were symbols of celebration, an unspoken sign that this was an important day.
Now, as an adult, my perspective on food has deepened considerably. While I am a food blogger by profession, my passion for culinary delights extends far beyond my work. I genuinely savor every bite, believing that food should transcend its basic function of sustenance. It doesn’t have to be overtly complicated to be utterly memorable. More often than not, while the flavors are undeniably delicious, it’s the cherished memories forged around the dinner table that truly elevate a meal into something unforgettable.
Think of the traditional Thanksgiving turkey; it’s always magnificent, but it’s the warmth of family gathered, sharing stories and laughter while enjoying all the trimmings, that etches the experience into our hearts. Similarly, a birthday dinner, always featuring the birthday person’s requested dish in our home, becomes a special memory not just for the food itself, but because it celebrates a beloved individual. Food is love, and these simple mints, with their sweet taste and tender texture, have a unique power to connect us to those joyful moments.
I find immense joy in crafting delicious food to make my family feel cherished. Sometimes, I playfully keep the simplicity of certain recipes a secret, allowing them to believe I’ve toiled away in the kitchen, meticulously creating a special treat just for them. These Cream Cheese Mints are one such delightful “secret.”
The Mystery of Storage Solved!
For years, I’d come across recipes for these beautiful mints all over Pinterest. Yet, I always hesitated to make them myself. My primary concern revolved around their storage. With cream cheese being a core ingredient, I was wary of them spoiling quickly, particularly if left unrefrigerated. The thought of all that effort going to waste was enough to keep me from trying.
Then, a revelation came through a fellow blogger, Kelley Highway, who illuminated the path forward. Her invaluable insight confirmed that these mints absolutely DO NOT require refrigeration! This simple fact completely changed my approach and encouraged me to finally dive into making these delightful treats. The high sugar content acts as a natural preservative, allowing them to be stored at room temperature for an extended period without worry. Knowing this, these Cream Cheese Mints immediately climbed to the top of my must-make list. Next on my culinary adventure, inspired by Kelley’s wisdom, are her famous Butter Mints!
Connect with Chocolate Chocolate and More!
Facebook | Twitter | Google+Pinterest | instagram
Cream Cheese Mints

Ingredients
- 3 ounces cream cheese, softened
- 1 teaspoon mint extract (or peppermint for a bolder flavor)
- 3 cups powdered sugar, sifted (essential for smooth texture)
- Food coloring (optional, for festive themes)
Instructions
- Prepare the Base: Ensure your cream cheese is completely softened to room temperature before you begin. Using an electric mixer (stand mixer with paddle attachment or hand mixer), cream the softened cream cheese on medium speed until it is perfectly smooth and free of any lumps. This step is crucial for achieving a uniform texture in your mints.
- Flavor and Color: Add the mint extract (peppermint or spearmint, to your preference) and a few drops of food coloring, if you choose to use it. For vibrant colors, use gel food coloring which provides intense color without adding excess liquid. Continue to cream the mixture until the extract is fully incorporated, the color is evenly distributed, and the mixture appears light and fluffy. Remember to scrape down the sides of the mixing bowl as needed to ensure everything is well combined.
- Incorporate Sugar: Gradually add the sifted powdered sugar, one cup at a time, mixing on low speed until just combined after each addition. It is crucial to scrape down the sides of the mixing bowl frequently to ensure all the sugar is incorporated into the cream cheese mixture. The mixture will become very thick and form a firm, yet pliable dough. Once all the sugar is added and thoroughly combined, the dough should be ready to handle.
- Shape the Mints: Lightly dust your hands with powdered sugar if the dough feels too sticky. Roll the dough into small, uniform teaspoon-sized balls. For consistent sizing, a mini cookie scoop can be very helpful. Place these balls onto a tray lined with wax paper or parchment paper, leaving a little space between each one.
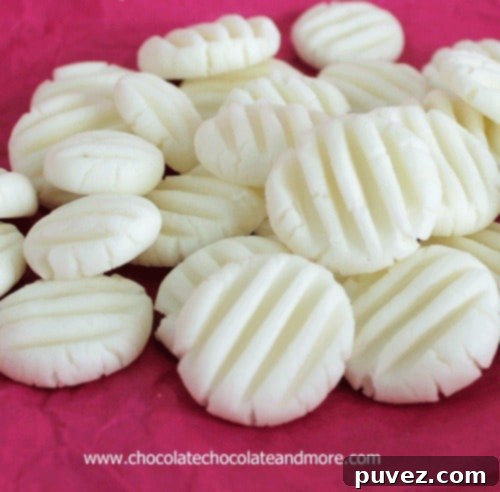
- Flatten and Decorate: Using the tines of a fork, gently press down on each ball to flatten it and create a decorative, ridged pattern. This traditional step gives cream cheese mints their signature, charming look.
- Dry for Perfect Texture: Allow the mints to air-dry uncovered at room temperature for at least 12 hours, or even overnight. This drying process is vital for creating their slightly firm exterior and helps them hold their shape. After the initial drying period, carefully turn the mints over to allow the bottom side to dry completely for another 12 hours. This ensures a consistent texture throughout and prevents stickiness.
- Store and Enjoy: Once fully dried, store the Cream Cheese Mints in an airtight container at room temperature. Thanks to their high sugar content, these mints do not require refrigeration and will remain fresh for at least a week, and often even longer. I’ve personally tested them, and a batch kept perfectly fresh for over two weeks!
Notes
Tips for Success:
- Softened Cream Cheese: This is key! If your cream cheese isn’t soft enough, you’ll end up with lumps and a grainy texture. Let it sit on the counter for at least an hour before starting.
- Sifted Powdered Sugar: Sifting prevents lumps and ensures a smooth, velvety texture in your finished mints. Don’t skip this step!
- Flavor Variations: Don’t limit yourself to mint! Try almond extract, lemon extract, vanilla bean paste, or even root beer extract for unique flavor profiles. Start with ½ teaspoon and adjust to taste.
- Coloring: Gel food coloring provides vibrant colors without adding too much liquid, which can alter the consistency of the dough.
- Uniformity: Using a small cookie scoop or measuring spoon (like a teaspoon) helps ensure all your mints are a consistent size, which looks professional and aids in even drying.
- Drying Time is Important: The extended drying time is what gives these mints their classic firm-on-the-outside, melt-in-your-mouth on-the-inside texture. Don’t rush it!
Recipe adapted from ChocolateChocolateandmore.com
Did you make this recipe?
Please leave a comment on the blog or share a photo on Instagram
Beyond Mints: Explore More Easy Homemade Candies!
If you’ve enjoyed making these delightful Cream Cheese Mints, you’ll love venturing into the world of other simple, satisfying homemade candies. There’s something uniquely rewarding about creating your own sweet treats, whether for gifting, parties, or simply to indulge yourself. Here are some more fantastic candy recipes that are just as easy and delicious!
Homemade Gumdrops: Fresher, fruitier, and more delightful than anything you can buy in a store. These vibrant, chewy candies are incredibly versatile; simply adjust the flavors and colors to perfectly match any occasion or holiday. They make a fantastic food gift too!
Homemade Caramels: Indulge in the rich, buttery goodness of homemade caramels. These soft, chewy confections are far superior to store-bought versions and are surprisingly simple to master. Perfect for a cozy treat or an impressive gift.
Milk Chocolate Fudge: Experience the ultimate comfort of creamy, decadent milk chocolate fudge. This classic recipe is foolproof and yields a rich, smooth fudge that melts in your mouth. A timeless favorite for any chocolate lover!
Peanut Brittle: Craving a delightful crunch? Homemade peanut brittle offers that perfect balance of sweet, nutty, and brittle texture. It’s a satisfying challenge for the home candy maker and always a crowd-pleaser.
