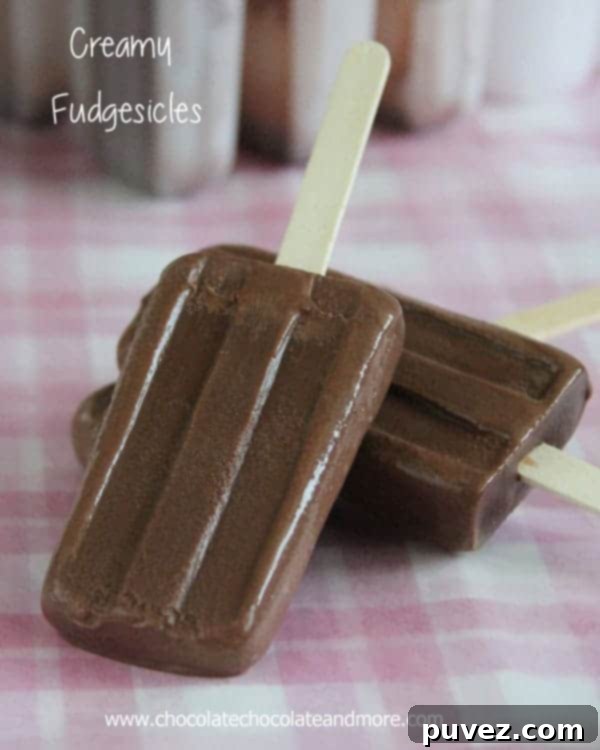
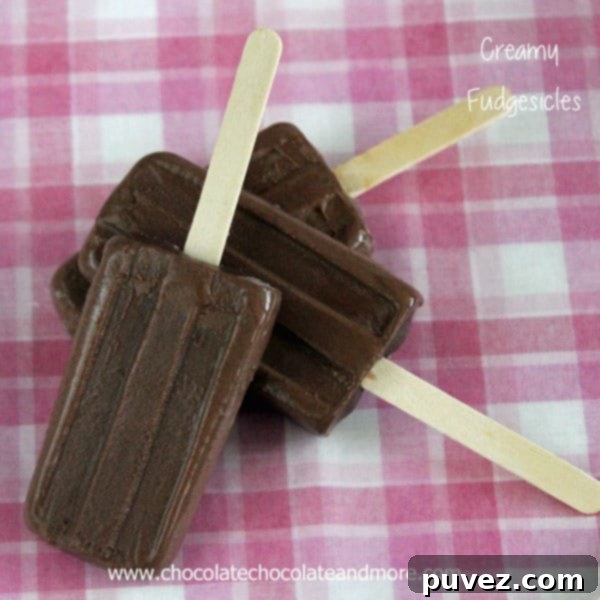
Indulge in Homemade Creamy Fudgesicles: The Ultimate Summer Treat
As the temperatures rise and the sun shines brighter, there’s nothing quite like a cold, refreshing treat to beat the summer heat. And when it comes to classic frosty delights, homemade fudgesicles stand in a league of their own. Rich, creamy, and intensely chocolatey, these beloved frozen pops aren’t just a dessert; they’re a nostalgic trip back to simpler times, evoking memories of chasing down ice cream trucks and carefree summer days. Forget the store-bought versions – making creamy fudgesicles from scratch is incredibly easy, immensely satisfying, and yields a flavor that simply can’t be matched.
This recipe promises to deliver the perfect fudgesicle: one that’s decadently smooth, bursting with deep chocolate flavor, and surprisingly simple to whip up in your own kitchen. Get ready to transform basic ingredients into an unforgettable summer staple that the whole family will adore!
The Magic of Homemade Popsicles: Simple Joys for Summer
Summertime is synonymous with cool treats, and popsicles are undoubtedly one of the easiest and most enjoyable desserts to make at home. Beyond their refreshing nature, there’s a unique joy in crafting your own frozen delights. It’s a fantastic activity for kids, encouraging creativity in the kitchen, and offers a delicious way to cool down when the mercury soars. From vibrant fruit-based pops to creamy, dreamy concoctions like these fudgesicles, the possibilities are endless.
What makes homemade popsicles truly special is the control you have over the ingredients. You can opt for organic milk, high-quality cocoa, and your favorite chocolate chips, ensuring a treat that’s not only delicious but also made with care. Plus, the process itself is wonderfully therapeutic – a simple mixing, pouring, and waiting, rewarded with a delightful frozen snack.
Choosing Your Perfect Popsicle Molds
One of the first steps to embarking on your homemade popsicle journey is selecting the right molds. I’ve personally developed quite a fondness for popsicle molds – it’s almost impossible for me to walk past them in a store without adding a new design to my collection! They come in such a fantastic variety, from classic shapes to whimsical figures, and can be found almost anywhere: dollar stores, supermarkets, big-box retailers, and online.
When choosing molds, consider a few factors:
- Material: Silicone molds are incredibly flexible, making it easy to release your frozen treats without much fuss. Plastic molds are a classic, often more affordable, and durable. Stainless steel molds offer an eco-friendly, long-lasting option.
- Size and Shape: You can find molds for mini pops, standard pops, or even larger, more elaborate designs. Think about who will be eating them – smaller molds are great for little hands.
- Sturdy Base: Some molds come with a tray or base that keeps them upright in the freezer, preventing spills. This is a highly recommended feature for hassle-free freezing.
Explore a wide selection of Popsicle Molds on Amazon!
Sticks: Disposable vs. Reusable
Once you have your molds, you’ll need sticks! You can use the reusable plastic sticks that often come with the molds, traditional wooden popsicle sticks, or even fun paper straws to add a decorative touch. Personally, I tend to lean towards disposable sticks. Why? Because, as many parents and caregivers know, those washable plastic sticks have a mysterious way of disappearing into the great outdoors.
Kids, engrossed in their summer adventures, are often having far too much fun playing outside to remember to bring those plastic sticks back inside. They might just put them down somewhere in the yard, and you might not see them again until seconds before the lawnmower makes an unexpected encounter. Disposable sticks eliminate this minor household mystery and mean less time searching and more time enjoying!
The Versatility of Homemade Frozen Treats
Another fantastic aspect of making popsicles at home is the sheer variety you can create. You’ll never get tired of eating them because the customization options are endless! Simply take a look around your kitchen and see what ingredients you have on hand. The possibilities truly are only limited by your imagination.
- Juice-Based Pops: Simple fruit juices (orange, apple, grape, cranberry) make fantastic, refreshing popsicles. You can even mix different juices for vibrant, layered treats.
- Creamy Delights: Start with a base of milk, yogurt, or even instant pudding for a richer texture, much like these fudgesicles.
- Fresh Fruit Add-ins: Blend in fresh berries, sliced bananas, kiwi, or peaches for natural sweetness and texture.
- Crunchy Bits: Incorporate mini chocolate chips, chopped nuts, granola, or even crushed cookies for an exciting textural contrast.
- Sweet Surprises: Mini marshmallows, gummy bears, or small pieces of candy can add a playful element, especially for kids’ parties.
Don’t be afraid to experiment with flavors and textures. Have fun with it! That’s the beauty of DIY frozen treats.
Our Favorite: Rich and Creamy Fudgesicles
While I love experimenting with all sorts of frozen treats, these Creamy Fudgesicles hold a special place in my heart. They instantly transport me back to my childhood, to those golden summer afternoons spent chasing down the elusive ice cream truck. Back then, my choice was always a Fudgesicle or a Chocolate Eclair. While I’m still perfecting a homemade chocolate eclair recipe, these fudgesicles perfectly capture that nostalgic flavor and texture, satisfying my chocolate cravings every single time!
What sets these fudgesicles apart is their incredible creaminess and deep, rich chocolate flavor. Unlike some icy, watery pops, these are designed to be smooth and decadent, melting slowly in your mouth. The simple combination of milk, cocoa, sugar, and semi-sweet chocolate chips creates a symphony of chocolate that is both comforting and exhilarating.
Tips for Perfect Fudgesicles Every Time
- Use Quality Ingredients: Good quality cocoa powder and chocolate chips will significantly impact the depth of flavor.
- Heat Gently: Ensure the milk is hot enough to melt the chocolate chips completely but avoid boiling, which can affect the texture.
- Whisk Thoroughly: Make sure the cocoa and sugar are fully dissolved into the hot milk to prevent a grainy texture.
- Cool Slightly: Letting the mixture cool for a few minutes before pouring helps prevent the chocolate from separating and ensures a smoother final product.
- Even Pouring: Use a measuring cup with a spout to easily pour the mixture into the molds without overfilling.
- Patience is Key: Fudgesicles need ample time to freeze solid, typically 6-8 hours. Don’t rush it, or you’ll end up with soft, unset pops.
- Easy Release: If your fudgesicles are stuck, run the outside of the mold under warm water for 10-20 seconds. They should slide out easily.
Connect with Chocolate Chocolate and More!
Facebook | Twitter | Google+
Pinterest | Instagram
Save your favorite recipes to your personal recipe box with the ![]() button on all my recipes! Create a Meal Plan with your “favorite” recipes and the ingredients will automatically be added to your own Grocery List!
button on all my recipes! Create a Meal Plan with your “favorite” recipes and the ingredients will automatically be added to your own Grocery List!
Creamy Fudgesicles

Ingredients
- 2 cups milk or cream
- 2 tablespoon cocoa powder
- 2 tablespoon sugar
- 1 cup semi-sweet chocolate chips
Instructions
- In a microwave-safe bowl, or a large measuring cup, heat milk on high until hot but not boiling, about 2 minutes. The goal is to get it warm enough to dissolve the sugar and cocoa and melt the chocolate chips.
- Remove the heated milk from the microwave. Add the cocoa powder and sugar, then whisk vigorously until both are completely blended and dissolved into the milk mixture. Ensure there are no lumps of cocoa.
- Pour the warm milk mixture over the semi-sweet chocolate chips in a separate bowl. Let it sit for about a minute to allow the heat to start melting the chips, then stir until the chocolate chips are completely melted and the mixture is smooth and uniform. Let this rich chocolate mixture cool for about 5 minutes to prevent the popsicle sticks from floating. Carefully pour the cooled mixture into your chosen popsicle molds. Place popsicle sticks firmly into each compartment. Freeze until completely solid, which typically takes about 6-8 hours, or ideally, overnight for best results.
Notes
If you’re using wooden sticks or paper straws that don’t come with a cap to hold them upright, you’ll need a small trick: let your fudgesicles freeze for approximately 1-2 hours first. At this point, the mixture will be partially frozen but still soft enough to insert the sticks, which will then stay firmly in place as they finish freezing.
Recipe source ChocolateChocolateandmore.com
Did you make this recipe?
Please leave a comment on the blog or share a photo on Instagram
Want More Delicious Frozen Treats?
If you’ve fallen in love with these creamy fudgesicles, you’ll be thrilled to know there’s a whole world of delightful frozen desserts waiting to be explored. Here are some other fantastic recipes to keep you cool and satisfied all summer long:
A refreshing and healthy treat featuring tart blackberries swirled with sweet vanilla yogurt. Perfect for a lighter option.
All the classic flavors of Rocky Road – chocolate, marshmallows, and almonds – packed into a fun, frozen pop!
Elevate your ice cream sandwich game with soft, chewy homemade chocolate cookies and your favorite ice cream filling.
The iconic combination of tangy orange and sweet creamy vanilla in a refreshing frozen pop. A true classic!
A delightful twist on a winter favorite – a frosty, rich chocolate drink that’s perfect for summer indulgence.
Other Inspiring Frozen Treat Ideas from Friends:
- Strawberry Cheesecake Sundae Popsicles from Just me, Gluten Free
- Striped Juice Pops from The View From Great Island
- Chocolate Peanut Butter Coffee Pops from Spabetti
Get Your Own Popsicle Molds!
Ready to start making your own delicious fudgesicles and other frozen delights? Investing in a good set of popsicle molds is the first step towards a summer full of cool, homemade treats. The molds linked below are similar to the ones I used for these very fudgesicles, and they are perfect for creating consistently shaped and easily removable pops.
Whether you’re recreating childhood memories or forging new ones, these creamy fudgesicles are sure to be a hit. Simple, rich, and utterly delicious, they are the quintessential summer dessert. So gather your ingredients, grab your molds, and get ready to enjoy the ultimate chocolatey frozen treat!
