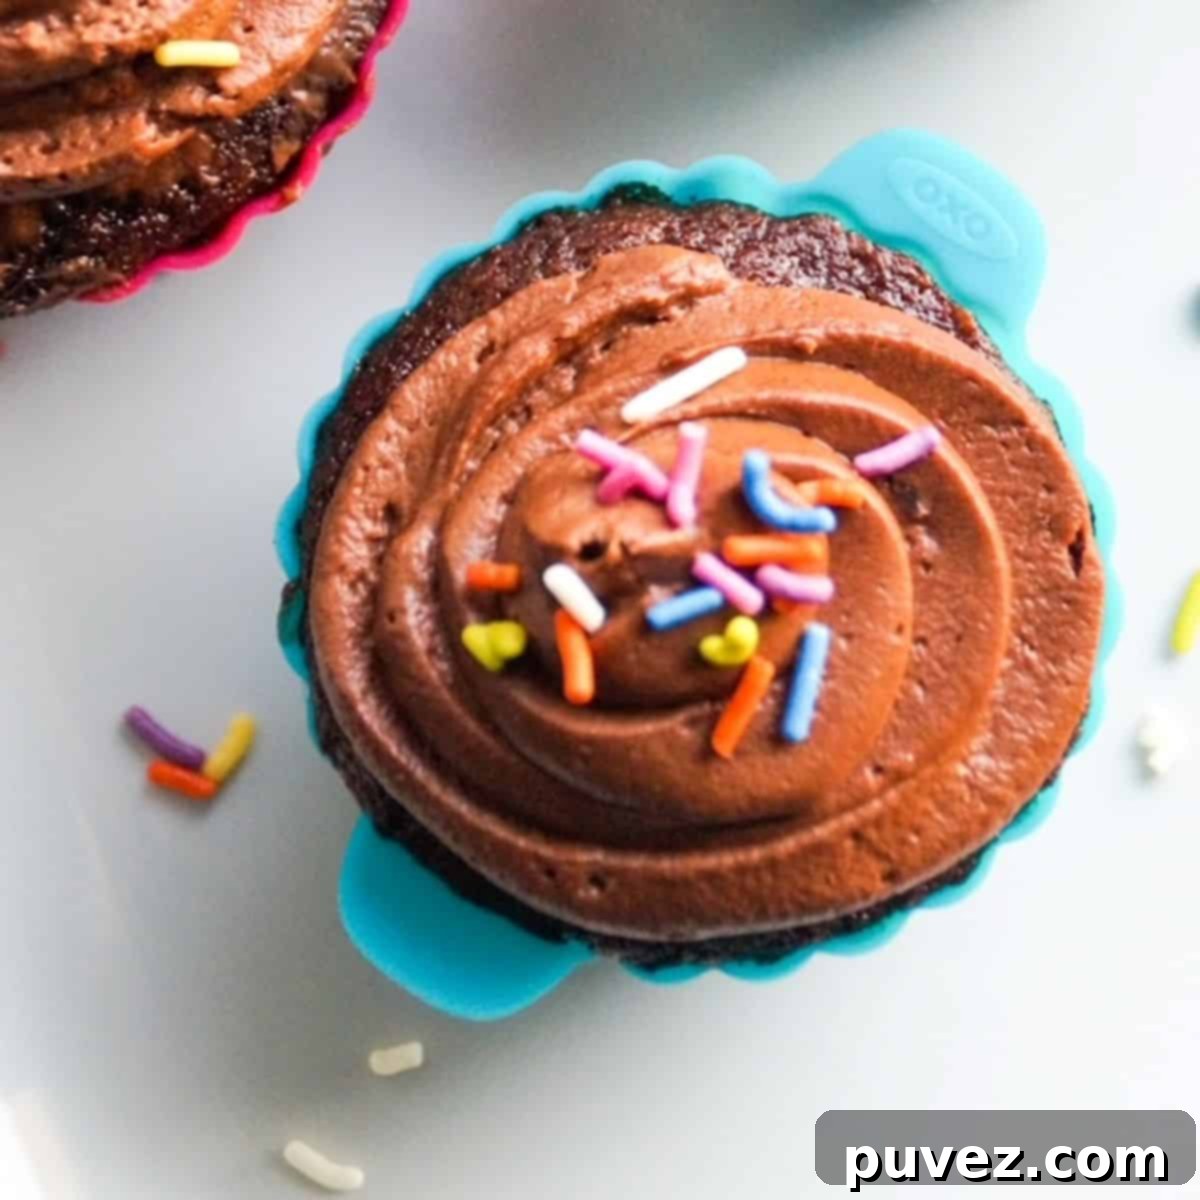
The Ultimate Easy Homemade Chocolate Frosting: Perfect for Cupcakes & Cakes
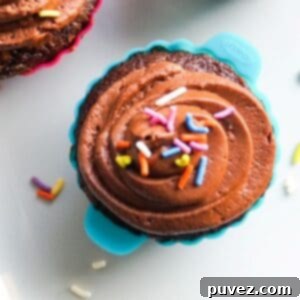
While our easy chocolate cupcake recipe is undoubtedly fantastic on its own, it truly reaches new heights when crowned with this incredible homemade chocolate frosting! This simple, yet utterly divine, chocolate frosting recipe requires just 5 basic ingredients and comes together in a mere 10 minutes. The result? A light, fluffy, and intensely chocolatey topping that is simply the best you’ll ever make at home. Prepare for compliments!
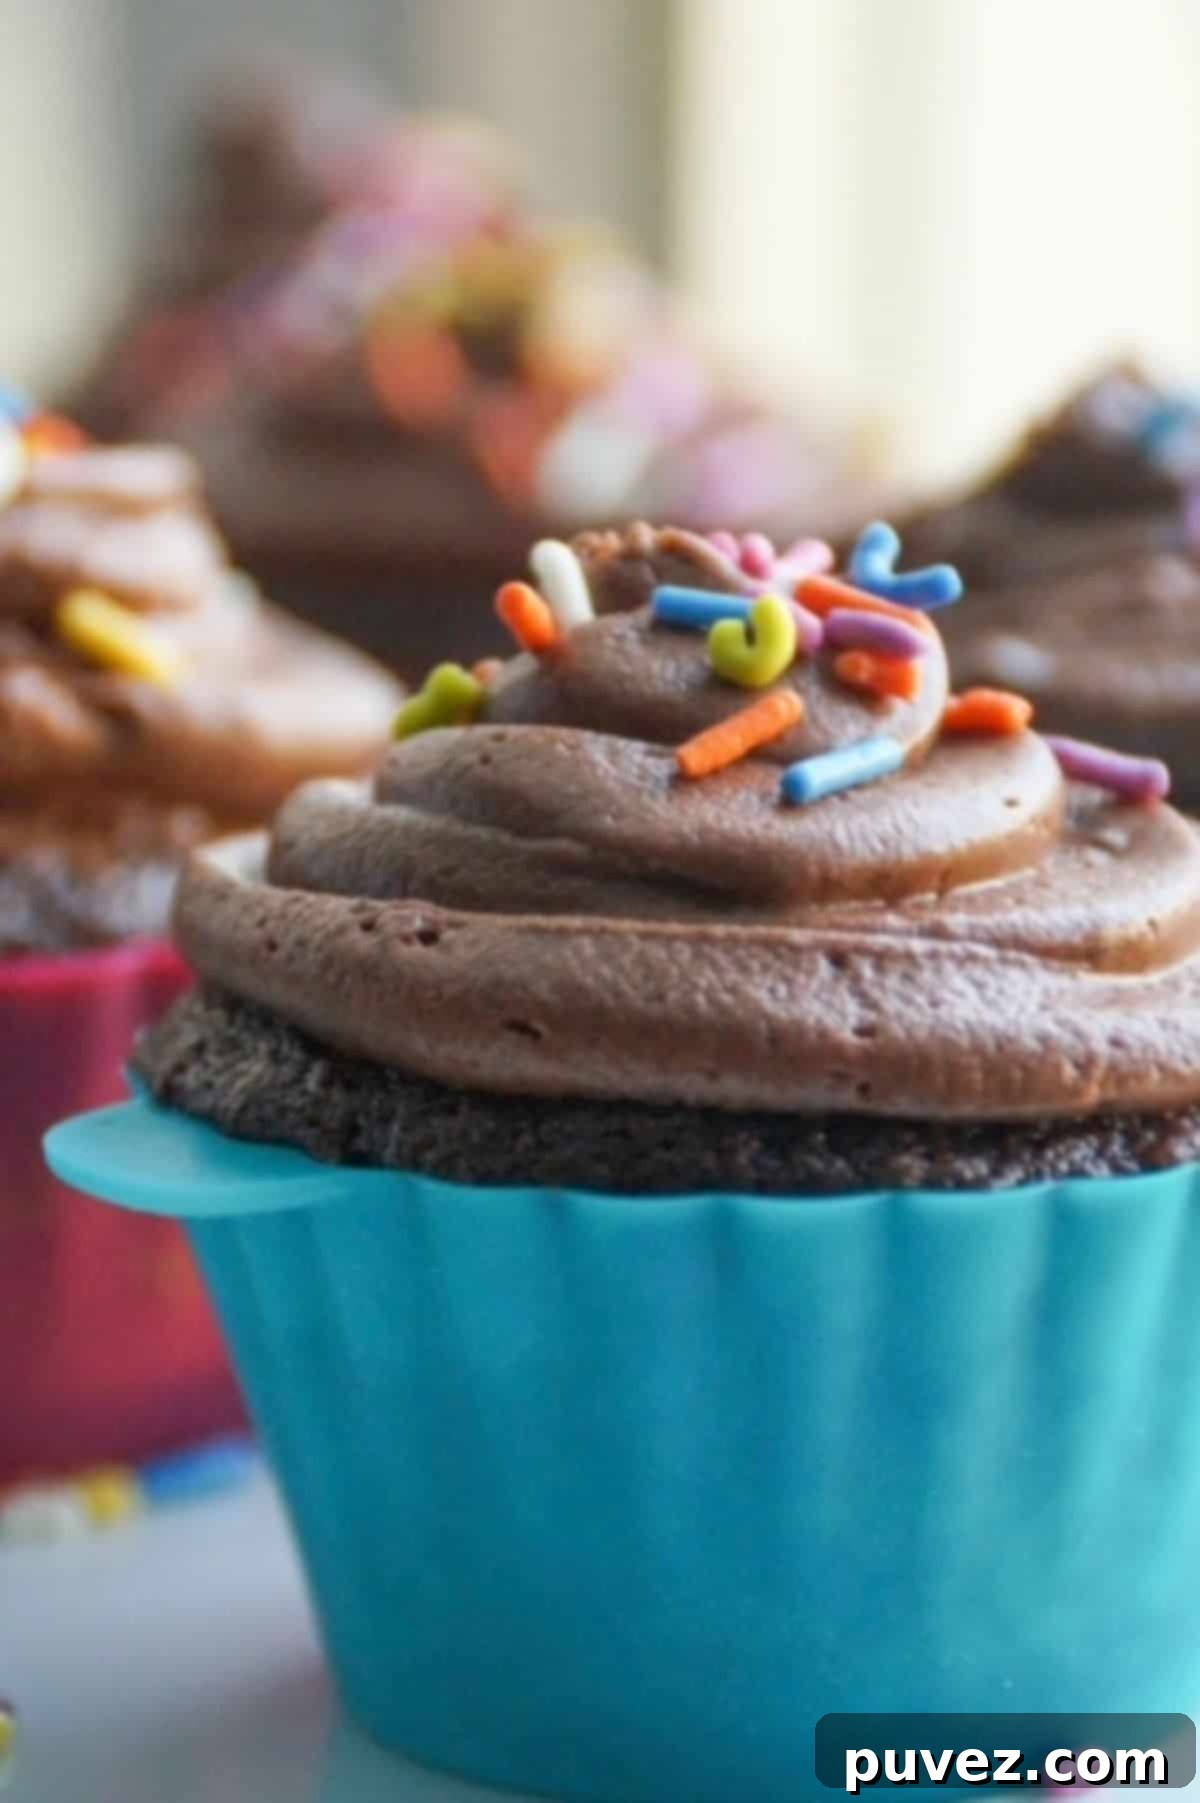
For those who know me, you’re aware of my profound relationship with chocolate. Yes, I’m a dietitian, and I absolutely adore chocolate – it’s a fact I fully embrace! This passion fuels my desire to create indulgent yet approachable recipes, and this chocolate frosting is no exception.
Just like our popular Chewy Chocolate Chip Cookie Bars, this incredible chocolate frosting recipe features a lighter approach than many traditional recipes. We achieve a wonderfully airy and delightful consistency by using slightly less butter and a bit more milk than you might typically find. The magic happens during the whipping process: we beat it at a high speed a little longer, transforming it into a light, whipped consistency that both adults and children will instantly fall in love with. The final product resembles a beautiful milk chocolate whipped buttercream, irresistibly smooth and rich. While choosing the perfect name can be tricky, what truly matters is how wonderfully easy and incredibly delicious it is.
Jump to: Icing vs. Frosting | Why You’ll Love It | Ingredients | How to Make It | Expert Tips | FAQ | Recipe Card
What is the Difference Between Icing and Frosting? Clarifying the Sweet Debate
This is an excellent question that often leads to confusion in the baking world! While the terms “frosting” and “icing” are frequently used interchangeably, they actually refer to two distinct types of sweet toppings, primarily differing in their texture and application.
Frosting, which is what we’re making today, is generally much thicker, fluffier, and more opaque than icing. It typically incorporates a heavier base like butter, cream, cream cheese, or sometimes even peanut butter, along with powdered sugar and a liquid (like milk or cream). This rich, creamy texture allows frosting to be spread generously onto cakes, piled high on cupcakes, or even used as a decadent filling within a layered dessert. Its robust structure means it can hold its shape beautifully, making it ideal for piping intricate decorations.
Icing, on the other hand, is significantly thinner and often has a glaze-like consistency. It’s usually made with powdered sugar and a liquid, such as milk, water, or citrus juice, but without the heavier fat base of frosting. Icing is typically drizzled, poured, or thinly spread over baked goods, creating a delicate, sometimes translucent, coating. Think of glazes on donuts, lemon icing on Bundt cakes, or the thin coating on some cookies. It sets more firmly than frosting, creating a slightly crisp finish.
So, if you’re like me and appreciate precision, when you share this incredible recipe and your friends rave about your “chocolate icing,” you’ll face the delightful dilemma of whether to gently correct them and say, “Oh, do you mean my fabulous chocolate frosting recipe?” 😉
Why You’ll Fall in Love with This Easy Homemade Chocolate Frosting Recipe
There are countless reasons why this particular chocolate frosting recipe will become your go-to for all your baking needs. It’s designed for maximum flavor with minimal fuss, ensuring delicious results every single time.
- Effortlessly Simple & Quick: This recipe is genuinely easy to make, taking just about 10 minutes of active preparation time. The key is having soft (not melted) butter ready. As for powdered sugar, you only need to sift it if it’s lumpy – a common occurrence with opened bags stored for a while. With these simple considerations, you’ll find yourself whipping up this frosting with incredible ease.
- Far Superior to Store-Bought: Once you taste the homemade difference, you’ll never go back to those tubs of store-bought frosting. This recipe delivers a freshness, richness, and perfect whipped texture that simply can’t be replicated by commercial alternatives. Your family, especially the kids, will absolutely adore the superior taste and quality!
- Unbelievably Versatile for Any Occasion: This chocolate frosting is the ultimate companion for a wide array of desserts. It’s perfect for birthday cakes, holiday treats, or just an everyday indulgence. Imagine it on festive Christmas cupcakes – try swapping sprinkles for crushed candy canes for a holiday twist! It also pairs beautifully with cookies, brownies, or as a delightful filling.
Essential Ingredients for Your Perfect Chocolate Frosting
Crafting the perfect homemade chocolate frosting starts with understanding the role of each ingredient. Here’s a closer look at the simple components that come together to create this delectable treat:
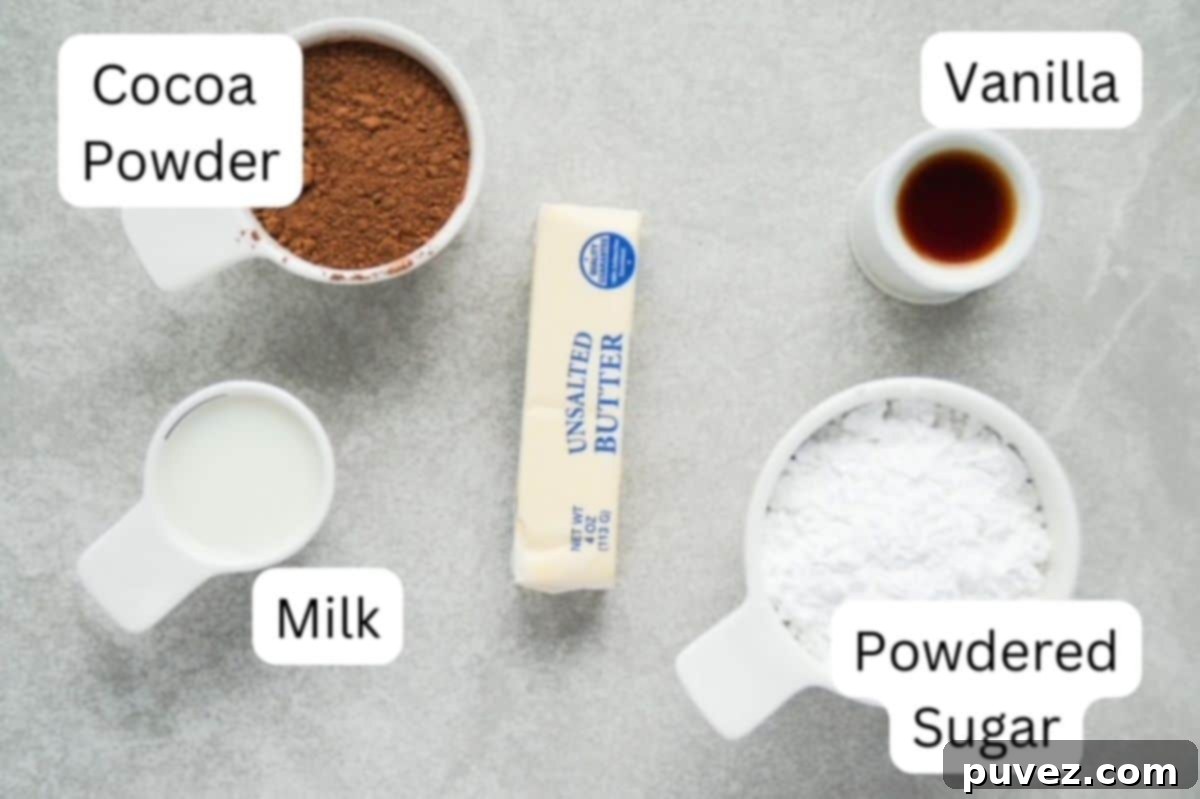
- Unsalted Butter: Always use unsalted butter at room temperature. The butter should be soft enough to make an indentation when gently pressed, but not melted or greasy. Room temperature butter creams beautifully with other ingredients, creating a smooth, emulsified base for your frosting. If your butter is too cold, it won’t combine properly, leading to a lumpy frosting.
- Unsweetened Cocoa Powder: This is where the rich chocolate flavor comes from! We recommend sifting your cocoa powder to ensure there are no lumps, which can make your frosting grainy. While any unsweetened cocoa powder works, a good quality cocoa will deepen the flavor profile considerably. Dutch-processed cocoa powder will give you a darker color and a milder, less acidic chocolate flavor, while natural cocoa powder offers a fruitier, more intense chocolate taste.
- Powdered Sugar (Confectioners’ Sugar): Essential for both sweetness and the light, smooth texture of our frosting. Powdered sugar dissolves easily, preventing graininess. Just like cocoa, you only need to sift powdered sugar if it appears lumpy. Lumps are usually a sign that moisture has gotten into an opened bag, and sifting will ensure a perfectly silky frosting. A standard 16oz bag of powdered sugar usually yields about 3 ¾ cups, which is exactly what this recipe calls for.
- Vanilla Extract: A crucial flavor enhancer. Do not omit the vanilla from this recipe, as it brightens and rounds out the chocolate flavor, adding depth and complexity. Using a good quality pure vanilla extract can truly elevate your frosting. For a fun twist, you could experiment with a hint of almond extract for a cherry-chocolate profile.
- Milk: This ingredient is key for achieving the perfect consistency. You can use any kind of milk you have on hand – we’ve had great results with both skim milk and 2% milk. The amount of milk can be slightly adjusted based on your desired frosting thickness. Add it gradually to ensure you don’t make the frosting too thin.
Yield Information: How Much Deliciousness Will You Get?
This versatile chocolate frosting recipe yields approximately two to two-and-a-half cups of decadent frosting. This generous amount is perfect for frosting a full two dozen standard-sized cupcakes, or it can elegantly cover one 9×11 inch cake with a beautiful, even layer. You can also use it to sandwich cookies, pipe decorations onto brownies, or even enjoy a spoonful straight from the bowl – we won’t tell!
Mastering the Art of Homemade Chocolate Cupcake Frosting: Step-by-Step Guide
Creating this irresistible chocolate frosting is surprisingly straightforward. Here’s a detailed, step-by-step overview to guide you through the process, ensuring a perfect batch every time. For the most specific and detailed instructions, including exact measurements, please scroll down to the printable recipe card below.
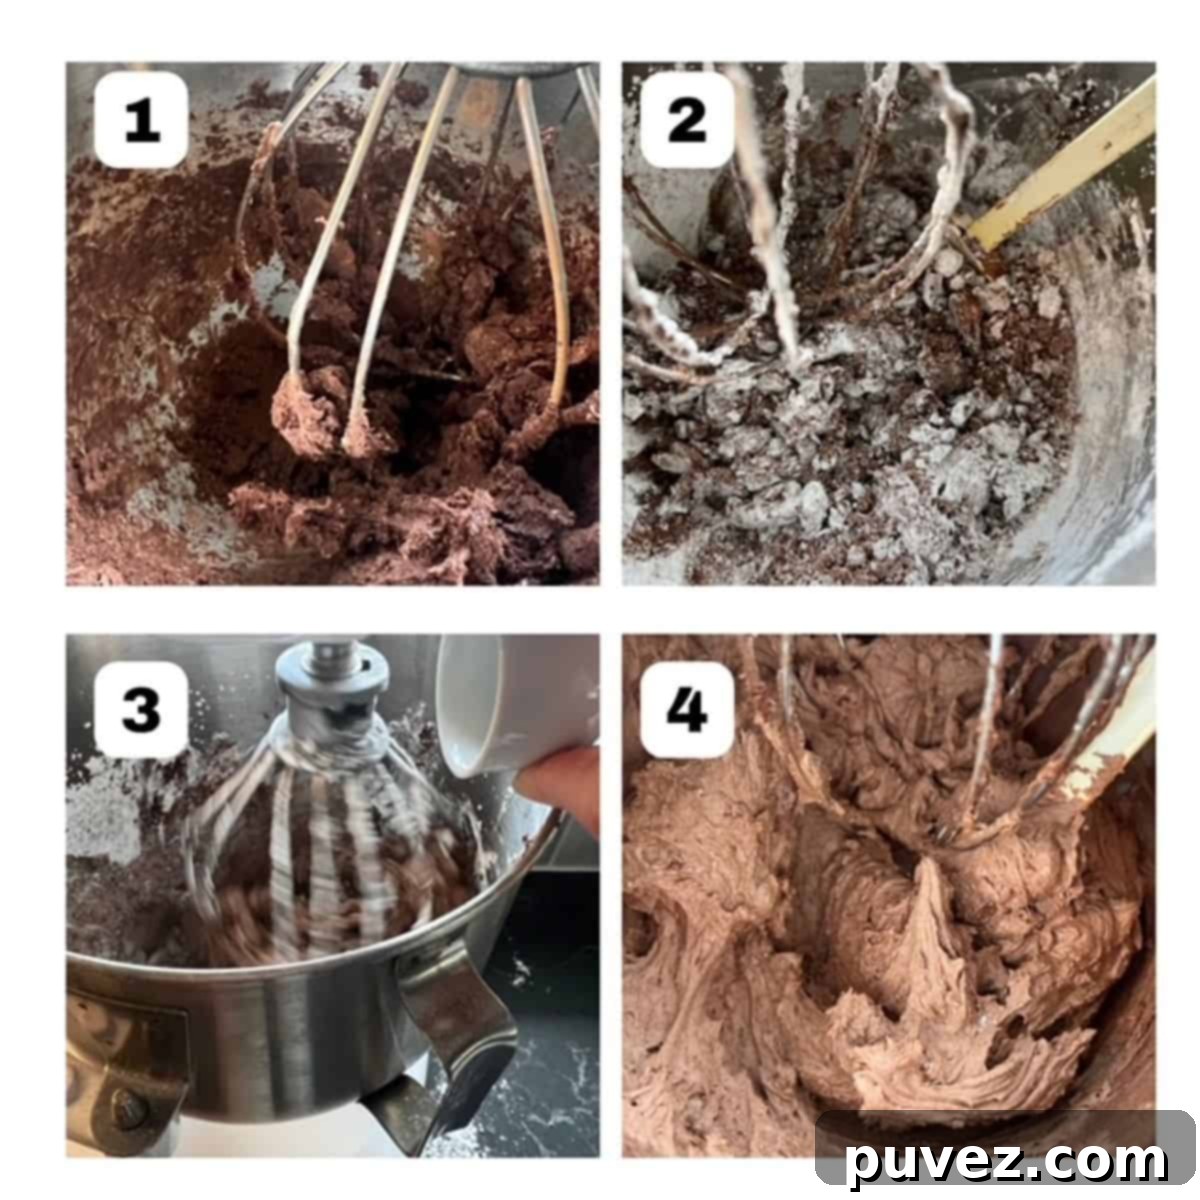
- Start with the Base: In the bowl of your stand mixer fitted with a whisk attachment, combine your room temperature butter, vanilla extract, and sifted cocoa powder. Begin mixing on a low speed to gradually incorporate the cocoa powder without creating a dusty mess. Once combined, increase the speed to medium-high and mix for about two minutes. The mixture will look dark and crumbly at this stage, with most of the cocoa powder blended into the butter.
- Scrape and Incorporate Sugar: Pause your mixer and use a spatula to scrape down the sides of the bowl and the whisk attachment. This ensures all the buttery cocoa mixture is thoroughly combined. Then, with the mixer set to a low to medium speed, gradually add the powdered sugar, about ⅓ cup at a time. This slow addition prevents a sugar cloud and allows for proper incorporation. If the mixture becomes too stiff or sticks to the sides, slightly increase the speed once most of the sugar is in. Remember to pause and scrape the bowl as needed throughout this process.
- Achieve the Perfect Whip: Once all the powdered sugar has been incorporated and the mixture is thick, it’s time to add the milk. Pour in the specified amount, then gradually increase the mixer speed to high. Whip the frosting at a high speed for approximately one minute. You’ll notice the color lightening to a beautiful milk chocolate hue, and the consistency transforming into a light, semi-whipped, fluffy texture.
- Final Check and Adjustments: Stop the mixer and use your spatula to give the frosting one last scrape from the sides of the bowl. Check the consistency. If you desire an even lighter, more whipped texture, continue whisking on high speed for another minute or two. If you find your frosting too thick, add an additional tablespoon of milk, whisking on high until fully incorporated and the desired thinness is achieved. If it’s too thin, you can add a little more powdered sugar. Once it’s perfect, your incredible chocolate frosting is ready to adorn your favorite baked goods!
Dietitian & Expert Tips for Frosting Perfection
Achieving the perfect homemade chocolate frosting is simple when you know a few key tricks. Here are some expert insights to ensure your frosting is always smooth, fluffy, and utterly delicious:
Tip 1: Embrace the Whip for a Lighter Frosting. Making a frosting that’s lighter and has a whipped consistency, like this recipe, is a smart strategy to reduce the amount of butter and sugar per serving without sacrificing flavor or satisfaction. Don’t be afraid to whip this frosting vigorously and for a little longer than you might think. You really can’t over-whip it to a detrimental degree (at least, I haven’t found a way to, lol!). Continue whipping at high speed until you achieve your desired airy and fluffy texture.
Tip 2: A Little Goes a Long Way. This creamy, rich chocolate frosting is so intensely flavorful that a small amount is often all you need to satisfy. Topping your cupcakes or cake with just a thin, elegant layer of this chocolatey goodness will surprise you with its ability to curb even the strongest chocolate craving. It’s about quality over quantity, and this frosting delivers on both! See, I’ve got you covered!
- Butter Temperature is Non-Negotiable: Never use cold butter directly from the refrigerator. For the best results, let your butter sit out at room temperature for several hours, or even overnight, before you start making the frosting. It should be genuinely soft to the touch, easily yielding to a gentle press, but not melted. If it’s too cold, it won’t cream properly, leading to a lumpy and stiff frosting that lacks that signature whipped texture. While an hour might soften it, several hours ensures it’s perfectly pliable, making mixing much easier and the final consistency superior.
- Sift Lumpy Dry Ingredients: If your powdered sugar or cocoa powder has hardened or formed lumps (which often happens if the package has been opened and stored for a while), take the extra few minutes to sift it using a fine mesh strainer. This small step is incredibly important for preventing a grainy or lumpy frosting and ensuring a smooth, silky finish. It’s truly worth the minor effort.
- Acknowledge the Sweetness: Frosting, by nature, is meant to be sweet, and this chocolate buttercream is no exception. While you can slightly reduce the amount of powdered sugar, be aware that this will alter the texture and potentially make it less stable or spreadable. A little goes a long way with rich, sweet frosting, so enjoy it in moderation.
- Choose Quality Vanilla: The quality of your vanilla extract can significantly impact the overall flavor. Opt for a good quality pure vanilla extract; you will undoubtedly taste the difference it makes in enhancing the chocolate notes and adding depth.
- Scrape Down the Bowl Regularly: During mixing, ingredients tend to cling to the sides of the bowl and the whisk. Periodically pause your mixer and use a spatula to scrape down all the ingredients, ensuring everything is thoroughly combined and no pockets of unmixed butter or sugar remain. This guarantees a uniform consistency.
- Control Your Liquid: Be cautious not to add too much milk at once. If your frosting becomes too liquidy, it won’t whip up properly and will be difficult to spread or pipe. Always add milk a small amount at a time, especially when making adjustments.
- Adjusting Consistency: If your frosting turns out too thick, add a very small amount of milk (half a tablespoon at a time) and whip until it reaches your desired thinness. Conversely, if your frosting is too thin, gradually add more sifted powdered sugar until it thickens to the right consistency.
- Utilize Stand Mixer Accessories: If you’re using a 4.5- or 5-quart KitchenAid stand mixer with a tilt head and stainless-steel bowl, a pouring shield can be a lifesaver. It significantly reduces the mess created by cocoa powder and powdered sugar flying out of the bowl during mixing.
Frequently Asked Questions (FAQ) about Chocolate Frosting
Lumpy frosting is almost always caused by one of two things: either your butter was too cold and didn’t cream smoothly, or your dry ingredients (powdered sugar or cocoa powder) were lumpy and weren’t sifted. Ensure butter is at proper room temperature and sift dry ingredients if they’re not free-flowing.
Runny frosting typically results from too much liquid. This could be from adding excessive milk, or if your butter was melted (even slightly) before mixing. Using tub margarine (often labeled as vegan butter) can also lead to a runnier consistency as it has a higher water content than stick butter.
Yes, you absolutely can use vegan butter (margarine) as a substitute for dairy butter, but be prepared for a slightly different texture. Vegan butters are typically made from oils and contain more water, which can result in a softer, potentially runnier frosting. If you opt for vegan butter, we recommend waiting to add the milk until you’ve assessed the consistency with just the vegan butter, cocoa, sugar, and vanilla. You may need less or no milk at all. If it still needs thinning, add a very small amount of milk at a time.
Yes, leaving butter at room temperature for several hours or even overnight is generally considered safe. The USDA confirms that butter is safe at room temperature due to its low water content and high fat content, which inhibits bacterial growth.
Frosting’s inherent sweetness comes from its primary ingredient: sugar, specifically powdered sugar, which also contributes significantly to its light, spreadable texture. While you can reduce the amount of powdered sugar, be aware that this will inevitably change the frosting’s consistency and might make it less firm or pipeable. It also might not taste quite as rich or balanced without the full sweetness. If you find it overwhelmingly sweet, consider using a high-quality, dark cocoa powder for a more bitter chocolate contrast.
Absolutely! This chocolate frosting can be made in advance. Simply store it in a food-safe container with a tight-fitting lid in the refrigerator for up to a week. When you’re ready to use it, remove it from the fridge and let it sit at room temperature for two to three hours to soften. To restore its signature whipped and fluffy consistency, transfer it back to your stand mixer and whisk it on high speed for about thirty seconds to a minute, or until it’s smooth and pliable again.
Frosted cupcakes or cakes with this buttercream can be stored at room temperature in an airtight container for up to 2-3 days. For longer storage, refrigerate them in an airtight container for up to a week. Bring them back to room temperature for about 30 minutes before serving for the best texture and flavor.
More Easy Dessert Recipes You’ll Love
If you’re a fan of simple, delicious desserts, be sure to explore these other fantastic recipes:
- Easiest Chocolate Cupcakes (from Scratch!)
- Chewy Chocolate Chip Pan Cookies
- Easy Vegan Truffles (No Bake)
- Super Easy Vegan Blondies
Did you make this incredibly delicious chocolate buttercream frosting for cupcakes and love it? Please give it a 5-star rating and leave a comment to let us know! Your feedback helps other bakers find and enjoy this fantastic recipe.
And don’t forget to take a picture of your beautifully frosted creation before you devour it and tag us on Instagram so we can admire your baking success!
📖 Recipe
Best Homemade Chocolate Frosting
Kristi
Pin Recipe
Equipment
-
1 Stand mixer
-
1 spatula
-
1 Fine mesh strainer
-
measuring cups and spoons
Ingredients
- ½ cup unsalted butter At room temperature. Should be soft, not melted.
- ⅔ cup unsweetened cocoa powder Sifted, especially if lumpy.
- 3 ¾ cup powdered sugar Sifted, if lumpy. One 16oz bag typically yields about 3 ¾ cups.
- 1 tablespoon vanilla extract
- 5 ½ tablespoons milk Skim or 2% milk works best. Adjust quantity for desired consistency.
Instructions
-
Place the room temperature butter and sifted cocoa powder into the bowl of your stand mixer.
-
Using the whisk attachment, begin mixing the cocoa powder and butter together at a low speed to prevent dust. Gradually increase to medium speed and mix for about one minute. Add the vanilla extract and continue mixing at medium to medium-high speed until most of the cocoa powder is incorporated into the butter. The mixture will appear dark and crumbly.
-
Turn off the mixer and use a spatula to thoroughly scrape down the whisk attachment and the sides of the mixing bowl. This ensures even mixing of all ingredients.
-
Set the mixer to medium speed again and gradually add the powdered sugar, approximately ⅓ cup at a time. Once a significant portion of the powdered sugar has been incorporated, you can slightly increase the speed if the mixture is sticking too much to the sides of the bowl or the whisk. Remember to pause mixing as needed to scrape down the whisk and sides of the bowl for consistent results.
-
Once all the powdered sugar has been fully incorporated into the mixture, add the milk. Begin whisking at medium-high speed for about one minute. Then, increase your mixer to high speed for an additional one to two minutes, or until the frosting has achieved a beautiful milk chocolate color and a light, semi-whipped consistency.
-
Stop mixing, give the sides of the bowl another scrape, and check the frosting’s consistency. If you prefer a thinner frosting, add one more tablespoon of milk and whisk on high for another minute until blended. Otherwise, your perfectly whipped chocolate frosting is ready to be spread or piped onto your cupcakes and cakes!
Notes
- Butter Temperature: It is crucial not to use cold butter straight from the refrigerator.
- Preparation for Butter: Allow the unsalted butter to sit out at room temperature for several hours, ideally overnight, before you plan to make the frosting. The butter should be soft to the touch for the best whipped consistency.
- While butter may soften sufficiently after one hour, it will require more effort to mix and may not yield the same light, whipped consistency as butter that has softened longer.
- Sifting Powdered Sugar: If your powdered sugar is lumpy, it is highly recommended to sift it using a fine mesh strainer. This extra step prevents a grainy frosting and ensures a smooth, professional finish.
- Sweetness: This is a sweet frosting, as frosting naturally contains sugar. A small serving provides ample sweetness. While you can slightly reduce powdered sugar, be aware it will affect texture.
- Vanilla Quality: Use a good quality vanilla extract. The flavor difference is noticeable and truly enhances the chocolate.
- Cocoa Quality: While this frosting is delicious with generic cocoa powder, if you are particular about your chocolate, a higher quality cocoa powder will provide a richer and deeper chocolate flavor.
- Scraping the Bowl: Always pause mixing as needed to scrape the sides of the bowl and the whisk to ensure all ingredients are thoroughly combined.
- Avoid Excess Milk: Do not add too much milk at once. An overly liquidy frosting will not whip properly and will be difficult to spread or pipe.
- Thickening Frosting: If your frosting is too thin, gradually add more sifted powdered sugar until it reaches the desired thickness.
- Thinning Frosting: To thin out the frosting, add a very small amount of milk (half a tablespoon at a time) and mix until desired consistency.
- Spatula Use: Keep a small spatula or spoonula handy to scrape the sides of the whisk and bowl frequently during mixing.
- Stand Mixer Tip: If you are using a 4.5- or 5-quart KitchenAid stand mixer with a tilt head and stainless-steel bowl, a pouring shield is excellent for minimizing mess from dry ingredients.
- With a little practice, you’ll be able to whip up this amazing frosting in approximately 10 minutes, making it a quick and reliable recipe.
Nutrition
Tried this recipe?Let us know how it was!
