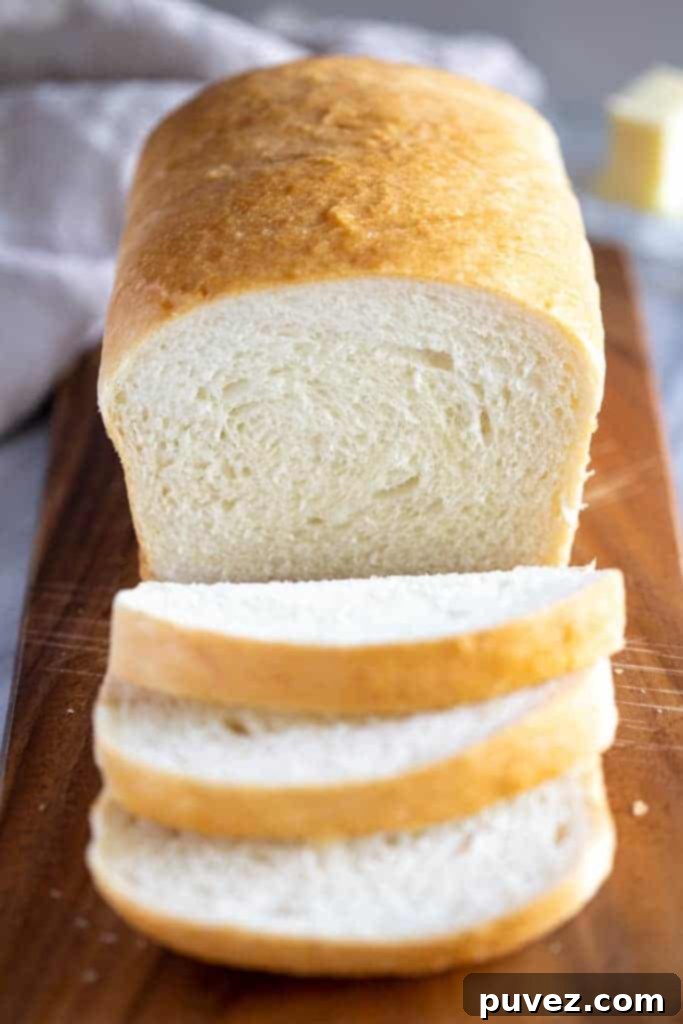
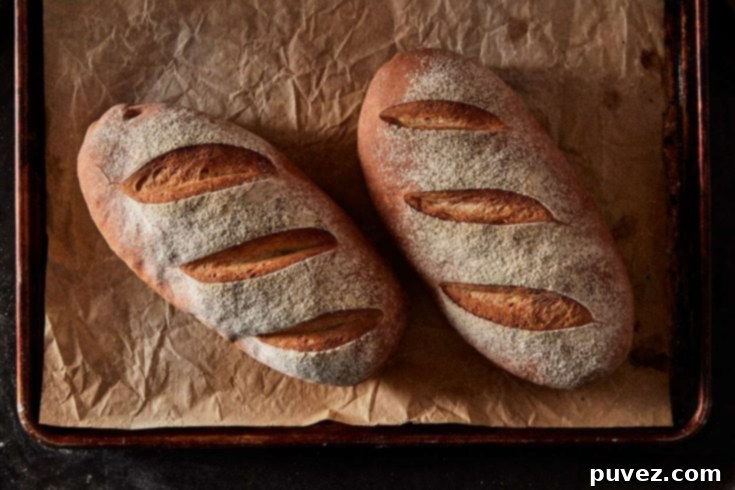
The Easiest No-Knead Dutch Oven Bread: A 4-Ingredient Artisan Loaf
Imagine a warm, fragrant loaf of artisan bread, fresh from your oven, with a perfectly crisp crust and a soft, airy interior. Sounds like a daunting task, right? What if I told you it could be achieved with just four simple ingredients and almost no effort? Welcome to the magic of No-Knead Dutch Oven Bread – a revolutionary recipe that proves homemade bread doesn’t have to be complicated.
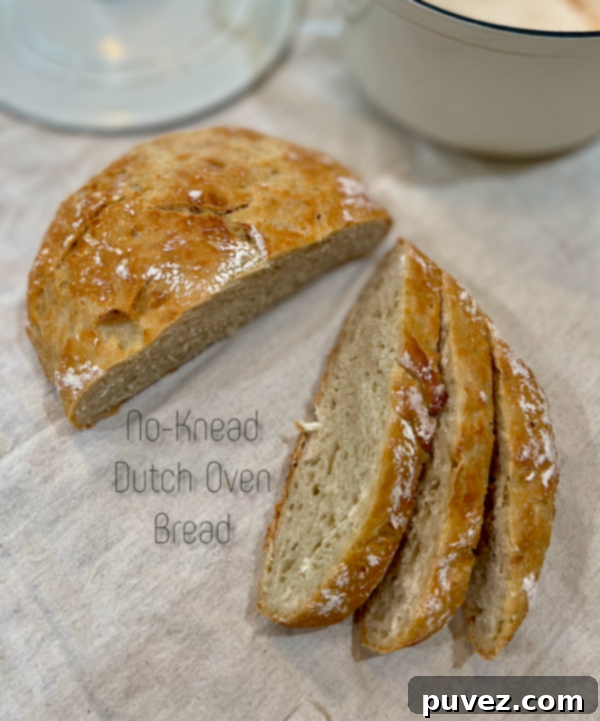
For a long time, the idea of baking bread felt out of reach. My love for a fresh, crusty loaf was immense, but my schedule and energy levels rarely aligned with the traditional, labor-intensive kneading process. If you, like me, adore the taste of freshly baked bread but dread the time commitment and arm workout, then this recipe is your culinary salvation. While it does require a significant hands-off rising time, the active prep and baking are astonishingly simple, making it by far the easiest bread you’ll ever master.
This method truly lives up to its “no-knead” name. The most strenuous activity you’ll undertake is gently mixing the ingredients in a bowl. Beyond that, time and the magic of a Dutch oven do all the heavy lifting, transforming a sticky dough into a bakery-quality loaf. And the best part? It all comes together with just four basic pantry staples, readily available in any kitchen.
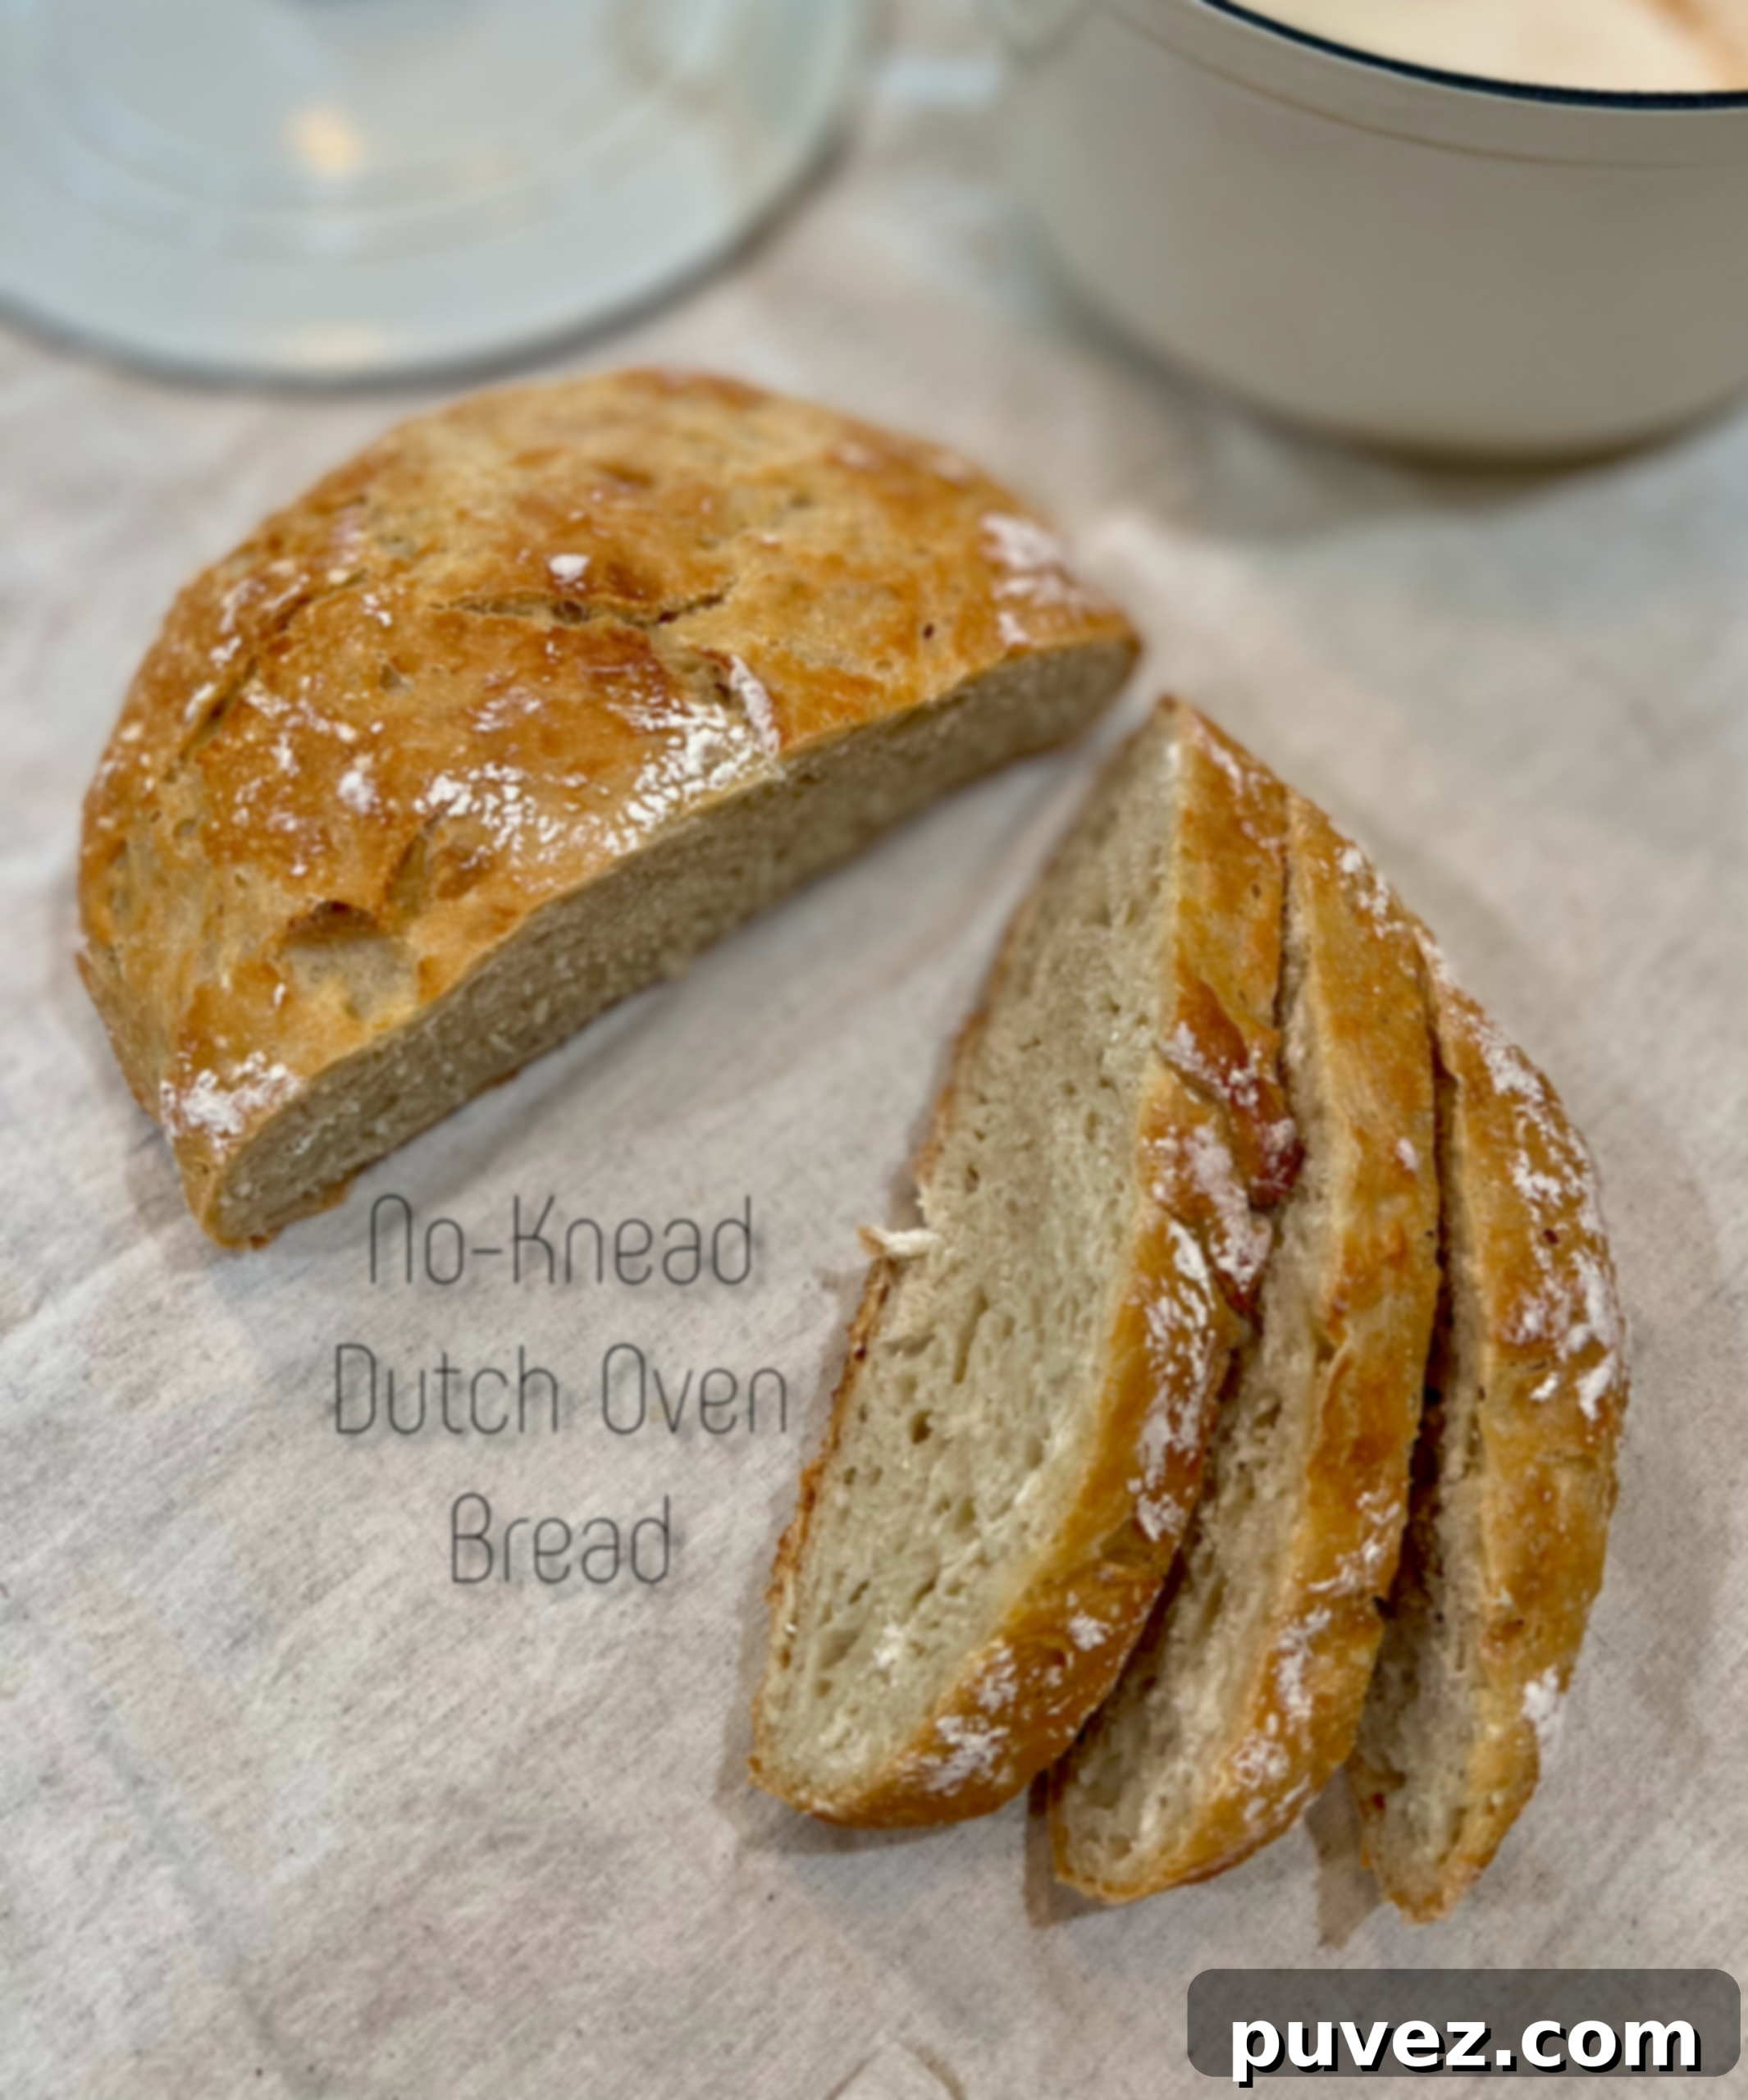
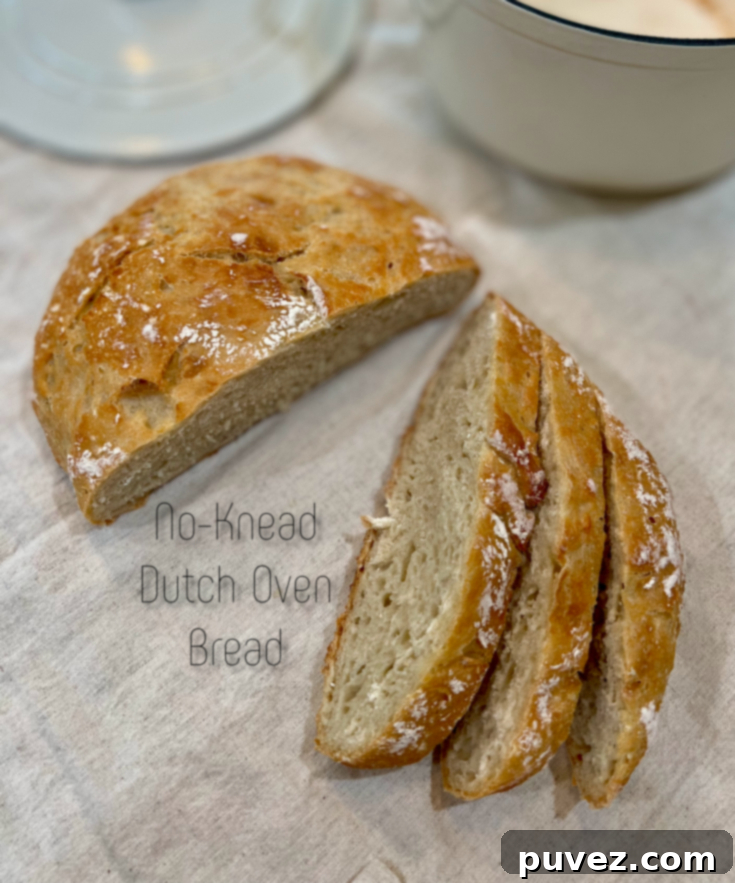
The result is nothing short of spectacular: a beautifully moist and fluffy bread encased in a golden-brown crust that crackles with every slice. Once you experience the unparalleled taste and texture of this homemade wonder, you’ll likely bid farewell to store-bought loaves forever. In my household, a fresh loaf of this bread disappears in less than a day, usually just between my boyfriend and me! It’s that irresistible.
I’m already looking forward to making this again, especially when my nephew visits. This recipe is wonderfully kid-friendly due to its simplicity, and I know he’ll be captivated watching the dough transform and rise. He even talks about growing up to cook like me! I only wish he had been here this time so I could capture those precious moments of him helping.
Why No-Knead Dutch Oven Bread is a Game Changer
The brilliance of no-knead bread lies in its simplicity and the scientific principles behind it. Instead of traditional kneading, which develops gluten through mechanical action, this method relies on a long, slow fermentation. This extended rest allows the gluten to develop naturally over time, resulting in a complex flavor profile and an incredibly airy crumb. The high hydration of the dough also contributes to its amazing texture.
The Dutch oven plays a crucial role in achieving that perfect, artisan-style crust. When preheated, the cast iron pot creates a superheated environment that mimics a professional steam injection oven. The trapped steam initially keeps the crust soft, allowing the bread to fully expand (oven spring) before drying out and developing that signature crisp, golden-brown exterior. It’s a fool-proof way to get consistently excellent results, even for novice bakers.
The Essential 4 Ingredients
You’ll be amazed at the quality of bread you can create with such a short ingredient list. Each component plays a vital role:
- 3 1/4 cups of all-purpose flour: The foundation of our bread. All-purpose flour works beautifully, providing a good balance of protein for structure without being too dense.
- 1 3/4 tsps of yeast: This is what gives our bread its lift and distinct flavor. Active dry yeast or instant yeast will both work, with instant yeast often being slightly faster.
- 2 tsps of salt: Essential for flavor, salt also plays a role in controlling yeast activity and strengthening the gluten structure. Don’t skip it!
- 2 cups of room temperature water: Hydration is key! The temperature of the water is important – too cold, and the yeast will be sluggish; too hot, and it could kill the yeast. Aim for lukewarm, around 70-80°F (21-27°C).
- A Dutch oven: While not an ingredient, it’s the most important piece of equipment for this recipe!
When I say this recipe is easy enough for my almost 5-year-old nephew to do almost entirely by himself, I truly mean it. It’s a fantastic way to introduce kids to the joy of baking!
Step-by-Step Guide: Crafting Your Loaf
1. Mixing the Dough: The Easiest Part
In a large mixing bowl, combine the dry ingredients: flour, salt, and yeast. Give them a quick whisk to ensure they are evenly distributed. This helps the yeast activate properly and ensures consistent seasoning throughout the loaf.
Next, prepare your water. As mentioned, room temperature water is ideal. My personal hack for quick room-temp water is to start with warm tap water and add a few ice cubes until it cools to the perfect lukewarm feel. Alternatively, you can simply draw cold water and let it sit on the counter for an hour or two to reach temperature naturally. I always opt for the faster method!
Pour the prepared water into your flour mixture. Using a wooden spoon or spatula, mix until all the flour is hydrated and you have a shaggy, sticky dough. There’s no need to overmix; just ensure there are no dry pockets of flour left.
2. The Long Rise: Time Does the Work
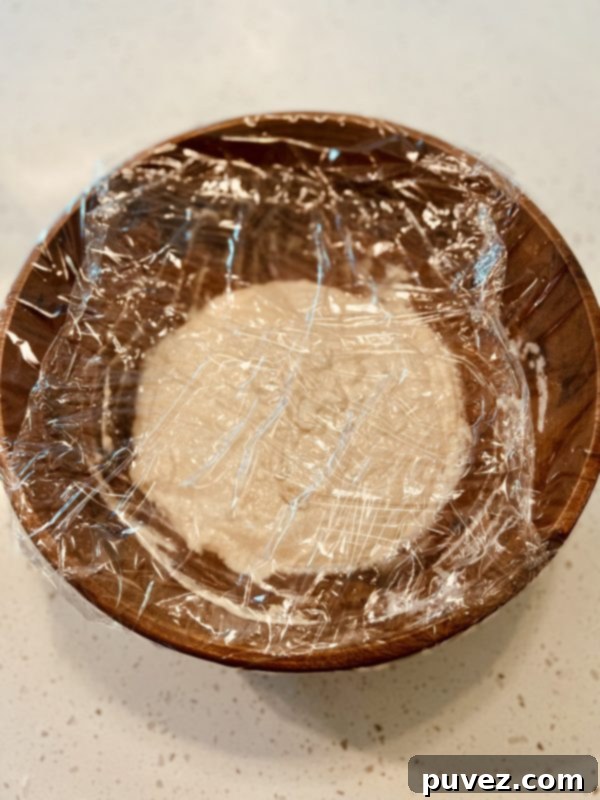
Once mixed, cover the bowl tightly with plastic cling wrap. This is crucial! You might be tempted to use a kitchen towel, but here’s why cling wrap is superior: it creates an airtight seal that traps moisture, preventing the dough from drying out and promoting a consistent, active rise. Plus, it saves you from dirtying another towel!
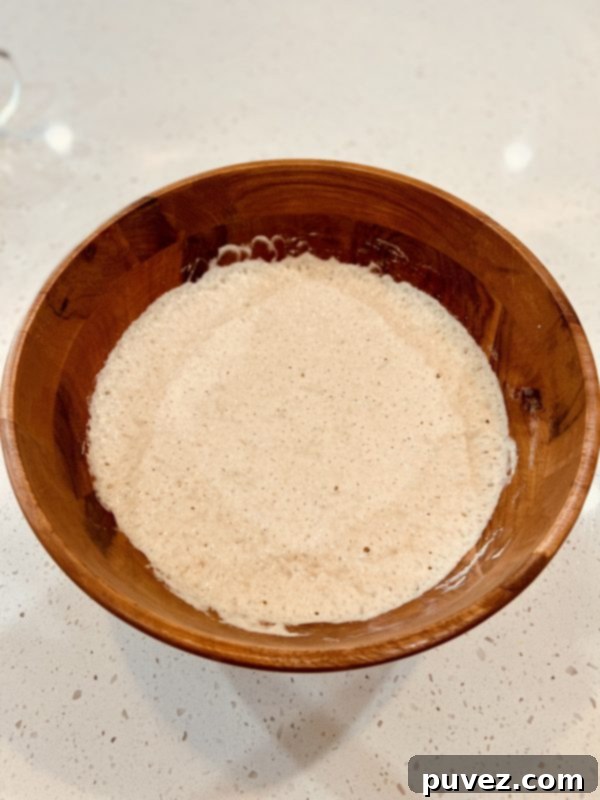
Let the dough rise at room temperature for a minimum of 5 hours. For an even more complex flavor, you can let it rise for up to 12-18 hours, or even overnight. This extended fermentation is where the magic happens, developing the flavor and gluten structure without any kneading.
After 5 hours (or more), your dough should have visibly doubled in size and appear bubbly. Don’t be alarmed if it’s very sticky and wet – this is exactly what you want! The high hydration is what contributes to the bread’s airy crumb and open texture.
3. Shaping the Dough: A Gentle Touch
Generously flour a clean work surface. Carefully scrape the sticky dough out of the bowl onto the floured surface. Dust the top of the dough with more flour – remember, this is a messy but rewarding dough!
Now, gently shape the dough. The goal is to create some surface tension without deflating it too much. Lightly stretch one side of the dough outwards and fold it towards the center. Repeat this motion with all sides, turning the dough as you go, until you’ve folded each side at least once, forming a rough, somewhat taut ball. Then, flip the dough over so the folded seams are on the bottom.
Using your floured hands, cup the dough (imagine making a “princess wave” with your hands) and gently rotate it, lightly tucking the sides underneath. This motion helps create a round, tight ball with a smooth surface. Don’t overwork it! Just enough to create a nice shape.
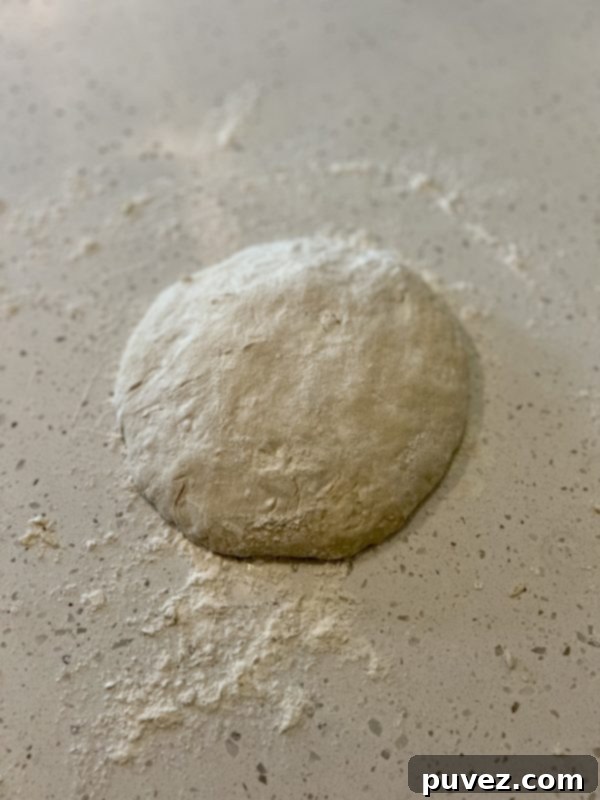
Lightly dust the shaped dough with a little more flour and cover it again with cling wrap. Let it rest on the counter for another 30 minutes. This final rest, often called the “bench rest,” allows the gluten to relax and the dough to slightly proof again, ensuring a beautiful rise in the oven.
4. Preheat and Bake: The Dutch Oven Magic
While your dough is resting for its final 30 minutes, preheat your oven to 450°F (232°C) with your empty Dutch oven inside. Preheating the Dutch oven is paramount! It ensures that when the dough hits the hot surface, it immediately starts to cook and gets that incredible oven spring.
After 30 minutes, carefully remove the intensely hot Dutch oven from the oven. Gently transfer the rested dough into the hot Dutch oven. Be cautious – the pot is extremely hot!
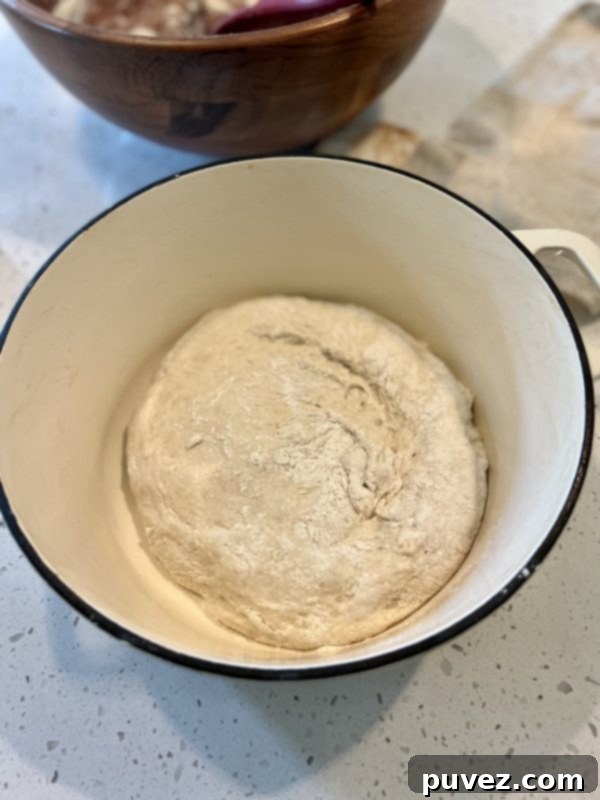
Cover the Dutch oven with its lid and bake for 30 minutes. The lid traps the steam released from the dough, creating that perfect moist environment for the initial rise and tender crumb. After 30 minutes, carefully remove the lid and continue baking for another 15 minutes. This uncovered baking period allows the crust to brown beautifully and become wonderfully crisp.
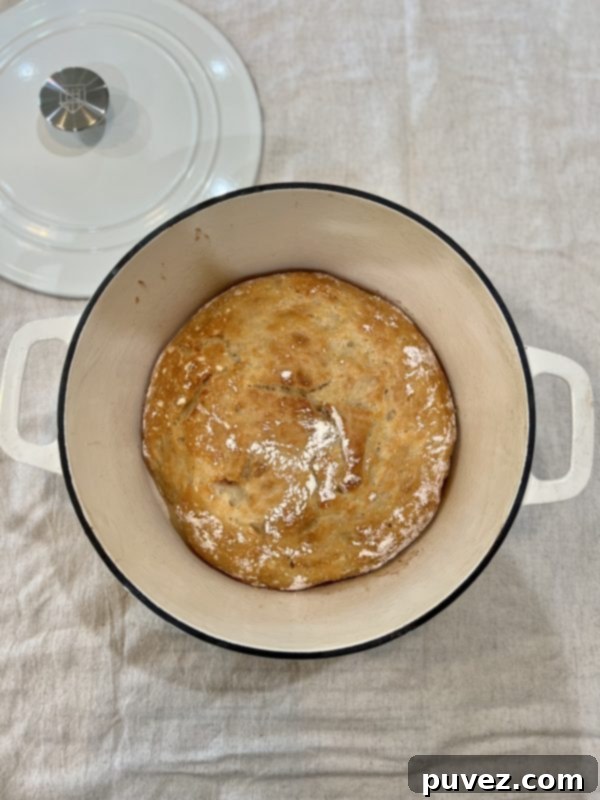
Once baking is complete, remove the Dutch oven from the oven. For optimal results, cover it with the lid again and let the bread rest inside for another 30 minutes. This allows the internal temperature of the bread to stabilize and helps create an even better crust.
5. Cooling and Enjoying: The Grand Finale
After the final rest, your glorious homemade no-knead bread is ready to be unveiled! Carefully remove the loaf from the Dutch oven. It’s best to let it cool on a wire rack for at least 30 minutes (or even longer for a better crumb texture) before slicing, but I completely understand the temptation to slice into a warm loaf. There’s nothing quite like it!
I typically enjoy my warm slices with a generous smear of butter and a sprinkle of freshly cracked sea salt – pure perfection! My boyfriend prefers his plain, savoring the natural flavors of the bread. Whichever way you choose, be warned: this bread is addictive, and it won’t last long!
Tips for Perfect No-Knead Dutch Oven Bread
- Dough Stickiness: Don’t be afraid of the sticky dough. It’s a sign of good hydration. Use plenty of flour on your hands and work surface during shaping, but try not to incorporate too much extra flour into the dough itself. A bench scraper can be very helpful.
- Water Temperature is Key: Ensure your water is lukewarm, not hot or cold. This provides the ideal environment for yeast activity.
- Don’t Rush the Rise: The long fermentation is vital for flavor and texture development. If you can let it go longer than 5 hours (up to 18), the flavor will only deepen.
- Preheat the Dutch Oven Thoroughly: This step is critical for a great crust and oven spring. Give it at least 30 minutes to heat up completely with the oven.
- Experiment with Flour: While all-purpose flour works great, you can try substituting a small portion (e.g., 1/4 cup) with whole wheat flour for a nuttier flavor, or bread flour for a chewier texture.
- Scoring (Optional): For a more artisanal look, you can lightly score the top of the dough with a sharp knife or razor blade right before placing it in the Dutch oven. This also helps control where the bread expands.
- Crust Customization: If you prefer an even darker, crispier crust, you can bake uncovered for an additional 5-10 minutes.
Serving Suggestions and Storage
This versatile loaf is perfect for almost any occasion. Enjoy it:
- Toasted with butter, jam, or avocado.
- As a side for soups, stews, or pasta dishes.
- Made into incredible sandwiches or bruschetta.
- Dipped in olive oil and balsamic vinegar.
To keep your bread fresh, store it at room temperature in a bread box or a paper bag for up to 2-3 days. For longer storage, slice the cooled loaf and freeze the slices. You can then toast them directly from the freezer for fresh bread anytime!
So, there you have it – the secret to effortless, delicious homemade bread. This No-Knead Dutch Oven Bread recipe proves that you don’t need to be a seasoned baker or dedicate hours to kneading to enjoy a truly magnificent loaf. Give it a try, and prepare to impress yourself and everyone lucky enough to share a slice!
No-Knead Dutch Oven Bread
5 hours 30 minutes
45 minutes
30 minutes
6 hours 45 minutes
Ingredients
- 3 1/4 cups of all-purpose flour
- 1 3/4 tsps of yeast
- 2 tsps of salt
- 2 cups of room temperature water
Instructions
- In a large bowl, combine flour, yeast, and salt. Add in room temp water. Cover with cling wrap and let rise for 5 hours.
- Pour risen dough onto a floured surface and dust with flour. Stretch out a side of the dough and fold over. Repeat with all sides until all sides are done. Flip over so that the folds are on the bottom. Cup your hand and slightly pick up and turn the dough to shape it into a ball. Dust with more flour then cover with cling wrap again and let rest for 30 minutes.
- Preheat the oven to 450 degrees with the dutch oven inside. Place the dough into the dutch oven, cover with the lid and bake for 30 minutes. Take the lid off and bake for an additional 15 minutes.
- After baking, let rest with the lid on for 30 minutes.
- Ready to serve.
Notes
- This is a very sticky, wet dough so consistent flouring of the surface, the dough and the hands is needed while shaping.
Nutrition Information:
Yield:
12
Serving Size:
1
Amount Per Serving:
Calories: 125
Total Fat: 0g
Saturated Fat: 0g
Trans Fat: 0g
Unsaturated Fat: 0g
Cholesterol: 0mg
Sodium: 390mg
Carbohydrates: 26g
Fiber: 1g
Sugar: 0g
Protein: 4g
Did you make this recipe?
Please leave a comment on the blog or share a photo on Instagram
More like this
Cinnabon Monkey Bread
Cinnamon Swirl Twisted Bread
Pepperoni Bread Cups
EASY HOMEMADE BREAD RECIPE
Homemade Bread
The Easiest Loaf of Bread You’ll Ever Bake
