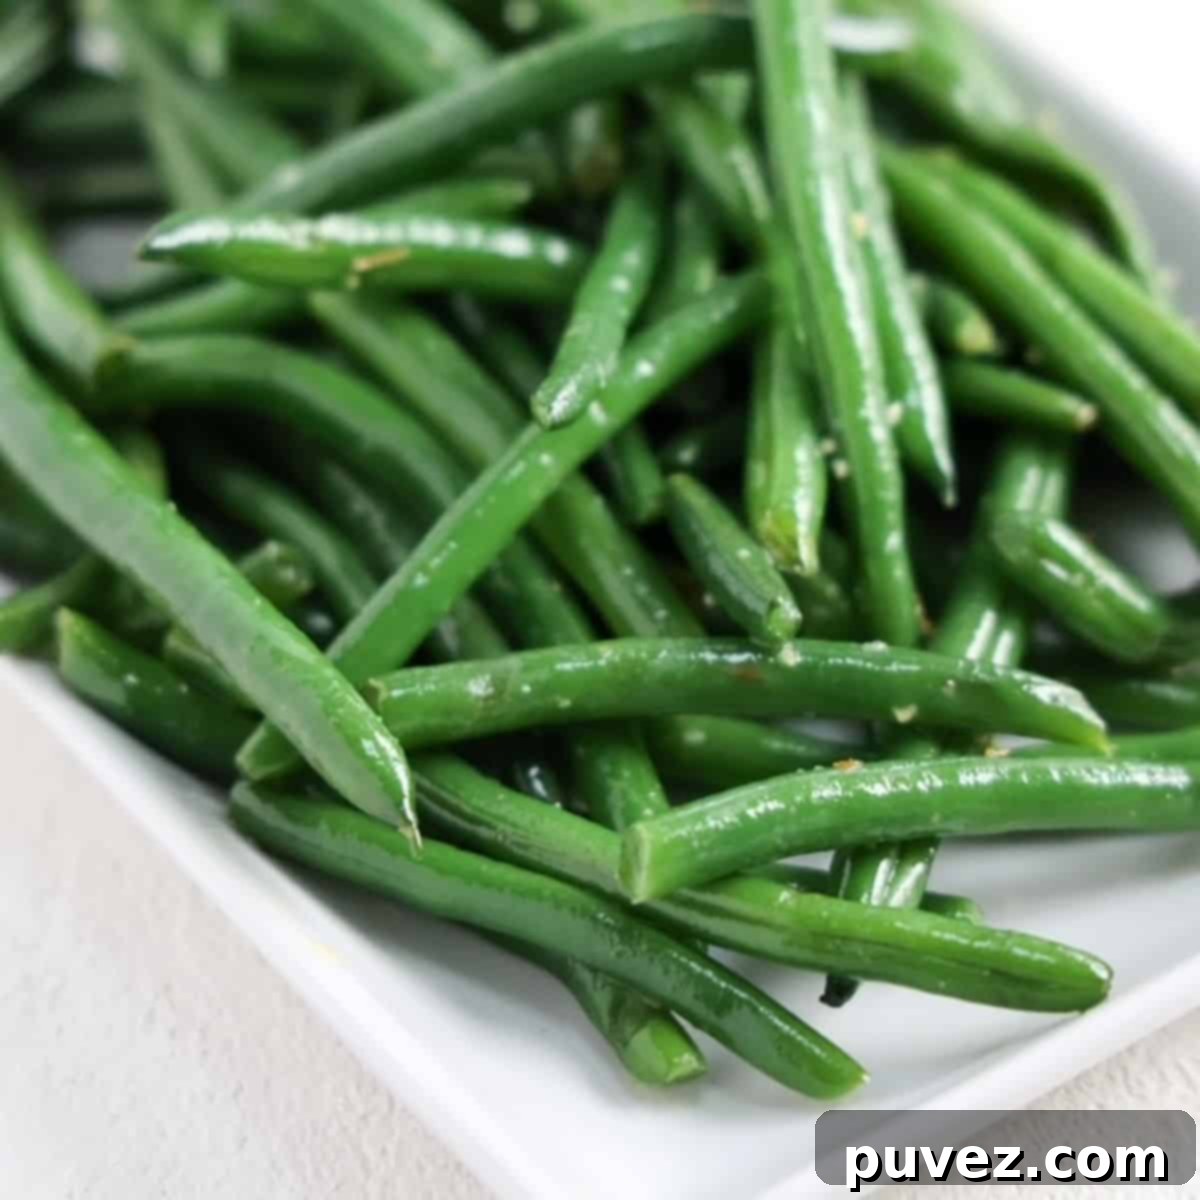
Quick & Easy Garlicky Green Beans: Your Go-To 5-Minute Side Dish Recipe
Get ready to transform your weeknight dinners with the absolute best Recipe for Garlicky Green Beans! This incredibly simple yet flavorful side dish is made with just three core ingredients: fresh green beans, high-quality olive oil, and a touch of garlic salt. The best part? It takes a mere 5 minutes from start to finish, making it an ideal companion for even the busiest evenings. Say goodbye to complicated side dishes and hello to vibrant, tender-crisp green beans bursting with garlicky goodness.
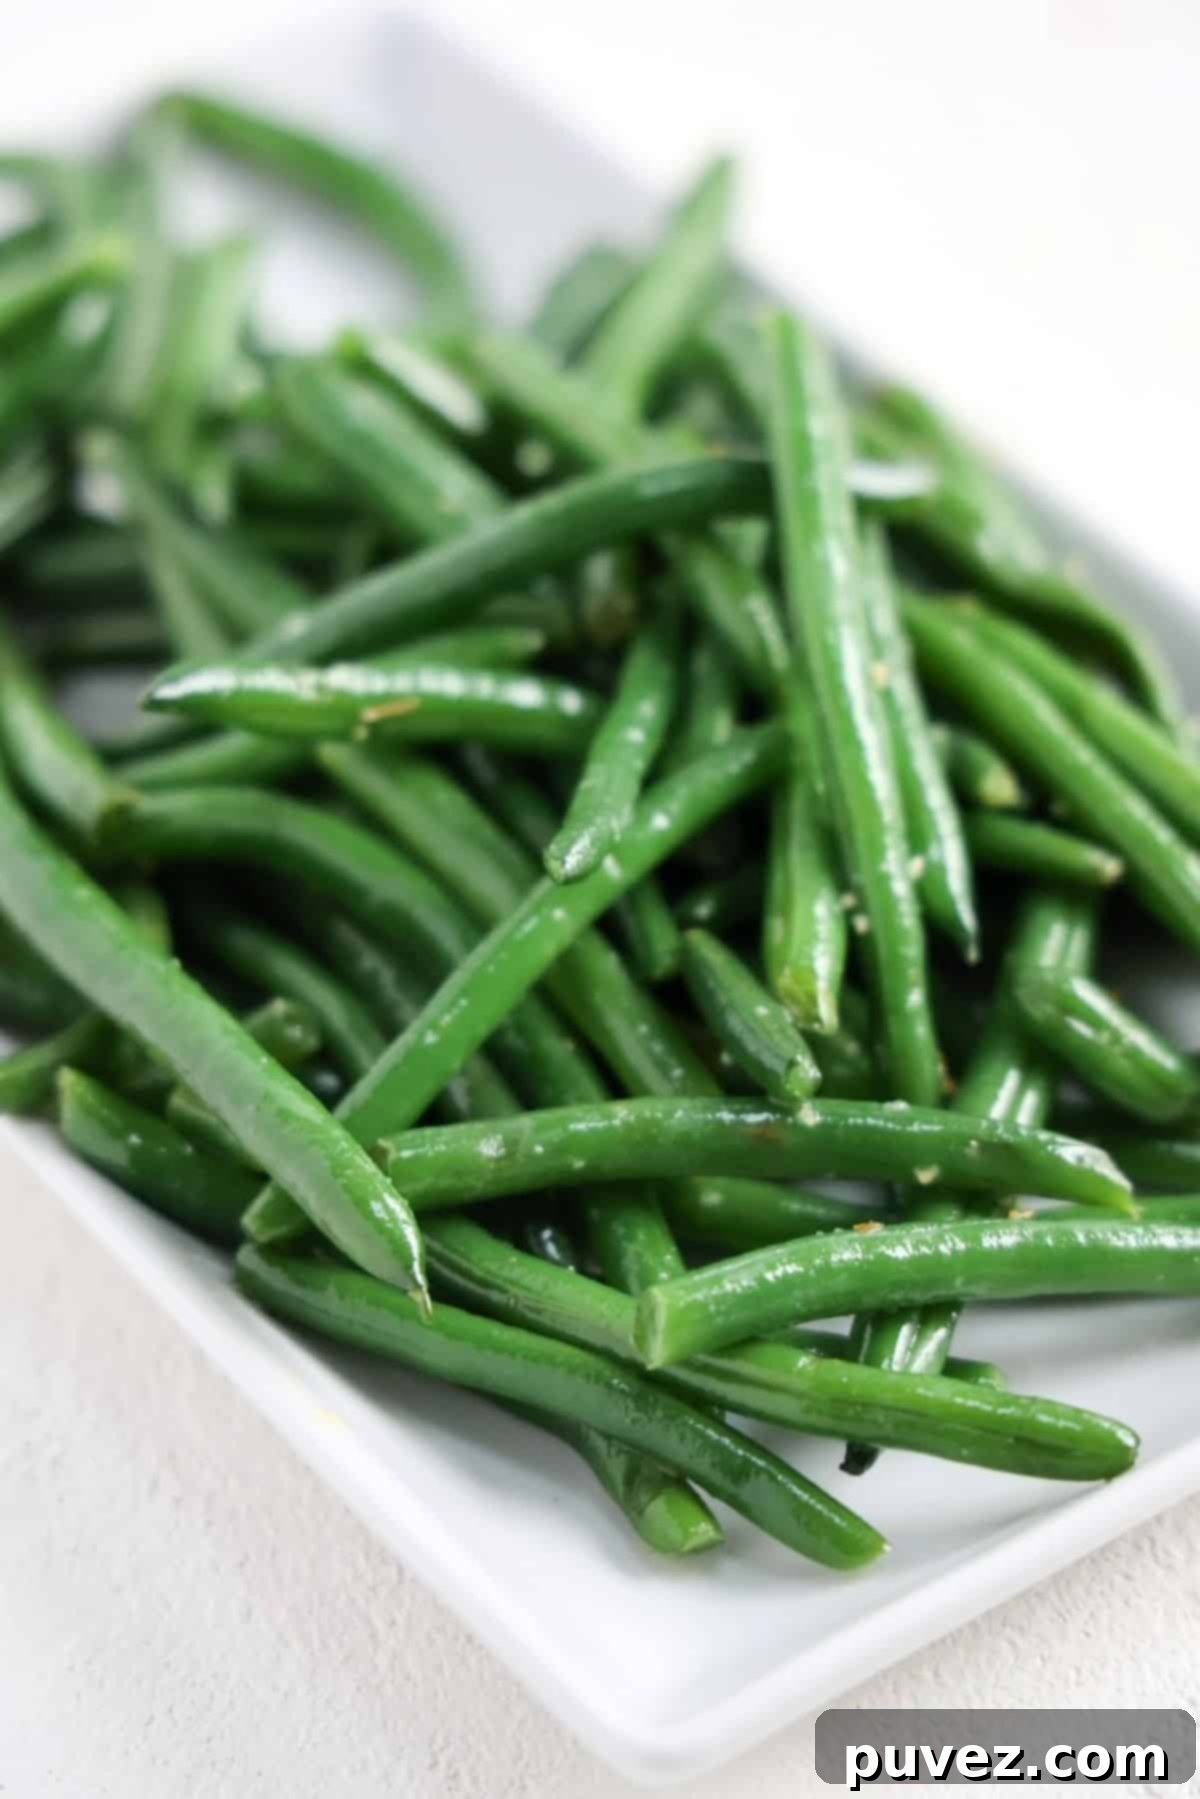
As a dietitian and a busy mom, I understand the struggle of getting healthy, delicious meals on the table quickly. When you find an easy recipe that everyone in your family devours, it instantly becomes a permanent fixture in your meal rotation. For me, these garlicky green beans are precisely that kind of dish. They consistently rank high in our household, perhaps even tied with our beloved roasted asparagus for the “favorite side dish” award! 🤩
Sautéed green beans, lightly seasoned with just a touch of olive oil and aromatic garlic salt, create the perfect accompaniment for virtually any main course. This effortless recipe is not only incredibly versatile but also suitable for year-round enjoyment. Whether you’re planning a quick weekday meal or a more elaborate weekend feast, these green beans add a burst of fresh flavor and vibrant color to your plate without demanding extra time or effort in the kitchen.
[feast_advanced_jump_to]Why You’ll Love This Quick & Easy Green Bean Recipe
This simple garlicky green bean recipe isn’t just another side dish; it’s a game-changer for anyone seeking delicious, healthy, and effortless cooking. Here’s why it’s bound to become a staple in your kitchen:
- A True 3-Ingredient Wonder: Yes, you read that right – just three simple ingredients are all it takes to create this incredibly flavorful dish. Fresh green beans, a drizzle of quality olive oil, and the secret weapon, garlic salt, are the stars of this show. This minimalistic approach means less shopping, less prep, and less stress, making healthy eating more accessible for everyone.
- Unbelievably Quick & Easy Side Dish: Time is a precious commodity, especially on busy weeknights. This recipe respects your time, coming together in an astonishing 5 minutes from start to finish. The genius of using garlic salt instead of fresh garlic lies in its ability to deliver robust flavor instantly, bypassing the need for mincing and sautéing. You get all the delicious garlicky taste without sacrificing a single minute. Trust me, once you try this speedy method, you won’t look back! 😉
- Kid-Approved Goodness: It’s a rare gem to find a vegetable dish that kids genuinely love, but these garlicky green beans hit the mark every time. My own children are so enthusiastic about them that they often start sneaking bites before dinner is even served! The vibrant green color, tender-crisp texture, and mild, savory garlic flavor make them incredibly appealing to young palates, turning veggie time into a treat rather than a chore.
- Naturally Vegan & Vegetarian: Catering to various dietary preferences is effortless with this recipe. It is naturally both vegetarian and vegan, making it a fantastic option for plant-based meals, potlucks, or family dinners where different dietary needs might be present. Everyone at the table can enjoy this wholesome and delicious side dish without any modifications.
Dietitian Mom Tips for Perfect Green Beans
As a dietitian and a mom, I’ve picked up a few tricks to make cooking vegetables not only easy but also highly effective in terms of nutrition and taste. These tips will help you master your garlicky green beans and even streamline your overall meal prep:
Tip 1: Harness the Power of Blanching for Meal Prep
Blanching vegetables is a culinary technique that can save you a significant amount of time in the kitchen. It involves briefly boiling vegetables in hot water, then rapidly cooling them in an ice bath. This process serves multiple purposes: it locks in their vibrant color, helps maintain their crisp texture, and partially cooks them, drastically reducing subsequent cooking times.
I regularly blanch vegetables like green beans and broccoli in bulk. Once blanched and shocked (which means plunging them into an ice bath immediately after boiling to halt the cooking process), they can be stored in the refrigerator for several days. This means you’ll always have prepped green beans ready to go! You can quickly season and serve them as a side, toss them into a stir-fry, add them to a fresh veggie platter, use them as the base for a green bean salad, or even incorporate them into a classic green bean casserole. Remember, precision is key: green beans only need to boil for one to two minutes, depending on your desired level of crunch. Overcooking will lead to limp, dull green beans.
Tip 2: Customize Your Garlic Flavor (Salt vs. Fresh)
If you’re a garlic enthusiast who prefers a more intense, fresh garlic flavor without excessive sodium, consider a slight modification. Instead of garlic salt, sauté your green beans in a large skillet over medium-high heat with a small amount of olive oil and freshly minced garlic. Cook the minced garlic until fragrant (about 1-2 minutes) before adding the blanched green beans, then finish with just a pinch of sea salt to taste. This method allows the fresh garlic to bloom, imparting a deeper, more pungent aroma and flavor.
While I adore cooking with fresh garlic, I also understand that not everyone keeps garlic cloves on hand, or has the time for extra chopping. When my daughter, in her quest for an easier cooking method, decided to use garlic salt for our green beans, I realized the brilliance of convenience. If simplifying the process encourages more families to enjoy and incorporate vegetables into their daily meals, then I’m absolutely on board! This recipe embraces that balance of flavor and practicality.
Exciting Recipe Variations to Try
While this garlicky green bean recipe is perfect as is, it also serves as an excellent canvas for culinary creativity. Here are a few simple yet impactful ways you can easily switch up the flavors and textures:
- A Hint of Heat: For those who appreciate a little kick, add a pinch of freshly ground black pepper or a dash of red pepper flakes during the sautéing process. This introduces a subtle warmth that complements the garlic beautifully.
- Nutty & Aromatic: Elevate the texture and flavor by topping the cooked green beans with a sprinkle of toasted sesame seeds. For a more substantial nutty profile, try adding thinly sliced almonds or chopped toasted walnut pieces. The crunch and richness from the nuts add another layer of deliciousness.
- Cheesy Indulgence: If you’re not strictly vegan, a small amount of freshly grated Parmesan cheese sprinkled over the warm green beans just before serving adds a delightful savory, salty, and umami finish that’s incredibly satisfying.
- Lemon Zest Brightness: A squeeze of fresh lemon juice or a sprinkle of lemon zest at the very end can brighten the entire dish, cutting through the richness and adding a refreshing tang.
- Herbaceous Twist: Experiment with fresh herbs! Finely chopped fresh parsley, chives, or even a hint of dill can add an herbaceous layer of flavor that beautifully complements the green beans and garlic. Add them right before serving for maximum freshness.
Key Ingredient Notes & Substitutions
This recipe relies on just a few high-quality ingredients to achieve its fantastic flavor. Here’s a closer look at each and some helpful tips for making the best choices:
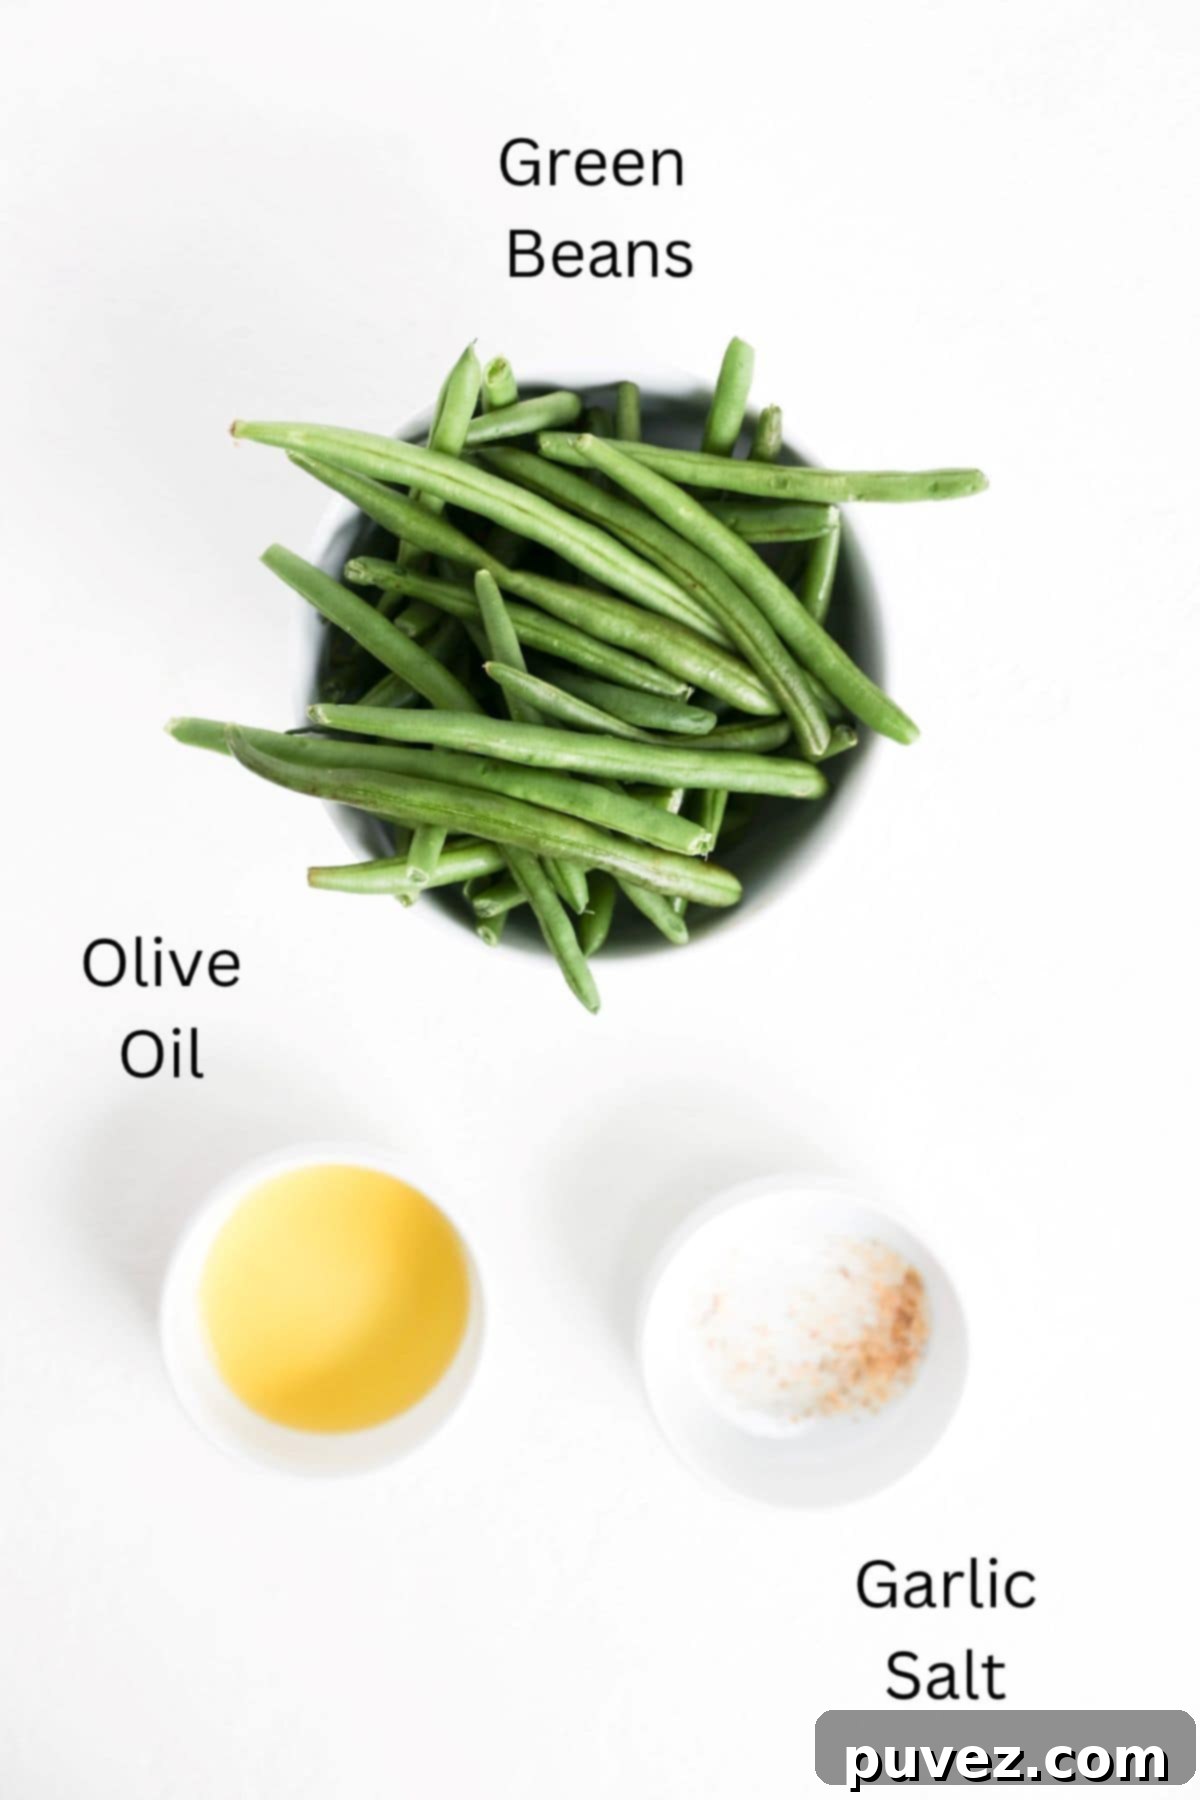
- Green Beans: These vibrant legumes are also known as haricots verts (especially the thinner, longer variety). You can use either regular green beans or the more delicate French green beans. While French green beans cook quickly and have a lovely appearance, I personally prefer using regular green beans. Their tips tend to be less fibrous and generally easier to chew, offering a more consistent texture throughout. When selecting green beans, look for ones that are firm, snap easily when bent, and have a bright, unblemished green color.
- Olive Oil: I typically reach for extra-virgin olive oil for its rich flavor and health benefits. However, feel free to use other oils you have on hand. Avocado oil is another excellent choice, known for its mild flavor and high smoke point. Standard vegetable oil can also work in a pinch. For an even richer, buttery flavor (if not strictly vegan), a small knob of butter can be used, or a blend of olive oil and butter for the best of both worlds.
- Garlic Salt: This is the hero ingredient that makes this recipe so incredibly fast and flavorful. I’m particularly fond of the garlic salt grinder from Trader Joe’s for its balanced blend and ease of use. If you don’t have garlic salt, you can easily make your own by combining garlic powder and fine sea salt (typically a 3:1 ratio of salt to garlic powder, adjust to your taste). Alternatively, if you prefer, you can use fresh minced garlic (as described in the “Dietitian Mom Tips”) along with a pinch of plain salt.
Step-by-Step: How to Make Garlicky Green Beans
Crafting these delicious garlicky green beans is incredibly straightforward. This brief summary outlines the essential steps to achieve perfectly cooked, flavorful green beans in minutes. For the complete recipe, including precise measurements and detailed instructions, please refer to the comprehensive recipe card located further down this page.
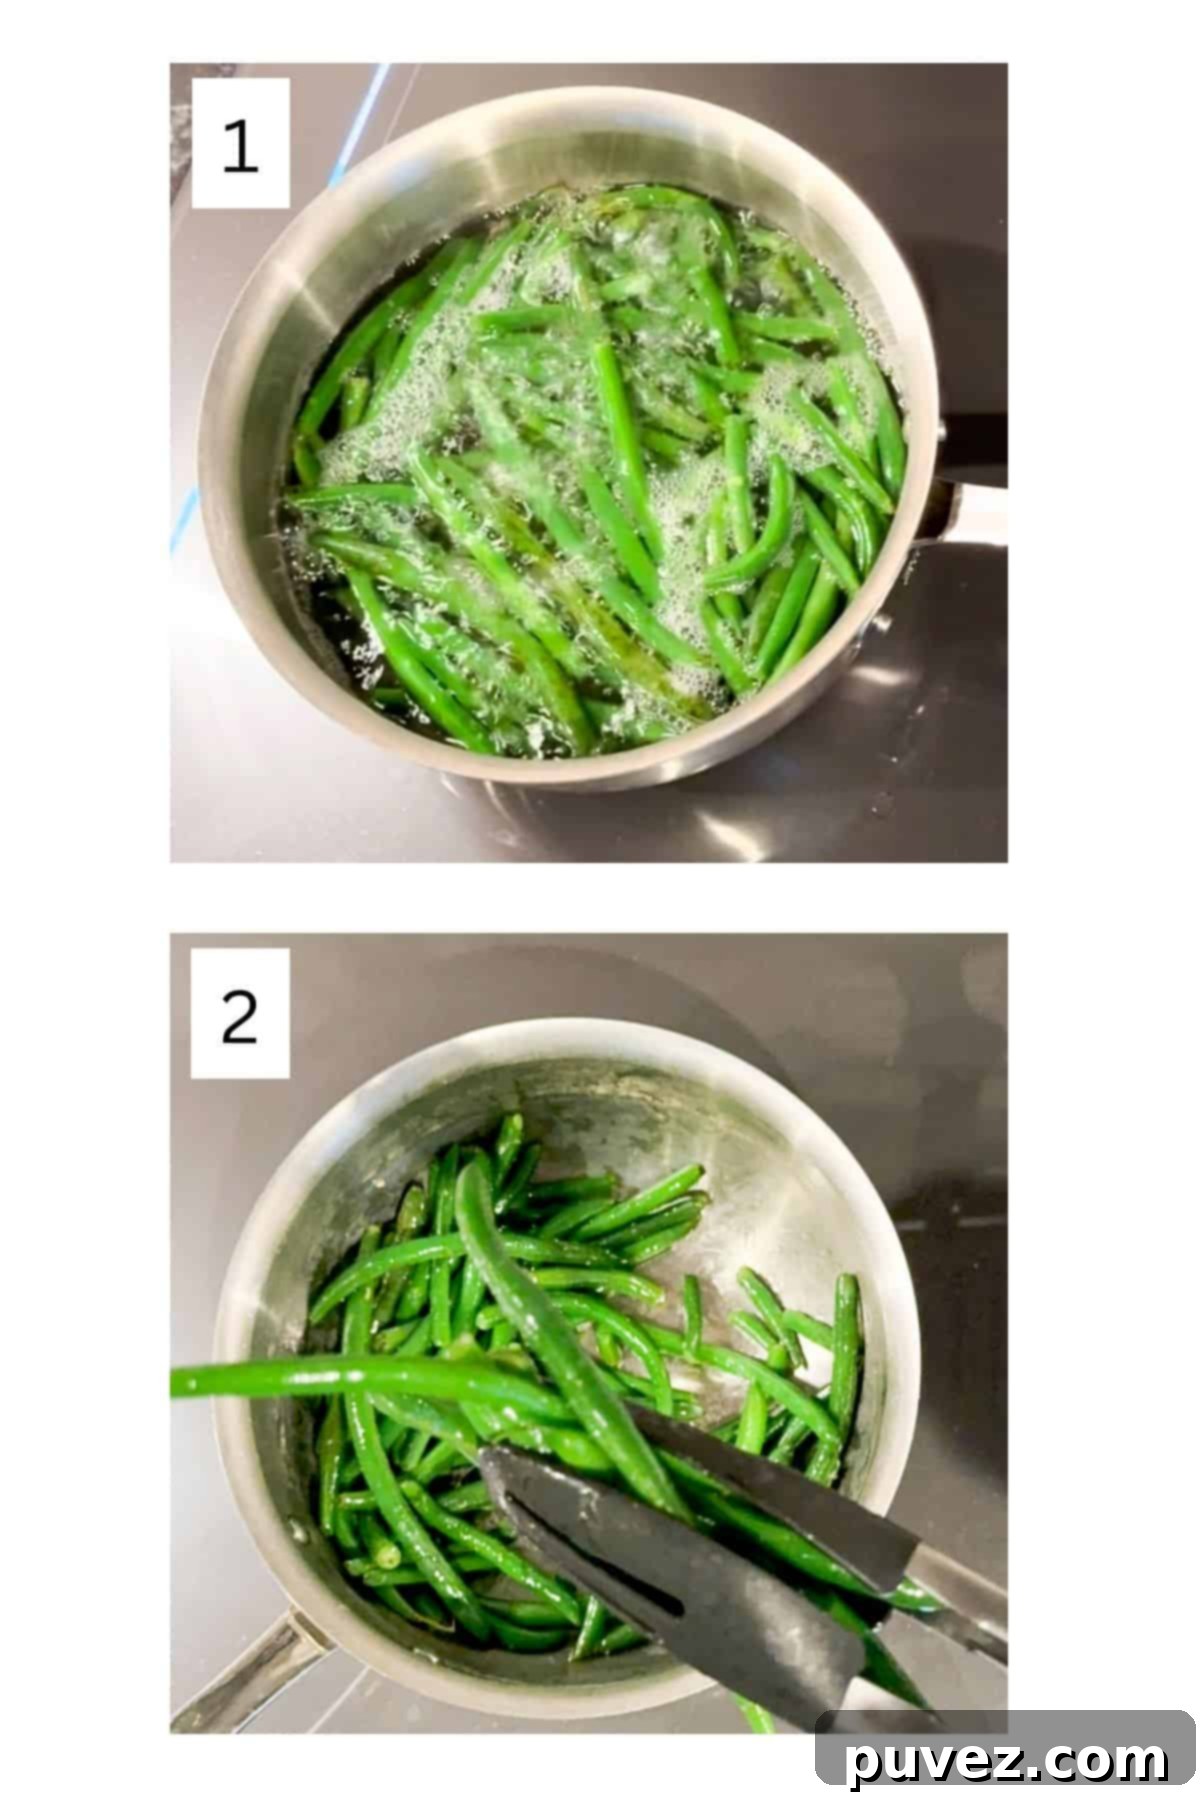
- Bring a medium saucepan of water to a rolling boil.
- Add the trimmed fresh green beans to the boiling water and blanch for precisely 2 minutes. This brief cooking time is crucial for achieving the perfect tender-crisp texture.
- Carefully drain the green beans using a colander, then return them to the same pot. Reduce the heat to medium.
- Drizzle the blanched green beans generously with olive oil, then sprinkle with garlic salt.
- Toss the green beans with tongs until they are evenly coated with the oil and seasoning. Serve immediately and savor the simplicity!
Even More Helpful Tips for Success
To ensure your garlicky green beans turn out perfectly every single time, keep these extra tips in mind. They cover everything from achieving ideal texture to smart meal prep strategies:
- Avoid Overcooking at All Costs: This is arguably the most important tip. Green beans should retain a slight crispness; they shouldn’t be mushy or limp. Overcooked green beans lose their vibrant color, appealing texture, and much of their nutritional value. A short blanching time of 1-2 minutes is ideal.
- Blanching for Beauty & Bite: Blanching is the secret to those beautifully vibrant green beans. The brief boil sets their natural chlorophyll, ensuring they maintain a striking emerald hue that’s visually appealing. It also pre-softens them just enough for quick sautéing, giving them that desired tender-crisp texture.
- Customize Your Crunch: If you’re someone who loves their green beans with a bit more “snap,” reduce the blanching time slightly to about one minute or even a minute and a half. This will result in a firmer texture that still yields to the bite but offers more resistance.
- Embrace Fresh Garlic for Deeper Flavor: For garlic aficionados who prefer the pungent, aromatic kick of fresh garlic, don’t hesitate to use it! Simply mince 2-3 cloves of fresh garlic (or more, to taste) and sauté them in your olive oil in the skillet for about two minutes until fragrant and lightly golden, before adding the blanched green beans and a pinch of sea salt. This method offers a more nuanced garlic flavor.
- Advance Blanching for Ultimate Meal Prep: As mentioned, green beans can be blanched ahead of time for incredibly efficient meal prep. After boiling, immediately transfer them into an ice bath (a bowl of ice water). This “shocks” them, stopping the cooking process dead in its tracks and preserving their color and crispness. Once thoroughly chilled, drain them well, pat dry, and store in an airtight container in the refrigerator for up to 3-4 days.
- No Ice Bath Needed if Sautéing Immediately: In my experience, if you plan to sauté the green beans immediately after blanching them, there’s no need to go through the extra step of an ice bath. The brief cooking time and subsequent sautéing will achieve the desired texture without the intermediate chilling step.
- Storage & Reheating Leftovers: Any leftover sautéed green beans should be stored in an airtight container in the refrigerator for up to 3 days. To reheat, gently warm them in a skillet over medium heat for a few minutes until heated through, or microwave them briefly. Be careful not to overcook them during reheating to maintain their texture.
Perfect Pairings: What to Serve with Garlicky Green Beans
I’m genuinely not exaggerating when I say that this simple green bean recipe is a culinary chameleon – it pairs beautifully with almost anything! Its light, garlicky flavor and tender-crisp texture make it a versatile addition to a wide range of meals. Here are some of our family’s favorite main dishes that these green beans perfectly complement:
- Juicy Turkey Burgers: A lighter alternative to beef, turkey burgers pair wonderfully with the freshness of green beans.
- Flavorful Rosemary Roasted Pork Tenderloin: The savory notes of the pork are beautifully balanced by the bright, garlicky greens.
- Delicious Soy Sauce Marinated Chicken: The umami from the chicken makes a fantastic counterpart to the simple green beans.
- Tender Oven Baked Boneless Pork Chops: A classic comfort meal that gets a fresh, healthy boost from this easy side.
- Creamy 10-Minute White Cheddar Mac and Cheese: Add a nutritious green element to this beloved cheesy dish.
- Comforting Creamed Chicken: The richness of creamed chicken is wonderfully complemented by the vibrant, crisp green beans.
Common Questions About Green Beans (FAQ)
Here are answers to some of the most frequently asked questions about preparing and enjoying green beans, especially with this garlicky recipe:
Generally, if there are only a few small brown spots on your green beans, they should be safe to eat. Brown spots are typically a sign that the beans are a bit older or have been slightly bruised. However, if the green beans have numerous brown spots, feel mushy, or show any signs of mold, it’s best to discard them to be safe. Personally, if I see a few minor brown spots on otherwise fresh-looking green beans, I simply trim those sections off before washing and cooking them. This ensures you still get to enjoy most of your beans without waste.
While you don’t *absolutely* need to blanch green beans before sautéing, I highly recommend it for this recipe and many others. Blanching accomplishes two important things: it pre-cooks the green beans to a perfect tender-crisp consistency, making them much easier and more pleasant to eat, and it also helps them retain their beautiful, vibrant green color. If you skip blanching, you’ll need to sauté them for a longer period, which can sometimes result in uneven cooking or a less appealing texture.
I have never found it necessary to salt the water when blanching green beans for this particular recipe. Some chefs and home cooks do salt their blanching water, believing it enhances the flavor of the vegetables. While this might be true to a small extent, with the addition of garlic salt and olive oil later, I find the flavor profile is perfectly balanced without it. Plus, my kids love this recipe just the way it is, which is the ultimate seal of approval in my book! If you prefer, a pinch of salt can be added to the boiling water, but it’s not essential for a delicious outcome here.
Yes, you can certainly use frozen green beans as a convenient alternative to fresh ones. However, be aware that the texture might be slightly different; frozen green beans can sometimes be a little softer after cooking. If using frozen, you have two options: you can let them defrost fully before proceeding with the sautéing step (and skip the blanching), or you can place them directly into boiling water for about one to two minutes (similar to blanching fresh beans) before draining thoroughly and sautéing as directed. Ensure they are well-drained to avoid a watery dish.
If you love a bit of heat, there are a few easy ways to add spice. You can increase the amount of red pepper flakes, add a dash of cayenne pepper, or even drizzle a tiny bit of hot sauce over the green beans just before serving. Experiment with different spice levels to find what you enjoy most!
More Easy & Healthy Side Dish Inspiration
If you loved the simplicity and flavor of these garlicky green beans, you’ll definitely want to explore more of our easy and healthy side dish recipes that perfectly complement any meal:
- Super Easy Air Fryer Broccoli Parmesan: Crispy, cheesy, and utterly delicious broccoli made effortlessly in your air fryer.
- Roasted Asparagus and Carrots: A colorful and nutritious medley of roasted vegetables, simple yet elegant.
- Air Fryer Frozen Sweet Potato Fries: Achieve perfectly crisp sweet potato fries without the deep-frying mess.
- Air Fryer Sweet Potato Chunks: Tender on the inside, crispy on the outside – a fantastic healthy carb option.
Discover More Delicious Side Dish Recipes
Looking for even more options to round out your meals? Our collection of side dishes is designed to be easy, flavorful, and family-friendly. Browse through these fantastic choices to find your next favorite!
- Easy Roasted Peaches
- Simple Lemon Garlic Salad Dressing
- Apple Cider Vinaigrette Dressing
- Easy Deviled Eggs Without Mustard
Did you make this garlicky green bean recipe and absolutely love it? Please consider leaving a ⭐⭐⭐⭐⭐ review or sharing your thoughts in the comments section below. Your 5-star rating is truly the best compliment and helps other home cooks discover this amazing recipe!
Don’t forget to follow me on Instagram for daily easy meal inspiration, practical nutrition tips, and a peek into my dietitian mom life!
📖 Recipe
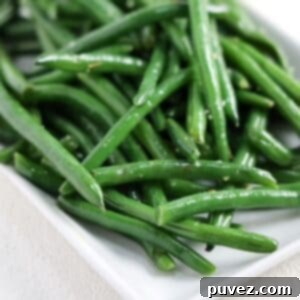
Recipe for Garlicky Green Beans
KristiEquipment
- 1 Saucepan
- 1 strainer
- 1 tongs
Ingredients
- 12 oz Green beans fresh green beans, washed. Ends trimmed.
- 1½ tsp Olive oil extra virgin
- ¼ teaspoon garlic salt
Instructions
- Fill a medium saucepan half way with water and bring to a boil.
- Carefully add green beans to the boiling water. Boil for no more than 2 minutes.
- Drain the water then return the green beans to the pot and reduce heat to medium.
- Drizzle green beans with olive oil. Add garlic salt. Toss to coat.
- Serve and enjoy!
Notes
- Do not overcook the green beans.
- If you prefer a little crunch from your green beans, blanch the green beans for one or one and a half minutes instead.
- If you prefer the flavor of fresh garlic and have a few extra minutes, you can sauté fresh minced garlic for about two minutes, until fragrant, then toss it in with the green beans and sea salt instead of using garlic salt.
- Green beans can be blanched ahead of time. If blanching green beans ahead of time, place the blanched green beans directly in ice water to ‘shock’ them. This will prevent them from continuing to soften from the heat they hold on to.
