Irresistible Frosted Oreo Brownie Cups: The Ultimate Easy Recipe
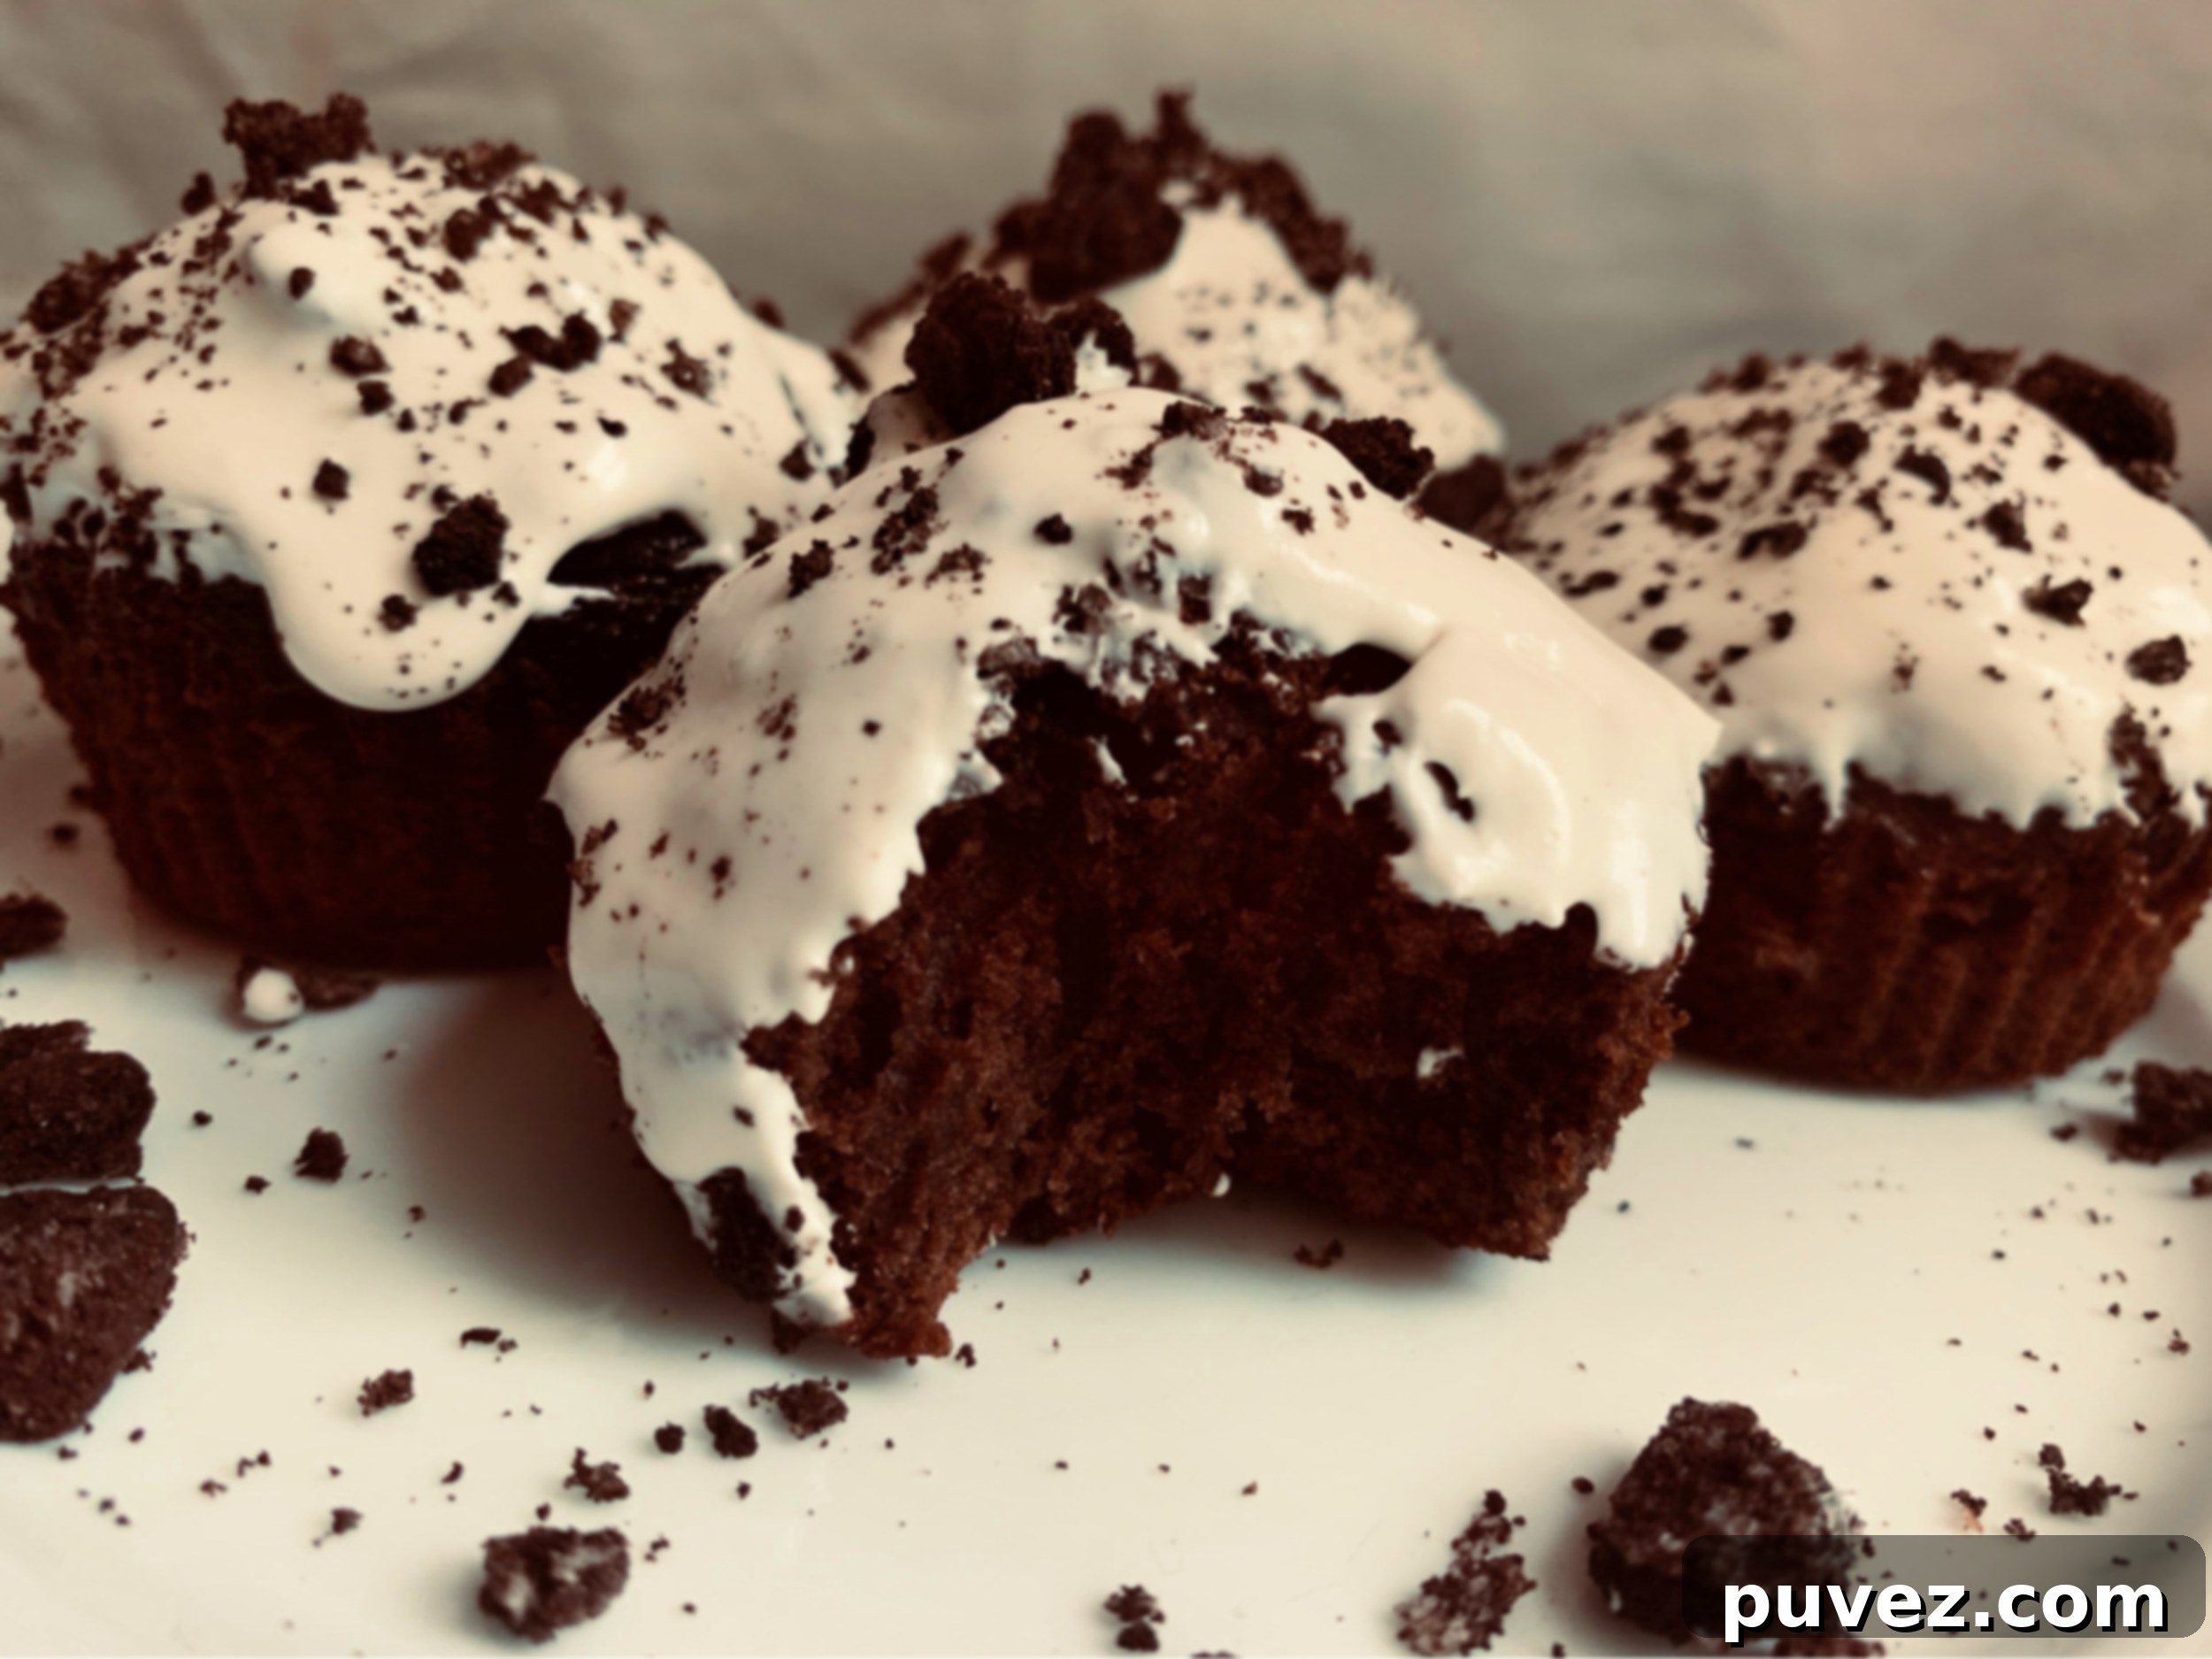
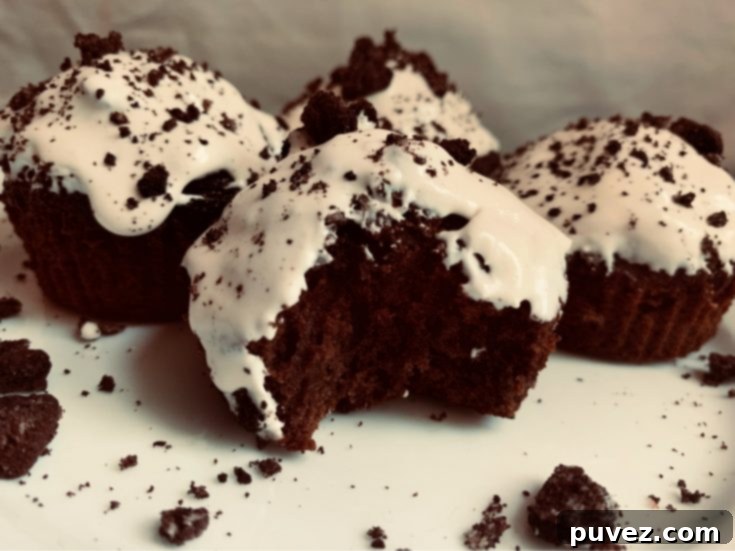
Get ready for a treat that brings together two of the world’s favorite desserts: rich, fudgy brownies and classic Oreo cookies, all crowned with a dreamy, homemade marshmallow frosting. These Frosted Oreo Brownie Cups are not just a dessert; they’re an experience. Every single bite is packed with intense chocolate flavor, delightful chunks of Oreo, and that extra layer of sweetness and texture from the unique marshmallow frosting. They are perfectly portioned, making them ideal for parties, lunchboxes, or simply satisfying that sudden sweet craving.
If there’s one thing almost everyone agrees on, it’s the magical appeal of an Oreo. My family, in particular, goes wild for anything featuring these iconic chocolate sandwich cookies. So, whenever I’m in the kitchen, I look for opportunities to incorporate them. What could be better than transforming a simple brownie into a bite-sized, portable delight, loaded with Oreos, and then taking it up a notch with a luscious frosting? Oh yes, these Frosted Oreo Brownie Cups aren’t just good; they’re absolutely phenomenal.
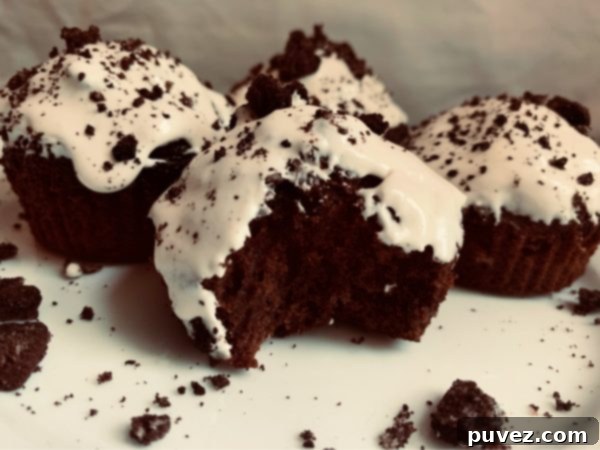
Why You’ll Love This Frosted Oreo Brownie Cup Recipe
Why choose these Frosted Oreo Brownie Cups over a regular pan of brownies? There are so many reasons these delightful treats will become your new go-to dessert:
- Perfect Portions: Say goodbye to uneven slices! Each cup is a perfectly sized individual dessert, making serving a breeze and offering easy portion control (though resisting a second might be a challenge!). They are ideal for bake sales, potlucks, or simply for grabbing a quick sweet bite.
- Irresistible Texture Combo: You get the best of all worlds in one harmonious bite: the chewy, fudgy brownie base, the delightful crunch and distinct flavor of Oreo cookie bits, and the soft, cloud-like sweetness of the homemade marshmallow frosting. It’s a textural symphony that keeps you coming back for more.
- Surprisingly Easy to Make: While these look impressive, they are incredibly simple to prepare. We start with a convenient box brownie mix, but elevate it with a few clever tricks to taste completely homemade. The unique marshmallow frosting is also incredibly straightforward to whip up, requiring minimal effort for maximum impact.
- Guaranteed Crowd-Pleaser: These brownie cups are an undeniable hit at any gathering. From casual family dinners and children’s birthday parties to festive holiday celebrations, both kids and adults will adore their rich flavor and fun presentation. They disappear quickly, so consider making a double batch!
- Versatile & Customizable: This recipe offers flexibility. You can experiment with different types of Oreos, add extra mix-ins to the brownie batter, or even get creative with garnishes to make them uniquely yours.
Essential Ingredients for Your Delicious Brownie Cups
The beauty of this recipe lies in its simplicity and the ingenious way a few key ingredients come together to create something truly spectacular. Here’s a deeper dive into what you’ll need to gather to create these decadent Frosted Oreo Brownie Cups:
For the Oreo Brownie Base:
- 1 Box of Brownie Mix (along with ingredients needed on the box): While a scratch-made brownie batter is wonderful, using a quality box brownie mix (like Pillsbury, as suggested in the original recipe) is a fantastic shortcut that doesn’t compromise on flavor or texture. It significantly cuts down on prep time without sacrificing that rich, chocolatey goodness we all crave. Make sure to have the standard ingredients required on the box – usually eggs, oil, and water. For an extra touch of decadence and a truly fudgy, chewy brownie, I highly recommend replacing the water called for on the box with an equal amount of milk and adding one extra egg. This simple modification consistently upgrades the taste and texture, making your box mix taste gourmet.
- Oreos (about 12-15 regular-sized cookies): This is where the magic happens and the “Oreo” in “Oreo Brownie Cups” truly shines! You have several creative options for incorporating these iconic cookies:
- Crushed Oreos (Mixed In): My preferred method. Roughly crush about 12-15 regular Oreos (or more if you’re an extreme Oreo lover!) into varying sizes. This can be done by hand, by placing them in a zip-top bag and gently smashing them with a rolling pin, or by pulsing them briefly in a food processor for a finer crumb. Folding these crushed Oreos directly into your prepared brownie batter ensures a delightful Oreo crunch and flavor in almost every bite.
- Mini Oreos (Mixed In): If using mini Oreos, you can toss them whole into the batter for smaller, more uniform pieces throughout the brownie cups.
- Whole Oreos (Layered): For a dramatic and delightful surprise center, place one whole regular Oreo at the bottom of each lined cupcake well before pouring in the brownie batter. The batter will bake around it, completely encasing the cookie in a delicious, fudgy brownie shell. This method creates an incredible hidden treat that everyone will love discovering. You could also pour about half the batter, then place an Oreo, and top with more batter.
- Chocolate Chips (optional, but highly recommended): Adding a handful of chocolate chips to the brownie batter intensifies the chocolate flavor and provides delightful pockets of gooey, melted chocolate throughout the brownie cups. You can use semi-sweet, milk chocolate, or even dark chocolate chips, depending on your preference for sweetness and chocolate intensity. They are an easy way to make your box mix taste even more gourmet and add another layer of texture.
For the Dreamy Marshmallow Frosting:
- 1 Stick (1/2 cup) Melted Unsalted Butter: Melted unsalted butter forms the rich base of our luscious, unique frosting. Using unsalted butter allows you to precisely control the salt content in your recipe, ensuring the perfect balance of sweet and savory notes in your frosting.
- 8 oz. Marshmallow Fluff (or Marshmallow Creme): This is the star of our unique frosting, giving it an incredibly light, airy, and wonderfully sweet texture that’s distinctly different from traditional buttercream. Marshmallow fluff is surprisingly easy to work with when combined with butter and other ingredients, creating a stable yet cloud-like topping that melts delightfully in your mouth.
- 1/2 Cup Powdered Sugar (Confectioners’ Sugar): Also known as confectioners’ sugar, this finely milled sugar blends seamlessly into the frosting, creating a silky-smooth consistency without any graininess. It adds sweetness and helps to thicken the frosting to the perfect spreadable or dippable consistency.
- 1 tsp Vanilla Extract: A touch of pure vanilla extract is absolutely essential, particularly in the marshmallow frosting. It acts as a flavor enhancer, adding warmth, depth, and a subtle aromatic complexity that beautifully complements the sweetness of the marshmallow and the richness of the chocolate.
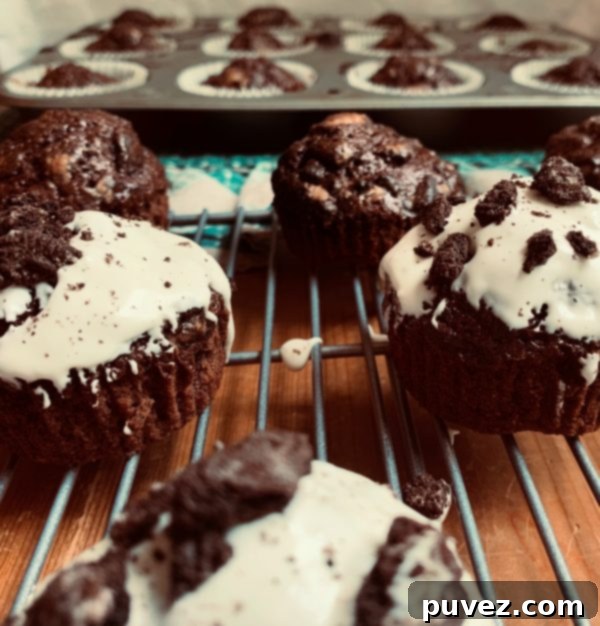
How to Make Your Irresistible Frosted Oreo Brownie Cups
1. Prepare Your Brownie Batter with a Twist
Begin by preheating your oven to 350°F (175°C). Line a standard 12-cup muffin tin with cupcake liners. This crucial step not only makes cleanup incredibly easy but also ensures your brownie cups maintain their perfectly round shape and are simple to remove and serve. While the recipe card specifies a yield of 24 cups, a standard box mix often yields 18-24 cups, so you might need to use a second muffin tin or bake in two batches. Using cupcake liners also prevents sticking, which is especially important for fudgy brownies.
In a large mixing bowl, prepare your brownie mix according to the package directions. Here’s where we add our little secret touches to elevate a simple box mix: for an extra rich, incredibly fudgy brownie with a chewier texture, I highly recommend replacing the water called for on the box with an equal amount of milk and adding one extra egg. This simple modification consistently upgrades the taste and texture, making them taste truly homemade. Once your batter is smooth and well combined (being careful not to overmix), gently fold in your chosen chocolate chips. This step significantly intensifies the chocolate flavor and adds delightful pockets of gooey melted chocolate throughout your brownie cups.
2. Incorporate the Oreos Your Way
Now for the star ingredient, the Oreos! As discussed, you have a few creative options for incorporating them, each yielding a slightly different and equally delicious experience:
- If using crushed Oreos or mini Oreos: Simply fold them directly into your prepared brownie batter. Ensure they are evenly distributed so every bite gets a delightful crunch of Oreo.
- If using whole regular Oreos: For a delightful surprise center, place one whole regular Oreo at the bottom of each lined cupcake well before pouring in the brownie batter. The batter will bake around it, completely encasing the cookie in a delicious, fudgy brownie shell. This method creates an incredible hidden treat that everyone will love discovering when they bite into their brownie cup.
3. Bake to Perfection
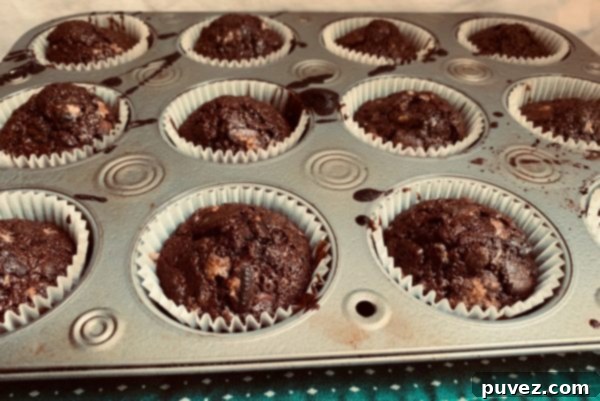
Once your batter is ready and your Oreos are incorporated, divide the mixture evenly among the lined cupcake wells. Fill each liner about two-thirds full to allow for proper rising without overflowing. This ensures you get beautifully domed brownie cups. Bake for 15-20 minutes in your preheated oven. Baking times can vary slightly depending on your specific oven and the type of muffin tin, so keep a close eye on them.
The best way to check for doneness is to insert a toothpick into the center of one of the brownie cups; if it comes out clean (or with a few moist crumbs, but no wet batter), they are perfectly baked. It’s crucial not to overbake, as this can lead to dry brownies. A slightly fudgy center is exactly what you’re aiming for with these decadent brownie cups! Once baked, remove the muffin tin from the oven and let the brownie cups cool in the tin for about 5-10 minutes before transferring them to a wire rack to cool completely. This step helps them set and prevents them from sticking.
4. Whip Up the Dreamy Marshmallow Frosting
While your brownie cups are baking and then cooling, it’s the perfect time to prepare the incredibly simple yet utterly delicious marshmallow frosting. In a microwave-safe bowl or a small saucepan over very low heat, melt one stick of unsalted butter until it’s completely liquid. Be careful not to brown the butter; we just want it melted and smooth.
Once melted, add the entire 8 ounces of marshmallow fluff (or marshmallow creme) to the warm butter. Stir continuously with a whisk or spoon until the marshmallow fluff is completely combined with the butter and the mixture is smooth, glossy, and uniform. This might take a few minutes of gentle stirring to fully incorporate. Remove the mixture from the heat, then whisk in the powdered sugar and vanilla extract until the frosting is smooth, creamy, and lump-free. The powdered sugar will help thicken it to the perfect consistency for frosting. Set this delightful frosting aside to cool slightly, allowing it to become a bit thicker and more manageable for frosting your brownie cups.
5. Frost and Garnish
This step is absolutely crucial for perfect results: ensure your brownie cups are completely cool before attempting to frost them. If they are still warm, even slightly, the frosting will melt and slide right off, creating a messy situation. Patience is key here! Once fully cooled to room temperature, or even chilled slightly in the refrigerator, it’s time for the fun part.
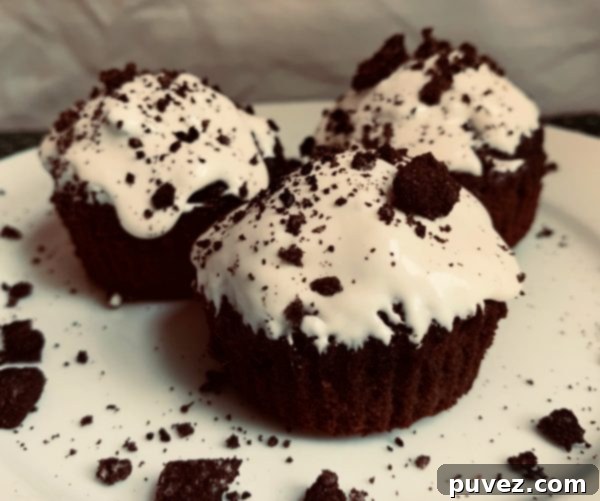
To frost, simply take each cooled brownie cup and dip the top directly into the prepared marshmallow frosting. The frosting’s consistency makes it easy to get a nice, even coating. You can also use a small offset spatula or a knife to spread the frosting if you prefer. For an extra flourish and a clear nod to the star ingredient, you can garnish the top of each frosted brownie cup with a sprinkle of additional crushed Oreos. This not only adds visual appeal but also provides another delightful layer of texture and flavor, reinforcing the delicious Oreo theme. Place them on a cooling rack or serving platter as you finish frosting each one, allowing the frosting to set slightly.
Tips for the Best Frosted Oreo Brownie Cups Every Time
- Don’t Overmix the Batter: When preparing the brownie batter, whether from a box mix or scratch, mix just until the ingredients are combined and no dry streaks of flour remain. Overmixing can develop the gluten in the flour, leading to tougher, less fudgy brownies. A few lumps are perfectly fine!
- Cool Completely is Key: We simply cannot stress this enough! Warm brownies and frosting are a recipe for a melty, sliding mess. Allow your brownie cups to cool down to room temperature, or even pop them in the fridge for 15-20 minutes if you’re short on time. A fully cooled brownie cup will hold its shape and allow the frosting to set beautifully.
- Proper Storage: Store any leftover Frosted Oreo Brownie Cups in an airtight container at room temperature for up to 3-4 days to maintain their freshness and fudgy texture. If your kitchen is very warm, or for extended storage, you can refrigerate them for up to a week. If refrigerated, let them come to room temperature for about 15-30 minutes before serving for the best texture and flavor.
- Customize Your Oreos: Don’t limit yourself to classic Oreos! This recipe is wonderfully versatile. Try Golden Oreos for a delightful vanilla twist, or experiment with seasonal flavors like peppermint Oreos during the holidays, or peanut butter Oreos for a unique, delicious variation. Each will impart its own special flavor profile.
- Enhance the Frosting: For a slightly different flavor profile or to balance the sweetness, a tiny pinch of fine sea salt added to the marshmallow frosting can do wonders. You could also swirl in a bit of melted chocolate or a drop of peppermint extract for a holiday-themed treat. A dash of almond extract instead of vanilla can also offer a unique twist.
- Grease and Flour (if not using liners): If you opt not to use cupcake liners, make sure to thoroughly grease and flour your muffin tin to prevent sticking. Liners are generally recommended for ease.
Serving Suggestions for Your Decadent Brownie Cups
These Frosted Oreo Brownie Cups are absolutely perfect on their own, a complete dessert experience in every bite. However, if you’re looking to elevate the indulgence, consider serving them alongside a cold glass of milk, a warm cup of freshly brewed coffee, or even a scoop of premium vanilla bean ice cream for an ultimate dessert indulgence that guests will rave about. They are also fantastic additions to any dessert platter for parties, potlucks, or family gatherings, and their individual portion size makes them ideal for grab-and-go treats.
Frequently Asked Questions (FAQ) About Frosted Oreo Brownie Cups
Can I make these Frosted Oreo Brownie Cups ahead of time?
Absolutely! The brownie cups can be baked a day or two in advance and stored in an airtight container at room temperature. The frosting can also be made ahead of time and stored in an airtight container in the refrigerator. If refrigerated, let the frosting come to room temperature and gently stir or whisk it before frosting. For the freshest taste and best texture, we recommend frosting them within a few hours of serving.
What if I don’t have marshmallow fluff? Can I use a different frosting?
While marshmallow fluff gives this frosting its signature light, airy, and unique texture, you could substitute it with a standard buttercream frosting (made with butter, powdered sugar, milk/cream, and vanilla) if necessary. However, for the true “Frosted Oreo Brownie Cup” experience as intended in this recipe, the marshmallow fluff is highly recommended as it provides a distinct, delightful flavor and consistency that perfectly complements the brownies.
How do I crush Oreos if I don’t have a food processor?
No problem at all! Place your Oreos in a sturdy zip-top bag, squeeze out any excess air, and seal it tightly. Then, use a rolling pin, the bottom of a heavy pan, or even your hands to gently crush them until you reach your desired consistency – whether that’s fine crumbs or larger, chunky pieces. It’s a great, simple way to get the job done and perhaps release a little stress!
Can I add other mix-ins to the brownie batter?
Definitely! Feel free to get creative. White chocolate chips, chopped nuts (like walnuts or pecans), or even a swirl of caramel sauce could be delicious additions to the brownie batter. Just be mindful not to overfill the cupcake liners.
Frosted Oreo Brownie Cups
10 minutes
20 minutes
15 minutes
45 minutes
Ingredients
Oreo Brownie Cups
- 1 box of brownie mix (along with ingredients needed on the box)
- Oreos
Frosting
- 1 stick melted unsalted butter
- 8 oz. marshmallow fluff
- 1/2 cup powdered sugar
- 1 tsp vanilla extract
Instructions
- Preheat the oven to 350 and line a cupcake pan with cupcake liners.
- In a medium-sized bowl, go ahead and make the brownie mix following the instructions on the box. (add an extra egg and use milk instead of water if you want to be fancy). Roughly crush your Oreos (I used 12 Oreos) AND MIX them in.
- Pour into a cupcake pan and bake for 15-20 minutes or until a toothpick comes out clean.
- While the cupcakes are baking, melt the stick of butter. Mix in the marshmallow fluff until completely combined then add the powdered sugar and vanilla.
- Let cupcakes cool completely before frosting. To frost, dip the cup cakes into the frosting and garnish with crushed oreos
Nutrition Information:
Yield:
24
Serving Size:
1
Amount Per Serving:
Calories: 85
Total Fat: 4g
Saturated Fat: 3g
Trans Fat: 0g
Unsaturated Fat: 1g
Cholesterol: 10mg
Sodium: 17mg
Carbohydrates: 12g
Fiber: 0g
Sugar: 8g
Protein: 0g
Did you make this recipe?
Please leave a comment on the blog or share a photo on Instagram
Conclusion
These Frosted Oreo Brownie Cups are more than just a dessert; they’re a testament to how simple ingredients, combined with a little creativity and care, can create something truly unforgettable. With their rich, fudgy brownie base, delightful crunchy Oreo bits, and a dreamy, fluffy marshmallow frosting, they offer a burst of flavor and texture in every single bite. They’re easy enough to whip up for a casual weeknight treat but impressive enough to grace any special occasion dessert table. So, go ahead, gather your ingredients, follow these straightforward steps, and prepare to delight your taste buds and those of your loved ones. Happy baking, and enjoy every decadent, chocolatey moment!
More like this
www.kimscravings.com
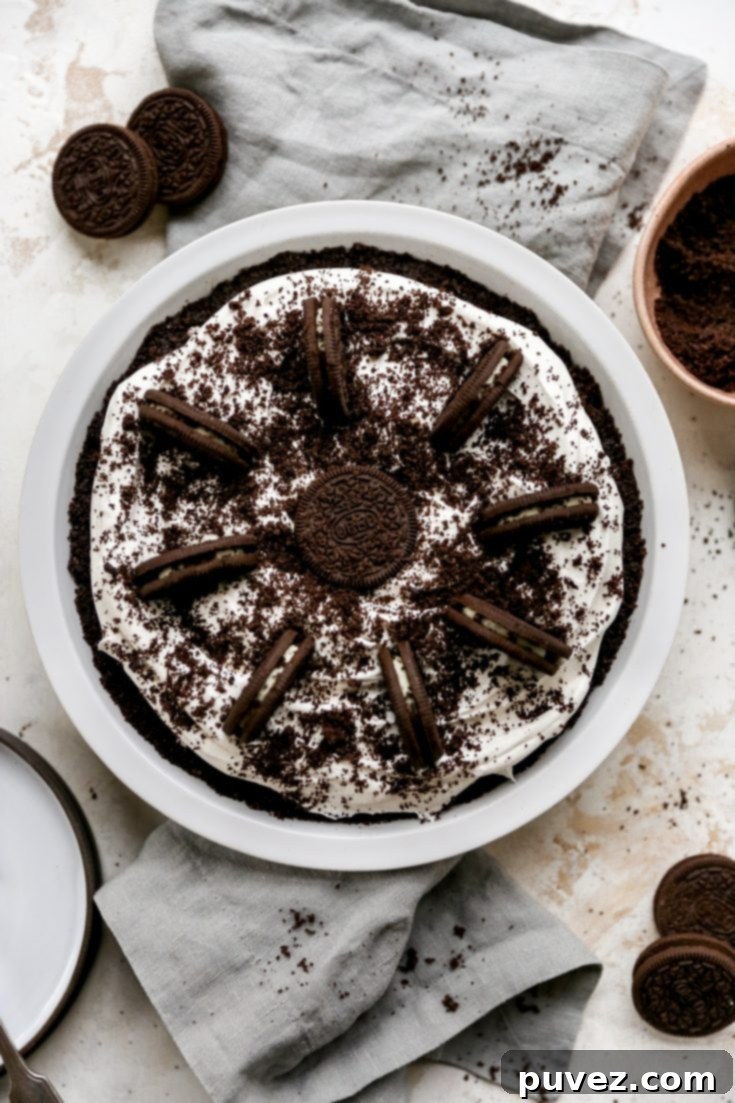
No-Bake Oreo Pie (only 3 ingredients!)
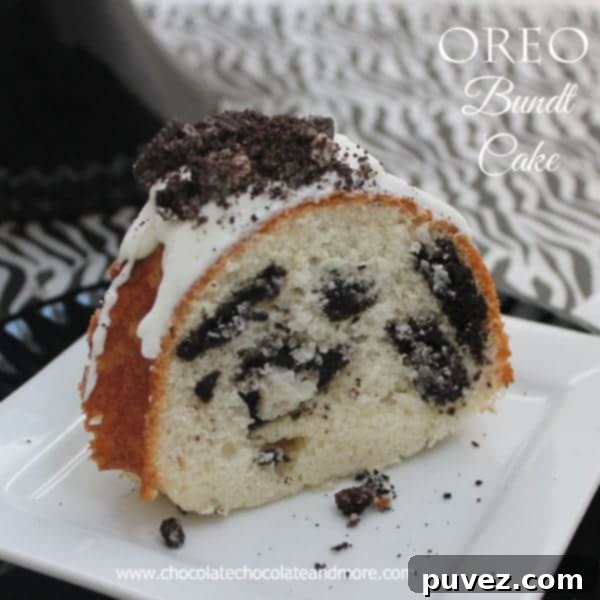
Oreo Cookies and Cream Bundt Cake
Peppermint Oreo Stuffed Brownies
Brownie-Bottom Peanut Butter Oreo Cheesecake
www.allthingsmamma.com
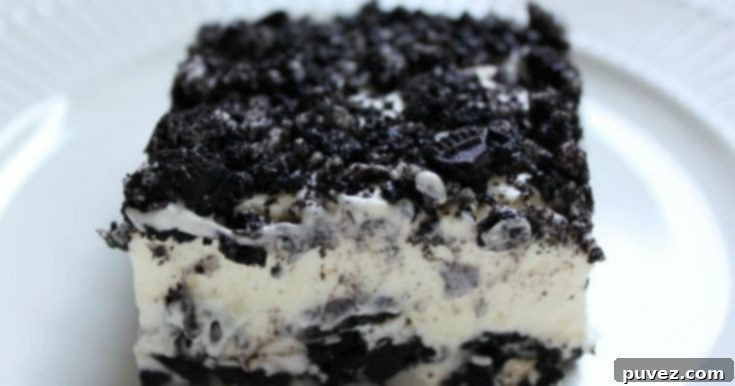
No Bake Oreo Dessert Recipe
whatsinthepan.com
