Easy & Delicious Apple Biscuit Cobbler: Your Ultimate Fall Comfort Dessert
There’s a special magic in the air as the “BER” months roll around – September, October, November, and December. For many, including myself, this signals the unofficial start of the best time of the year. The days get cooler, the leaves transform into a vibrant tapestry of reds and golds, and our kitchens fill with the comforting aromas of seasonal baking. It’s the season of cozy sweaters, crackling fires, and holidays like Halloween, Thanksgiving, and Christmas all rolled into one delightful stretch.
While summer offers its own kind of carefree joy, there’s an undeniable charm to fall and winter that truly captures the heart. It’s a time for gathering, for warmth, and for indulging in simple, hearty pleasures. And what better way to usher in this beautiful season than with a dessert that embodies all these feelings? This Apple Biscuit Cobbler is precisely that – a treat that requires minimal fuss but delivers maximum comfort, making it perfect for a laid-back weekend or a festive family dinner.
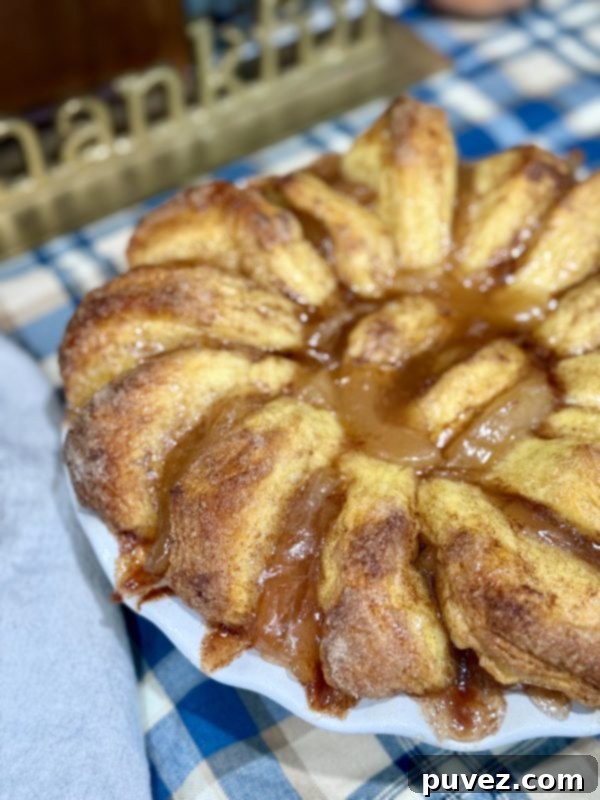
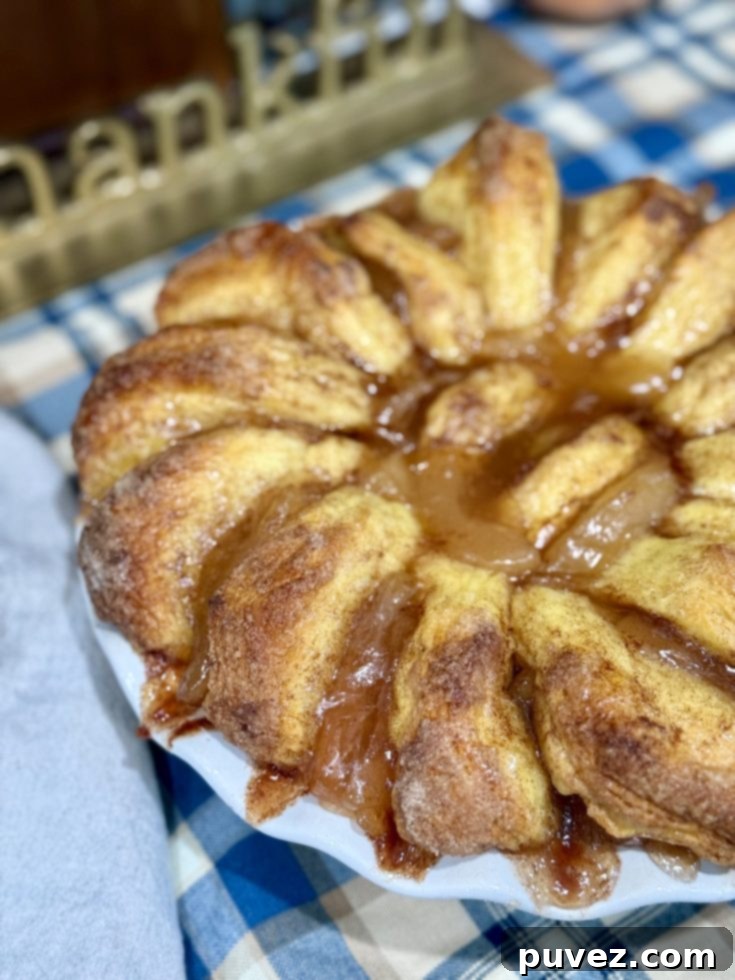
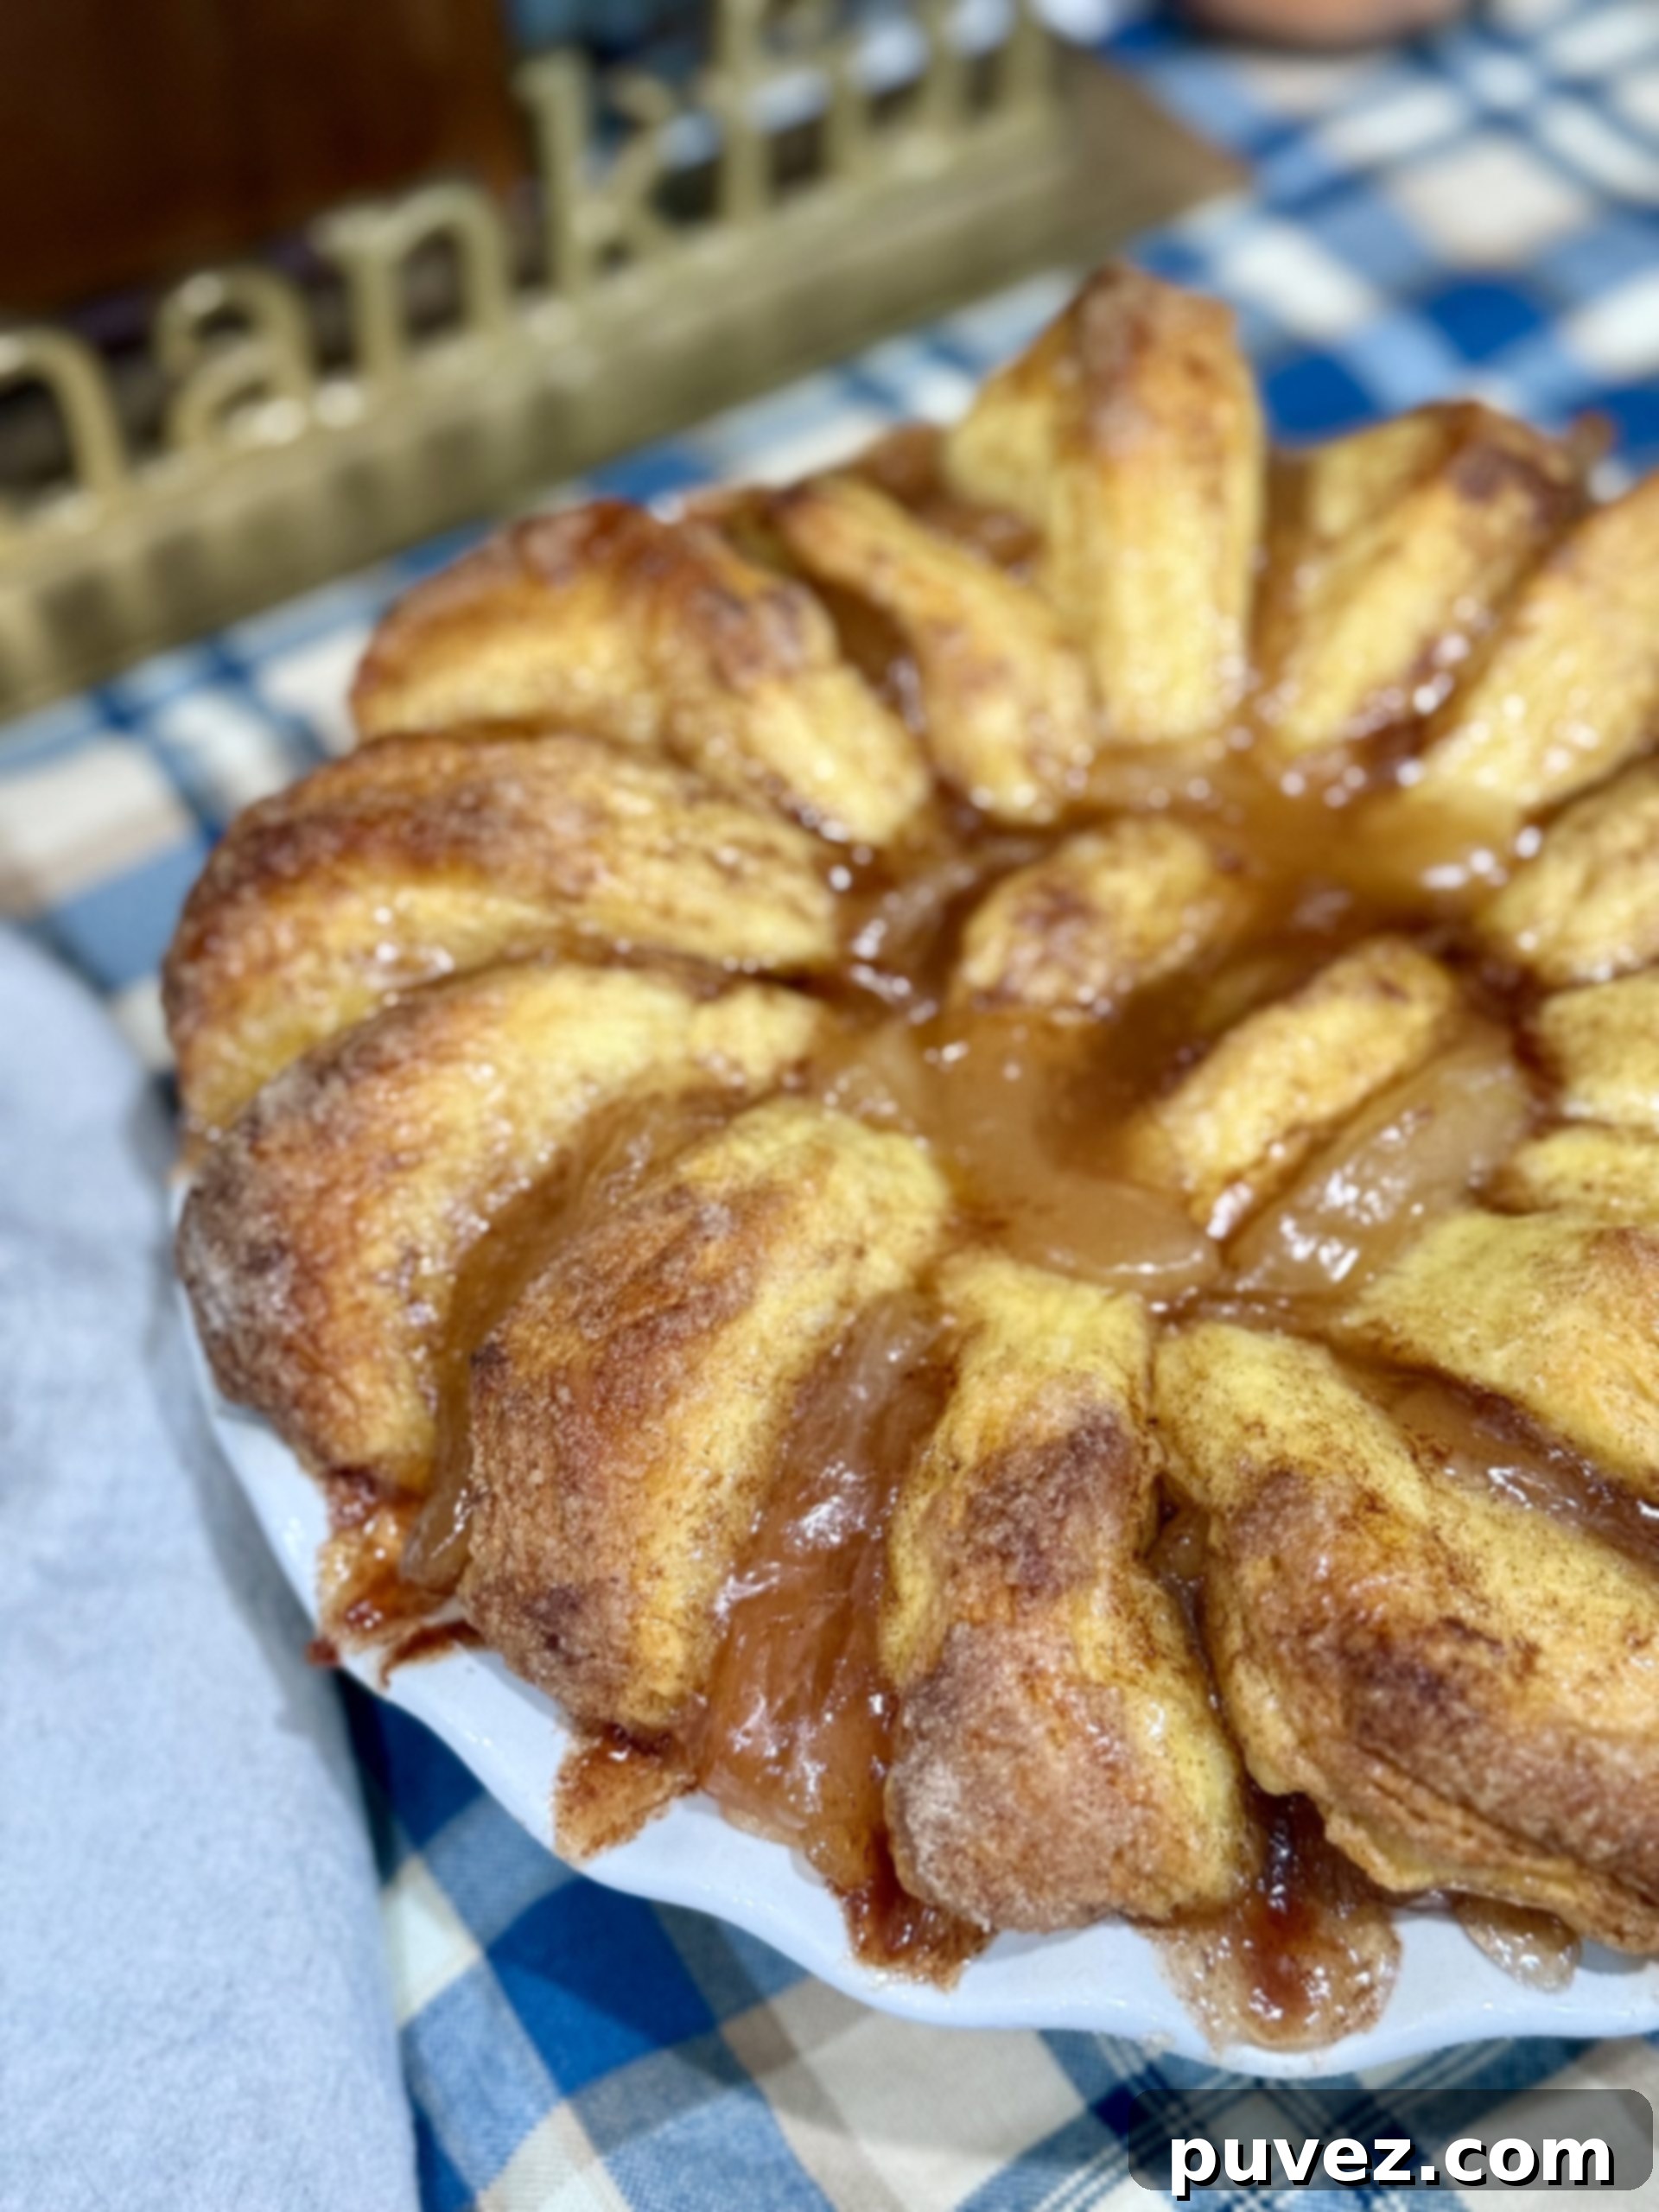
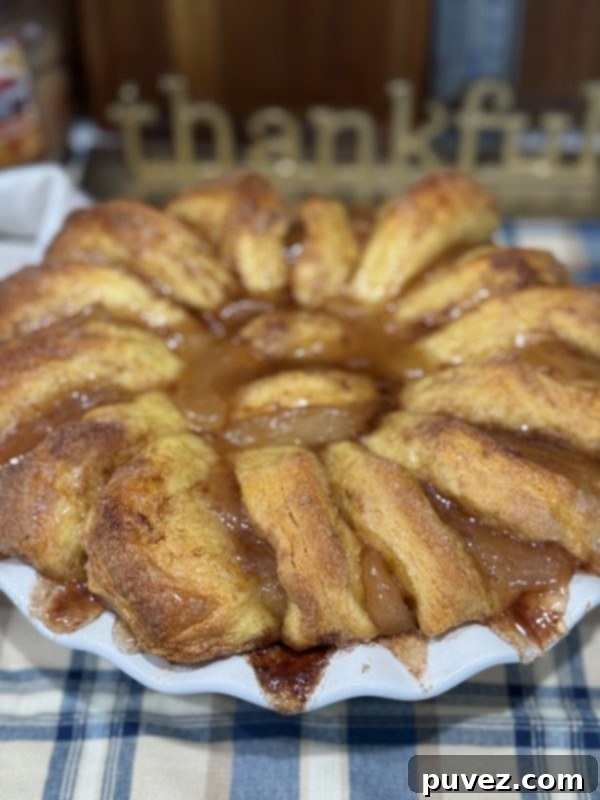
Forget spending hours in the kitchen with complicated recipes. This cobbler is designed for ease and enjoyment, dirtying as few dishes as possible while filling every belly with warmth and happiness. It’s a delightful blend of tender, spiced apples bubbling beneath a golden, fluffy biscuit topping, creating a rustic and irresistible dessert that everyone will adore. It’s truly the taste of autumn in every bite.

What Makes This Apple Biscuit Cobbler So Special?
At its heart, a cobbler is a fruit dessert with a dropped biscuit or dumpling topping, baked until golden and bubbly. What sets *this* Apple Biscuit Cobbler apart is its ingenious use of premade biscuits. This simple shortcut transforms a potentially time-consuming baking project into an incredibly quick and accessible one, without sacrificing any of the homemade charm or delicious flavor.
- Effortless Preparation: Using canned biscuits means no kneading, no rolling, and no waiting for dough to rise. It’s ready in minutes.
- Comforting Textures: You get the best of both worlds – soft, sweet apple filling with a hint of cinnamon, crowned with a light, buttery, and slightly crisp biscuit topping.
- Seasonal Versatility: While perfect for fall with classic apple flavors, this recipe can be adapted with other fruits year-round.
- Family-Friendly: It’s a crowd-pleaser that appeals to all ages, evoking nostalgic feelings of home baking.
This recipe truly shines when you need a comforting dessert that feels special but doesn’t demand hours of your time. It’s perfect for those spontaneous gatherings or simply when a craving for something sweet and warm strikes.
The Charm of Fall Baking and Cobblers
Fall baking is an experience in itself. The scent of cinnamon, nutmeg, and apples wafting through the house creates an inviting atmosphere that few other seasons can rival. Cobblers, in particular, hold a special place in the pantheon of comforting desserts. They are less formal than a pie, more rustic than a crisp, and offer a unique balance of fruit and dough.
Unlike a pie, which typically has a top and bottom crust, a cobbler features a fruit base topped with a layer of biscuits, batter, or sometimes even cake-like dough. This particular recipe embraces the biscuit topping, allowing for individual servings of doughy goodness that soak up the rich apple juices as it bakes. It’s a true testament to simple ingredients coming together to create something extraordinary.
Ingredients: Simple Yet Flavorful
The beauty of this Apple Biscuit Cobbler lies in its short and sweet ingredient list. Each component plays a crucial role in creating the ultimate comfort dessert. You’ll be surprised how much flavor you can achieve with so few items!
What You’ll Need:
- 2 cans of premade biscuits (store brand works great!): The ultimate convenience factor. Opt for flaky or homestyle biscuits for the best texture. These form the delicious, golden topping.
- 1/2 cup of unsalted butter (1 stick): Melts down to coat the biscuits, contributing to their golden-brown finish and rich flavor. Unsalted allows you to control the overall saltiness.
- 2 cups sugar: Sweetens both the biscuits and the overall cobbler, creating a delightful sugary crust on the biscuit topping.
- 1/4 cup cinnamon: The quintessential fall spice! It pairs perfectly with apples, infusing the cobbler with a warm, inviting aroma and taste.
- 1 can of apple pie filling: Another fantastic shortcut! This provides the perfectly spiced and tender apple base without the need for peeling, coring, and slicing fresh apples.
These ingredients are likely staples in your pantry or easily found at any grocery store, making this a go-to recipe for any occasion.
Step-by-Step Guide to Your Perfect Apple Biscuit Cobbler
Let’s get baking! This process is straightforward and yields incredibly satisfying results. Follow these steps for a delicious, bubbly cobbler.
Instructions:
- Prepare Your Workspace: Begin by preheating your oven to 350 degrees Fahrenheit (175°C). While the oven heats, grab a medium-sized bowl and combine the 2 cups of sugar with the 1/4 cup of cinnamon. Stir well until the sugar and cinnamon are thoroughly mixed. In a separate microwave-safe bowl, melt the 1/2 cup (1 stick) of unsalted butter until fully liquid.
- Coat the Biscuits: Open your cans of premade biscuits. Take each individual biscuit dough and dip it entirely into the melted butter, ensuring it’s well-coated. Next, transfer the buttered biscuit into the cinnamon-sugar mixture. Roll and press gently to make sure each side and all the edges of the dough are generously coated with the fragrant cinnamon sugar. This step is key for that irresistible golden, sweet crust.
- Arrange and Fill: Carefully arrange the coated biscuits in a single layer in a 9-inch pie plate or a similar oven-safe dish. A spiral formation often works best for even coverage and presentation, but don’t stress too much about perfection. Make sure to place at least two of the biscuit doughs right in the middle of your spiral to ensure the center gets a good topping. Once the biscuits are arranged, spoon the entire can of apple pie filling evenly between and over the biscuit doughs. You want the apples to nestle into all the gaps.

- Bake to Perfection: Place the pie plate into your preheated oven at 350 degrees Fahrenheit (175°C). Bake for approximately 1 hour and 10 minutes. Important Warning: As the biscuit dough rises and the apple filling bubbles, the cobbler can sometimes overflow, creating a mess in your oven. To prevent this, always place a large cookie sheet or baking tray underneath your pie plate before putting it in the oven. This simple step ensures safe baking and makes cleanup a breeze! The cobbler is ready when the biscuits are golden brown and cooked through, and the apple filling is hot and bubbly.
Now, here’s the hardest part: letting it cool. While it’s always recommended to let baked goods set a bit before serving, the irresistible aroma filling your home might make that impossible. And honestly, who can resist a warm, fresh-from-the-oven cobbler?
Tips for the Best Apple Biscuit Cobbler
Even with such a simple recipe, a few extra tips can elevate your cobbler from great to absolutely unforgettable:
- Don’t Overcrowd: Ensure your pie plate is adequately sized. A 9-inch deep-dish pie plate or a similar 2-quart baking dish works well for two cans of biscuits. Overcrowding can lead to uneven baking and more spills.
- Adjust Sweetness: The 2 cups of sugar create a wonderfully sweet crust. If your apple pie filling is very sweet, or you prefer a less sweet dessert, you can slightly reduce the sugar in the cinnamon mixture.
- Check for Doneness: The biscuits should be deeply golden brown, and a toothpick inserted into the center of a biscuit should come out clean. The apple filling should be bubbling vigorously.
- Let it Rest (If You Can!): Allowing the cobbler to cool for 15-20 minutes before serving helps the filling set slightly and prevents it from being too runny, though it will still be delightfully gooey.
- Personalize Your Spices: While cinnamon is perfect, feel free to add a pinch of nutmeg, allspice, or even a tiny bit of ground ginger to your sugar mixture for extra depth of flavor.
Serving Suggestions and Creative Variations
This Apple Biscuit Cobbler is fantastic on its own, but it truly shines with a few simple additions:
- Classic Pairing: A generous scoop of vanilla bean ice cream melting over the warm cobbler is pure bliss.
- Creamy Delight: A dollop of freshly whipped cream adds a lovely lightness and contrasts beautifully with the rich apples and biscuits.
- A Touch of Caramel: Drizzle some warm caramel sauce over each serving for an extra layer of decadence.
- Nutty Crunch: Sprinkle some toasted chopped pecans or walnuts over the top before serving for added texture.
- Fruit Variations: Don’t limit yourself to apples! Try this recipe with canned peach pie filling, cherry pie filling, or even a mixed berry filling for a different flavor profile.
- Homemade Touch: If you have extra time, you can certainly make your own biscuit dough from scratch for an even more “homemade” feel. Just ensure it’s a drop biscuit recipe or a dough that’s easy to shape.
Storage and Reheating Instructions
While best enjoyed fresh, leftovers of this Apple Biscuit Cobbler are still delicious! Store any remaining cobbler covered tightly with plastic wrap or aluminum foil:
- Room Temperature: For up to 2 days, if your kitchen isn’t too warm.
- Refrigerator: For up to 4-5 days.
To reheat, cover the cobbler loosely with foil and warm in a preheated oven at 300°F (150°C) for about 15-20 minutes, or until heated through and the biscuits have crisped up slightly. You can also microwave individual servings, though the biscuits might become softer.
A Dish Full of Love: The Joy of Baking for Family
Growing up, baking was something my parents did for us, filling our home with sweet aromas and delicious treats. Now, as an adult and a parent myself, the roles have reversed, and there’s an incomparable joy in baking for the family I’ve created. The simple act of putting a homemade dessert on the table transforms a regular meal into a cherished moment.
I can still recall the feeling when my fiancé and son came running to the kitchen, drawn by the irresistible scent of this cobbler as soon as it emerged from the oven. Their eager faces and happy murmurs as they took their first bites were all the reward I needed. It’s moments like these – the shared warmth, the satisfied smiles, the simple pleasure of a homemade treat – that truly make baking so fulfilling. This Apple Biscuit Cobbler isn’t just a dessert; it’s an experience, a memory in the making, and a delicious expression of love.
It reminds us that the best things in life, and often the best desserts, don’t have to be complicated. They just need to be made with a little bit of care and a lot of heart.

Why This Apple Biscuit Cobbler Will Be Your New Favorite
From its incredibly simple preparation to its undeniably comforting taste, this Apple Biscuit Cobbler ticks all the boxes for a perfect seasonal dessert. It’s a dish that brings people together, fills your home with wonderful aromas, and satisfies that deep craving for something sweet and wholesome. So, as the ‘BER’ months continue to unfold, invite the warmth and deliciousness of this cobbler into your home. It’s more than just a recipe; it’s an invitation to create lasting memories around the table.
Go ahead, give this easy apple biscuit cobbler a try. You and your family will absolutely love it!
Easy Apple Biscuit Cobbler Recipe Summary
Yield: 12-16 servings
Prep Time: 10 minutes
Cook Time: 1 hour 10 minutes
Total Time: 1 hour 20 minutes
Ingredients
- 2 cans of premade biscuits (I used store brand)
- 1/2 cup of unsalted butter (1 stick)
- 2 cups sugar
- 1/4 cup cinnamon
- 1 can of apple pie filling
Instructions
- Preheat the oven to 350 degrees F (175°C). In a bowl, mix sugar and cinnamon. Melt butter in a microwave-safe bowl.
- Dip each premade biscuit dough into the butter, then coat thoroughly in the cinnamon-sugar mixture.
- Arrange biscuits in a spiral formation in a pie plate, placing two doughs in the middle. Spoon apple pie filling between and over the biscuits.
- Bake at 350 degrees F (175°C) for 1 hour and 10 minutes. Place a cookie sheet below the pie plate to catch any overflow.
Nutrition Information (per serving):
- Calories: 236
- Total Fat: 9g (Saturated Fat: 5g, Trans Fat: 0g, Unsaturated Fat: 3g)
- Cholesterol: 20mg
- Sodium: 38mg
- Carbohydrates: 42g (Fiber: 2g, Sugar: 37g)
- Protein: 1g
Serving Size: 1

