Irresistible Grasshopper Pie Cookie Cups: Your Ultimate Mint Chocolate Dessert Guide
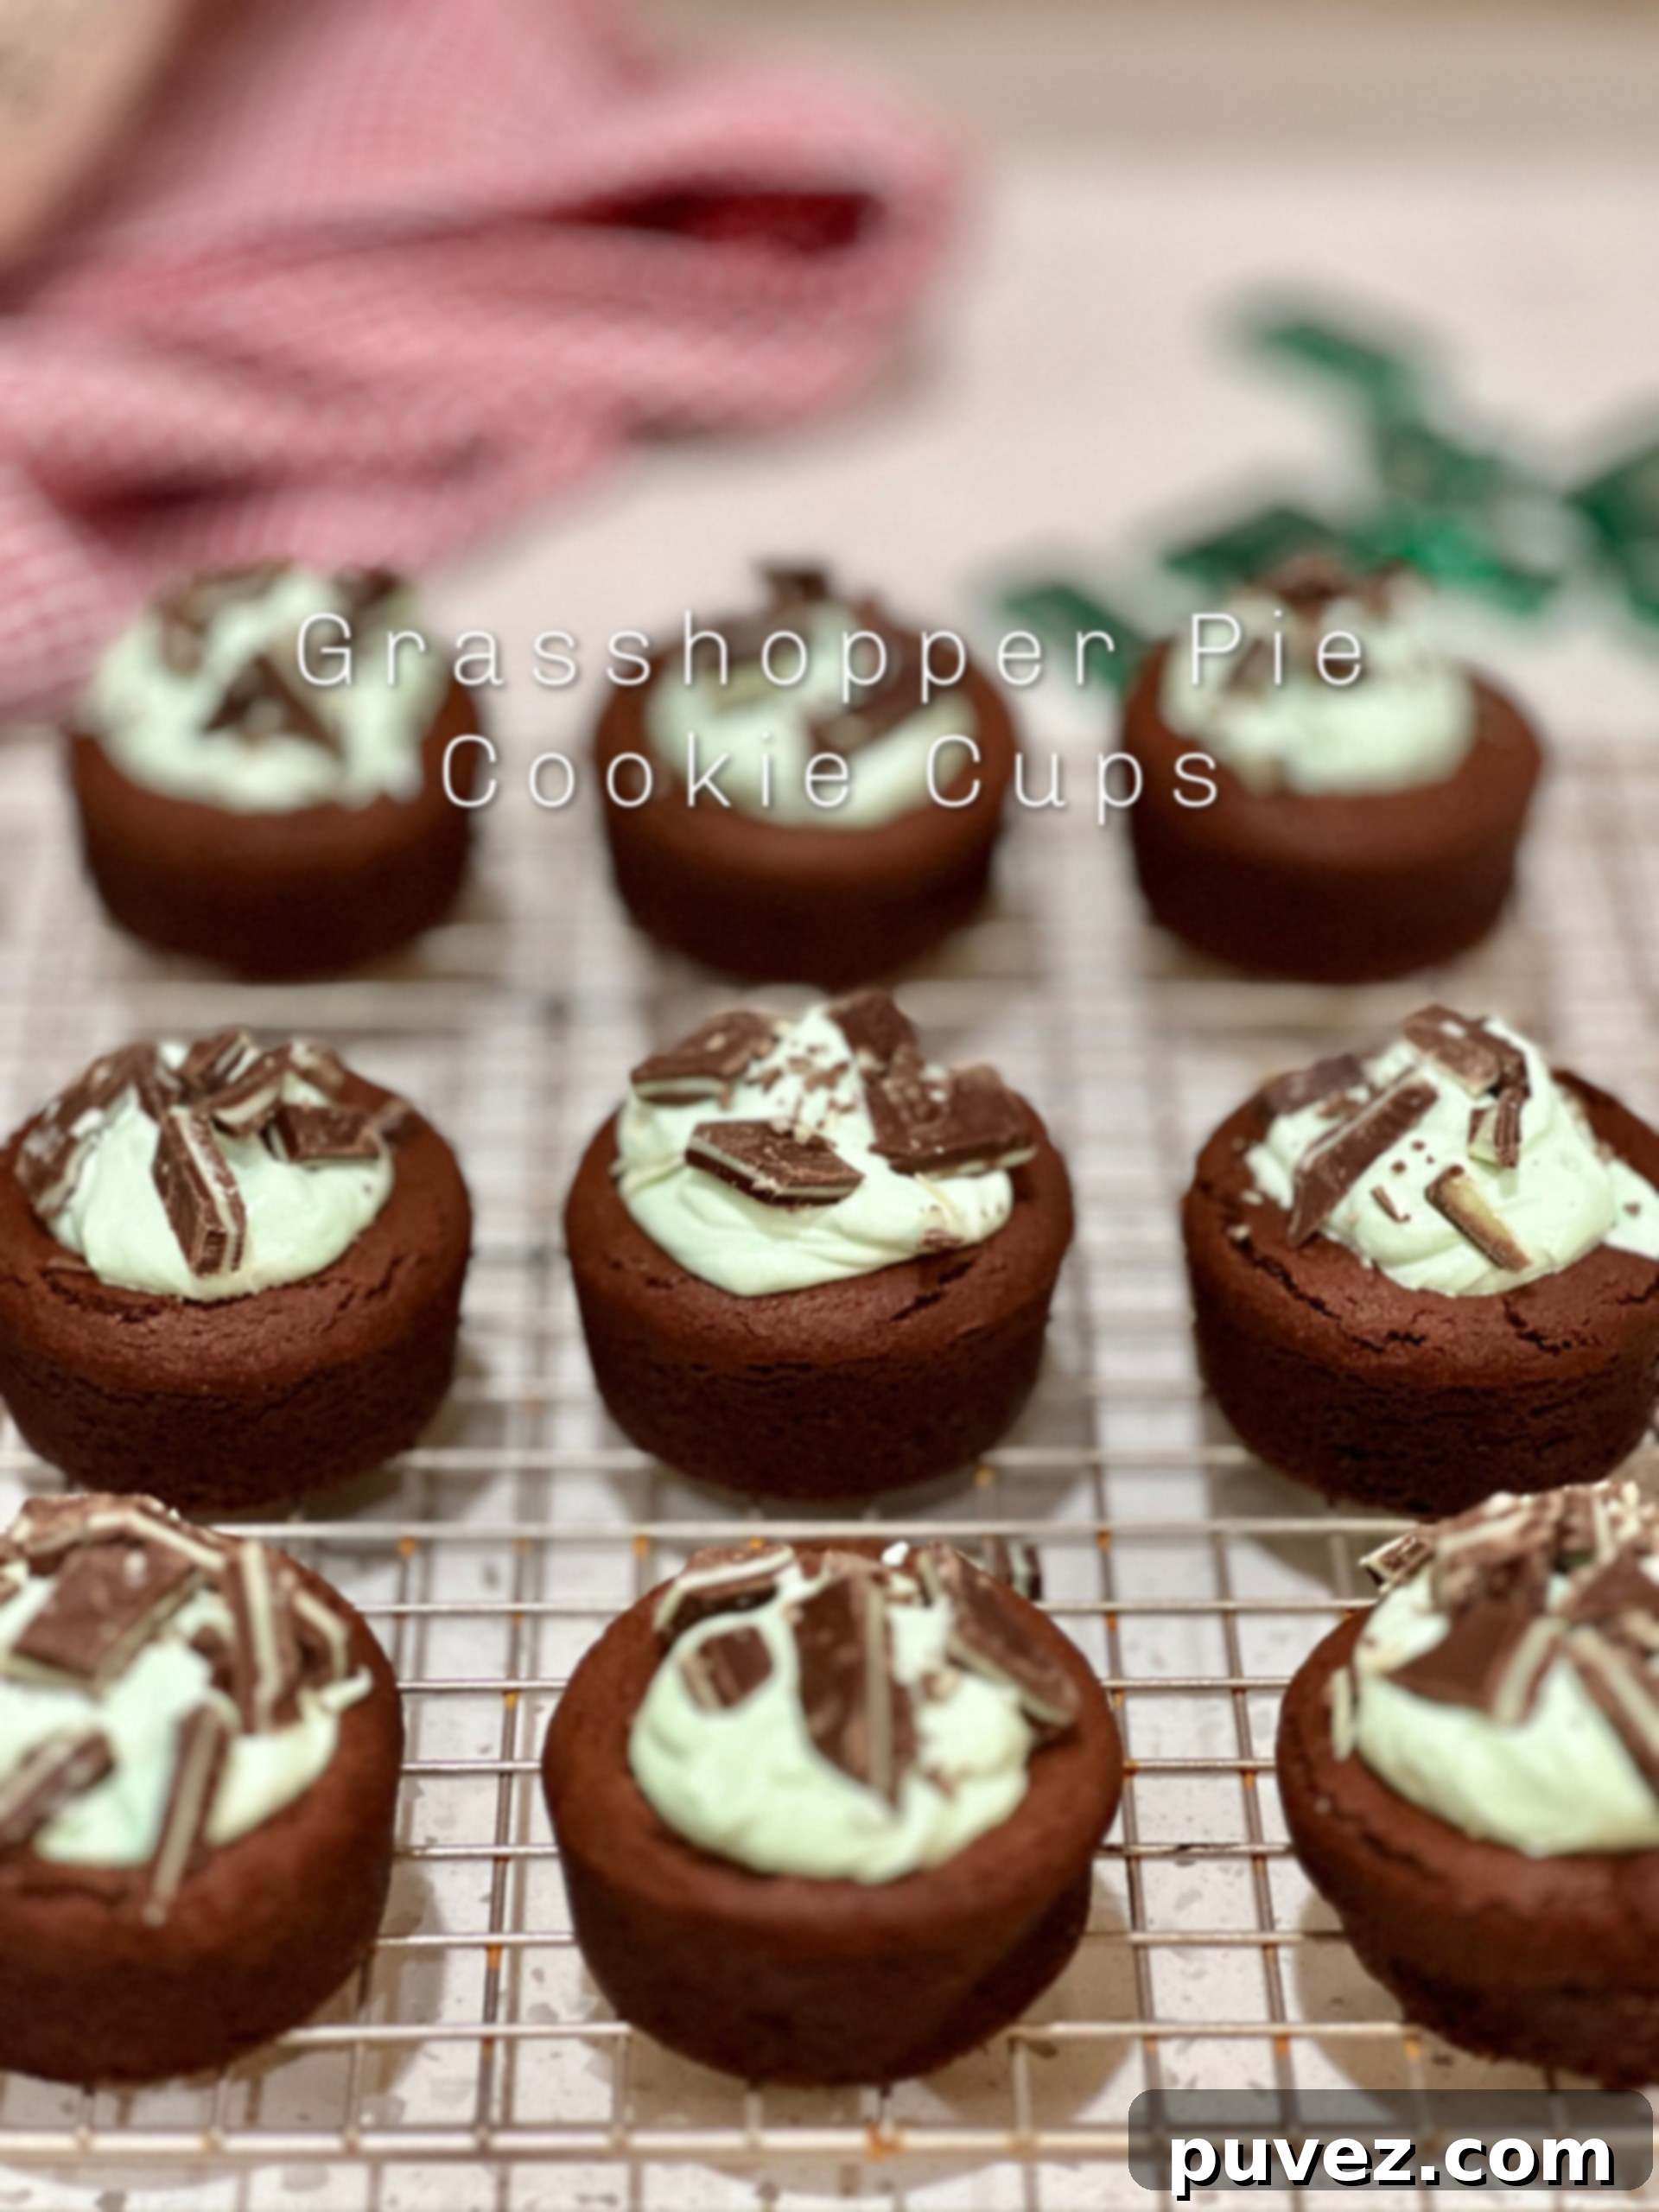
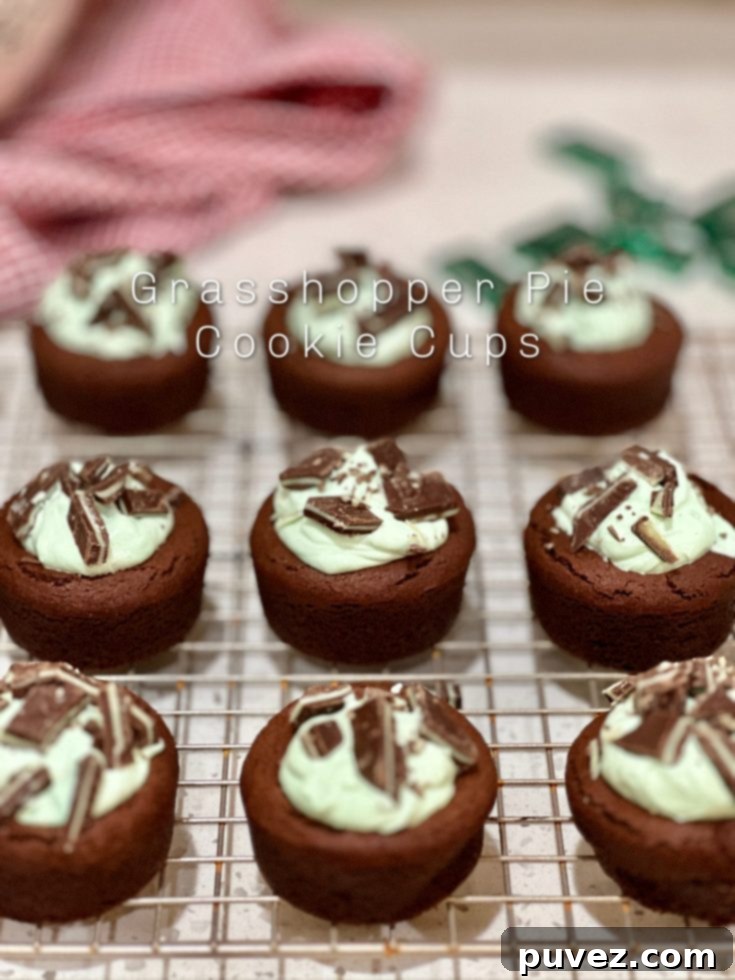
Prepare to have your taste buds swept away by a truly delightful creation: Grasshopper Pie Cookie Cups! Imagine the classic, beloved flavors of a minty, creamy Grasshopper Pie, ingeniously transformed into a bite-sized, chocolatey cookie cup. These aren’t just cookies; they’re miniature dessert masterpieces, featuring a rich chocolate cookie base, filled with a fluffy, vibrant mint frosting, and crowned with a delightful Andes mint.
For many, Grasshopper Pie evokes fond memories of family gatherings and special occasions. My own mom, though she rarely made it, created a version that was absolutely unforgettable. That elusive, amazing taste is precisely what inspired these cookie cups – a way to enjoy that iconic flavor more often, in a fun, portable format.
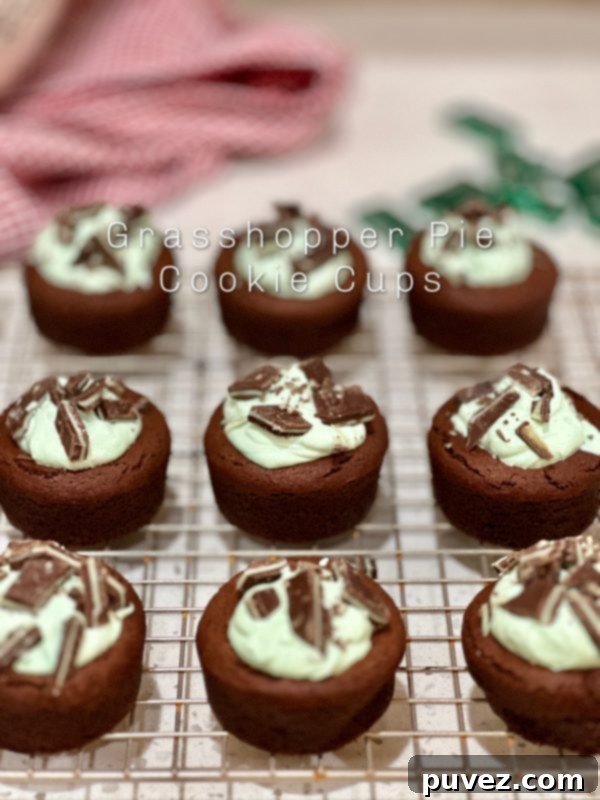
Now, let’s address the elephant (or perhaps, the grasshopper) in the room: the name! “Grasshopper Pie” or “Grasshopper Pie Cookie Cups” can sound a bit unusual, even unsettling, if you’re not familiar with the dessert. Rest assured, there are absolutely no actual grasshoppers involved! The name is purely a whimsical nod to the dessert’s signature vibrant green color, achieved through a hint of mint extract and food coloring, reminiscent of a grassy field. It’s all about that refreshing mint-chocolate combination that makes this treat truly special.
If you’re a fan of mint chocolate, these cookie cups are about to become your new favorite obsession. They offer the perfect balance of rich cocoa and cool, refreshing mint, all wrapped up in an easy-to-handle package. Whether you’re baking for a party, a potluck, or just to satisfy a craving, this recipe is guaranteed to impress. Let’s dive into creating these heavenly bites!
Why You’ll Love These Grasshopper Pie Cookie Cups
- Nostalgic Flavor, Modern Twist: It captures the beloved taste of classic Grasshopper Pie in a fun, easy-to-eat cookie form.
- Perfectly Portable: Individual cookie cups are ideal for parties, lunchboxes, or a grab-and-go dessert.
- Irresistible Mint-Chocolate Combo: The classic pairing of rich chocolate and refreshing mint is simply divine.
- Visually Stunning: The vibrant green frosting contrasted with the dark chocolate cookie makes for an eye-catching treat.
- Simple & Straightforward: Despite their impressive appearance, these cookie cups are surprisingly easy to make, even for novice bakers.
- Crowd-Pleaser: Everyone, from kids to adults, will adore these unique and flavorful dessert cups.
Understanding Grasshopper Pie: The Inspiration
Before we dive into the cookie cups, let’s quickly understand the delicious dessert that inspired them. Traditional Grasshopper Pie is a no-bake dessert typically featuring a chocolate cookie crust, a light and airy filling made from crème de menthe and crème de cacao (or mint extract and chocolate flavoring), whipped cream, and sometimes marshmallows. It’s famous for its cool, creamy texture and distinct mint-chocolate flavor profile, often characterized by its pale green hue.
Our Grasshopper Pie Cookie Cups take these core elements and adapt them into a baked format. We get the chocolate from the cookie base, the refreshing mint from the vibrant frosting, and the overall creamy texture from the generous dollop of buttercream. Topped with an Andes mint, they truly capture the essence of the pie in every single bite.
The Secret to Success: Ingredients and Flavor Balance
The magic of these cookie cups lies in the careful balance of a few key ingredients. High-quality cocoa powder is essential for a rich, deep chocolate cookie base. Don’t skimp on this! For the mint frosting, a good mint extract is crucial. Start with the smaller amount and add more to taste, as mint can quickly become overpowering. The green food dye is purely for aesthetic appeal, giving the frosting that characteristic “grasshopper” look, but you can adjust the drops for your desired shade.
And let’s not forget the Andes mints! These iconic candies bring a delightful texture and an extra layer of mint-chocolate flavor, making them the perfect garnish. When choosing your butter, ensure it’s unsalted so you can control the overall saltiness of your baked goods. And always make sure your butter is softened for both the cookies and the frosting – this is key for a smooth, well-incorporated dough and a fluffy, lump-free buttercream.
Grasshopper Pie Cookie Cups Recipe
The ingredients you’ll need for the cookies are:
- 1 1/3 cups of all-purpose flour
- 1/2 cup of cocoa powder (good quality makes a difference!)
- 1/2 teaspoon of baking soda
- 1/4 teaspoon of salt
- 1/2 cup of softened unsalted butter (1 stick – allow it to sit at room temperature for about 30-60 minutes)
- 1/2 cup of tightly packed brown sugar
- 3/4 cup of granulated sugar
- 1 large egg
- 2 teaspoons of vanilla extract (or measure with your heart, which is what I often do for extra flavor!)
The ingredients you’ll need for the frosting are:
- 1/2 cup of softened unsalted butter (1 stick)
- 1 1/4 cups of powdered sugar (sifted for best results)
- 1-2 tablespoons of heavy cream (or milk, for desired consistency)
- 1/4-1/2 teaspoons of mint extract (start small and taste!)
- 2-3 drops of green food dye (gel food coloring provides a more vibrant color)
- 1/2 cup of roughly chopped Andes mints, plus extra for garnish
How to make the cookie cups:
The first crucial step is to preheat your oven to 350 degrees F (175 degrees C). A properly preheated oven ensures even baking from the start.
In a stand mixer fitted with the paddle attachment, or a large bowl using a handheld mixer, cream together the softened butter and both sugars (brown and granulated) on medium speed. Beat until the mixture is light and fluffy, usually 2-3 minutes. This process incorporates air, making your cookies tender. Add in the large egg and vanilla extract, beating for about 1 minute more until fully combined and smooth.
In a separate medium bowl, whisk together the dry ingredients: all-purpose flour, cocoa powder, baking soda, and salt. Whisking ensures these ingredients are evenly distributed, preventing lumps in your dough.
Gradually add the dry ingredients to the wet ingredients, mixing on low speed until just combined. Be careful not to overmix; overmixing can develop the gluten in the flour, leading to tough cookies.
Prepare a regular 12-cup cupcake pan by greasing it well or lining it with paper cupcake liners. Roll 12 evenly-sized dough balls, each about 2 to 2 1/2 tablespoons in size. Place one dough ball into each cup of the prepared pan.
To form the cups, take a small measuring cup (like a 1/4 cup or even a shot glass) and gently press down on the center of each dough ball to flatten it into the bottom of the cupcake cup. Then, use the back of a spoon (or your clean knuckle, as I sometimes do for convenience) to press the middle of the flattened dough down further, creating a clear indentation and forming a cup shape. This will hold your delicious mint frosting later.
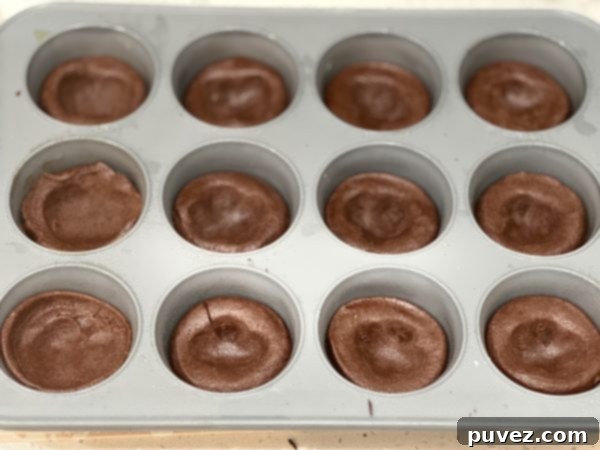
Place the pan in the preheated oven and bake for 12-14 minutes. The cookies will look slightly soft in the center when done but will set as they cool. Avoid overbaking, which can make them dry. Once baked, let them cool in the cupcake pan for at least 10 minutes. This helps them firm up before you attempt to move them. After 10 minutes, carefully transfer the cookie cups to a wire cooling rack to cool completely. They must be completely cool before frosting to prevent the frosting from melting.
How to make the frosting:
While the cookie cups are cooling, prepare your decadent mint frosting. In your stand mixer (now with the whisk attachment) or a large bowl with a handheld mixer, whip the softened unsalted butter and powdered sugar together. Start on low speed to incorporate the sugar, then increase to high speed and whip for a full 5 minutes. This extended whipping time is crucial for achieving a light, airy, and incredibly fluffy texture.
Once the butter and sugar are wonderfully fluffy, add in the heavy cream (start with 1 tablespoon and add more if needed for consistency), mint extract (remember to start with the lesser amount and taste!), and 2-3 drops of green food dye. Whip again on medium-high speed until all ingredients are thoroughly combined and the frosting is uniformly green and smooth. Taste and adjust mint extract if desired.
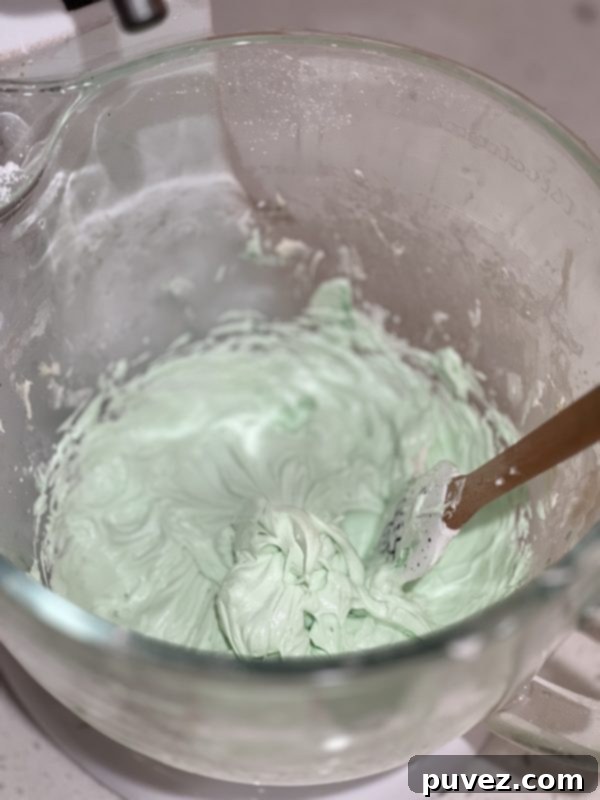
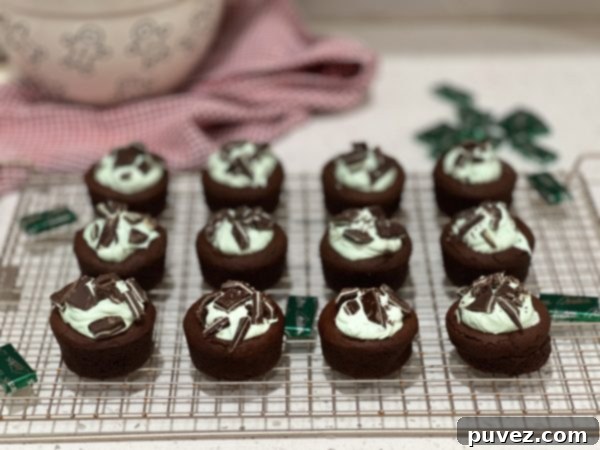
Now for the fun part! Once the cookie cups are completely cooled, it’s time to fill them. You can pipe the frosting into the cookie cups using a piping bag fitted with your favorite tip for a professional look. If you’re like me and sometimes find yourself without piping bags (or just prefer simplicity), carefully plop generous dollops of frosting into the cups with a spoon. Smooth the top slightly with the back of the spoon.
To finish, roughly chop about a 1/2 cup of Andes mints. Generously sprinkle these chopped mints over the top of each frosted cookie cup. The little chocolate and mint flecks add both visual appeal and an extra burst of flavor and texture. And there you have it – your magnificent Grasshopper Pie Cookie Cups are ready to be devoured!
Tips for Perfect Grasshopper Pie Cookie Cups
- Softened Butter is Key: For both the cookie dough and the frosting, ensure your butter is genuinely softened (not melted) at room temperature. This helps achieve a smooth dough and a fluffy frosting.
- Don’t Overmix the Dough: Mix the dry and wet ingredients until just combined. Overmixing can lead to tough cookies.
- Measure Flour Correctly: Spoon your flour into the measuring cup and level it off. Scooping directly from the bag can compact the flour, leading to too much flour and dry cookies.
- Cool Completely: Resist the urge to frost warm cookie cups! The frosting will melt and slide off. Patience is a virtue here.
- Adjust Frosting Consistency: If your frosting is too thick, add more heavy cream (1 teaspoon at a time). If it’s too thin, add a tablespoon or two more of sifted powdered sugar.
- Chill Dough (Optional): If your dough feels too sticky to handle or your kitchen is warm, chilling the dough for 15-30 minutes can make it easier to roll and shape.
Variations & Customizations
These cookie cups are fantastic as-is, but don’t hesitate to get creative!
- Different Mint Flavors: While mint extract is standard, try a tiny touch of peppermint extract for a different kind of kick, or even a mix.
- Chocolate Variations: Experiment with different types of cocoa powder (Dutch-processed for darker color and milder flavor, natural for a slightly fruitier note). You could also fold in some mini chocolate chips into the cookie dough for extra chocolatey goodness.
- Topping Alternatives: Instead of (or in addition to) Andes mints, consider chocolate shavings, a drizzle of chocolate ganache, or a dollop of fresh whipped cream for an even richer experience.
- Make Them Gluten-Free: You can often substitute the all-purpose flour with a 1:1 gluten-free baking flour blend. Make sure the blend contains xanthan gum.
- Spiked Version (Adults Only): For a truly authentic Grasshopper Pie experience, a tiny dash of crème de menthe or crème de cacao can be added to the frosting instead of pure mint extract, but remember these contain alcohol.
Storage and Serving Suggestions
These Grasshopper Pie Cookie Cups are best enjoyed within 2-3 days. Store them in an airtight container at room temperature. If your kitchen is particularly warm, or if you prefer a firmer frosting, you can store them in the refrigerator, but allow them to come to room temperature for about 15-20 minutes before serving for the best texture.
For longer storage, unfrosted cookie cups can be frozen for up to 3 months. Once thawed, you can then frost them fresh. Frosted cookie cups can also be frozen for about 1 month; simply place them in a single layer in an airtight container, separating layers with parchment paper.
These cookie cups are perfect for:
- Holiday gatherings (especially St. Patrick’s Day or Christmas!)
- Birthday parties
- Potlucks and bake sales
- After-dinner dessert with coffee or hot chocolate
- A delightful treat for school lunches or afternoon snacks
Troubleshooting Common Issues
- Cookies Spreading Too Much: Ensure your butter isn’t too soft or melted. If the dough feels overly warm or sticky, chill it for 20-30 minutes before forming the cups. Also, accurately measure your flour; too little can cause spreading.
- Cookies Sticking to the Pan: Make sure your cupcake pan is thoroughly greased, or use paper liners. Letting them cool for the full 10 minutes in the pan before attempting to remove them also helps.
- Frosting Too Thin: This usually means you need more powdered sugar. Add it in 1/4 cup increments, beating well after each addition until desired consistency is reached.
- Frosting Too Thick: Add heavy cream (or milk) 1 teaspoon at a time, beating until smooth and spreadable.
- Flavor Not Minty Enough: Gradually add a tiny bit more mint extract (1/8 teaspoon at a time) to the frosting until you reach your preferred intensity.
Grasshopper Pie Cookie Cups
20 minutes
14 minutes
20 minutes
54 minutes
Ingredients
- For the cookie cups :
- 1 1/3 cups of all-purpose flour
- 1/2 cup of cocoa powder
- 1/2 teaspoon of baking soda
- 1/4 teaspoon of salt
- 1/2 cup of softened unsalted butter (1 stick)
- 1/2 cup of tightly packed brown sugar
- 3/4 cup of granulated sugar
- 1 large egg
- 2 teaspoons of vanilla (or measure with your heart, which is what I do)
- For the frosting :
- 1/2 cup of softened unsalted butter (1 stick)
- 1 1/4 cups of powdered sugar
- 1-2 tablespoons of heavy cream
- 1/4-1/2 teaspoons of mint extract
- 2-3 drops of green food dye
- 1/2 cup roughly chopped andes mints
Instructions
- Using a stand or handheld mixer, cream the butter and sugars together. Add in the egg and vanilla.
- In a separate bowl, combine the flour, cocoa powder, baking soda and salt. Slowly add this mixture to the butter-sugar mixture.
- Roll 12 evenly-sized dough balls (about 2 1/2 tablespoons each) and put them in the greased/lined cupcake cups. Use a measuring cup to flatten them then use a spoon to press dough the middle of the doguh forming a cup.
- Bake at 350 for 12-14 minutes, then let cool in the pan for 10 minutes before moving to a cooling rack to finish cooling.
- For the frosting, whip the softened butter and powdered sugar together for 5 minutes on the highest speed. Add in the heavy cream, mint extract, and green food dye then whip again until fully combined.
- Pipe or carefully spoon the frosting into the cookie cups then top with the roughly chopped andes mints. Serve and enjoy!
Did you make this recipe?
Please leave a comment on the blog or share a photo on Instagram
More like this
Peanut Butter Cookie Cups
Black Forest Cookie Cups
These Black Forest Cookie Cups are a soft baked chocolate cookie filled with chocolate mousse and cherry pie filling. All topped with fresh whipped cream and chocolate shavings.
sugarspunrun.com
Easy Sugar Cookie Recipe (With Icing!)
www.verybestbaking.com
Frosted Double Chocolate Cookies
tornadoughalli.com
Easy Cookie Cups – Tornadough Alli
And there you have it! These Grasshopper Pie Cookie Cups are a fantastic way to enjoy a classic dessert with a fun, modern twist. They are sure to bring smiles and satisfy any mint-chocolate craving. Don’t be shy – whip up a batch today and share the joy! We’d love to see your creations, so be sure to tag us on social media.
