Ultimate No-Bake Frozen S’mores Bars: Your Perfect Cool & Creamy Summer Treat
As the vibrant days of summer gradually give way to the crisp embrace of fall, many of us start dreaming of cozy bonfires and classic s’mores. But what if you could capture that nostalgic s’mores flavor in a refreshing, cool dessert that’s perfect for those lingering warm days or any time you need a sweet escape? Enter the incredible Frozen S’mores Bars! These delightful no-bake bars take everything you love about the campfire classic – the crunchy graham cracker, the rich chocolate, and the fluffy marshmallow – and transform it into an irresistible frozen treat designed to cool you off and satisfy your sweet tooth, no flame required.
Forget the myth that s’mores are strictly a summer, campfire-only indulgence. Our Frozen S’mores Bars recipe proves that this beloved combination can be enjoyed year-round, especially when you crave something chilled and utterly delicious. Whether you’re experiencing a late summer heatwave or simply want to bring a taste of summer camp to your kitchen, this recipe is your answer. It’s an easy, family-friendly dessert that delivers maximum flavor with minimal effort, making it ideal for gatherings, potlucks, or a simple weeknight treat.
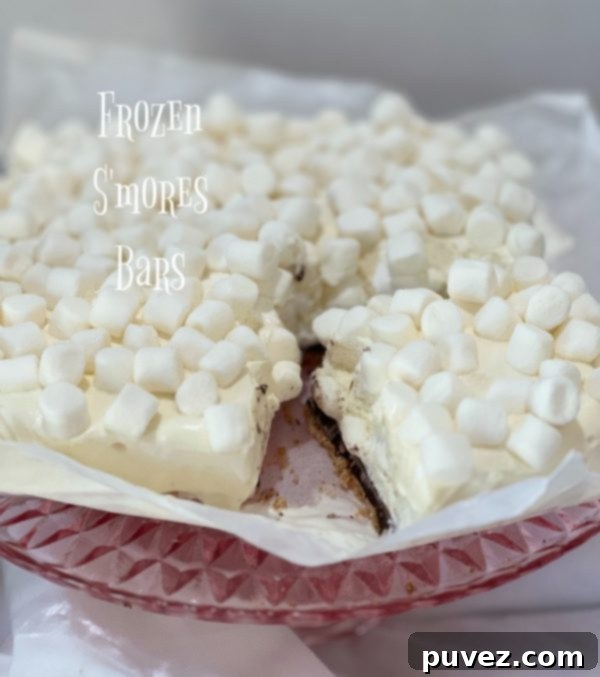
Why Frozen S’mores Bars are a Game Changer
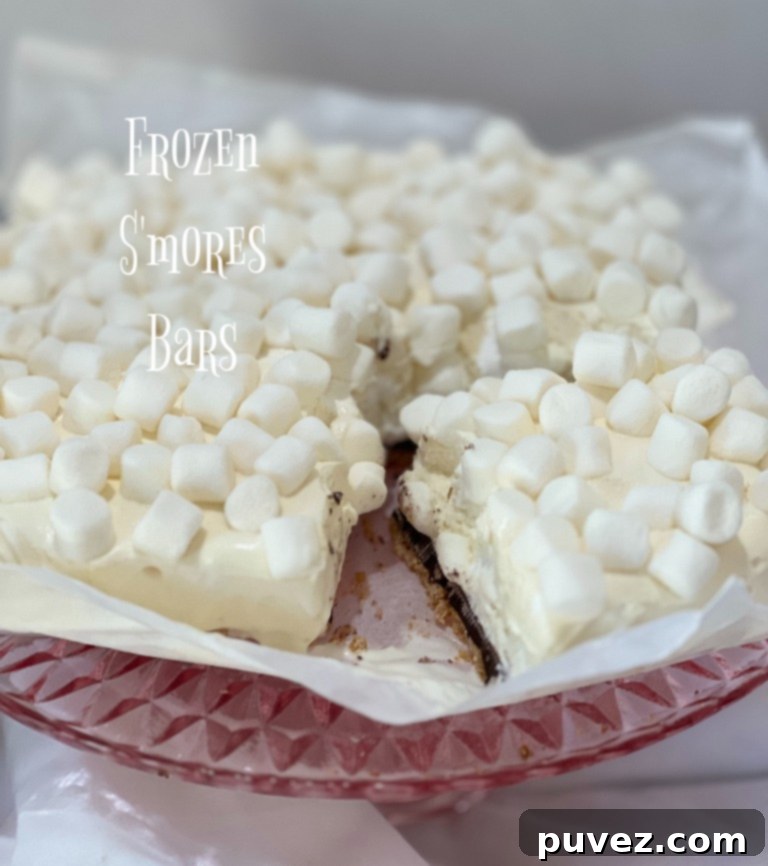
The beauty of these Frozen S’mores Bars lies in their ingenious adaptation of a beloved classic. Traditional s’mores require a campfire, sticky fingers, and often, a battle against melting chocolate. Our frozen version eliminates the mess and the heat, offering a perfectly portioned, easy-to-eat dessert that’s wonderfully refreshing. They’re a fantastic alternative when outdoor fires aren’t an option, or when you simply want to enjoy that iconic flavor profile in a new, exciting way. The blend of creamy, crunchy, and chocolatey layers creates a textural masterpiece that will have everyone asking for “s’more”!
The Nostalgia of S’mores, Reimagined
S’mores hold a special place in many hearts, evoking memories of childhood, camping trips, and shared laughter around a crackling fire. This recipe taps into that same deep-seated nostalgia, but with a modern, no-bake twist. Imagine biting into layers of buttery graham cracker crust, a rich chocolate filling, and a dreamy marshmallow cream, all chilled to perfection. It’s a dessert that feels both familiar and excitingly new. These bars are designed to bring joy and a taste of that cherished experience, making them a hit with both kids and adults.
Simple Ingredients for a Spectacular Treat
One of the best aspects of these Frozen S’mores Bars is the simplicity of the ingredients. You won’t need a trip to a specialty store; most items are likely already in your pantry or easily found at any grocery store. We’re talking about humble components that come together to create something truly magical.
- Graham Crackers: The essential foundation, providing that signature sweet, slightly spiced crunch.
- Butter: Binds the graham cracker crumbs together for a sturdy and delicious crust.
- Chocolate Chips: A generous layer of melted chocolate adds richness and that classic s’mores flavor. Dark, milk, or semi-sweet all work wonderfully!
- Heavy Whipping Cream: Whipped to stiff peaks, it forms the airy, creamy base for our marshmallow layer.
- Sweetened Condensed Milk: Adds a delightful sweetness and helps create a smooth, velvety texture in the marshmallow cream.
- Marshmallow Fluff: The heart of the s’mores experience, contributing that distinct sticky, sweet marshmallow taste and light consistency.
- Mini Marshmallows: Sprinkled on top for extra texture, visual appeal, and an undeniable s’mores finish.
Step-by-Step Guide to Crafting Your Frozen S’mores Bars
Get ready to whip up a batch of these irresistible bars with our detailed, easy-to-follow instructions. This recipe is designed to be straightforward, ensuring delicious results even for novice bakers. The key to success here is patience during the freezing steps, which allow each layer to set perfectly.
Frozen S’mores Bars Recipe
Here’s what you’ll need and how to bring these amazing bars to life:
Ingredients:
- 1 sleeve of graham crackers (about 9-10 full sheets)
- 1/4 cup of butter, melted
- 1 cup of chocolate chips (semi-sweet or your preference), melted
- 1 cup of heavy whipping cream, very cold
- 1 can (14 oz) of sweetened condensed milk
- 1 can (7 oz) of marshmallow fluff
- About 1/2 cup of mini marshmallows, for topping
Instructions:
- Prepare the Graham Cracker Crust: Begin by crushing your graham crackers. Place the graham cracker sheets into a large plastic zip-top bag and seal it. Use a rolling pin, the bottom of a glass, or even your hands to smash them into fine, even crumbs. Aim for a consistency similar to fine sand. Once crushed, pour the melted butter into the bag with the crumbs. Seal the bag again and shake vigorously until the butter is completely combined and all crumbs are moistened.
- Form the Crust: Line an 8×8 inch baking dish with parchment paper, leaving an overhang on two sides to easily lift the bars out later. Press the buttery graham cracker mixture firmly and evenly into the bottom of the prepared dish. Use the back of a spoon or your fingers to create a compact, flat layer. This is your foundation! Place the dish into the freezer for at least 15-20 minutes to allow the crust to firm up while you prepare the next layer.
- Melt the Chocolate Layer: While the crust chills, melt your chocolate chips. You can do this in a microwave-safe bowl in 20-30 second intervals, stirring well after each, until smooth and fully melted. Alternatively, use a double-boiler method on the stovetop for a more controlled melt. Be careful not to overheat the chocolate, as it can seize.
- Add the Chocolate Layer: Carefully pour the melted chocolate over the chilled graham cracker crust. Using an offset spatula or the back of a spoon, gently spread the chocolate out as evenly as possible, covering the entire crust. This layer will create a delightful crunch and rich flavor. Place the dish back into the freezer for another 20-30 minutes, or until the chocolate layer is firm to the touch.
- Whip the Cream: In a large mixing bowl, using a stand mixer fitted with a whisk attachment or a handheld electric mixer, whip the very cold heavy whipping cream on high speed. Continue to whip for several minutes until stiff peaks form. This means when you lift the whisk, the cream holds its shape. Be careful not to over-whip, as it can turn granular.
- Create the Marshmallow Cream Filling: Gently fold the entire can of sweetened condensed milk and the marshmallow fluff into the whipped cream using a spatula. Mix until just combined, being careful not to deflate the whipped cream too much. The goal is a light, airy, and uniformly sweet mixture.
- Assemble and Freeze: Pour the marshmallow cream mixture over the now-firm chocolate layer in the baking dish. Spread it out evenly with your spatula. For that quintessential s’mores look, generously sprinkle the mini marshmallows over the top. Gently press them down slightly so they adhere to the cream.
- Final Chill: Place the baking dish back into the freezer for a minimum of 4 hours. For best results, especially if you want very firm bars, an overnight freeze is ideal. The longer they freeze, the cleaner your cuts will be and the more refreshing they’ll taste!
- Serve and Enjoy: Once fully frozen, use the parchment paper overhang to lift the entire block of bars out of the dish. Place it on a cutting board. Using a sharp knife (you can run it under hot water and wipe dry between cuts for cleaner slices), cut the slab into desired bar sizes. Serve immediately and revel in the frozen s’mores goodness!
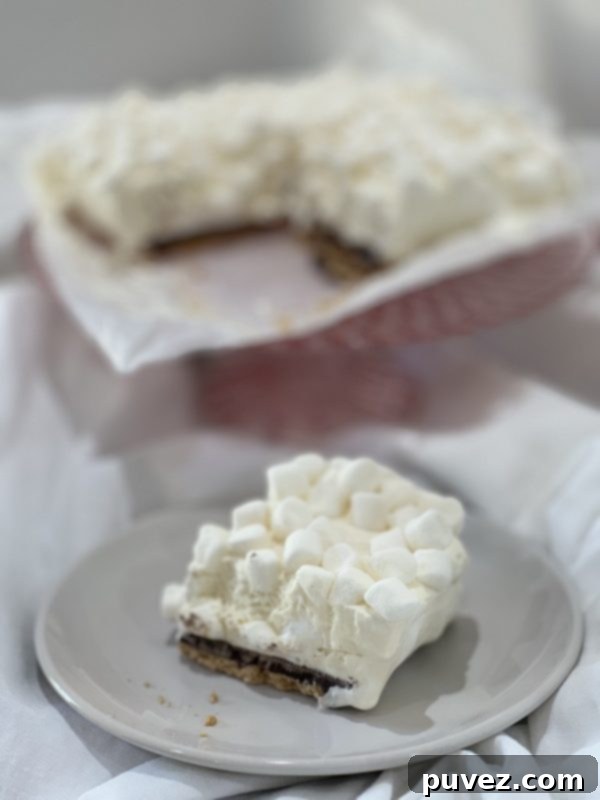
Tips for the Perfect Frozen S’mores Bars
To ensure your Frozen S’mores Bars turn out absolutely perfect every time, keep these handy tips in mind:
- Use Cold Cream: Ensure your heavy whipping cream is very cold. Chilling your mixing bowl and whisk attachment for 10-15 minutes beforehand can also help achieve stiffer peaks faster.
- Don’t Overmix: When folding in the sweetened condensed milk and marshmallow fluff, mix only until just combined. Overmixing can deflate the whipped cream, resulting in a less airy texture.
- Parchment Paper is Key: Lining your baking dish with parchment paper with an overhang makes removal incredibly easy. Don’t skip this step!
- Sharp Knife for Cutting: For clean cuts, especially if the bars are very firm, use a sharp knife. Wiping the blade clean with a warm, damp cloth between each cut can prevent sticking and create beautiful, defined edges.
- Adequate Freezing Time: While 4 hours is the minimum, freezing overnight yields the best results. The layers will be perfectly set, and the bars will hold their shape beautifully.
- Storage: Store any leftover bars in an airtight container in the freezer for up to 2-3 weeks. Separate layers with parchment paper to prevent sticking.
Delicious Variations to Explore
While the classic Frozen S’mores Bar is divine on its own, feel free to get creative and experiment with these delicious variations:
- Different Chocolate: Instead of semi-sweet, try milk chocolate chips for a sweeter bar, or dark chocolate for a richer, more intense flavor. You could also drizzle melted white chocolate on top before the final freeze for an elegant touch.
- Add-ins: Fold in crushed candy bars, chopped nuts (like pecans or walnuts), or a swirl of caramel or peanut butter into the marshmallow cream layer before freezing.
- Spiced Crust: Add a pinch of cinnamon or a dash of nutmeg to your graham cracker crumbs for a subtly spiced crust.
- Cookie Crust: Replace graham crackers with crushed oreos, chocolate chip cookies, or even vanilla wafers for a different flavor profile. Adjust butter as needed.
- Fruity Twist: A layer of thinly sliced fresh berries (like strawberries or raspberries) could be pressed into the chocolate layer before freezing for a vibrant, fruity contrast. Ensure they are well-drained to avoid excess moisture.
Serving and Storing Your Frozen Delight
These Frozen S’mores Bars are best enjoyed straight from the freezer. Allow them to sit at room temperature for just a minute or two before serving, as this slightly softens them for the perfect bite. For entertaining, you can cut them into smaller, bite-sized squares. Store any leftovers in an airtight container in the freezer. They will remain fresh and delicious for several weeks, making them a fantastic make-ahead dessert for any occasion.
Frequently Asked Questions About Frozen S’mores Bars
- Q: Can I make these ahead of time?
- A: Absolutely! These bars are an excellent make-ahead dessert. You can prepare them a day or two in advance, or even up to a few weeks, and keep them stored in an airtight container in the freezer until you’re ready to serve.
- Q: What if I don’t have marshmallow fluff?
- A: While marshmallow fluff gives the best texture, you can try using melted marshmallows (about 4 cups of mini marshmallows melted with 2 tablespoons of butter or water). Let it cool slightly before folding into the whipped cream and condensed milk mixture. The texture might be a bit different, but still delicious!
- Q: How do I get clean cuts?
- A: The trick for clean cuts is a very sharp knife. Run the knife under hot water for a few seconds, wipe it dry, and then make your cut. Repeat this process for each slice. This warms the blade slightly, allowing it to glide through the frozen layers more smoothly.
- Q: Can I use different types of crackers for the crust?
- A: Yes, you can! While graham crackers are traditional, crushed digestive biscuits, vanilla wafers, or even chocolate cookies (like Oreos) make fantastic crusts. Just ensure you adjust the amount of melted butter if the crumbs seem too dry or too wet.
Whether you’re clinging to the last remnants of summer or simply seeking a unique, no-bake dessert that’s easy to make and universally loved, these Frozen S’mores Bars are an absolute must-try. Their perfect blend of classic s’mores flavors and a wonderfully refreshing, creamy texture makes them an instant favorite. So go ahead, treat yourself and your loved ones to this delightful chilled indulgence – it’s guaranteed to be a hit!
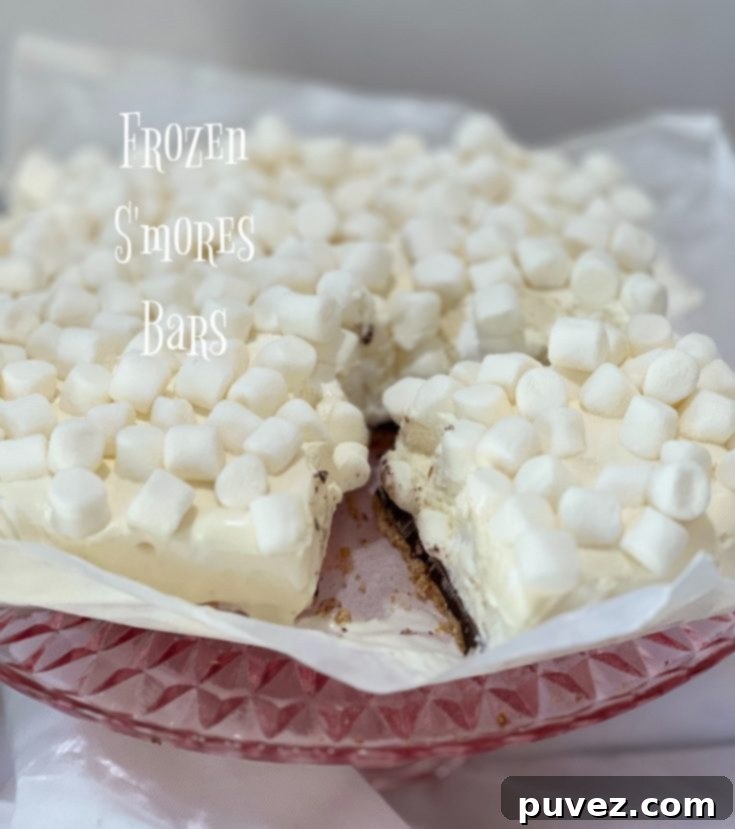
Frozen S’mores Bars
10 minutes
4 hours
4 hours 10 minutes
Ingredients
- 1 sleeve of graham crackers
- 1/4 cup of butter, melted
- 1 cup of chocolate chips, melted
- 1 cup of heavy whipping cream
- a can of sweetened condensed milk
- 1 can of marshmallow fluff
- about 1/2 cup of marshmallows
Instructions
- In a plastic bag, smash the graham crackers into fine crumbs. Add the butter into the bag and shake the bag until the butter is completely combined. Press the graham cracker crumbs into a parchment paper lined 8×8 baking dish. Place the dish into the freezer.
- Melt the chocolate chips. I melted the chocolate chips using the microwave in 10 second intervals until the chocolate was melted, but you could also do the double-boiler method. Pour the melted chocolate onto the graham cracker crust, spread it out as evenly as possible, then place the dish back in the freezer.
- Using a stand mixer or handheld mixer, whip the heavy whipping cream on high for a few minutes until a stiff peak forms. Use a spatula to fold the sweetened condensed milk and marshmallow fluff into the whipped cream. Pour this into the baking dish. Top off the dish by sprinkling the marshmallows on top. Place back into the freezer for at least 4 hours.
- After about 4 hours, the Bars should be frozen and ready to serve!
Did you make this recipe?
Please leave a comment on the blog or share a photo on Instagram
More Like This
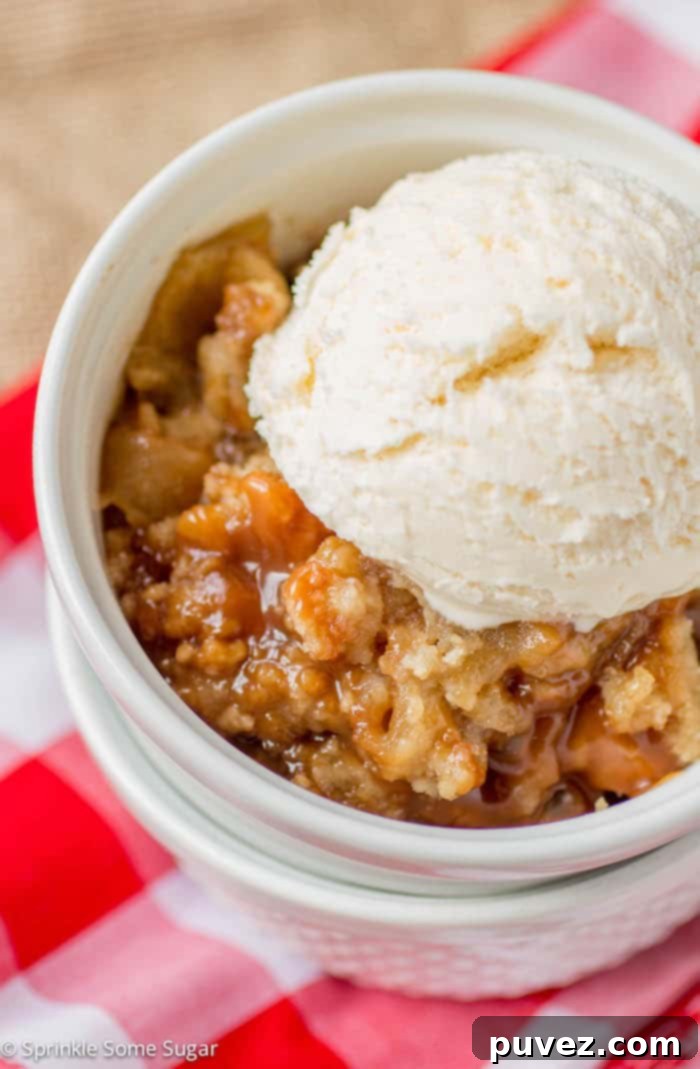
Caramel Apple Crumble
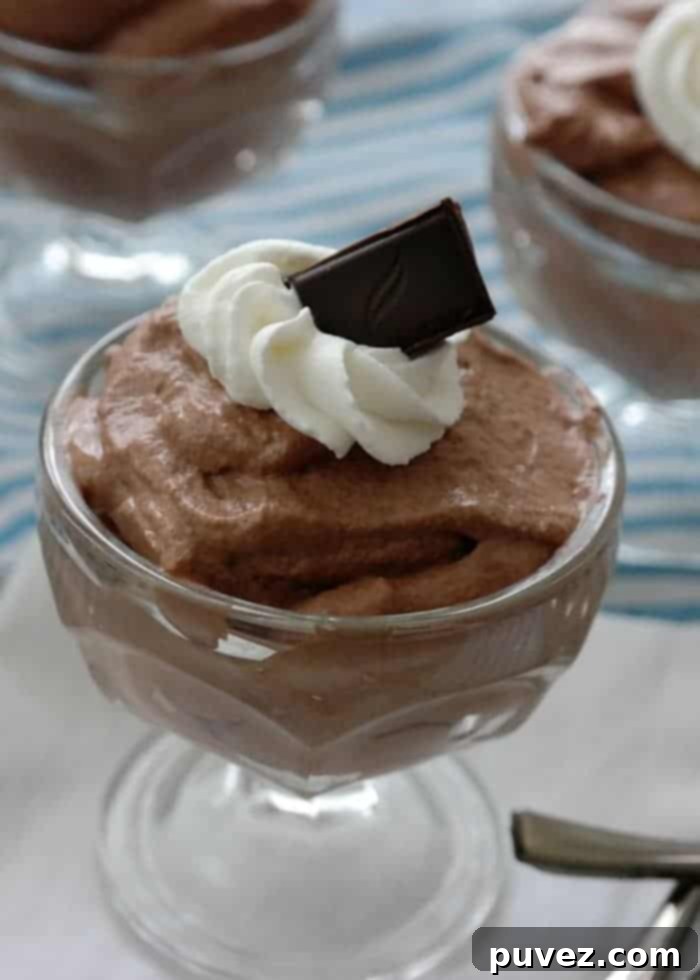
Easy Whipped Dark Chocolate Mousse
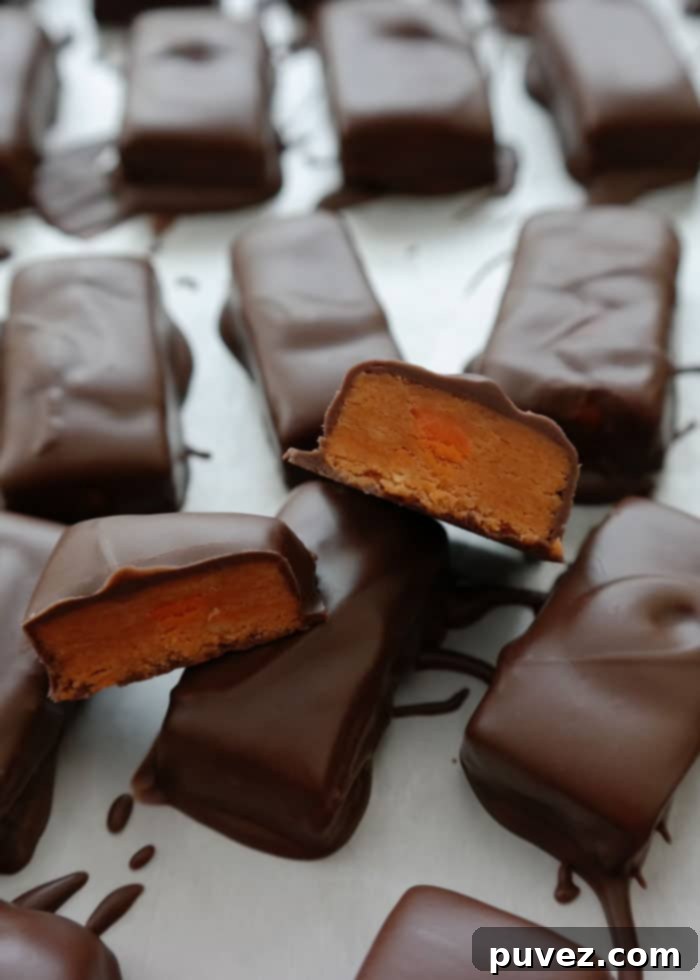
Candy Corn Butterfingers
