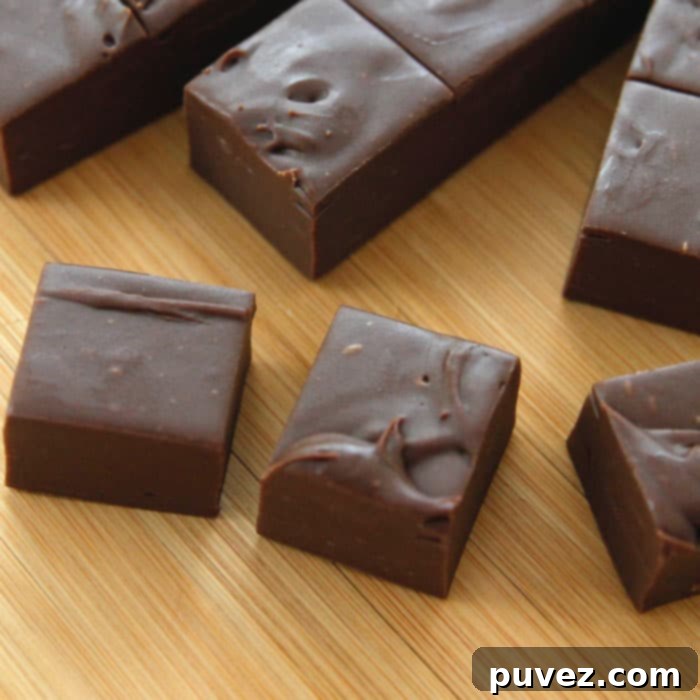
Easy 3-Minute Fudge: The Quickest, Creamiest Homemade Chocolate Fudge Recipe
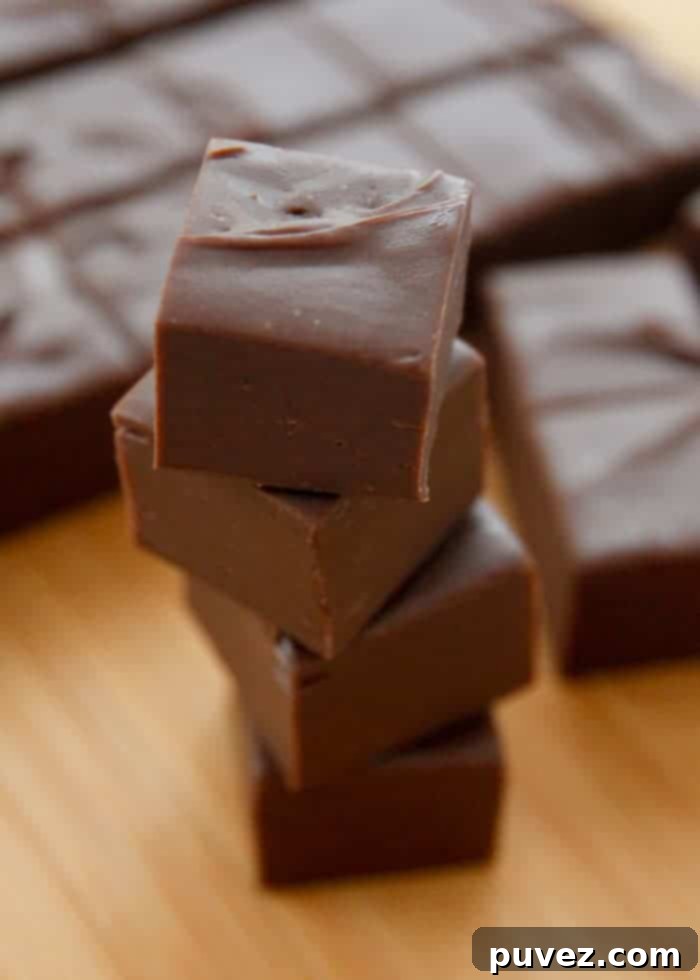
Imagine a rich, decadent chocolate fudge so incredibly easy to make, it’s ready in just three minutes using only three simple ingredients. Yes, you read that right! This 3-minute fudge recipe is a game-changer for anyone who craves that melt-in-your-mouth chocolate goodness without spending hours in the kitchen. It’s perfect for those sudden chocolate cravings, last-minute gatherings, or when you just need a quick, comforting treat.
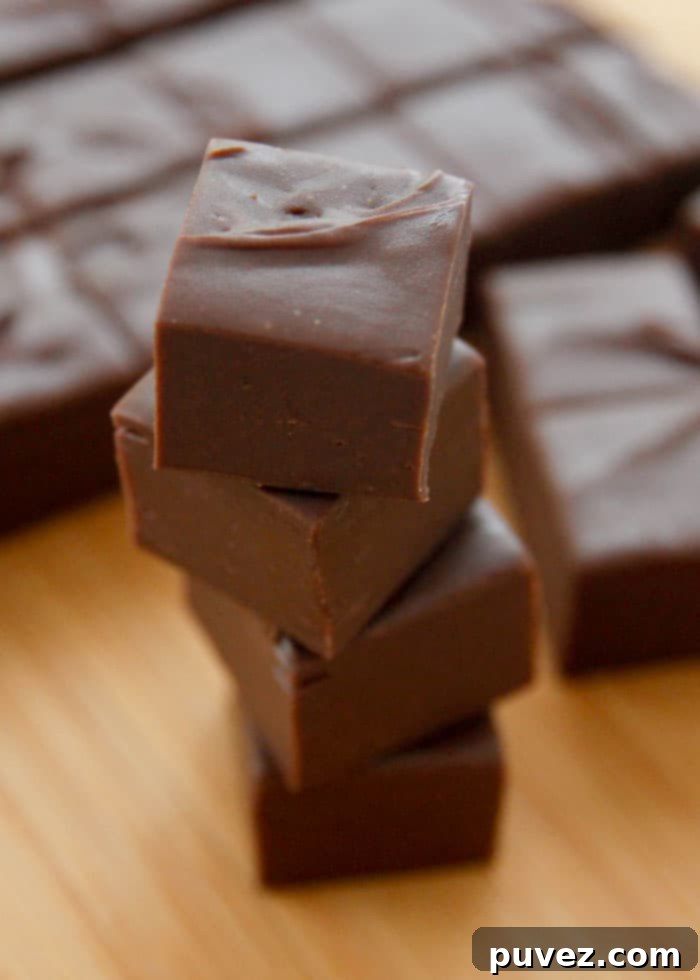
There are those moments when only chocolate will do. Specifically, a luxurious, smooth chocolate fudge. But who has hours to dedicate to candy making, especially when the craving strikes unexpectedly? And let’s be honest, during the warmer months, the idea of standing over a hot stove is far from appealing. That’s where this revolutionary microwave fudge recipe comes into its own. It’s the ultimate solution for instant gratification, delivering on taste and texture without the fuss.
While born out of a desire for a quick summer treat, don’t let its origins limit you. This versatile fudge is fantastic any time of the year! Imagine whipping up a batch of homemade chocolate fudge as a thoughtful, delicious gift for family and friends during the holidays. Or perhaps you need a lightning-fast, impressive addition to a party spread or potluck? This 3-ingredient fudge is your secret weapon. Its simplicity and speed mean you can have a gourmet-tasting dessert ready before your guests even arrive.
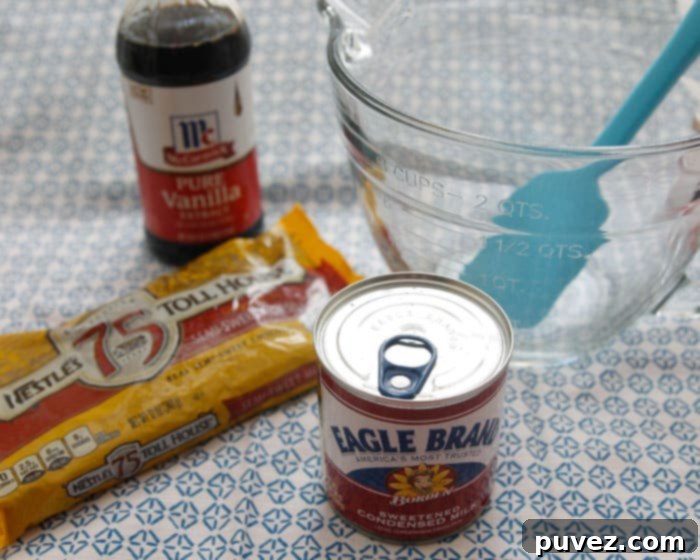
The magic truly lies in its incredible simplicity. All you need are three humble ingredients, easily found in any grocery store: sweetened condensed milk (and it MUST be sweetened condensed milk, not evaporated milk – this distinction is crucial for proper setting and texture!), your favorite **chocolate chips**, and a touch of **vanilla extract**. These three components combine to create a symphony of flavor and a perfectly creamy consistency. But don’t stop there! The vanilla extract is just a starting point. Feel free to experiment by swapping it out for other extracts to create unique and exciting flavor combinations. Think refreshing mint, nutty almond, bright orange, or even a hint of coffee for a mocha twist. The possibilities are endless, allowing you to customize your quick chocolate fudge to suit any palate or occasion.
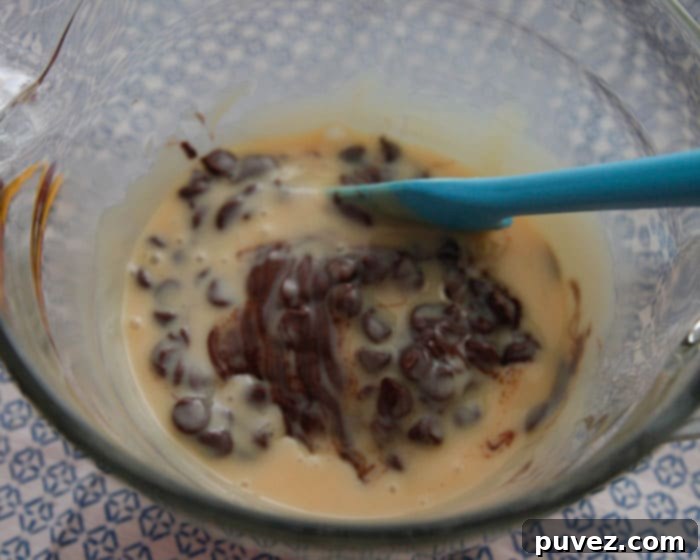
For the process, you’ll want to grab a large, microwave-safe bowl. I personally adore using my Large Batter Bowl because its convenient handle makes stirring and pouring a breeze. And speaking of stirring, I must give a shout-out to my fantastic Gir Spatula – I have them in multiple colors and sizes, and they’re truly indispensable for everything from baking to daily cooking. Having the right tools, even simple ones, can make your kitchen experience that much more enjoyable and efficient, especially when you’re aiming for a super-speedy dessert like this easy homemade fudge.
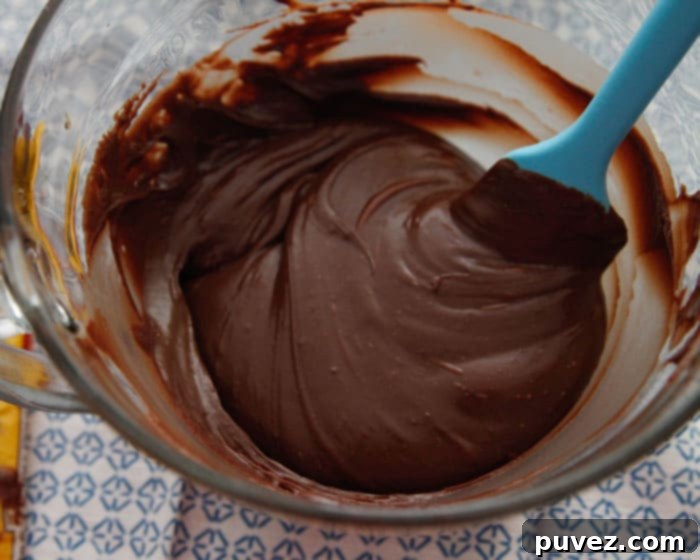
Once you have your bowl ready, simply combine your chocolate chips and the sweetened condensed milk within it. Place the bowl in the microwave and heat it on high for precisely 1 minute. The key to perfect microwave chocolate fudge is patience during the stirring phase. After that initial minute, remove the bowl and stir the mixture vigorously. Don’t worry if the chocolate chips aren’t entirely melted yet; the residual heat from the condensed milk will continue to work its magic. Continue stirring until the mixture becomes smooth and glossy, with all the chocolate chips fully incorporated. If, after thorough stirring, a few stubborn chips remain or the consistency isn’t perfectly smooth, pop it back into the microwave for additional 30-second intervals, stirring thoroughly after each. The goal is a velvety, uniform chocolate mixture that glistens enticingly. Once you’ve achieved that silky smoothness, stir in your chosen extract (vanilla or any other flavor), then immediately pour the luscious fudge into your prepared pan.
Preparing your pan correctly is a small step that makes a huge difference. I always recommend lining your pan with parchment paper, extending it slightly over the edges. This creates handy “handles” that allow you to easily lift out the entire slab of set fudge. This way, you can transfer it to a cutting board for neat, precise cuts, rather than risking scratches on your baking pan. It’s a simple trick that simplifies cleanup and presentation for your easy fudge recipe.
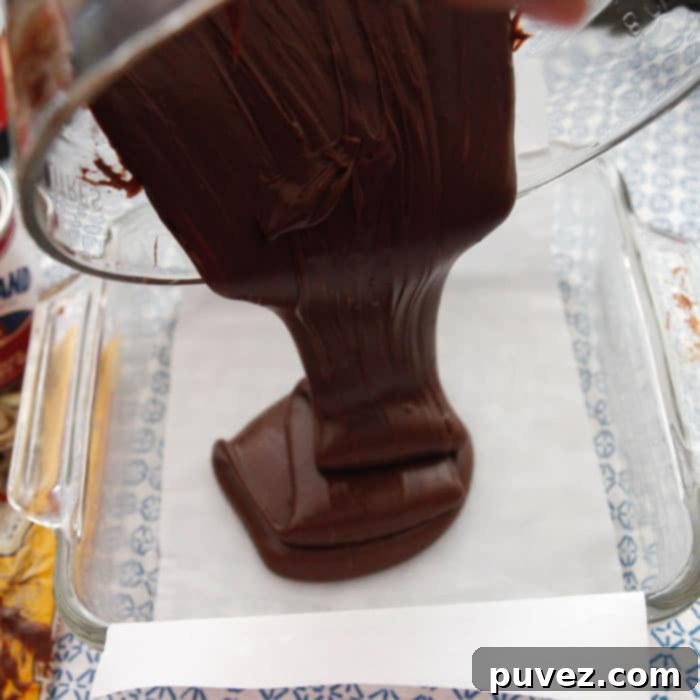
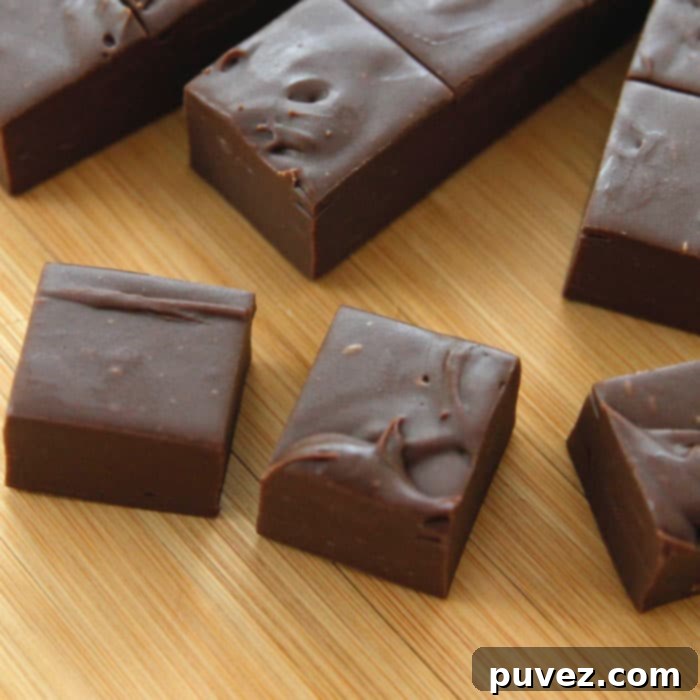
Here’s a little secret for an even more aesthetically pleasing result: I don’t always spread my fudge completely into the corners of the pan. By leaving a slight gap, you achieve a thicker, more rustic look, reminiscent of artisanal fudge from a sweet shop. Plus, those little “corner slices” that get trimmed off become the perfect excuse for a taste-testing bite (or two, or three!) before serving the main batch. It’s a delightful perk of making your own homemade fudge!
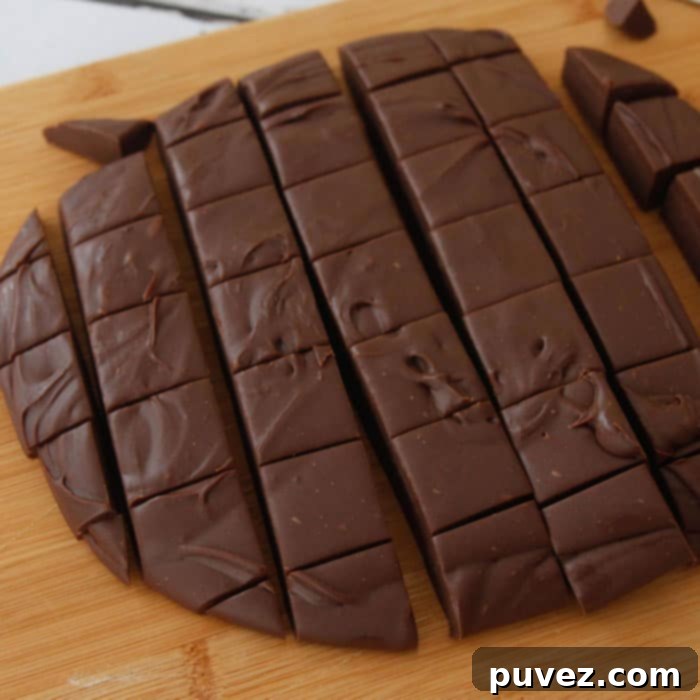
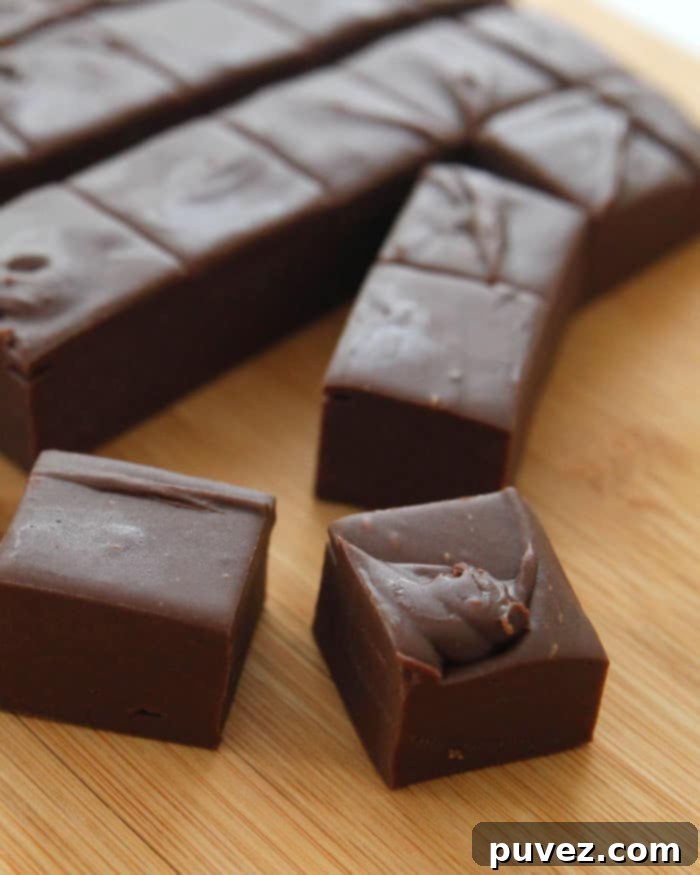
And there you have it – decadent 3-minute fudge with just 3 ingredients. Once poured, let the fudge cool completely. You can leave it at room temperature, or if you’re in a hurry (which, let’s face it, is often the case with this recipe!), pop it into the refrigerator for about an hour to speed up the setting process. Once firm, lift it out using the parchment paper, place it on a cutting board, and slice it into your desired squares. The result is consistently rich, smooth, and utterly satisfying chocolate fudge that tastes like it took far more effort than it actually did.
Tips for Perfect 3-Minute Fudge Every Time
- Sweetened Condensed Milk is Non-Negotiable: This is the absolute most critical point. As mentioned earlier and reiterated in the recipe notes, *evaporated milk DOES NOT WORK* for this recipe. Sweetened condensed milk contains a high amount of sugar that is essential for the fudge to set properly and achieve its signature creamy texture. Double-check your can before you start!
- Troubleshooting Soft Fudge: If, for some reason, your fudge turns out too soft after cooling, don’t despair! You have a couple of options. First, simply store it in the refrigerator; it will firm up nicely there. For future batches, you can try adding an additional 1/4 cup of chocolate chips. The extra chocolate solids will help the fudge achieve a firmer set.
- The Metal Spoon Trick: One reader shared a unique tip: using a metal spoon (as opposed to a wooden spoon or spatula) to stir the fudge seemed to help it set better for them. While the scientific reason isn’t entirely clear, it’s an easy hack to try if you’re experiencing setting issues.
- Even Melting: Always microwave in short intervals (1 minute, then 30 seconds if needed) and stir thoroughly between each. This prevents the chocolate from burning and ensures a smooth, even melt.
- Cooling & Setting: While the fudge doesn’t *need* to be refrigerated for storage, chilling it for an hour is highly recommended to speed up the setting process before cutting.
Creative Flavor Variations for Your 3-Minute Fudge
This basic recipe is a fantastic canvas for endless culinary creativity. Once you master the simple base, feel free to experiment with these ideas:
- Nutty Indulgence: Stir in a handful of chopped walnuts, pecans, almonds, or peanuts after the vanilla extract for added crunch and flavor.
- Mint Chocolate Dream: Swap vanilla extract for peppermint extract and optionally add a few drops of green food coloring for a festive treat.
- Orange Zest Delight: Use orange extract and a bit of orange zest for a bright, citrusy chocolate combination.
- Espresso Boost: Add a teaspoon of instant espresso powder to the chocolate mixture before melting for a rich, coffee-infused fudge.
- Salty-Sweet Perfection: Sprinkle a pinch of sea salt flakes over the top of the fudge immediately after pouring it into the pan for a sophisticated contrast.
- Kid-Friendly Fun: Fold in mini marshmallows, sprinkles, or crushed cookies (like Oreos or graham crackers) once the chocolate is melted and smooth.
- White Chocolate Wonder: Substitute semi-sweet chocolate chips with white chocolate chips for a different flavor profile. Pair it with almond extract or a lemon zest.
- Caramel Swirl: Gently swirl in a tablespoon or two of store-bought caramel sauce into the fudge after pouring it into the pan using a skewer or knife.
These variations transform your simple 3-minute fudge into a bespoke dessert that can impress anyone!
Connect with Chocolate Chocolate and More!
Stay up-to-date with more delicious recipes and sweet inspirations from Joan Hayes:
Facebook | Twitter | Google+ | Pinterest | instagram
3 Minute Fudge
1 minute
1 minute
1 minute
3 minutes
Ingredients
- 1 can Sweetened Condensed milk (14 ounces)
- 2 cups (1 12 ounce bag) semi-sweet chocolate chips
- 1 teaspoon vanilla extract
Instructions
- Butter a square pan and line with parchment paper for easy removal of set fudge. Set aside.
- In a microwave safe 2 quart bowl, heat chocolate chips and sweetened condensed milk, on high for 1 minute. Remove from microwave. Let sit for 1 minute, then stir to combine. If needed, heat an additional 30 seconds. Stir until chips are completely melted and chocolate is smooth.
- Stir in vanilla extract. Pour fudge into prepared pan. Let fudge cool completely before cutting into 1 inch squares. (you can place in the refrigerator for 1 hour to speed up the process.)
- Store in an airtight container. Fudge does not need to be kept refrigerated.
Notes
This is a soft fudge but some readers have asked for tips to make sure it sets properly.
1) Did you use sweetened condensed milk or evaporated milk? Evaporated milk DOES NOT WORK for this recipe. This is the number 1 mistake in this recipe.
2) If you used sweetened condensed milk and it’s still too soft, you can either store it in the refrigerator or add an additional 1/4 cup chocolate chips the next time you make it.
3) one reader stated that using a metal spoon (as opposed to a wooden spoon or spatula) helped her fudge set. Not sure why that works but you can give that a try too.
Nutrition Information:
Yield:
64
Serving Size:
1 piece
Amount Per Serving:
Calories: 28Total Fat: 2gSaturated Fat: 1gTrans Fat: 0gUnsaturated Fat: 1gCholesterol: 0mgSodium: 1mgCarbohydrates: 4gFiber: 0gSugar: 3gProtein: 0g
Nutrition information is provided as a guide only. Please consult a dietitian if you have specific dietary needs.
Did you make this recipe?
Please leave a comment on the blog or share a photo on Instagram
Craving More Fudge? Explore These Delicious Recipes!
If you’ve fallen in love with the ease and taste of this easy fudge recipe, you’re in for a treat! Fudge is a versatile confection, and there are countless ways to enjoy it. Whether you prefer classic flavors or something a bit more adventurous, these recipes are sure to inspire your next batch of homemade candy. Each one offers a unique twist on this beloved dessert.
Pistachio Fudge – A vibrant and nutty twist on classic fudge, offering a subtly sweet and earthy flavor that’s both refreshing and indulgent.
Chocolate Peanut Butter Fudge – The timeless combination of rich chocolate and savory peanut butter, perfect for those who love a balanced sweet and salty profile.
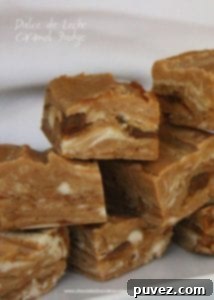
Dulce de Leche Caramel Fudge – Experience the deep, caramelized sweetness of dulce de leche in a smooth, creamy fudge, a true indulgence for caramel lovers.
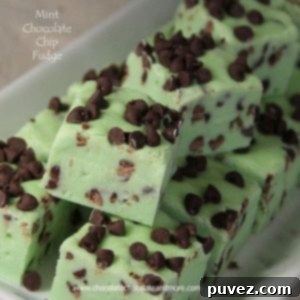
Mint Chocolate Chip Fudge – Cool, refreshing mint combined with decadent chocolate chips creates a nostalgic flavor reminiscent of your favorite ice cream.
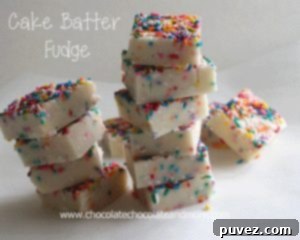
Cake Batter Fudge – A fun, colorful fudge that tastes just like cake batter, complete with sprinkles for a festive and playful treat.
And discover more fantastic fudge ideas from our friends:
Buckeye Fudge from Barefeet in the Kitchen
Chocolate Chip Cookie Dough Fudge from Buns in my Oven
Easy Salted Caramel Fudge from Foodie with Family
Caramel Coffee Fudge from Inside Brucrew Life
