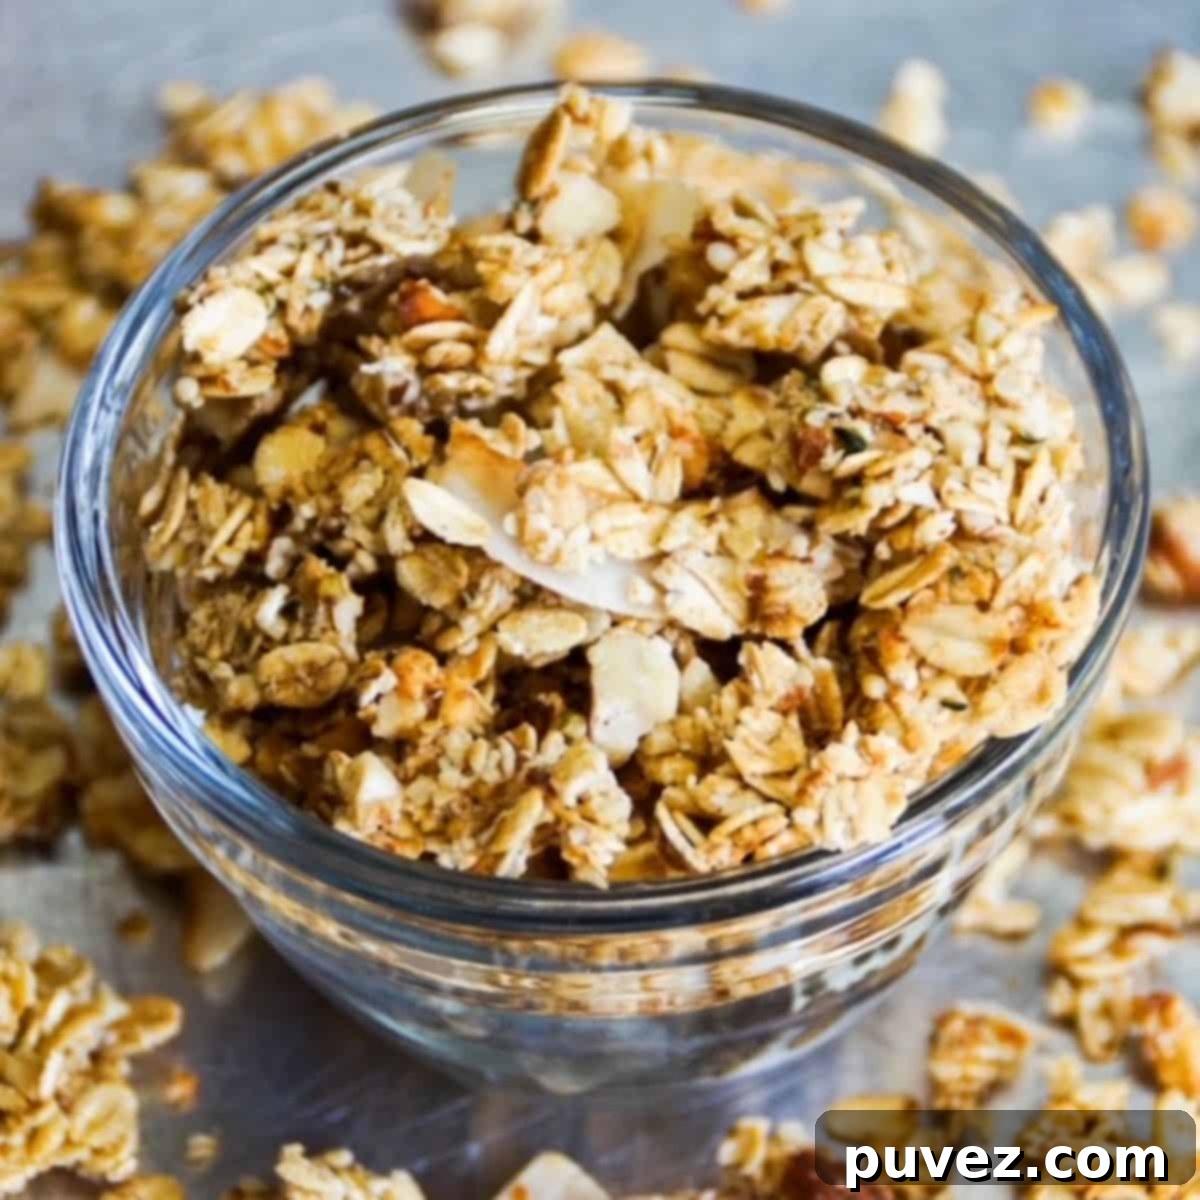
The Best Homemade Crunchy Granola: Your New Favorite Healthy Snack
Prepare to fall in love with this incredibly addictive crunchy granola recipe! It’s genuinely too good to be true, yet remarkably simple to make. Crafted from wholesome ingredients you likely already have in your pantry, this delicious granola is ready in under 20 minutes. It’s not just a crowd-pleaser; it’s a family favorite, especially with kids, making it a perfect addition to any meal or snack time.
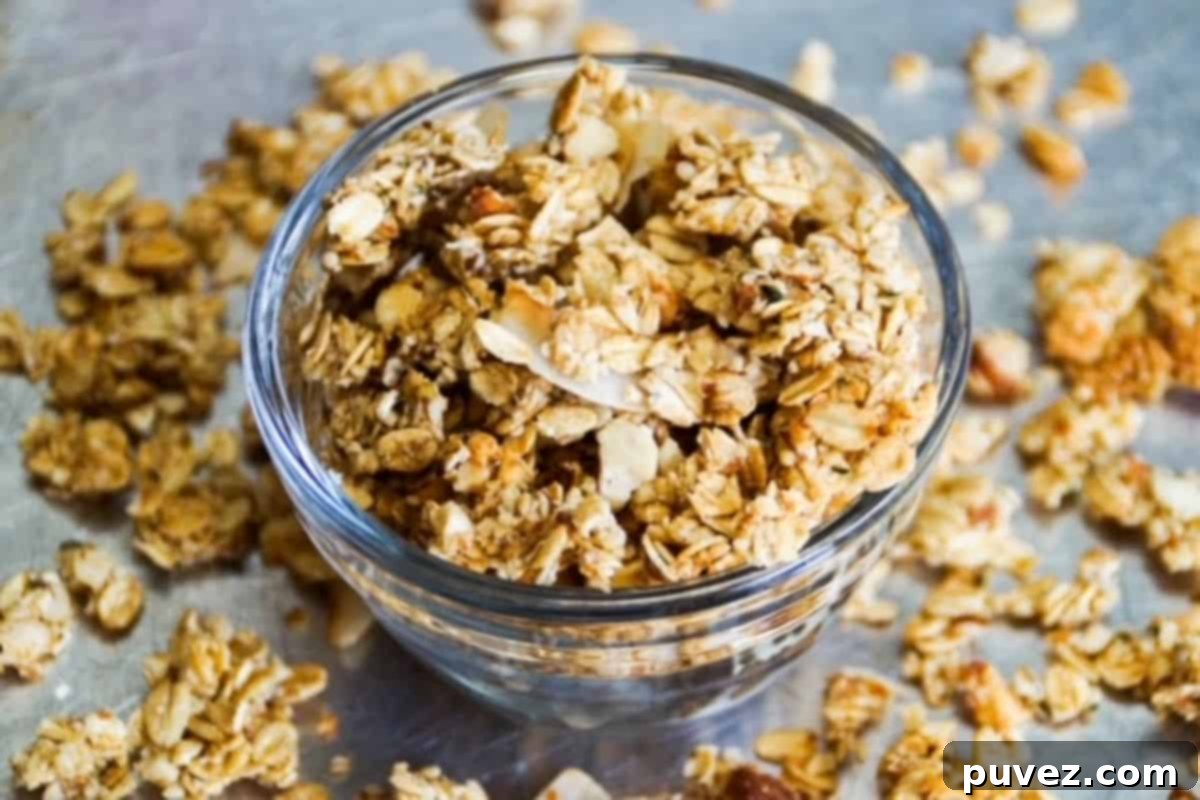
There’s immense satisfaction in crafting your own granola. Not only is it significantly more economical than continuously buying expensive store-bought versions, but the homemade taste is unparalleled. The fresh aroma that fills your kitchen and the superior texture and flavor will convince your entire family that this is the only granola they need. Say goodbye to overly sweet, mystery-ingredient granolas and hello to wholesome, delicious goodness.
Given its ease of preparation and universal appeal, I frequently whip up a batch as a thoughtful hostess or teacher gift. It’s always appreciated and makes for a lovely, personal present. In fact, I recently baked some for this exact purpose, knowing it would bring a smile to someone’s face!
This versatile granola isn’t just for eating straight from the bag. Serve it as a delightful snack on its own, or elevate your breakfast and dessert creations. It’s a fantastic base for Fruit and Yogurt Parfaits, adds texture to smoothies, and brings a satisfying crunch to fruit crisps. Don’t stop there – sprinkle it generously as a topping for fluffy pancakes, elevate your Fresh Fruit Salad, or even add it to your favorite smoothie bowls. The possibilities are endless for incorporating this crunchy delight into your daily meals!
For an even deeper dive into creative ways to enjoy every last crumb of this deliciousness, be sure to explore my recent post dedicated to how to eat granola, offering tons of inspiring ideas and pairings.
Quick Navigation: Why This Recipe is So Great | Ingredient Notes | Step-by-Step Instructions | Dietitian Tip | Tips for Homemade Granola | Recipe FAQs | More Breakfast Recipes | Full Recipe Card
Why This Homemade Granola Recipe is a Must-Try
This granola isn’t just good; it’s exceptionally good, and here’s why it stands out:
- Effortlessly Easy: Forget complicated steps or lengthy preparation. This recipe is designed for simplicity, making homemade granola accessible to even the most novice bakers. You’ll be amazed at how quickly you can transform basic ingredients into a gourmet-tasting treat.
- No Mid-Bake Mixing Required: One of the best features of this recipe is that once your granola goes into the oven, there’s no need to constantly stir or flip it. This “set it and forget it” approach ensures those beautiful, satisfying clusters form without interruption, delivering a truly crunchy result every time.
- A Fun Family Activity: This recipe is so straightforward that it’s perfect for getting kids involved in the kitchen. From measuring ingredients to spreading the mixture on the baking sheet, little hands can easily help, fostering a love for cooking and healthy eating from a young age.
- Wholesome, High-Fiber Goodness: Packed with nutritious ingredients, this granola serves as an excellent source of fiber and essential nutrients. It’s a wholesome snack that you can feel great about serving to your family, providing sustained energy without artificial additives.
- Perfectly Portable Snack: This crunchy granola is incredibly convenient for families on the go. Unlike many snacks, it doesn’t require refrigeration, making it ideal for packing in lunchboxes, taking to sporting events, enjoying on road trips, or simply having a healthy option readily available throughout your busy day.
- Incredibly Versatile: Enjoy it by the handful as a quick snack, sprinkle it over yogurt or smoothie bowls for added crunch, or use it as a creative topping for pancakes, waffles, and even fruit salads. Encourage your kids to experiment and find their favorite ways to incorporate this delicious granola into their meals!
Deep Dive into Our Wholesome Granola Ingredients
The magic of this granola lies in its carefully selected, simple, yet powerful ingredients. Each component contributes not only to the incredible flavor and texture but also to its nutritional value.
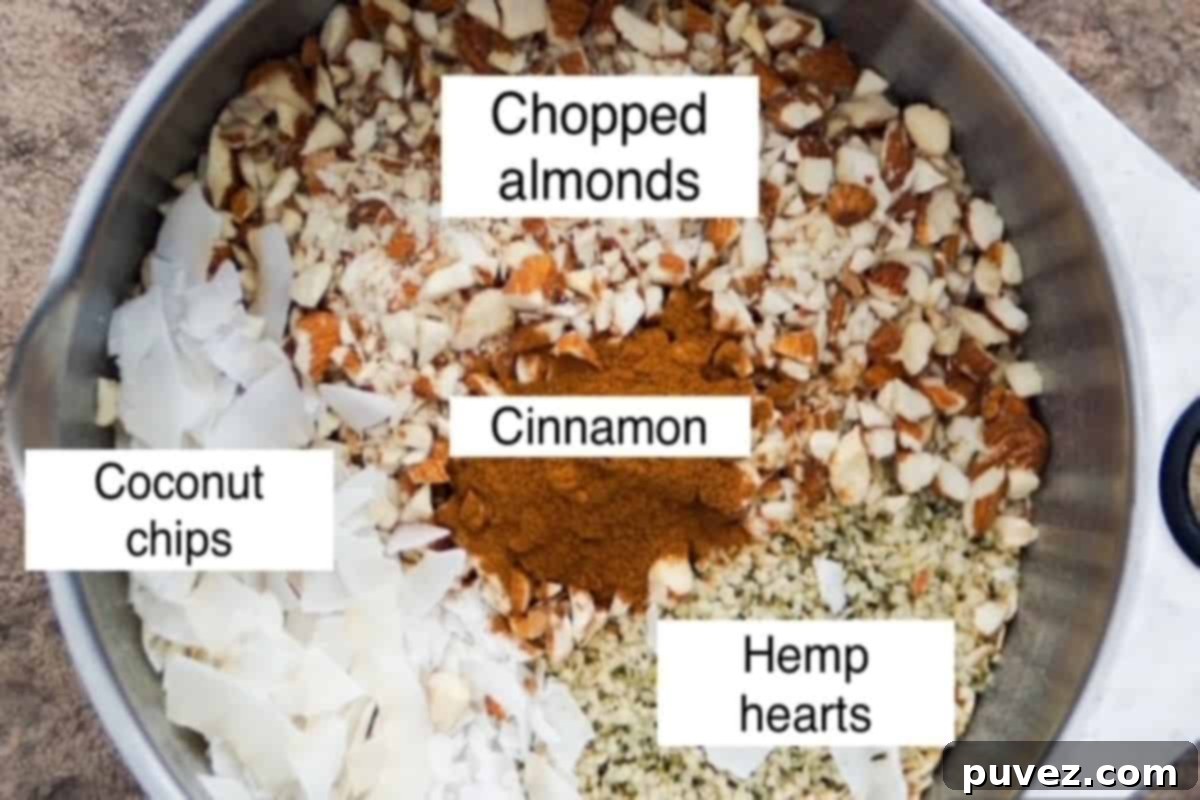
- Rolled Oats: The foundation of our granola! Be sure to use Old Fashioned Rolled Oats for the best texture and clumping. These are readily available and often more affordable, especially when bought in bulk. Oats are a nutritional powerhouse, considered a whole grain and an excellent source of both soluble and insoluble fiber, crucial for digestive health. They also provide essential minerals like phosphorus, thiamine, magnesium, and zinc, contributing to overall well-being.
- Almonds: These delightful nuts are key to the irresistible crunchy texture of this granola. Beyond their satisfying bite, almonds bring a wealth of health benefits. They are rich in fiber, heart-healthy omega-3 and monounsaturated fats, and protein, helping you feel fuller for longer. Furthermore, almonds are packed with Vitamin E, Manganese, Magnesium, and other vital nutrients. *A quick note: almonds are a tree nut, so please avoid serving them to individuals with tree nut allergies.*
- Hemp Hearts: Also known as shelled hemp seeds, these tiny powerhouses are a nutritional gem. Hemp hearts are an incredible plant-based source of omega-3 fatty acids, vital for brain and heart health, and a significant amount of protein, making this granola more satiating. They also contribute fiber, potassium, and iron, boosting the overall nutritional profile of your homemade snack.
- Unsweetened Coconut Chips: These chips are added for both their unique flavor and delightful texture. Unlike shredded coconut, coconut chips offer a more substantial chew. Using unsweetened chips ensures you control the sweetness of your granola while providing a very mild, pleasant coconut flavor that even those who aren’t avid coconut fans tend to enjoy. They add a tropical hint that rounds out the flavor profile beautifully.
- Olive Oil: More than just a binder, olive oil plays a crucial role in creating a rich, golden, and perfectly crispy granola. Opt for a good quality extra virgin olive oil, which is renowned for being rich in monounsaturated fats – beneficial for heart health – and brimming with antioxidants and anti-inflammatory properties. It helps to evenly coat the oats and nuts, facilitating that coveted golden-brown crunch.
- Honey: This natural sweetener not only adds a touch of sweetness but also acts as a binding agent, helping to create those desirable granola clusters. Its sticky texture helps all the ingredients meld together during baking, leading to a satisfyingly chunky granola. You can adjust the amount to your preference or substitute with maple syrup for a vegan option (though clusters might be slightly smaller).
- Cinnamon: A warm and inviting spice, cinnamon enhances the overall flavor profile of the granola, adding a subtle warmth and depth that complements the oats and nuts beautifully. Beyond its flavor, cinnamon is also known for its antioxidant properties.
Check out this product on Amazon
Easy Steps for Perfectly Crunchy Homemade Granola
Crafting this delicious granola is a breeze. Here’s a quick, simplified overview of the steps. For a complete list of ingredients with precise measurements and detailed instructions, please scroll down to the full recipe card below.
- Preheat and Prepare: Start by preheating your oven to the specified temperature to ensure even baking. Then, line a rimmed baking sheet with parchment paper, which is crucial for preventing sticking and ensuring easy cleanup.
- Combine Dry Ingredients: In a spacious mixing bowl, gently combine all your dry ingredients – the rolled oats, chopped almonds, hemp hearts, cinnamon, and unsweetened coconut chips. Mix them thoroughly to ensure an even distribution of flavors and textures.
- Add Wet Ingredients: Pour in the olive oil and honey over the dry mixture. Mix everything together meticulously, making sure every oat and nut is coated. This step is key to achieving those coveted crunchy clusters.
- Spread and Press: Transfer the granola mixture to your prepared baking sheet. Spread it out into a single, even layer. Using the palm of your hand or the back of a spatula, firmly press down on the mixture. This compaction is essential for the granola to form into satisfying clusters.
- Bake to Golden Perfection: Place the baking sheet into your preheated oven and bake for the recommended time. You’ll know it’s ready when it turns a beautiful golden brown and your kitchen smells incredible. Remember, no stirring is needed during baking!
- Cool Completely: This is arguably the most important step for achieving maximum crunch! Once baked, remove the granola from the oven and let it cool completely to room temperature on the baking sheet. Resist the urge to touch it! As it cools, it will firm up and become wonderfully crisp.
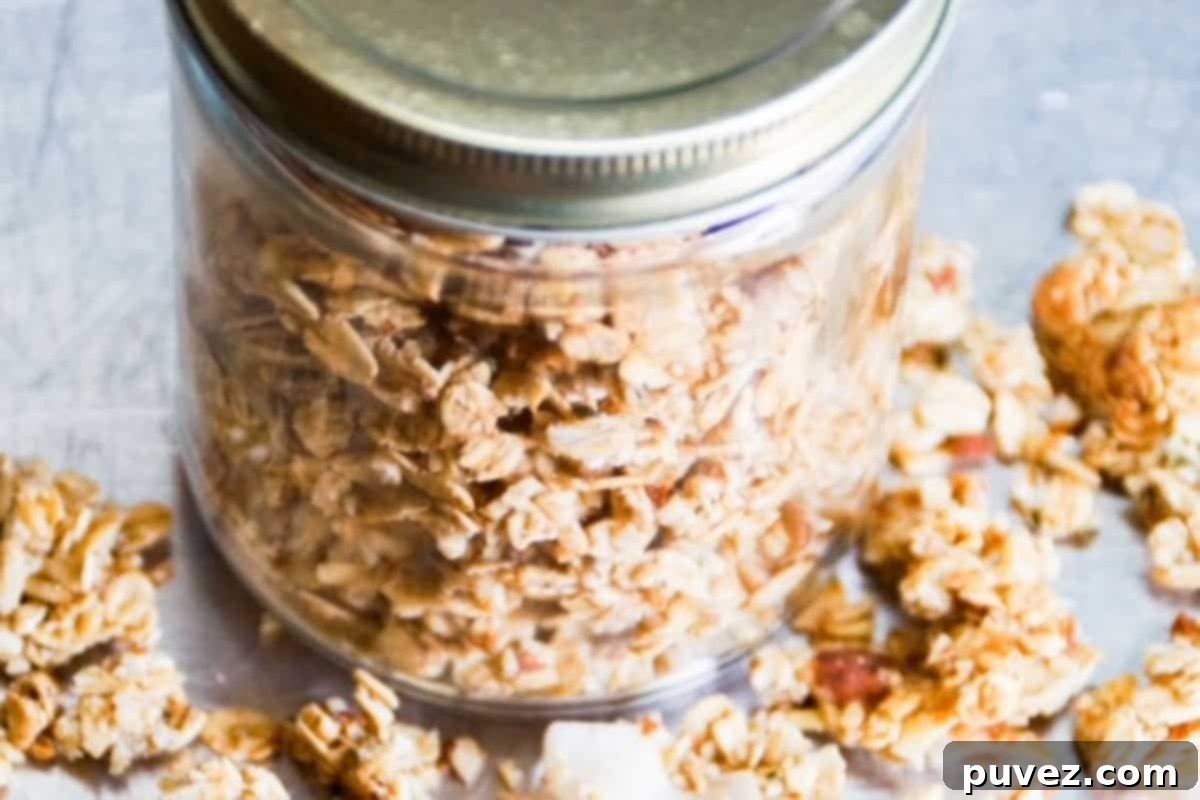
- Break Apart and Store: After it’s fully cooled and hardened, gently break the granola into your desired size of clusters. Transfer these delightful pieces to an airtight container for storage, ready to enjoy whenever a craving strikes.
Dietitian Insight: Navigating “Gluten-Free” Oats
When browsing recipes that feature oats, you might frequently encounter recommendations to use “gluten-free” oats. And, if you’ve ever checked the price tag, you’ve likely noticed that these specifically labeled gluten-free oats tend to come with a higher cost.
It’s an important distinction to understand: Oats are inherently and naturally gluten-free. The reason for the “gluten-free” label and the associated higher price often stems from concerns about cross-contamination. Oats are frequently processed in facilities that also handle wheat, barley, and rye – grains that contain gluten. For individuals who must adhere to a strict gluten-free diet for medical reasons, such as those diagnosed with Celiac Disease, this cross-contamination can be a serious issue, triggering adverse health reactions. Hence, “certified gluten-free” oats are processed in dedicated facilities to prevent this. Experts often provide clarity on oats in the gluten-free diet, emphasizing this point.
However, if you have not received specific instructions from a registered dietitian (RD) or a physician (MD or DO) to follow a strict gluten-free diet for medical purposes, you can confidently opt for regular old-fashioned rolled oats. By choosing oats that are not labeled “certified gluten-free,” you can significantly save money without compromising on the nutritional benefits or taste of your homemade granola. For most people, the trace amounts of gluten from cross-contamination are not a concern.
It is crucial to remember that this information is for educational purposes and should not be considered medical advice. Always consult with your healthcare professional if you have any doubts or specific dietary concerns, especially regarding conditions like Celiac Disease or gluten sensitivity.
Expert Tips for the Perfect Batch of Granola
Achieving that ideal crunchy, clumpy granola is easy with a few simple tricks. Here are some essential tips to ensure your homemade granola turns out perfectly every time:
- Patience is Key for Crunch: It’s tempting to dig in as soon as the granola comes out of the oven, but resist! Allowing the granola to cool completely to room temperature on the baking sheet is crucial for it to firm up and develop that irresistible crisp texture. Warm granola will be soft, but as it cools, the sugars and oils solidify, creating delicious clusters.
- Choose the Right Oats: For this recipe, stick to Old-Fashioned Rolled Oats. These oats are flatter and larger, providing the ideal surface area for binding and creating substantial clusters. Avoid ‘Quick-Cooking’ oats, as they are too finely cut and will result in a crumbly texture. Also, ‘Steel-Cut’ oats are too dense and require longer cooking times and more liquid, making them unsuitable for this particular recipe.
- Almond Prep Matters: While the recipe calls for chopped almonds, you can certainly use slivered almonds if that’s what you have on hand or prefer a different look. The key is to ensure your almonds are in small, uniform pieces to distribute evenly throughout the granola and bake consistently. For perfectly sized pieces, a good quality food chopper can be a game-changer. I personally use one from Pampered Chef – it’s quick, efficient, and ensures a consistent chop.
- Understanding Hemp Seeds: Don’t get confused by the terminology! “Hemp hearts,” “shelled hemp seeds,” and “hulled hemp seeds” all refer to the same product. These are hemp seeds from which the tough outer shell has been removed, leaving you with the softer, chewier, and highly nutritious inner seed. They’re a fantastic source of plant-based protein and healthy fats.
- Pressing for Clusters: The step where you press the granola mixture firmly onto the baking sheet isn’t optional for those who love chunky granola. This compression helps the ingredients stick together as they bake, forming those desirable clusters instead of loose oats. Don’t be shy – really pack it down!
- Storage Secrets: Proper storage maintains the granola’s crunch. Always ensure it’s completely cooled before transferring it to an airtight container. Moisture is the enemy of crispiness, so a tightly sealed container at room temperature is best.
Your Granola Questions Answered
Granola is a delicious and nutritious breakfast or snack food typically consisting of rolled oats, nuts, and a sweetener like honey or maple syrup, sometimes combined with oil and baked until crispy. Often, dried fruit and other seeds are added for extra flavor and texture. It’s a versatile food enjoyed in various ways, from a simple snack to a topping for yogurt and fruit.
To maintain its crunch and freshness, store your homemade granola in an airtight container at room temperature. It will stay fresh and delicious for up to three weeks. For longer storage, you can also freeze granola in a freezer-safe bag or container for several months. Thaw at room temperature before enjoying.
Absolutely! To make this recipe vegan-friendly, simply substitute the honey with an equal amount of maple syrup. The granola will still achieve a wonderfully crunchy texture, though you might find the clusters are slightly smaller compared to those made with honey, which has a stickier consistency.
That’s a fantastic question, as granola is incredibly versatile! You can enjoy it simply by itself as a quick, satisfying snack, or with milk like traditional cereal. It’s also perfect sprinkled over yogurt, combined with fresh fruit, or as a crunchy topping for smoothie bowls. Beyond that, it can be an ingredient in various recipes, from baked goods to parfaits. For a comprehensive list of ideas, I’ve compiled a dedicated post with 20 creative ways to eat granola – definitely check it out for inspiration!
Yes, absolutely! This recipe provides a great base, but feel free to customize it. You can add other nuts like walnuts or pecans, different seeds such as pumpkin or sunflower seeds, or even a handful of dried fruit like raisins or cranberries *after* baking and cooling to prevent them from burning. Chocolate chips are also a popular addition, added once the granola is completely cool.
There are a few common reasons. Ensure you used old-fashioned rolled oats, not quick oats. Also, pressing the mixture firmly onto the baking sheet before baking is crucial for cluster formation. Finally, and most importantly, allow the granola to cool completely and undisturbed on the baking sheet. It hardens as it cools, creating the desired crunch and clusters. If you break it apart too soon, it will be softer.
Explore More Easy & Delicious Breakfast Recipes
If you loved making this granola, you’ll surely enjoy these other simple and wholesome breakfast ideas from our kitchen:
- Banana Carrot Muffins with Raisins
- Homemade Unsweetened Applesauce
- Best Banana Strawberry Peanut Butter Smoothie
- Whole Wheat Pumpkin Waffle Recipe
Did your kids (and you!) absolutely love this homemade crunchy granola? We’d be thrilled if you could leave a 5-star rating below or share your thoughts in the comments section! Your feedback helps others discover and enjoy this fantastic recipe.
Don’t forget to snap a picture of your delicious granola creations and tag @carrots.and.cookies on Instagram so I can see how you chose to enjoy it. Happy crunching!
📖 Recipe
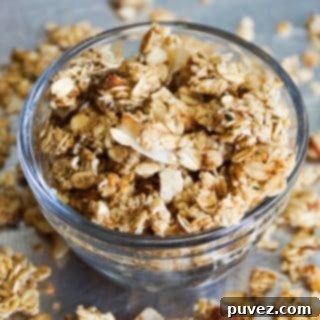
Easy Homemade Crunchy Granola Recipe
By Kristi
Pin Recipe
Ingredients
- 2 ½ cups rolled oats (old-fashioned, not quick-cooking or steel-cut)
- ⅔ cup raw almonds (chopped, or slivered)
- ¼ cup hemp hearts
- ½ teaspoon cinnamon
- ⅓ cup honey (use maple syrup for a vegan option)
- 2 tablespoons olive oil
- ⅓ cup unsweetened coconut chips
Instructions
-
Preheat your oven to 375° Fahrenheit (190°C).
-
Line a rimmed baking sheet with parchment paper*. This prevents sticking and helps with easy cleanup.
-
In a medium-sized mixing bowl, combine the rolled oats, chopped almonds, hemp hearts, cinnamon, and unsweetened coconut chips. Stir well to ensure all dry ingredients are thoroughly mixed.
-
Pour the olive oil and honey into the oat mixture. Mix vigorously until all the dry ingredients are evenly coated and sticky.
-
Spread the granola mixture out evenly over the prepared rimmed baking sheet. Using the palm of your hand or the backside of a spatula, firmly press down on the granola to flatten it and ensure it’s tightly packed. This step is crucial for creating clusters.
-
Bake in the preheated oven for 15 minutes. There’s no need to stir during baking!
-
Remove the baking sheet from the oven and, without touching the granola, let it cool completely to room temperature. This cooling process is essential for the granola to become crunchy and form solid clusters.
-
Once completely cooled and hardened, break the granola apart into your desired cluster sizes. Store the finished granola in an airtight container to maintain its freshness and crunch.
Notes
*If you are using a non-stick bar pan, such as a Pampered Chef bar pan, you can often skip step 2 (lining with parchment paper) as these pans are naturally non-stick and designed for easy release.
Nutrition
