Traditional Italian Easter Bread Recipe: A Festive Delight with Colored Eggs
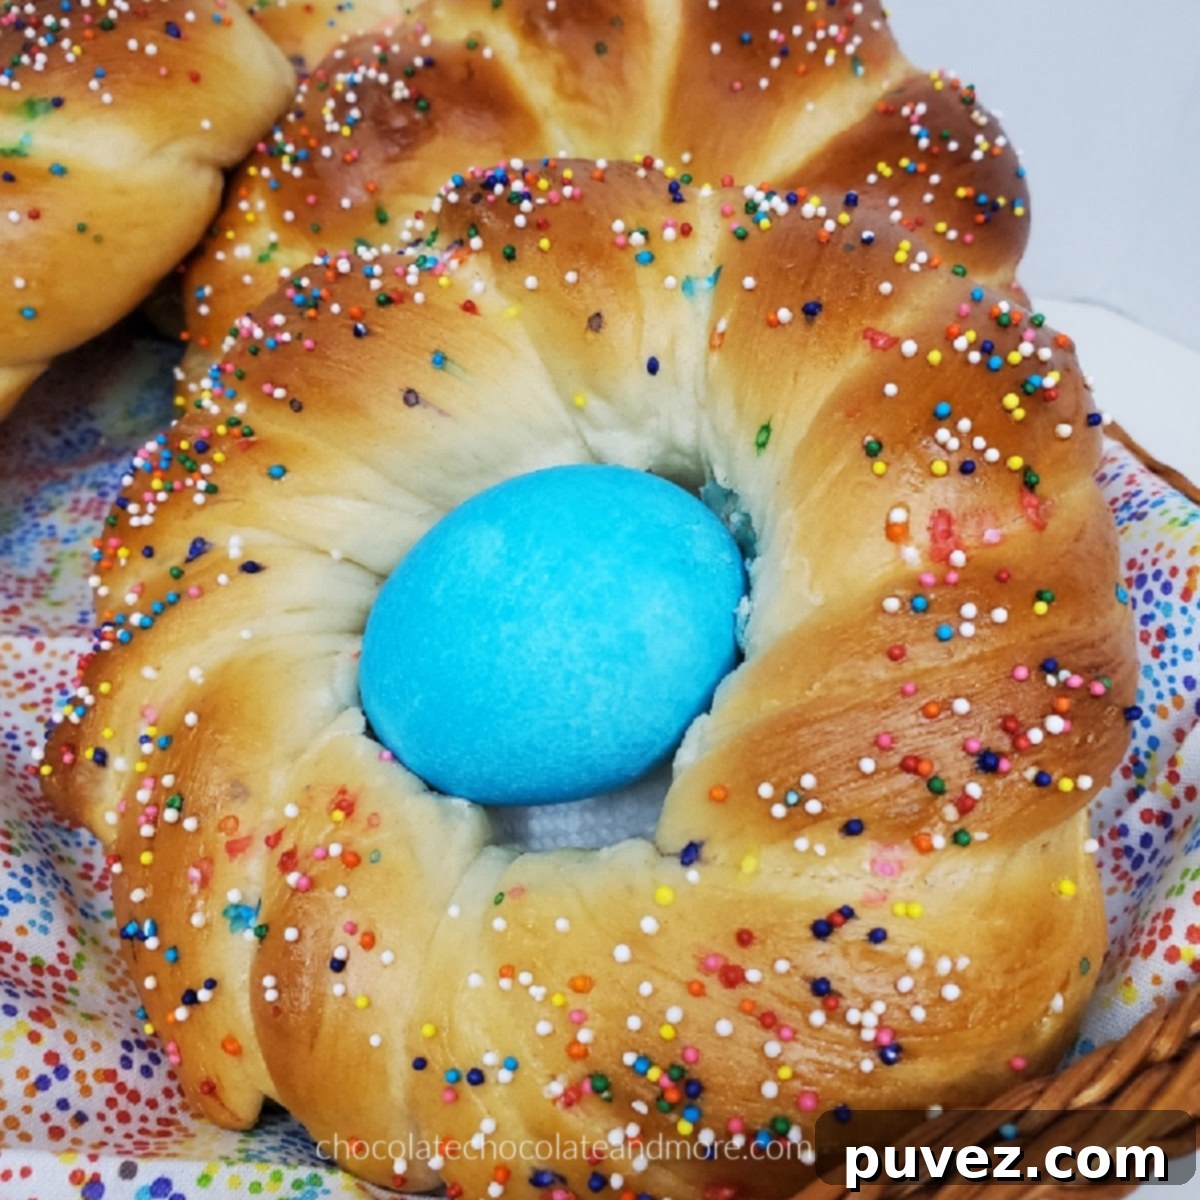
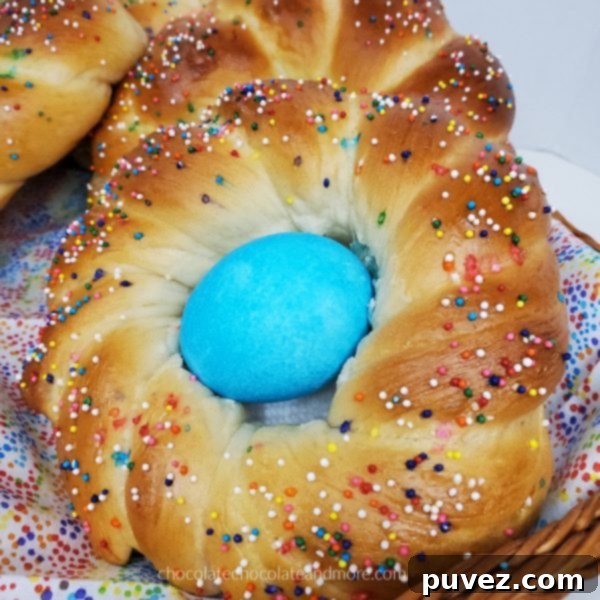
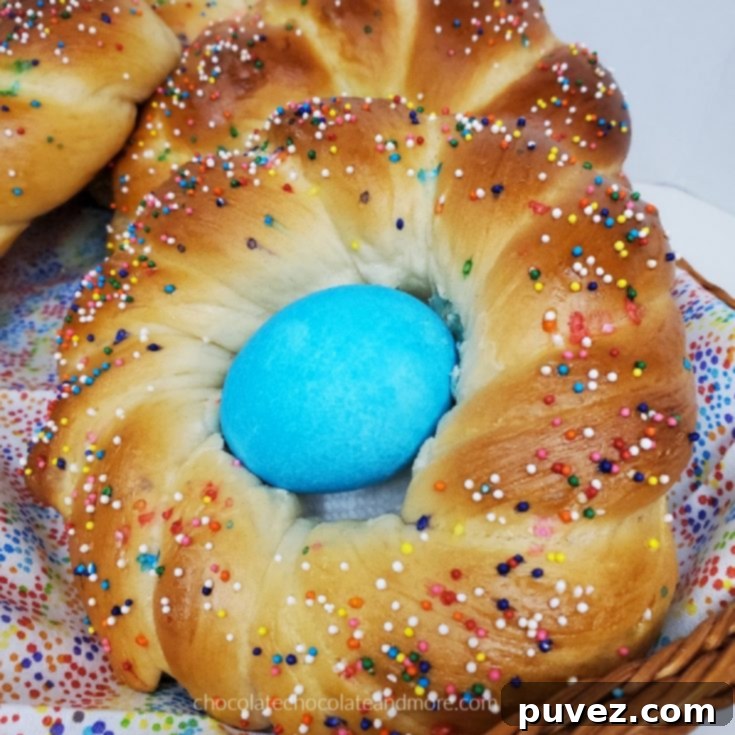
Italian Easter Bread, known as Pane di Pasqua, is far more than just a loaf of bread; it’s a cherished symbol of spring, renewal, and the joyous celebration of Easter. This beautiful, brioche-like bread, often braided and adorned with brightly colored eggs and sprinkles, is a staple in many Italian households during the holiday season. While rooted in tradition, this delightful recipe also offers ample opportunity for you to add your personal touch, making each loaf uniquely yours.
The process of baking Italian Easter Bread is a rewarding experience, often filled with anticipation as you watch the dough transform. It’s a wonderful way to connect with age-old customs and bring a piece of Italian heritage right into your kitchen. The slightly sweet, tender crumb pairs perfectly with a morning coffee or a festive Easter brunch, and its stunning presentation makes it a centerpiece on any holiday table.
Mastering the Art of Yeast Bread: Essential Tips for a Perfect Rise
Working with yeast bread might seem a little intimidating at first, but with a few simple tricks and a bit of patience, you’ll soon find yourself creating perfectly risen, fluffy loaves. The magic of yeast lies in its ability to ferment sugars, producing carbon dioxide that gives bread its characteristic airy texture. Understanding how yeast works is the first step to becoming a successful baker.
One of the most enjoyable aspects of baking with yeast is observing the dough as it comes to life. There’s a certain satisfaction in watching it slowly expand, doubling and even tripling in size, as the yeast diligently does its work. This visual transformation is a testament to the living nature of yeast and the fundamental beauty of bread making.
Key Considerations for Successful Yeast Activation:
- Temperature is Crucial: Yeast is a living organism, and like all living things, it thrives in a specific temperature range. When activating yeast with milk (or water), ensure the liquid is warm, but not hot. The ideal temperature range for rapid-rise yeast is typically between 105°F to 115°F (40°C to 46°C). If the liquid is too cold, the yeast will activate too slowly, if at all. If it’s too hot (above 130°F or 54°C), it can kill the yeast, preventing your dough from rising. Always use a kitchen thermometer to be precise.
- The Salt and Yeast Rule: A common pitfall in yeast baking is allowing salt to come into direct contact with active yeast for an extended period before other ingredients are mixed in. Salt acts as a dehydrating agent and can inhibit or even kill yeast if it’s too concentrated. While salt is essential for flavor and regulating yeast activity in the overall dough, it’s best to incorporate it with other dry ingredients or mix it into the wet ingredients before adding the yeast mixture. This ensures a healthy, active yeast culture for optimal rising.
- Freshness of Yeast: Always check the expiration date on your yeast package. Old or expired yeast will not activate properly, leading to dense, unrisen bread. To test if your yeast is active, dissolve it in warm water with a pinch of sugar. If it foams and bubbles within 5-10 minutes, it’s good to go!
Personalizing Your Italian Easter Bread: Flavors and Embellishments
While the classic Italian Easter Bread is delightful on its own, its simple yet rich base makes it a fantastic canvas for personalization. You can easily adapt the flavor profile to suit your taste or to match other dishes you’re serving for Easter. Adding a unique twist makes the baking process even more enjoyable and results in a truly bespoke treat.
For a bright, citrusy note that complements the sweetness of the bread, consider incorporating orange zest directly into the dough. The fragrant oils from the orange peel infuse the bread with a lovely aroma and a subtle tang. Lemon zest is another excellent alternative if you prefer a different citrus flavor. Beyond citrus, you can experiment with a variety of herbs or spices that appeal to you. A hint of anise extract or seeds, a traditional Italian flavor, can add a distinctive taste, reminiscent of many regional Italian pastries. Vanilla extract also works beautifully, enhancing the overall sweetness and aroma.
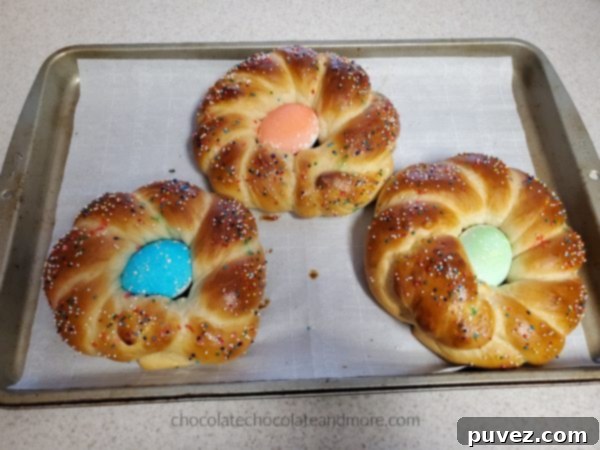
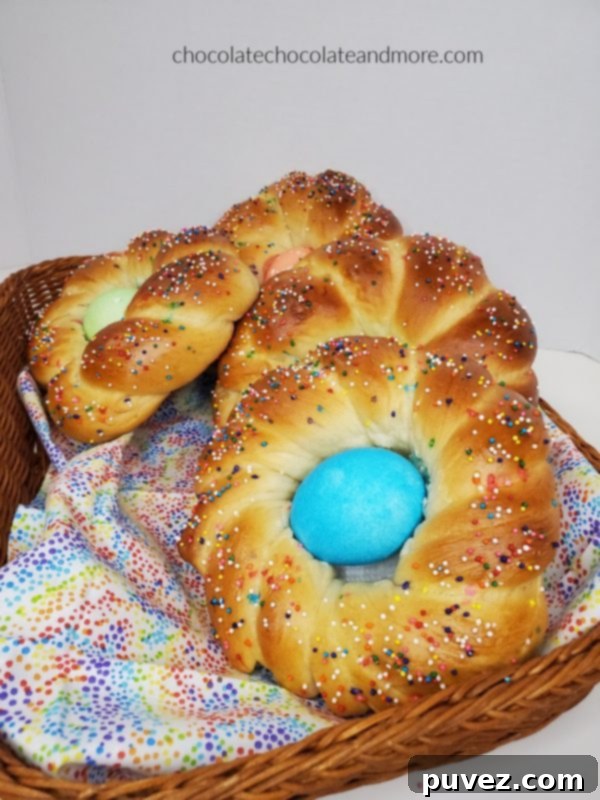
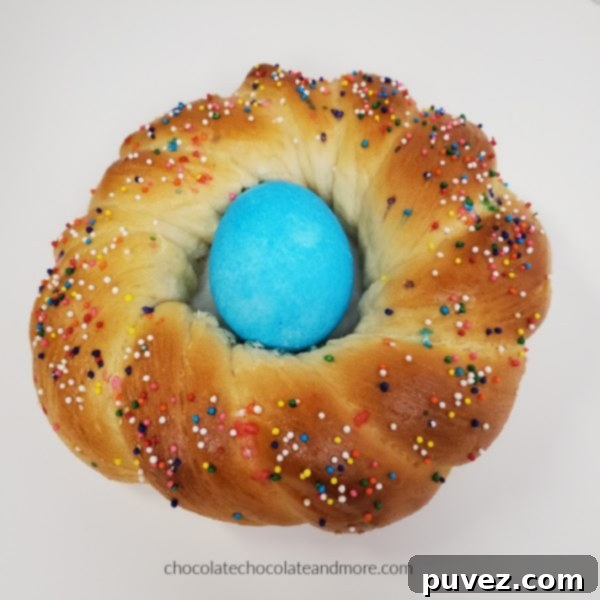
However, one thing that truly defines Italian Easter Bread and is an absolute must-have is the inclusion of colorful sprinkles and the symbolic, brightly dyed eggs. These elements are not just decorative; they carry deep cultural and symbolic meaning, representing new life, rebirth, and the vibrancy of spring. They transform a simple bread into a festive work of art.
The Iconic Colored Eggs: Raw or Boiled?
The tradition of embedding colored eggs into the Easter bread is what gives Pane di Pasqua its distinctive charm. These eggs are often dyed in vibrant hues, creating a beautiful contrast with the golden-brown bread. A common question among first-time bakers is whether to use raw or pre-boiled eggs. Both methods have their proponents, but I’ve found a particular preference that yields excellent results.
Some people opt to boil their eggs first, believing it ensures they are fully cooked and less prone to cracking in the oven. However, my experience has shown that placing raw, dyed eggs directly into the dough before baking works exceptionally well. The eggs bake beautifully alongside the bread, coming out perfectly cooked and firm. This method also minimizes the risk of the egg cracking during handling or cooling, as the bread dough provides a protective cushion. Plus, it saves an extra step in the preparation process!
The time the dough is rising is an excellent opportunity to prepare your eggs. Dye them in your favorite Easter colors using food-safe dyes. After coloring, it’s crucial to leave them out to dry completely at room temperature. This step is vital because if the eggs are cold or damp when they go into the hot oven, they can “sweat” or cause the dye to run, potentially staining your beautiful bread. Room temperature, dry eggs will maintain their vibrant color and integrate seamlessly into the final presentation.
Creating the Perfect Environment for Dough Rising
Yeast dough needs a warm, draft-free environment to rise effectively. This process, known as proofing, is where the yeast works its magic, producing gas that expands the dough. If your kitchen is on the cooler side, as mine was on the day I made this bread, you might need to give your dough a little extra help to ensure a good rise. A sluggish rise can lead to a dense, heavy bread, which is not what we want for our light and airy Italian Easter Bread.
My solution for a chilly kitchen was to place the bowl of dough on a heating pad set to a low temperature. This provides a consistent, gentle warmth that encourages the yeast to activate quickly and the dough to double in size within the recommended time. If you don’t have a heating pad, there are other creative ways to create a warm proofing environment:
- Oven with Light On: Turn your oven light on for about 10-15 minutes, then turn it off. The residual warmth is usually enough to create an ideal environment. Place your covered dough bowl inside and let it rise.
- Warm Water Bath: Place your dough bowl inside a larger bowl filled with warm (not hot) water, ensuring the water doesn’t get into the dough. This creates a gentle bain-marie effect.
- Sunny Spot: If you have a sunny window, place the covered dough bowl there. The natural warmth from the sun can work wonders.
Remember, patience is a virtue in bread making. Don’t rush the rising process. A properly risen dough is key to achieving that wonderfully light and tender texture that makes Italian Easter Bread so special.
Now that you’re equipped with these essential tips and a deeper understanding of the process, you’re ready to embark on your own Italian Easter Bread baking adventure. The following recipe is designed to guide you through each step, ensuring a delicious and visually stunning result that will impress your family and friends this Easter.
Italian Easter Bread
20 minutes
20 minutes
2 hours
2 hours 40 minutes
Ingredients
- 1 package rapid rise yeast (2 1/4 teaspoons)
- 1 1/4 cup warm milk
- 1/4 teaspoon salt
- 1/3 cup unsalted butter
- 2 large eggs, beaten
- 1/2 cup of granulated sugar
- 4 cups all purpose flour
- 6 dyed eggs
- 1 egg for egg wash
Instructions
- In a small bowl, heat the milk in the microwave for 1 1/2 minutes until it reaches the correct temperature.
- Check the temperature to make sure it isn’t over 130°F (54°C). This is crucial; too hot will kill the yeast. Once at the ideal temperature, add the rapid-rise yeast and let it bloom for about 5-10 minutes. It should become foamy, indicating it’s active.
- In a large mixing bowl, combine the granulated sugar, softened unsalted butter, salt, beaten large eggs, and the activated milk-yeast mixture. Mix these ingredients thoroughly until they are well combined and smooth.
- Add 2 cups of the all-purpose flour to the wet ingredients. Using a dough hook attachment on your stand mixer, mix at medium speed for about 2 minutes. The mixture will start to come together.
- Gradually add the remaining 2 cups of flour. Continue mixing at low-medium speed for approximately 14 minutes. The dough will become elastic and should eventually pull away from the sides of the bowl and attach to the dough hook, indicating proper kneading.
- Once kneaded, shape the dough into a smooth ball. Lightly grease a large bowl, place the dough in it, and cover it with a lid or plastic wrap. Allow it to rise in a warm, draft-free place for about 1 hour, or until it has doubled significantly in size.
- While the bread dough is proofing, this is the perfect time to color your 6 eggs. Use food-safe dyes to achieve vibrant hues. After coloring, let them dry completely at room temperature; this prevents the dye from running in the oven.
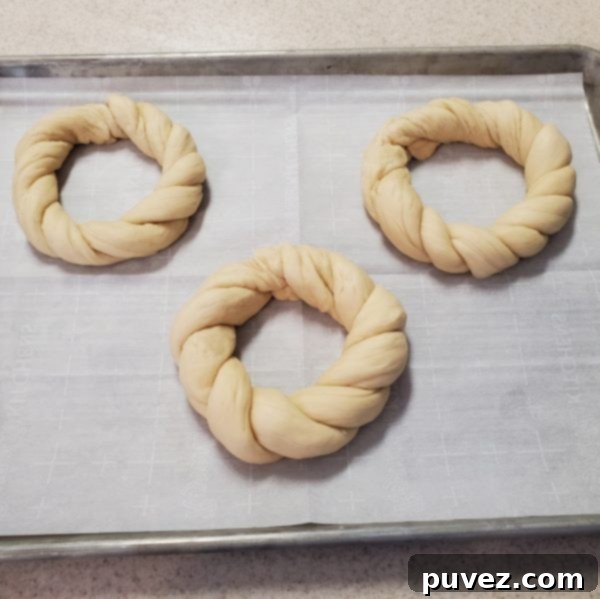
- After the first rise, gently punch down the dough and divide it into 12 equal pieces. On a lightly floured surface, roll each piece out with your hands into long strands, approximately 14 inches long.
- To form the traditional shape, take two strands and twist them together like a rope. Then, form this twisted strand into a circle, carefully pinching the ends together to secure them.
- Line a baking sheet with parchment paper. Place three of the shaped dough circles onto the prepared baking sheet, ensuring there’s enough space between them. Cover the baking sheet loosely with cling wrap and let the bread rest for another hour for a second rise.
- Once the second rise is complete, gently brush each bread circle with an egg wash (one beaten egg mixed with a tablespoon of water or milk) for a golden crust. Generously sprinkle colorful sprinkles over the egg-washed dough. Finally, carefully place one of your dried, colored eggs in the center of each bread circle.
- Preheat your oven to 350°F (175°C). Bake the Italian Easter Bread for approximately 20 minutes, or until they are golden brown and sound hollow when tapped on the bottom.
Notes
If your bread starts getting too brown before it is fully baked, you can loosely cover it with aluminum foil to prevent further browning.
For even baking, especially if you don’t have a convection oven, it’s recommended to bake each sheet separately to ensure consistent heat distribution.
Ensuring the colored eggs are at room temperature when going into the oven is key. This prevents them from sweating and potentially messing up the beautiful dye colors on your bread.
Nutrition Information:
Yield:
6 loaves
Serving Size:
1
Amount Per Serving:
Calories: 605Total Fat: 20gSaturated Fat: 10gTrans Fat: 0gUnsaturated Fat: 9gCholesterol: 341mgSodium: 237mgCarbohydrates: 84gFiber: 2gSugar: 17gProtein: 21g
Did you make this recipe?
Please leave a comment on the blog or share a photo on Instagram
Serving and Storing Your Homemade Pane di Pasqua
Once your Italian Easter Bread has cooled, it’s ready to be enjoyed! This subtly sweet, tender bread is perfect on its own, perhaps with a dusting of powdered sugar for an extra touch of sweetness. It also pairs beautifully with a warm cup of coffee or tea, making it an ideal treat for Easter morning breakfast or a festive afternoon snack. You can serve it alongside fresh fruit, a light cheese, or even a dollop of jam or marmalade.
For storage, keep your Italian Easter Bread in an airtight container at room temperature for up to 3-4 days. To prolong its freshness, you can also freeze individual loaves or slices. Wrap them tightly in plastic wrap and then in aluminum foil, and they will keep in the freezer for up to 2-3 months. Thaw at room temperature or gently warm in the oven for a “freshly baked” experience.
Sharing your homemade Pane di Pasqua with loved ones is part of the tradition. It makes a thoughtful and beautiful gift, reflecting the care and joy of the holiday season. The vibrant colors and unique shape are sure to bring smiles to everyone’s faces.
More Bread Recipes to Explore
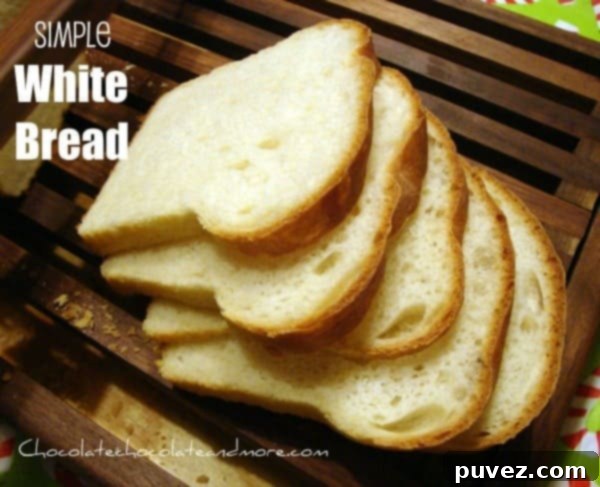
White Bread – Simple and Tasty
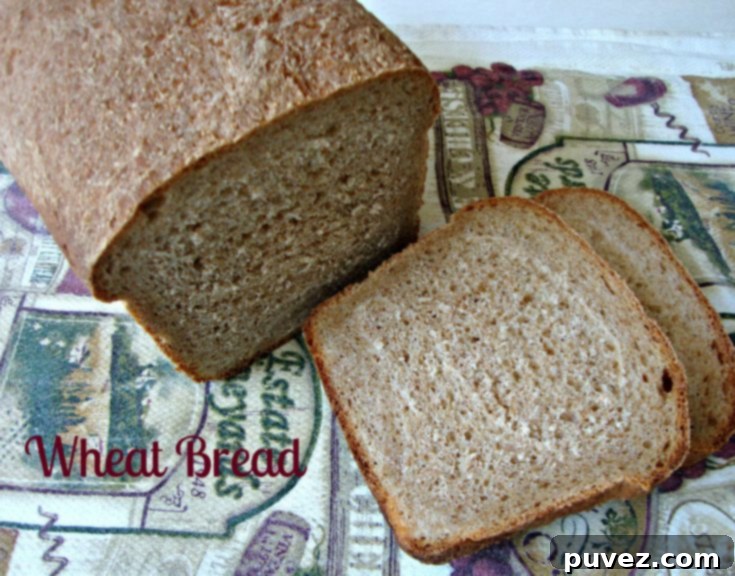
Hearty Wheat Bread
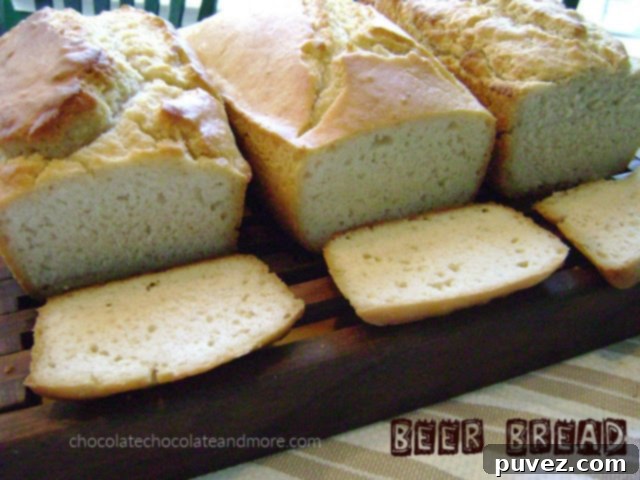
Easy Beer Bread
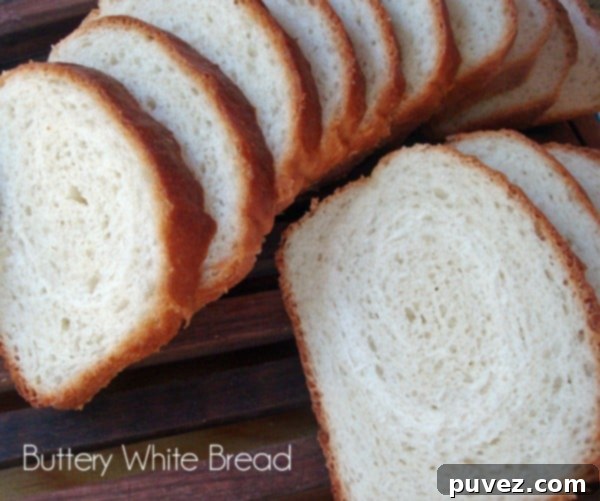
Buttery White Bread
www.thatskinnychickcanbake.com
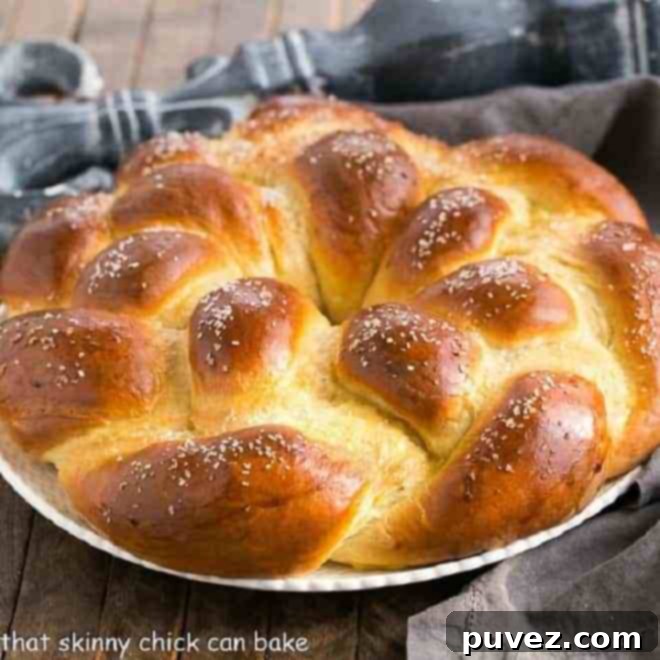
Braided Easter Bread Recipe – That Skinny Chick Can Bake
www.hungrycouplenyc.com
Buttery Breakfast Quick Bread
