Crafting Perfect Homemade Vanilla Extract: A Step-by-Step Guide for Flavor & Gifts
There’s something truly special about the rich, warm aroma of vanilla, a staple in countless baked goods and desserts. While store-bought vanilla extract is convenient, crafting your own homemade vanilla extract elevates your culinary creations to an entirely new level. Not only does it offer a deeper, more nuanced flavor profile, but it also makes for a thoughtful and impressive homemade gift that friends and family will cherish. Imagine their delight when they receive a beautiful bottle of pure vanilla extract, knowing it was made with love and care.
The journey to homemade vanilla extract often begins with inspiration. For me, it was a post from Cheryl-Tidymom about making vanilla for the holidays that finally spurred me into action. It reminded me of a project I’d always wanted to tackle. The idea of having a continuous supply of superior vanilla, knowing exactly what went into it, was incredibly appealing. I immediately went online to order my vanilla beans, the heart and soul of any good vanilla extract. While there are several types of vanilla beans available, such as Tahitian, Mexican, and Ugandan, I opted for Madagascar vanilla beans, known for their classic, rich, and creamy flavor profile.
Sourcing quality vanilla beans is the first critical step. Different vanilla bean varieties offer unique characteristics. Madagascar (Bourbon) beans are the most common and versatile, providing a sweet, creamy, and familiar vanilla flavor. Tahitian beans, on the other hand, have floral, fruity, and cherry-like notes, making them excellent for specific desserts or extracts. Mexican vanilla beans offer a smoky, spicy undertone. For beginners, Madagascar beans are often recommended as they provide a robust and well-rounded flavor that suits most baking needs. When purchasing, look for plump, moist, and pliable beans, which indicate freshness and higher quality. Ordering online often provides access to a wider variety and better pricing, especially if buying in bulk.
The Quest for the Perfect Bottles: A Creative Solution
With my premium vanilla beans on their way, my next task was to find suitable bottles. My initial thought was to order them online, as many DIY projects suggest. The bottles themselves were reasonably priced, but then I saw the shipping cost. It was more than the cost of the bottles! While I understand the necessity for careful packaging when shipping glass to prevent a box full of broken shards, it pushed the project beyond my desired budget. So, I decided to seek out bottles locally, hoping to find a more economical solution.
After visiting no less than four different stores, I still couldn’t find the smaller, ideal-sized bottles I envisioned for my homemade vanilla extract. I stumbled upon a few larger bottles, which might be suitable for other purposes, but who needs a half-gallon of vanilla? Well, most people don’t, although I could probably go through that much in a month without even trying, given my passion for baking! The search continued, proving that sometimes the simplest parts of a DIY project can be the most challenging.
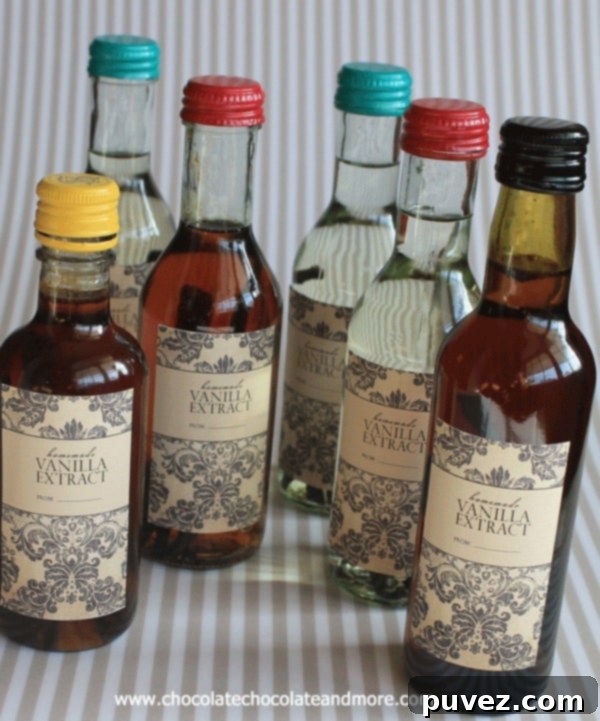
Then, one evening, as I was unwinding and pouring a glass of wine, a brilliant idea struck me. Being the primary wine drinker in my household, I often purchase mini bottles – single-serving portions of various wines. Not only do they offer variety without committing to a large bottle, but their size and screw-top caps make them absolutely perfect for bottling homemade vanilla extract! The screw-tops are crucial, ensuring an airtight seal and no worries about spills or evaporation. These mini bottles come in both glass and plastic, though I prefer glass for its aesthetic and traditional feel. I also experimented with some plastic soda bottles, but they simply lacked the elegant “look” I desired for a homemade gift. Plus, let’s be honest, I’m not giving *that* much of my precious homemade vanilla to just one person!
Preparing Your Bottles for Vanilla Extraction
Once you’ve secured your bottles – whether upcycled mini wine bottles, small liquor bottles, or new amber glass bottles – the next vital step is thorough cleaning and preparation. This ensures no residual flavors or contaminants interfere with your vanilla’s pure taste. For glass bottles, a simple soak in warm, soapy water followed by peeling off the labels usually does the trick. Stubborn glue residue can be tackled with an SOS pad or a dedicated adhesive remover. For plastic bottles, which can be a bit trickier, I learned a fantastic tip from my blogging friends: use olive oil! Apply a bit of olive oil to the residue, let it sit for a few minutes, then scrub it off. The oil helps to dissolve the adhesive. After removing all labels and residue, wash the bottles again thoroughly with soap and hot water, then rinse completely. It’s crucial that your bottles are sparkling clean and completely dry before you begin making your vanilla extract. Any moisture can introduce unwanted elements or dilute your extract.
The Art of Making Vanilla Extract: Step-by-Step
Now for the exciting part: assembling your homemade vanilla extract! The process is surprisingly simple, requiring just two main ingredients: vanilla beans and vodka. Start by taking your premium vanilla bean pods. Using a sharp knife, carefully cut a slit lengthwise down the entire pod, from one end to the other. This action exposes the tiny, flavorful vanilla seeds inside and allows the alcohol to fully penetrate and extract their rich essence. After slitting, you can cut the pod in half to fit your bottles better. For optimal flavor, aim for a ratio of approximately 3-4 vanilla beans (or 6-7 pieces if cut in half) per 6-8 ounces of vodka. This ensures a robust and concentrated extract.
Next, place the cut vanilla bean pieces into your clean, dry bottles. Then, carefully fill each bottle with your favorite shelf-brand vodka. There’s no need to splurge on top-shelf liquor; a good quality, neutral-flavored vodka (like an 80-proof vodka) works perfectly, as its primary role is to extract and preserve the vanilla flavor without adding its own distinct taste. Ensure that the vanilla beans are fully submerged in the vodka, leaving a little headspace at the top of the bottle. This prevents any part of the bean from drying out or molding during the extraction process. Secure the screw-top lids tightly, and your vanilla is officially “brewing”!
The Waiting Game: Aging for Amber Perfection
Once your bottles are filled and sealed, the hardest part begins: waiting. The magic of vanilla extraction happens over time. Store the bottles in a dark cabinet, away from direct sunlight and extreme temperature fluctuations. Light can degrade the vanilla compounds, affecting both color and flavor. Make it a ritual to take them out once a week and give them a good shake. This simple act helps to agitate the beans, ensuring the alcohol continuously circulates around them, reactivating the extraction process and distributing the emerging vanilla flavor evenly.
Patience is truly a virtue here. While you’ll start to see a subtle amber color within a few weeks, the optimal flavor development for a rich, aromatic extract typically takes anywhere from 6 weeks to 6 months, or even longer. For the most intense and complex flavor, many seasoned vanilla makers recommend waiting at least 3 to 6 months. The longer it ages, the deeper and more robust the vanilla flavor will become. You can even continue to “top off” your vanilla with more vodka as you use it, provided there are still enough beans in the bottle. This essentially creates a perpetual supply of homemade vanilla. After about 6 weeks, you’ll have a beautifully amber-colored liquid with a lovely vanilla scent – what I like to call “amber perfection.”
Connect with Chocolate Chocolate and More!
Facebook | Twitter | Google+ | Pinterest | Instagram
Homemade Vanilla Extract Recipe
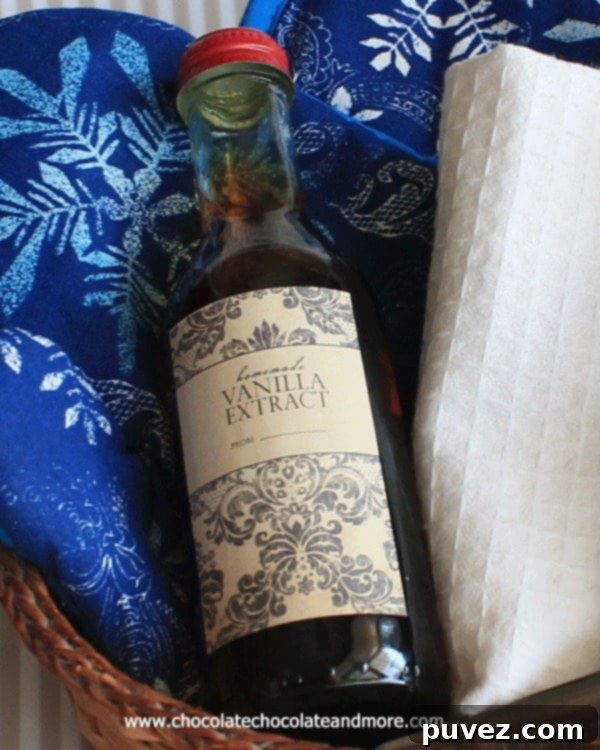
Enjoy using your very own Homemade Vanilla Extract in all your favorite recipes for a rich, unparalleled vanilla taste. Makes an extraordinary homemade gift!
Ingredients
- 3 whole vanilla beans (Madagascar or your preferred variety)
- 6-8 ounces neutral-flavored Vodka (80-proof recommended)
- Clean, airtight bottle (mini wine bottles, small glass bottles, etc.)
Instructions
- Using a sharp knife, carefully cut a slit lengthwise from one end of each vanilla bean to the other, exposing the seeds. Cut each bean in half if needed to fit your bottle.
- Place the vanilla bean halves into your clean, dry bottle.
- Cover the vanilla beans completely with vodka, ensuring they are fully submerged. Leave a small amount of headspace at the top of the bottle.
- Seal the bottle tightly and store it in a dark cabinet for 6-8 weeks (or longer, up to 6 months for best flavor). Shake the bottle gently once a week to facilitate the extraction process.
- Once aged to your liking, add a beautiful label for gifting or personal use.
Notes
Recipe adapted from ChocolateChocolateandmore.com. For bottle cleaning tips and more details on vanilla bean types, refer to the full blog post.
Did you make this recipe?
Please leave a comment on the blog or share a photo on Instagram!
The Perfect Finishing Touch: Labels and Gifting
Once your homemade vanilla extract has matured to its full flavor potential, it’s time to add those special finishing touches, especially if you plan to share it as a gift. Those cute labels that make my bottles look like they’re from a high-end boutique? You can easily get free printable labels from Live.Laugh.Rowe, thanks to my cool friend Kelly! These labels add a professional and personal touch, making each bottle a truly unique and cherished present. Consider adding a small ribbon or a decorative tag with a handwritten message, perhaps suggesting a favorite recipe where the vanilla can shine. Homemade vanilla extract is more than just an ingredient; it’s a labor of love, a testament to your patience and passion, and a gift that truly keeps on giving.
More Ideas for Wonderful Homemade Gifts
If you love the idea of crafting gifts from your kitchen, here are some more fantastic homemade gift ideas to inspire you:
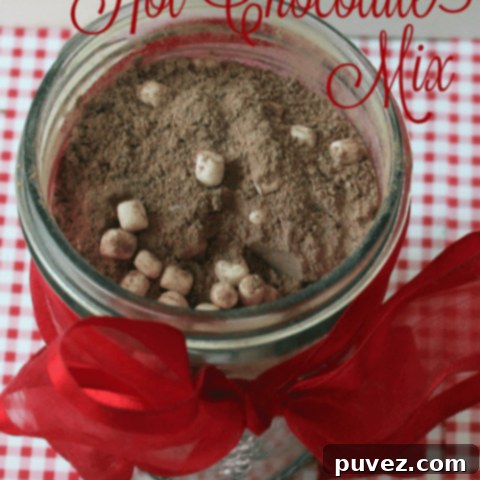
Homemade Hot Chocolate Mix
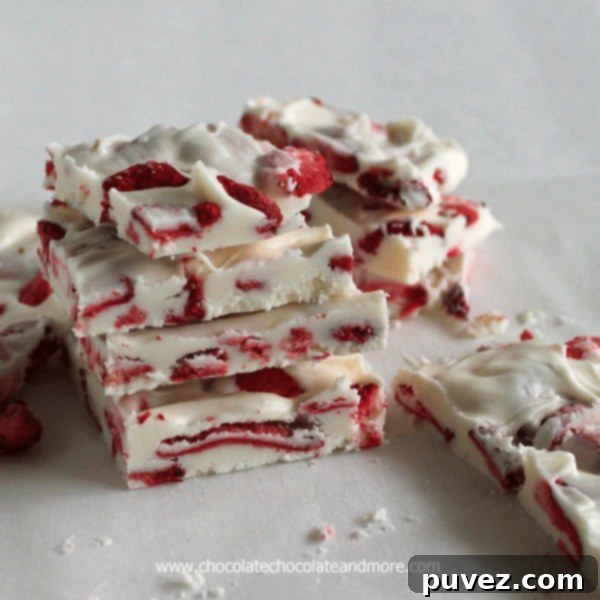
Strawberries and Cream White Chocolate Bark
Blackberry Liqueur
Stem Ginger
Chocolate Cream Liqueur
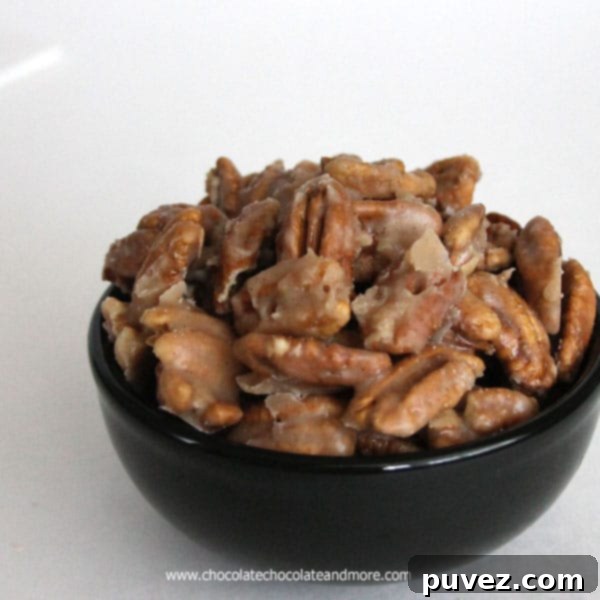
Cinnamon Glazed Pecans
Waxing Kara’s Honey Body Scrub
waxingkara.com
Honey Body Scrub made with organic sugar, honey, and oil for soft skin
Waxing Kara’s Honey Oat Scrub
waxingkara.com
Honey Oat Scrub for Face and Body Soothes and Brightens Skin
Sugar Scrubs
And here are some more creative gift ideas:
Everything in a Jar from The Gunny Sack
Citrus Bath Salts from A Pumpkin and a Princess
